atom + API Blueprint Preview環境の構築
API使用をドキュメンテーションする必要があったのですが、エクセルだと面倒なので、api blueprintを使用してみようと思います。Mark Down形式ですばやくAPI仕様書を記述可能です。また、さまざまなツールも出回っているので、HTMLやモックを生成したりも可能なようです。編集環境としては、atom と API Blueprint Previewを使用すると便利そうだったのでそれらの環境を構築してみることにします。
node.jsのインストール
npmを使用するので、node.js環境が無い場合には、まずインストールします。
こちらから環境にあったものをダウンロードして、インストールしてください。
python2.7その他のインストール
Visual Studioのライブラリや、Python2.7などもろもろ必要です。ひとつづつ入れても良いのですが、以下のコマンドで簡単にインストールすることができます。
npm install --global --production windows-build-tools
辛抱強く待てと言われるので待ちましょう。
aglioのインストール
api blueprint 形式からHTMLに変換するにはaglioというレンダラーを使用します。
以下のコマンドでインストールします。
npm install -g aglio
atomのインストール
atomをダウンロードしてインストールします。
atomを起動してInstall Packageからapi blueprint previewを検索するか、以下のコマンドで api blueprint previewをインストールします。
apm install api-blueprint-preview
ここでエラーになりましたが、pythonのバージョンが3.5になっていたようです。
他のバージョンのpythonをインストールしている場合には、pathを確認してください。
こちらの環境では、以下の場所にpython2.7がインストールされていたので追加しました。
C:\Users\XXXXX.windows-build-tools\python27
動作確認
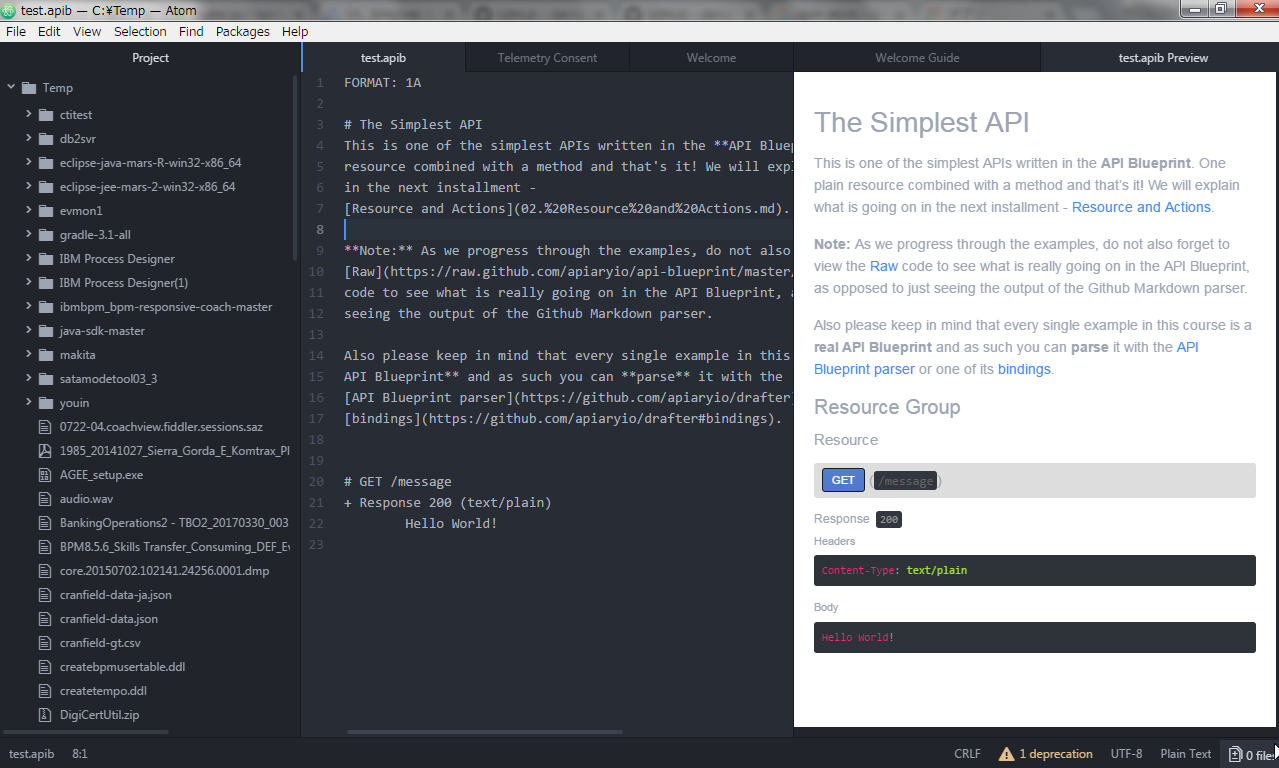
ためしにサンプルを貼り付けて、Ctrl + Shirt + aを押してみましょう。
このような感じで、プレビューが表示されれば成功です。

ちなみに、最初はうまくいかず、aglioを入れなおしたらうまくいきました。
何故かプレビューはエラーになることが多く、コマンドで生成したほうが良いかもしれません、、、
aglio -i test.apib -o test.html
まとめ
windows環境でatom + api-blueprint-previewの環境を構築してみました。
次回以降で、api blueprintの記述のしかたもまとめてみたいと思います。