RaspberryPiでプログラミングを始めるのにVisualStudioCodeをよく使うので、githubとの連携方法をメモしておく。おそらくUbuntuとかでも使える。
ほかの記事では、SSH接続したり、githubに公開鍵を登録したり、かなり手間がかかりめんどくさかった。
この方法だと、マウス操作だけで連携できたので、わすれないようにメモしておく。
インストールと起動
インストールは、aptでできる。
$ sudo apt update
$ sudo apt install code
開発用ディレクトリを作成してディレクトリを開く。開発用ディレクトリは"develop"とする。ホームディレクトリに作る。
$ cd ~
$ mkdir develop
$ cd develop
$ code ./
フォルダの作成者を信頼するか聞かれるので、「信頼する」を選ぶ。

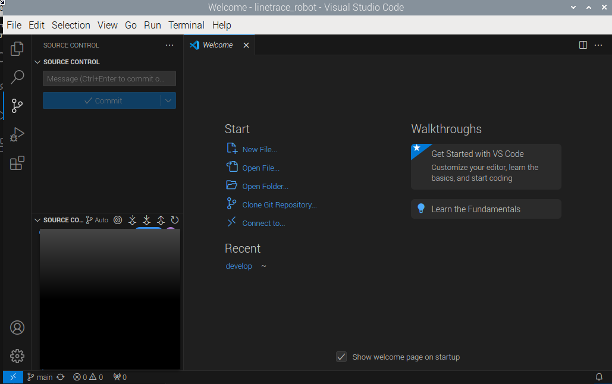
最初の画面が現れる。
左上の「Welcome」のリンクを押す。

githubからクローンする
「Clone Git Repository」のリンクをクリックする

画面上の入力欄に、githubリポジトリのURLを入力してEnterを押す。(githubでリポジトリのホーム画面を見るときのURL)

クローン先のローカル側のディレクトリを指定する。
ディレクトリを選択してボタンを押す。(「フォルダを選択」じゃないボタンを押すので注意)

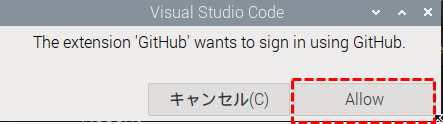
まだgithubにサインインしたことがない場合、こんなダイアログが出る。「Allow(許可)」を押す。
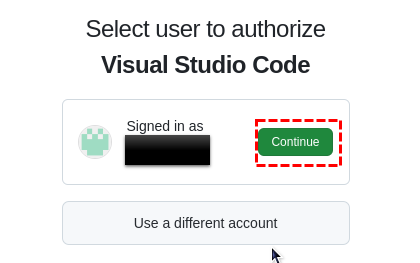
認証情報を入力してサインインする
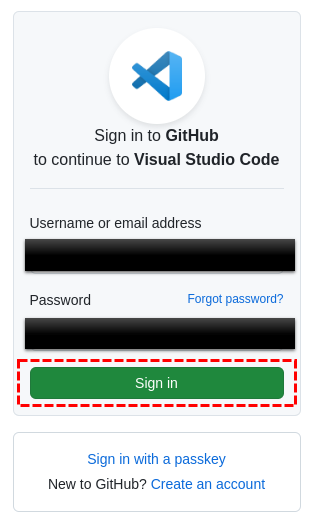
ブラウザからVisualStudioCodeを開く。

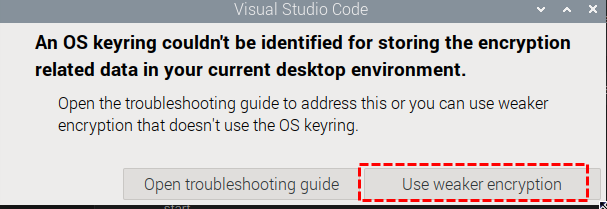
暗号化の強度が弱いとかナントカとか言われる。弱い暗号化を使うことにする。
Cloneが終わるので、VisualStudioCodeでリポジトリ(があるディレクトリ)を開く。

無事、Cloneができた。
ブランチを選ぶ
画面左下を押すと、ブランチを選べるようになる。ブランチの選択肢は、画面上からプルダウンして選択する。


以降は、VisualStudioCodeのコード連携から操作ができる。
設定いろいろ
ユーザ名やメールアドレスを設定する。
$ git config --global user.email "myname@example.com"
$ git config --global user.name "myname"
以上