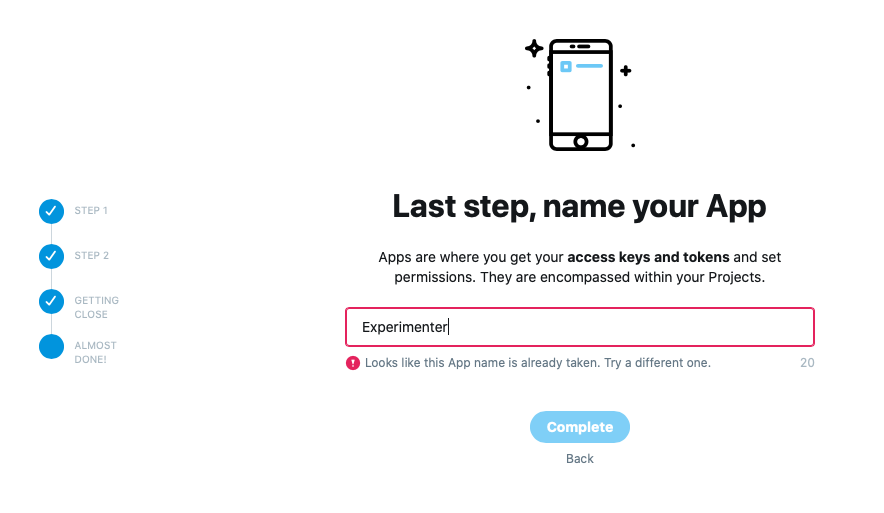
Twitter Developerの登録はこちらを参照:2度目のTwitter Developer登録で苦労した話
初めての登録なら苦労はしないはず.
アクセストークンを手に入れよう
プロジェクト作成
Twitter Developerに申請済みのアカウントにログイン後,ダッシュボードにアクセス.
まだProjectがなくまっさらの状態なので,+ Create Project からプロジェクトを作成する.
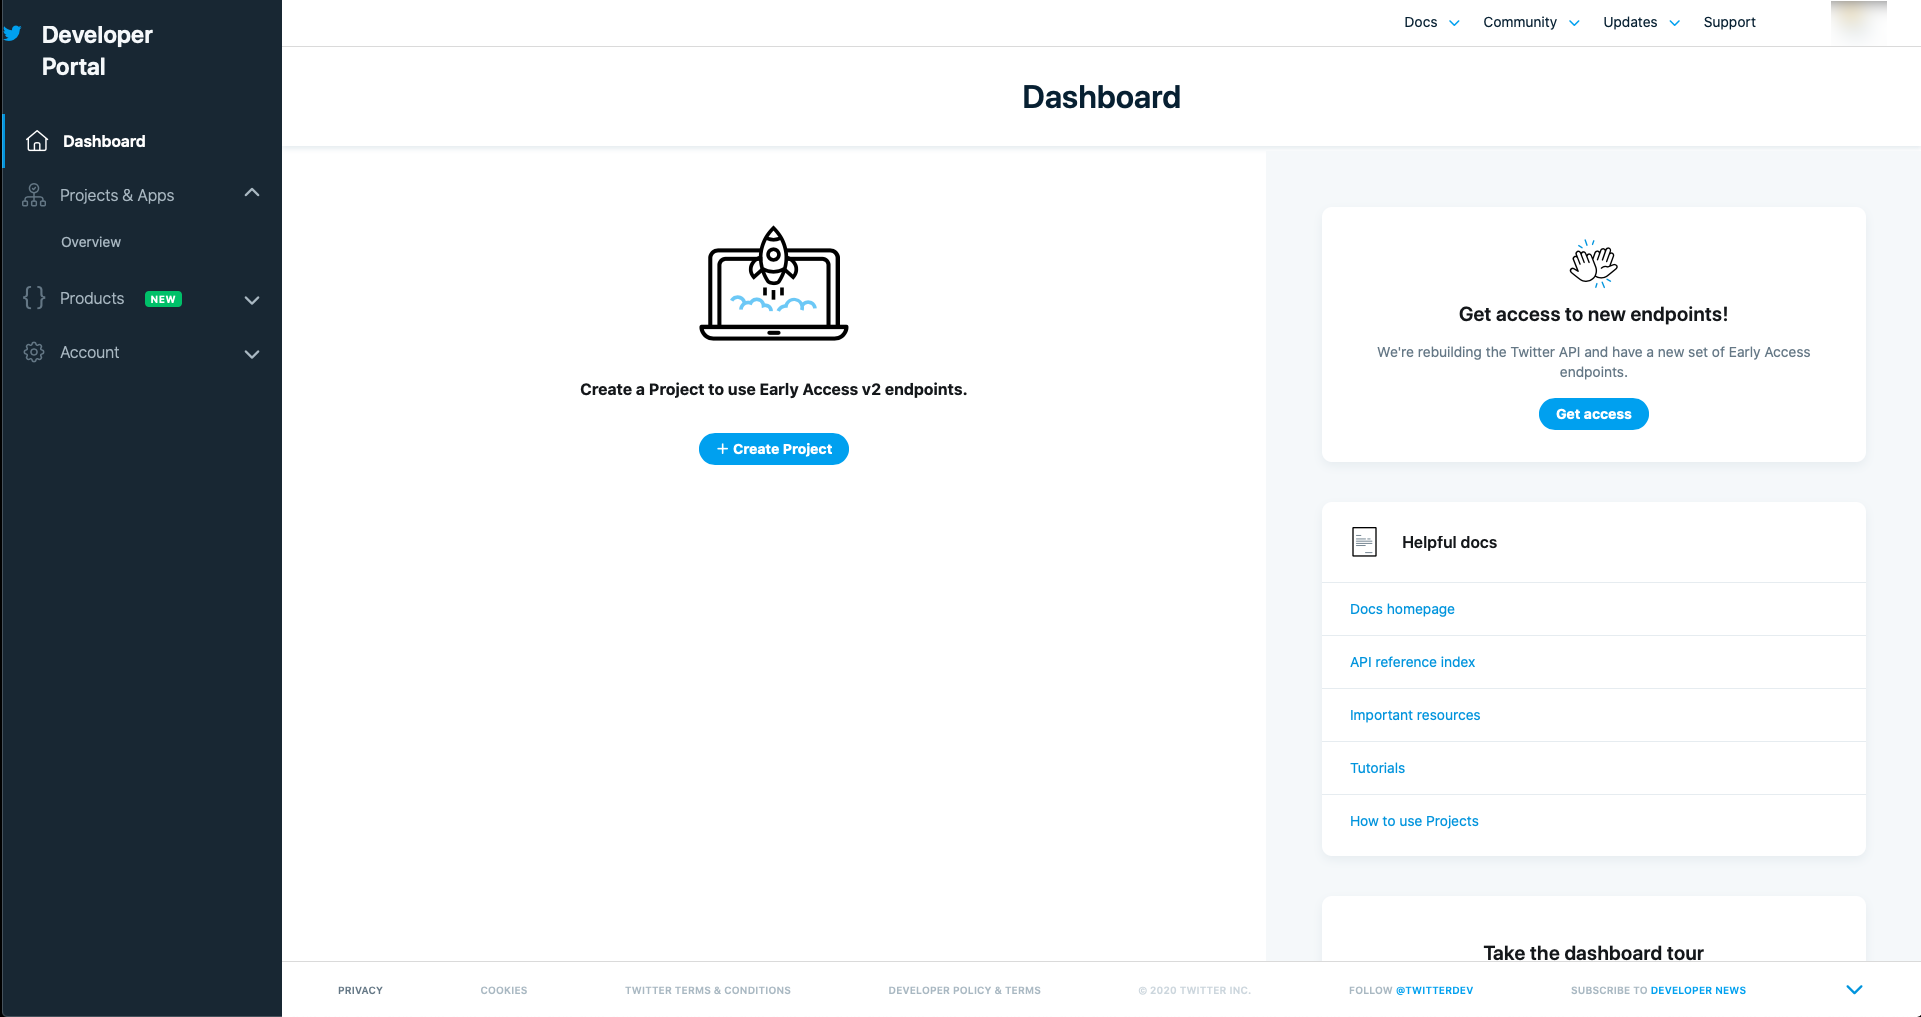
この後入力する情報は以下の通り.
- プロジェクト名(自由入力)
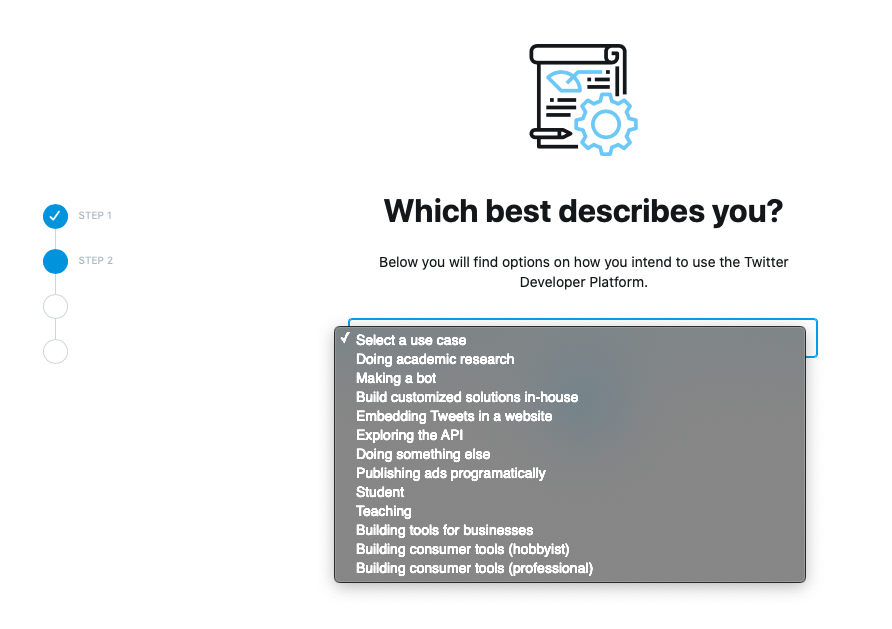
- 自分の立場(選択式)
- プロジェクトの説明(自由入力)
- App名(自由入力)
プロジェクト名とは別にアプリ名も決める必要がある.
例:プロジェクト名は「TestProject」,アプリ名は「MyTestApp」のような命名にするなど
自分の立場は,Twitter Developerに登録する際と同じ選択肢.
今回のプロジェクトに最も見合う立場を選択しよう.
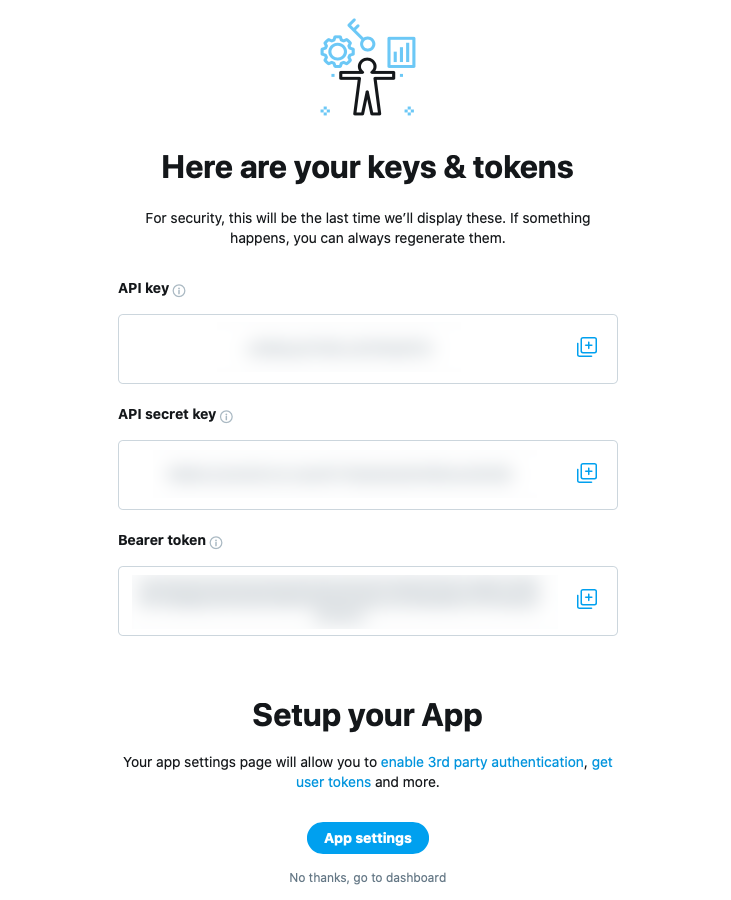
無事アプリ名が決まると以下の画面に遷移する.
これらの情報は後から確認できるので,まずは App settings から設定に移ろう.
権限の設定
App settingsをクリックすると,作成したプロジェクトのページに遷移する.
ここからTweepyで使用するtokenを手に入れるための設定を行う.
まずはAppsの作成したアプリにある歯車をクリック.
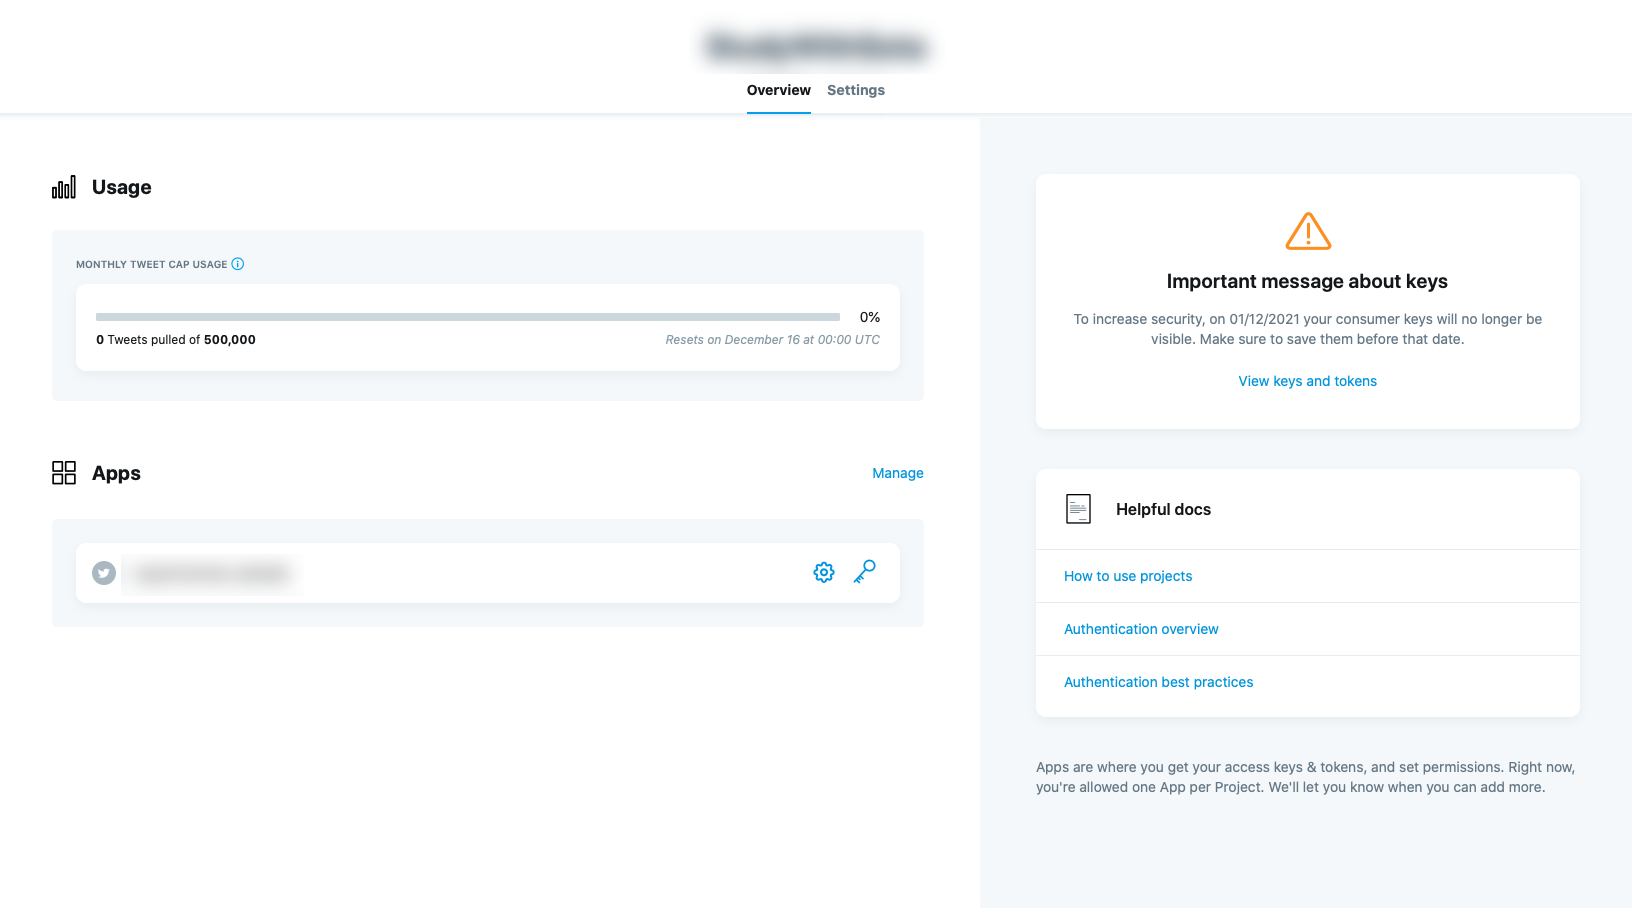
アプリの画面に遷移するので,App permissionsのEditからアプリの権限を変更する.
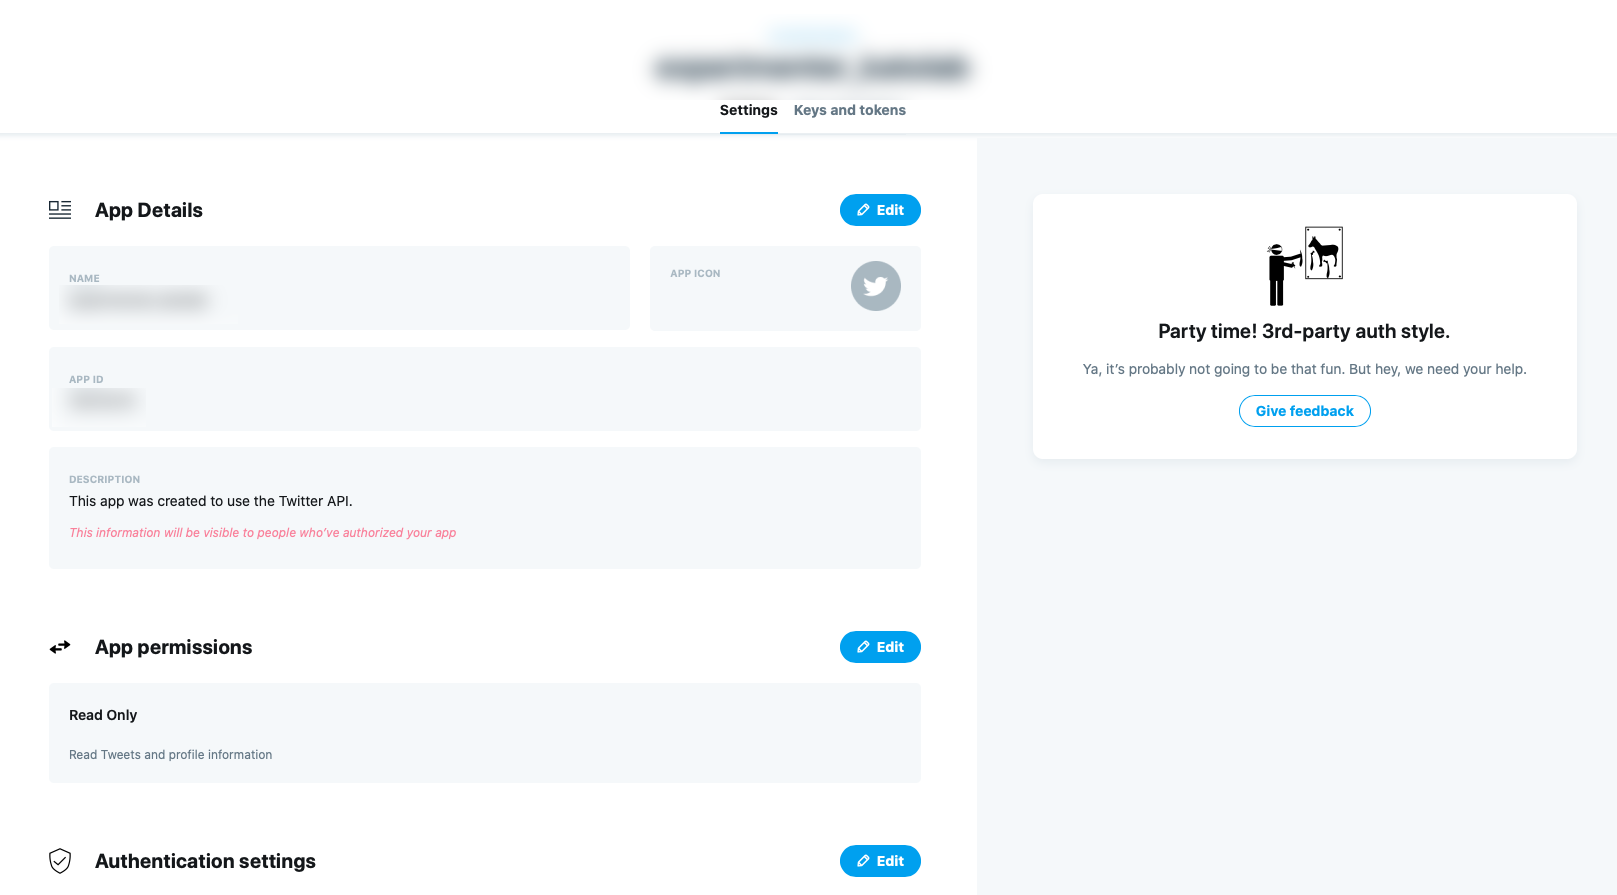
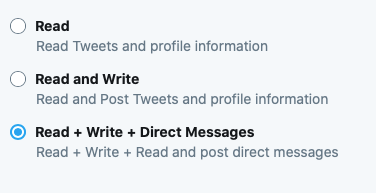
TweepyからつぶやくためにはWriteの権限が必要であるため,Read and WriteもしくはRead + Write + Direct Messagesを選択する.セーブも忘れずに.
トークンの取得
次にアプリの画面のKeys and tokensに移動する.
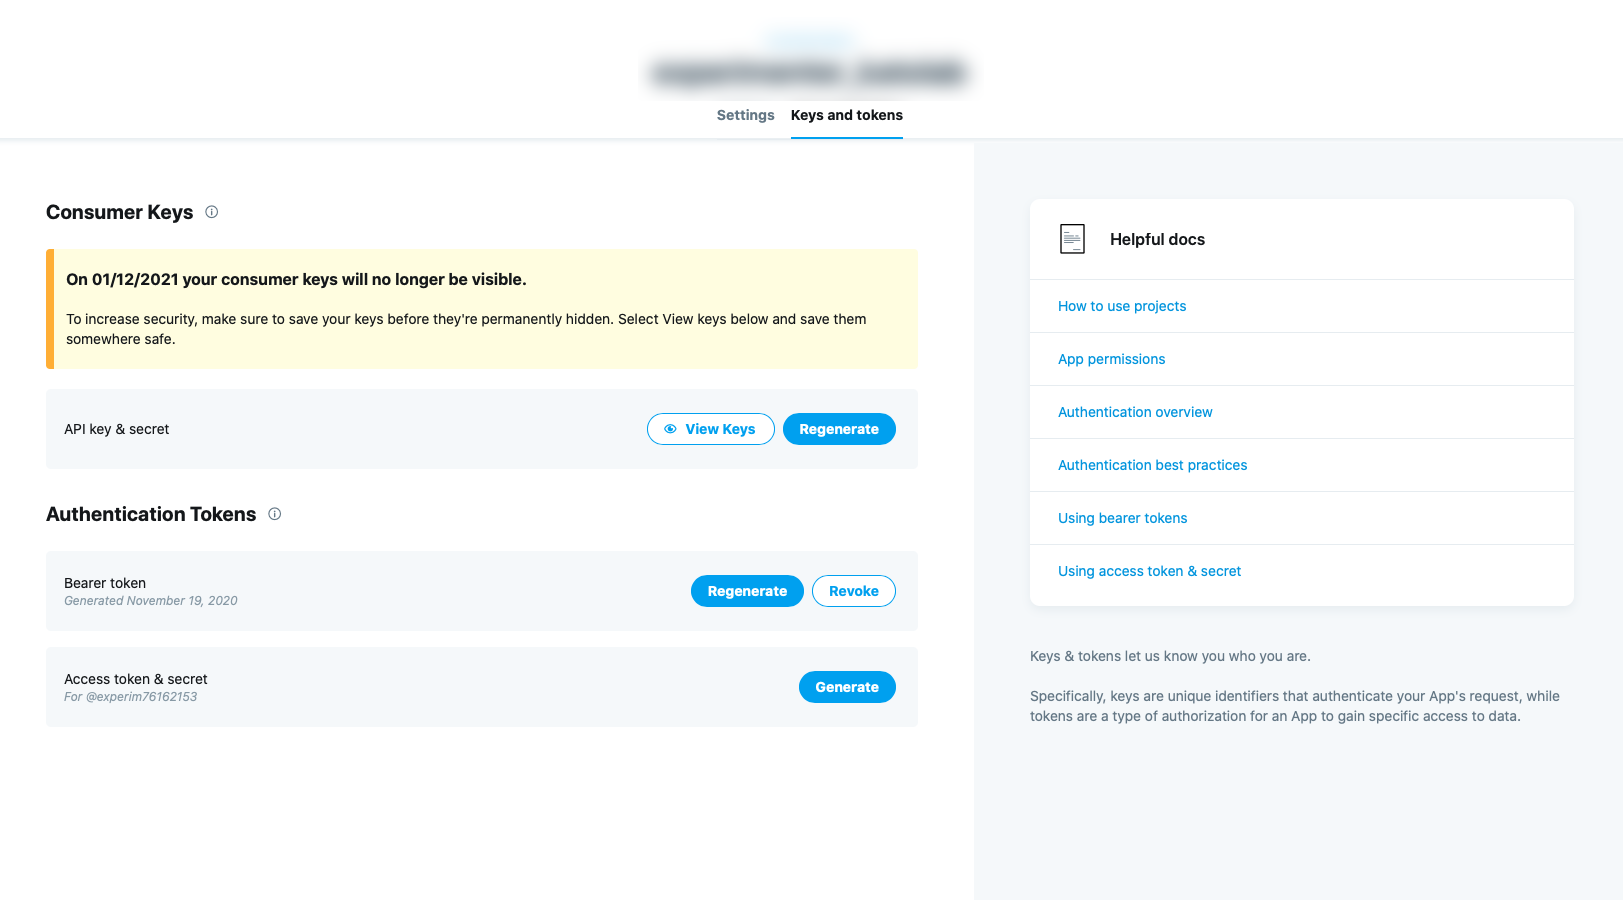
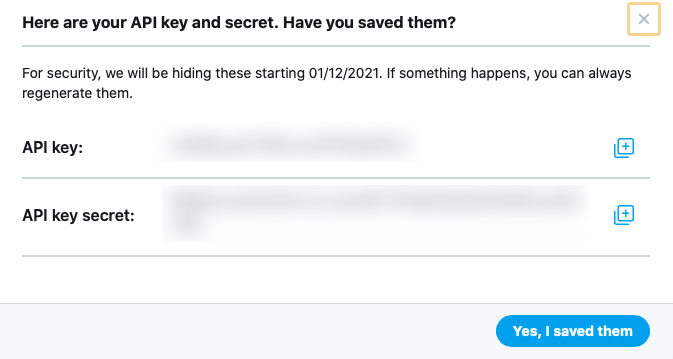
API key & secretは,View Keysから何度でも確認できる.
しかしセキュリティの問題で約1年経過すると確認できなくなるため,手元にメモを残すのを忘れずに.
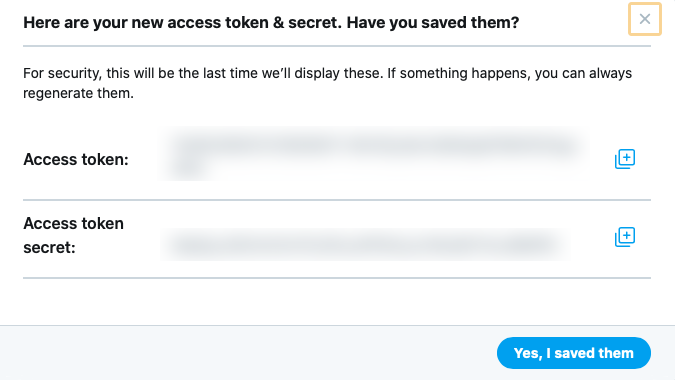
Access token & secretは1度生成したあと確認し直すことはできないので注意.
メモを取り忘れた/なくした場合,無効化もしくは再生成しかできない.
Tweepyでpythonからつぶやく
ここからはpythonに移行する.
pip install tweepy でtweepyをインストールしておく.
import tweepy

Consumer_key = '取得したApi key'
Consumer_secret = '取得したAPI Key secret'
Access_token = '取得したAccess token'
Access_secret = '取得したAccess token secret'

# OAuth handler を作成する
auth = tweepy.OAuthHandler(Consumer_key, Consumer_secret)
# OAuth handler にアクセストークンを伝える
auth.set_access_token(Access_token, Access_secret)
# APIを作成する
api = tweepy.API(auth_handler=auth)

# ツイート
api.update_status('APIでツイートしています。')
これだけ!
tokenのベタ書きは危なくない?
もしこのプログラムをGitにあげるとなると,秘密にすべきトークンが全世界に筒抜けになってしまう.
かといってコードが複雑になるとGit管理もしたくなるもの……。
解決策の1つとして,**環境変数にトークンを書き込んでしまおう!**がある.
Windowsの場合は設定から環境変数の追記が可能.
macの場合,bashを使用しているなら.bashrcに,zshを使用しているなら.zshrcに,以下の4行を書き込む.
(xxxxは各自のkeyに変更.'(クォーテーション)や"(ダブルクォーテーション)は必要ない.)
その後ターミナル上で source ~/.bashrc もしくは source ~/.zshrcで設定を反映させる.
export TWITTER_CK=xxxx
export TWITTER_CS=xxxx
export TWITTER_AT=xxxx
export TWITTER_AS=xxxx
無事環境変数に反映できたら,先程のプログラムを以下のように書き換える.
import tweepy
import os

Consumer_key = str(os.getenv('TWITTER_CK'))
Consumer_secret = str(os.getenv('TWITTER_CS'))
Access_token = str(os.getenv('TWITTER_AT'))
Access_secret = str(os.getenv('TWITTER_AS'))

# OAuth handler を作成する
auth = tweepy.OAuthHandler(Consumer_key, Consumer_secret)
# OAuth handler にアクセストークンを伝える
auth.set_access_token(Access_token, Access_secret)
# APIを作成する
api = tweepy.API(auth_handler=auth)

# ツイート
api.update_status('APIでツイートしています。')
これで公開しても安全!
