前回までの記事
はじめてAWSでデプロイする方法①(インスタンスの作成)
はじめてAWSでデプロイする方法②(Elastic IPの作成と紐付け)
はじめてAWSでデプロイする方法③(AWSセキュリティグループの設定)
はじめてAWSでデプロイする方法④(EC2インスンタンスにSSHログイン)
はじめてAWSでデプロイする方法⑤(EC2の環境構築、Ruby, MySQL)
EC2インスタンス(サーバー)を作成し、パブリックIPをElastic IPで固定。
一般ユーザーがアクセスできるように、セキュリティグループの設定を追加(入り口を作成)
IDとPWを使って、EC2にログインして、環境構築をしました。
ざっくり説明すると、こんなところです。
今回はWEB AppをEC2インスタンスにアップロードしていきます。
WEB AppをEC2にクローンする
現段階
EC2サーバにアプリケーションのコードをクローンしようとしてもpermission deniedとエラーが出てしまいます。
原因
Githubから見てこの許可していないEC2インスタンスを拒否する
対策
EC2インスタンスのSSH公開鍵をGithubに登録する。
SSH鍵をGithubに登録すると、Githubはそれを認証してクローンを許可をだす
作業
EC2サーバのSSH鍵ペアを作成
- EC2にログイン
- キーペア作成のためコマンドを入力
[ec2-user@ip-172-31-23-189 ~]$ ssh-keygen -t rsa -b 4096
3.下記が表示されるので、エンターを押す
Enter file in which to save the key (/home/ec2-user/.ssh/id_rsa):
4.さらにエンターを押す(2回)
Enter passphrase (empty for no passphrase):
Enter same passphrase again:
これで下記の表示ができれば、成功してます。
Your identification has been saved in /home/ec2-user/.ssh/id_rsa.
Your public key has been saved in /home/ec2-user/.ssh/id_rsa.pub.
The key fingerprint is:
3a:8c:1d:d1:a9:22:c7:6e:6b:43:22:31:0f:ca:63:fa ec2-user@ip-172-31-23-189
The key's randomart image is:
+--[ RSA 4096]----+
|    +            |
| . . =           |
|  = . o .        |
| * o . o         |
|= *     S        |
|.* +     .       |
|  * +            |
| .E+ .           |
| .o              |
+-----------------+
5.SSH公開鍵を表示し、値をコピーするため、下記コマンドを実装
[ec2-user@ip-172-31-23-189 ~]$ cat ~/.ssh/id_rsa.pub
コピーした公開鍵をGithubにアクセスして登録する
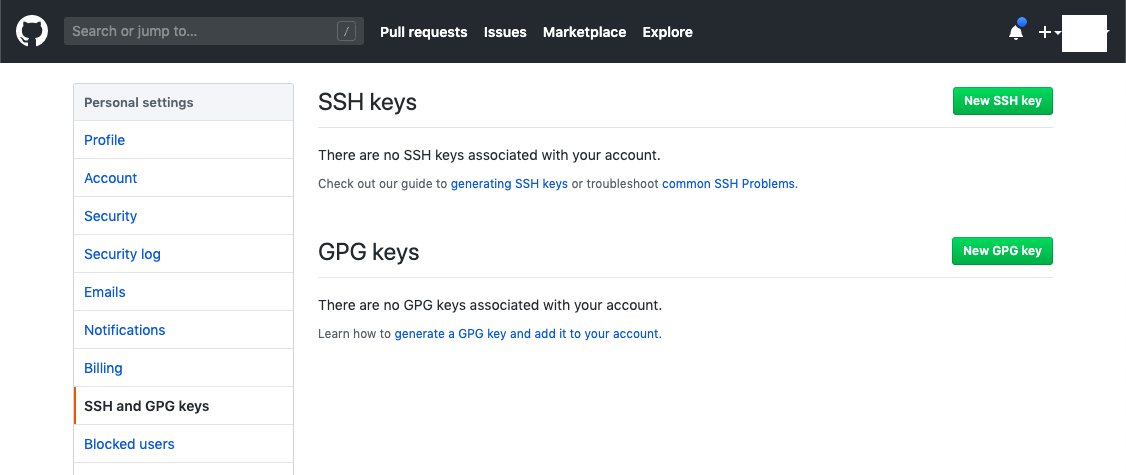
2. 画面右上の緑色の『 NEW SSH KEY 』をクリック
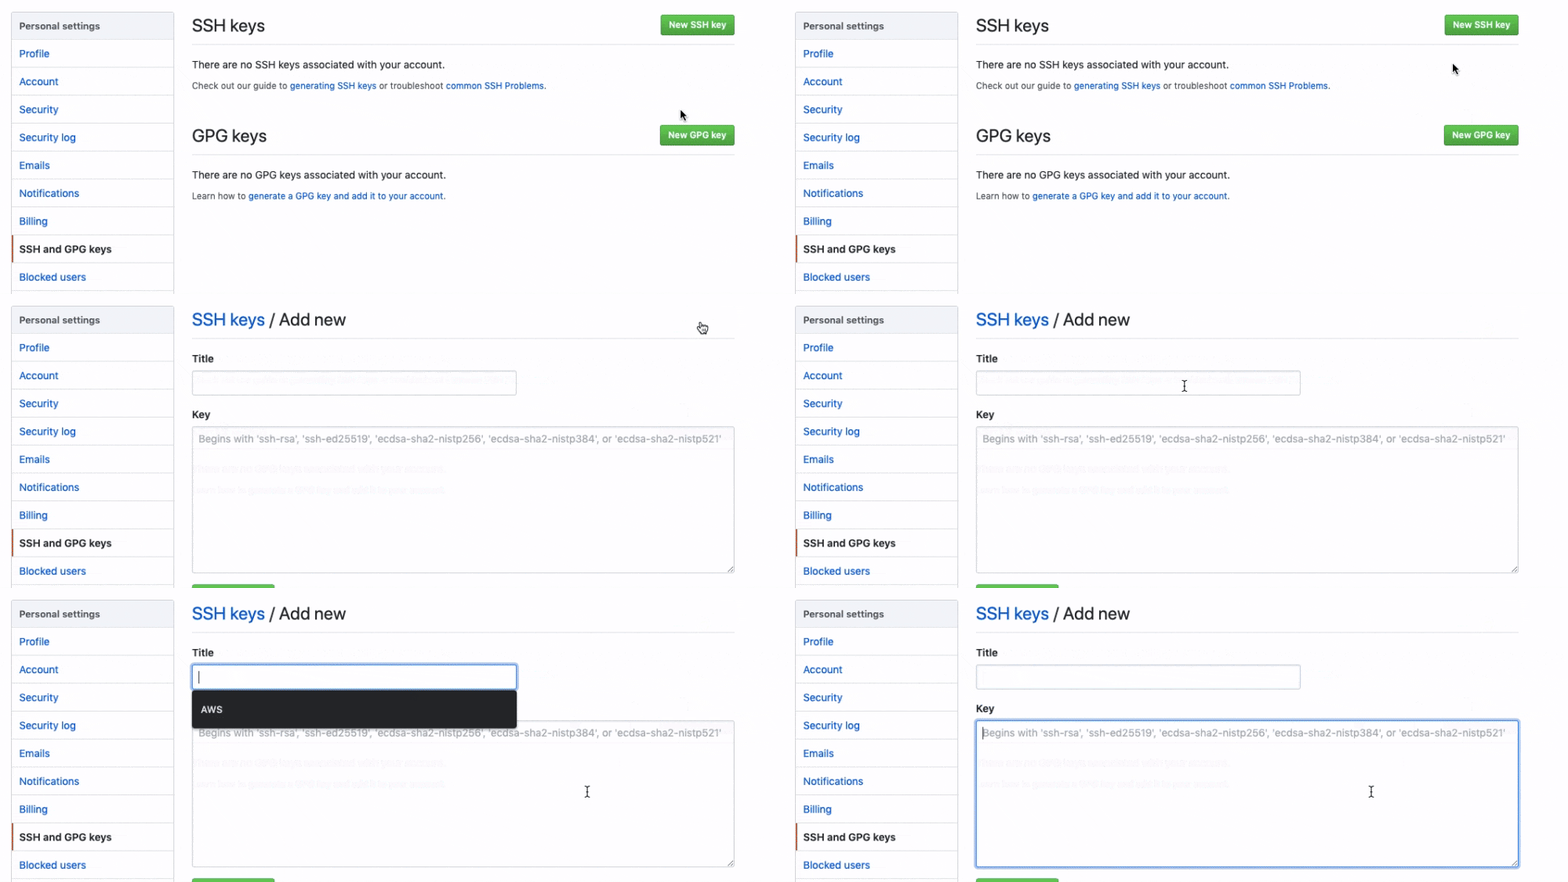
3. タイトルを記入する(なんでも可能)

4. 公開鍵(ssh-rsaから)を貼り付け
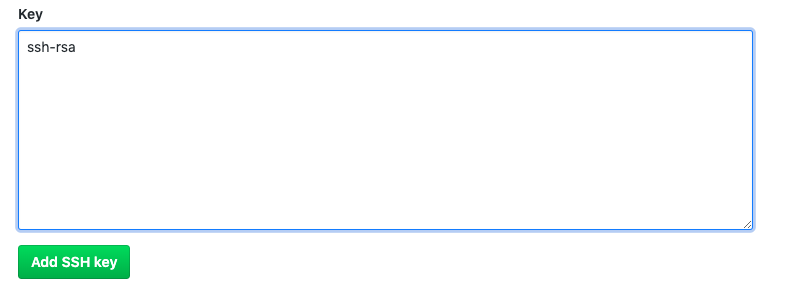
エラー「Key is invalid. You must supply a key in OpenSSH public key format」が表示された場合、
貼り付けたコードに『 ssh-rsa 』が含まれているかご確認ください

5. 『 Add SSH KEY 』をクリックして保存。
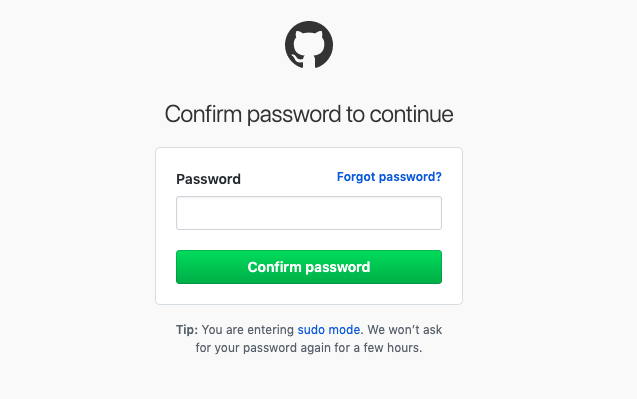
6. GithubのPWを入力
7. 完了
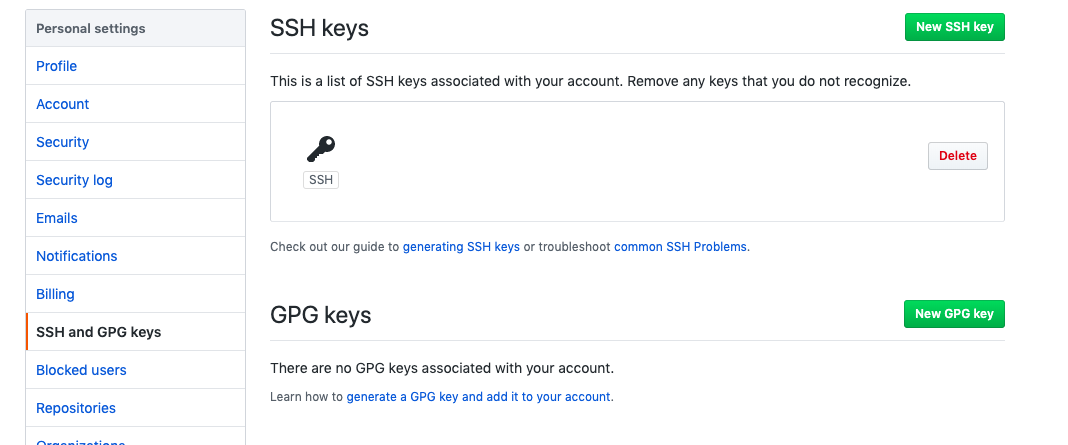
8. 登録できているか確認
[ec2-user@ip-172-31-23-189 ~]$ ssh -T git@github.com
下記の表示が出た場合: 『 yes 』を選択
The authenticity of host 'github.com (IP ADDRESS)' can't be established.
RSA key fingerprint is 16:27:ac:a5:76:28:2d:36:63:1b:56:4d:eb:df:a6:48.
Are you sure you want to continue connecting (yes/no)?
この際に
Warning: Permanently added the RSA host key for IP address '52.111.11.11' to the list of known hosts.
と表示された場合は, EC2に入り直しましょう。更新されたのでエラーなく入れます。
成功すると、下記の表示になるはずです。
または、下記が表示された場合: 『 yes 』を選択
The authenticity of host 'github.com (IP ADDRESS)' can't be established.
RSA key fingerprint is SHA256:nThbg6kXUpJWGl7E1IGOCspRomTxdCARLviKw6E5SY8.
Are you sure you want to continue connecting (yes/no)?
成功すると下記の表示が出る
[ec2-user@ip-172-31-23-189 ~]$ ssh -T git@github.com
Hi <Githubユーザー名>! You've successfully authenticated, but GitHub does not provide shell access.
App側でUnicornのインストール
EC2にGit クローンする前に、準備としてUnicornをインストールさせましょう
Gemfileにgem'unicorn'を追加
group :production do
  gem 'unicorn', '5.4.1'
end
bundle installでインストール
$ bundle install
config/unicorn.rbを作成
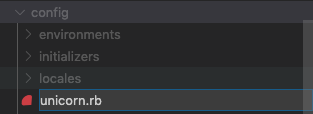
追加したunicorn.rbに下記を記述
app_path = File.expand_path('../../', __FILE__)

# アプリケーションサーバの性能を決定する
worker_processes 1

# アプリケーションの設置されているディレクトリを指定
working_directory app_path

# Unicornの起動に必要なファイルの設置場所を指定
pid "#{app_path}/tmp/pids/unicorn.pid"

# ポート番号を指定
listen 3000

# エラーのログを記録するファイルを指定
stderr_path "#{app_path}/log/unicorn.stderr.log"

# 通常のログを記録するファイルを指定
stdout_path "#{app_path}/log/unicorn.stdout.log"

# Railsアプリケーションの応答を待つ上限時間を設定
timeout 60

# 以下は応用的な設定なので説明は割愛

preload_app true
GC.respond_to?(:copy_on_write_friendly=) && GC.copy_on_write_friendly = true

check_client_connection false

run_once = true

before_fork do |server, worker|
  defined?(ActiveRecord::Base) &&
    ActiveRecord::Base.connection.disconnect!

  if run_once
    run_once = false # prevent from firing again
  end

  old_pid = "#{server.config[:pid]}.oldbin"
  if File.exist?(old_pid) && server.pid != old_pid
    begin
      sig = (worker.nr + 1) >= server.worker_processes ? :QUIT : :TTOU
      Process.kill(sig, File.read(old_pid).to_i)
    rescue Errno::ENOENT, Errno::ESRCH => e
      logger.error e
    end
  end
end

after_fork do |_server, _worker|
  defined?(ActiveRecord::Base) && ActiveRecord::Base.establish_connection
end
production.rbを開き、下記の記述をコメントアウトする
config.assets.js_compressor = :uglifier
# config.assets.js_compressor = :uglifier
アプリケーションの保存先となるディレクトリを作成
ディレクトリの作成
# /var/wwwディレクトリを作成(後述するCapistranoの初期値がwwwなので、ディレクトリをwwwに設定しています)
[ec2-user@ip-172-31-23-189 ~]$ sudo mkdir /var/www/
作成したディレクトリをchownコマンドで権限設定
# 作成したwwwディレクトリの権限をec2-userに変更
[ec2-user@ip-172-31-23-189 ~]$ sudo chown ec2-user /var/www/
作成したディレクトリに移行
[ec2-user@ip-172-31-23-189 ~]$ cd /var/www/
git clone でAppをEC2にダウンロード
GithubからGit cloneするためのリポジトリURLを取得
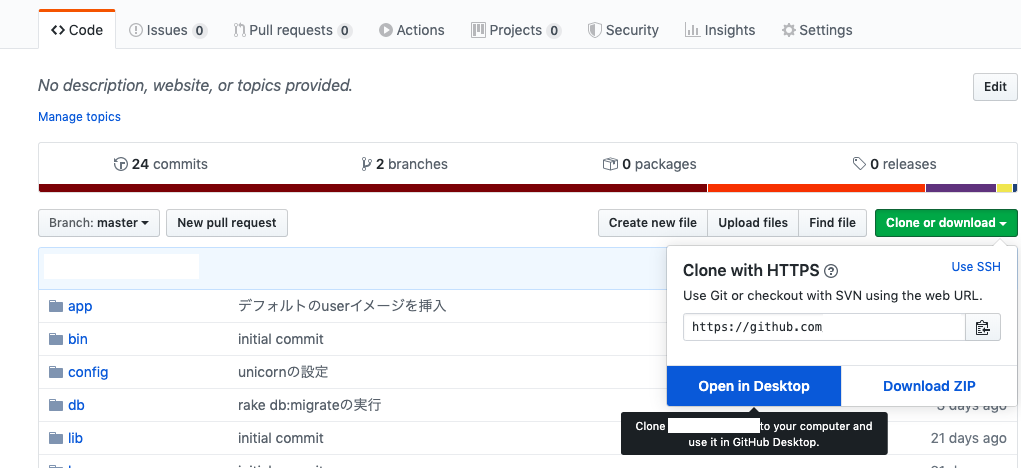
git clone で作成したディレクトリにappをクローン
[ec2-user@ip-172-31-23-189 www]$ git clone リポジトリURL
Githubのアカウント名とPWを入力し、
ダウロードが開始される
remote: Enumerating objects: 298, done.
remote: Counting objects: 100% (298/298), done.
remote: Compressing objects: 100% (190/190), done.
remote: Total 298 (delta 109), reused 274 (delta 86), pack-reused 0
Receiving objects: 100% (298/298), 58.53 KiB | 365.00 KiB/s, done.
Resolving deltas: 100% (109/109), done.
完了
これで、EC2にAppがクローンされています。
