NCMBのFlutter SDKを使ってカレンダーアプリを作ります。予定を登録したり、カレンダーライブラリ(table_calendar)を使って予定を表示できるというアプリです。
前回の記事では画面の説明とSDKの導入までを進めましたので、今回は認証処理を実装していきます。
コードについて
今回のコードはNCMBMania/flutter-calendarにアップロードしてあります。実装時の参考にしてください。
認証画面について
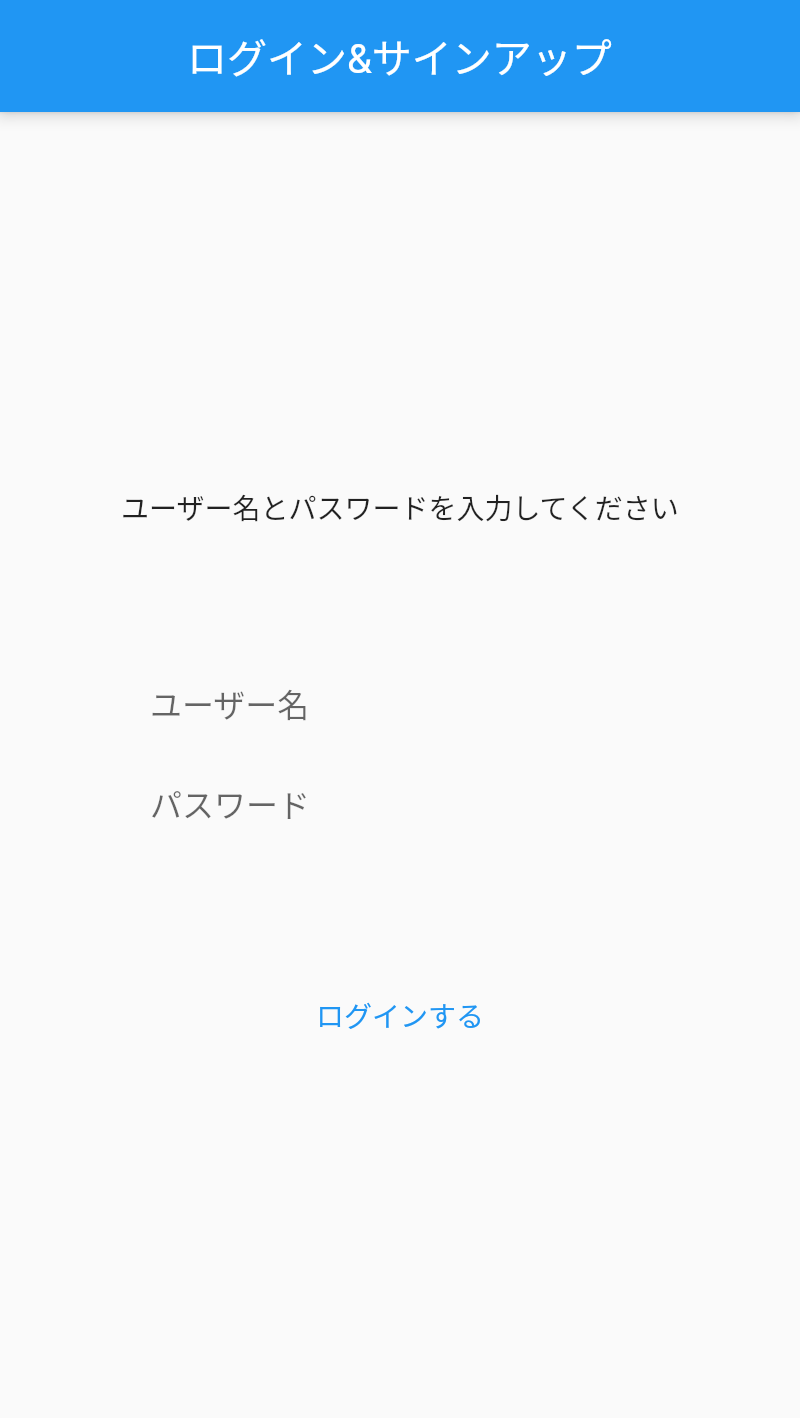
すでに紹介済みですが、認証画面は以下のようになります。ID/パスワード入力欄があって、ボタンを押すと _login 関数が実行されます。
@override
Widget build(BuildContext context) {
	return Scaffold(
			appBar: AppBar(title: const Text('ログイン&サインアップ')),
			body: Column(mainAxisAlignment: MainAxisAlignment.center, children: [
				Row(mainAxisAlignment: MainAxisAlignment.center, children: const [
					SizedBox(
							height: 100,
							child: Text(
								'ユーザー名とパスワードを入力してください',
							)),
				]),
				SizedBox(
						height: 50,
						width: 250,
						child: TextField(
							decoration: const InputDecoration.collapsed(hintText: 'ユーザー名'),
							onChanged: (value) {
								setState(() {
									_userName = value;
								});
							},
						)),
				SizedBox(
					width: 250,
					height: 100,
					child: TextField(
						obscureText: true,
						decoration: const InputDecoration.collapsed(hintText: 'パスワード'),
						onChanged: (value) {
							setState(() {
								_password = value;
							});
						},
					),
				),
				TextButton(onPressed: _login, child: const Text("ログインする"))
			]));
}
ログイン処理について
ログイン処理は、以下のような手順で行われます。
- ユーザーの新規登録
- ログイン処理
すでにユーザー登録を行っていた場合、ユーザーの新規登録はエラーになります。今回はユーザー登録とログインを兼ねているので、エラーが出たとしてもそのまま続けてログイン処理を行っていきます。
ユーザーの新規登録
取得した入力値を使ってユーザー登録処理を行います。エラーが出たとしても無視します。
try {
	// ユーザー登録処理
	await NCMBUser.signUpByAccount(_userName, _password);
} catch (e) {}
ログイン処理
そのまま続けてログイン処理を実行します。ログインがうまくいったら、 widget.onLogin(); を呼び出して結果を通知します。
// 成功しても失敗してもそのままログイン処理
await NCMBUser.login(_userName, _password);
widget.onLogin();
ここまででNCMBを使った認証処理の完成です。
認証後のユーザー情報について
認証後にユーザー情報を取得する際には、下記のように記述します。
var user = await NCMBUser.currentUser();
認証していない場合には null が返ってきます。これを使って認証状態の判別が可能です。
まとめ
今回はカレンダーアプリの認証処理について解説しました。次はカレンダー表示と予定の登録処理を実装します。