1.コンパートメントの作成
- まずは、コンパートメントから作成します
OCIでは、テナントの内部を仕切る コンパートメント という区画を作成し、その中にリソースを配置したり、コンパートメントにポリシーを割り当てることを通じて権限を設定したりする。
5. コンパートメントとポリシーの確認
- ログイン画面でガバナンスと管理 → アイデンティティ → コンパートメントをクリック

- コンパートメントの作成をクリック

- 各項目を設定しコンパートメントの作成

- 作成されたコンパートメントを確認

- 作成したコンパートメントをクリックしてみるとこんな感じ

2.VCN(Virtual Cloud Network)の作成
- 続いてVCNを作成します
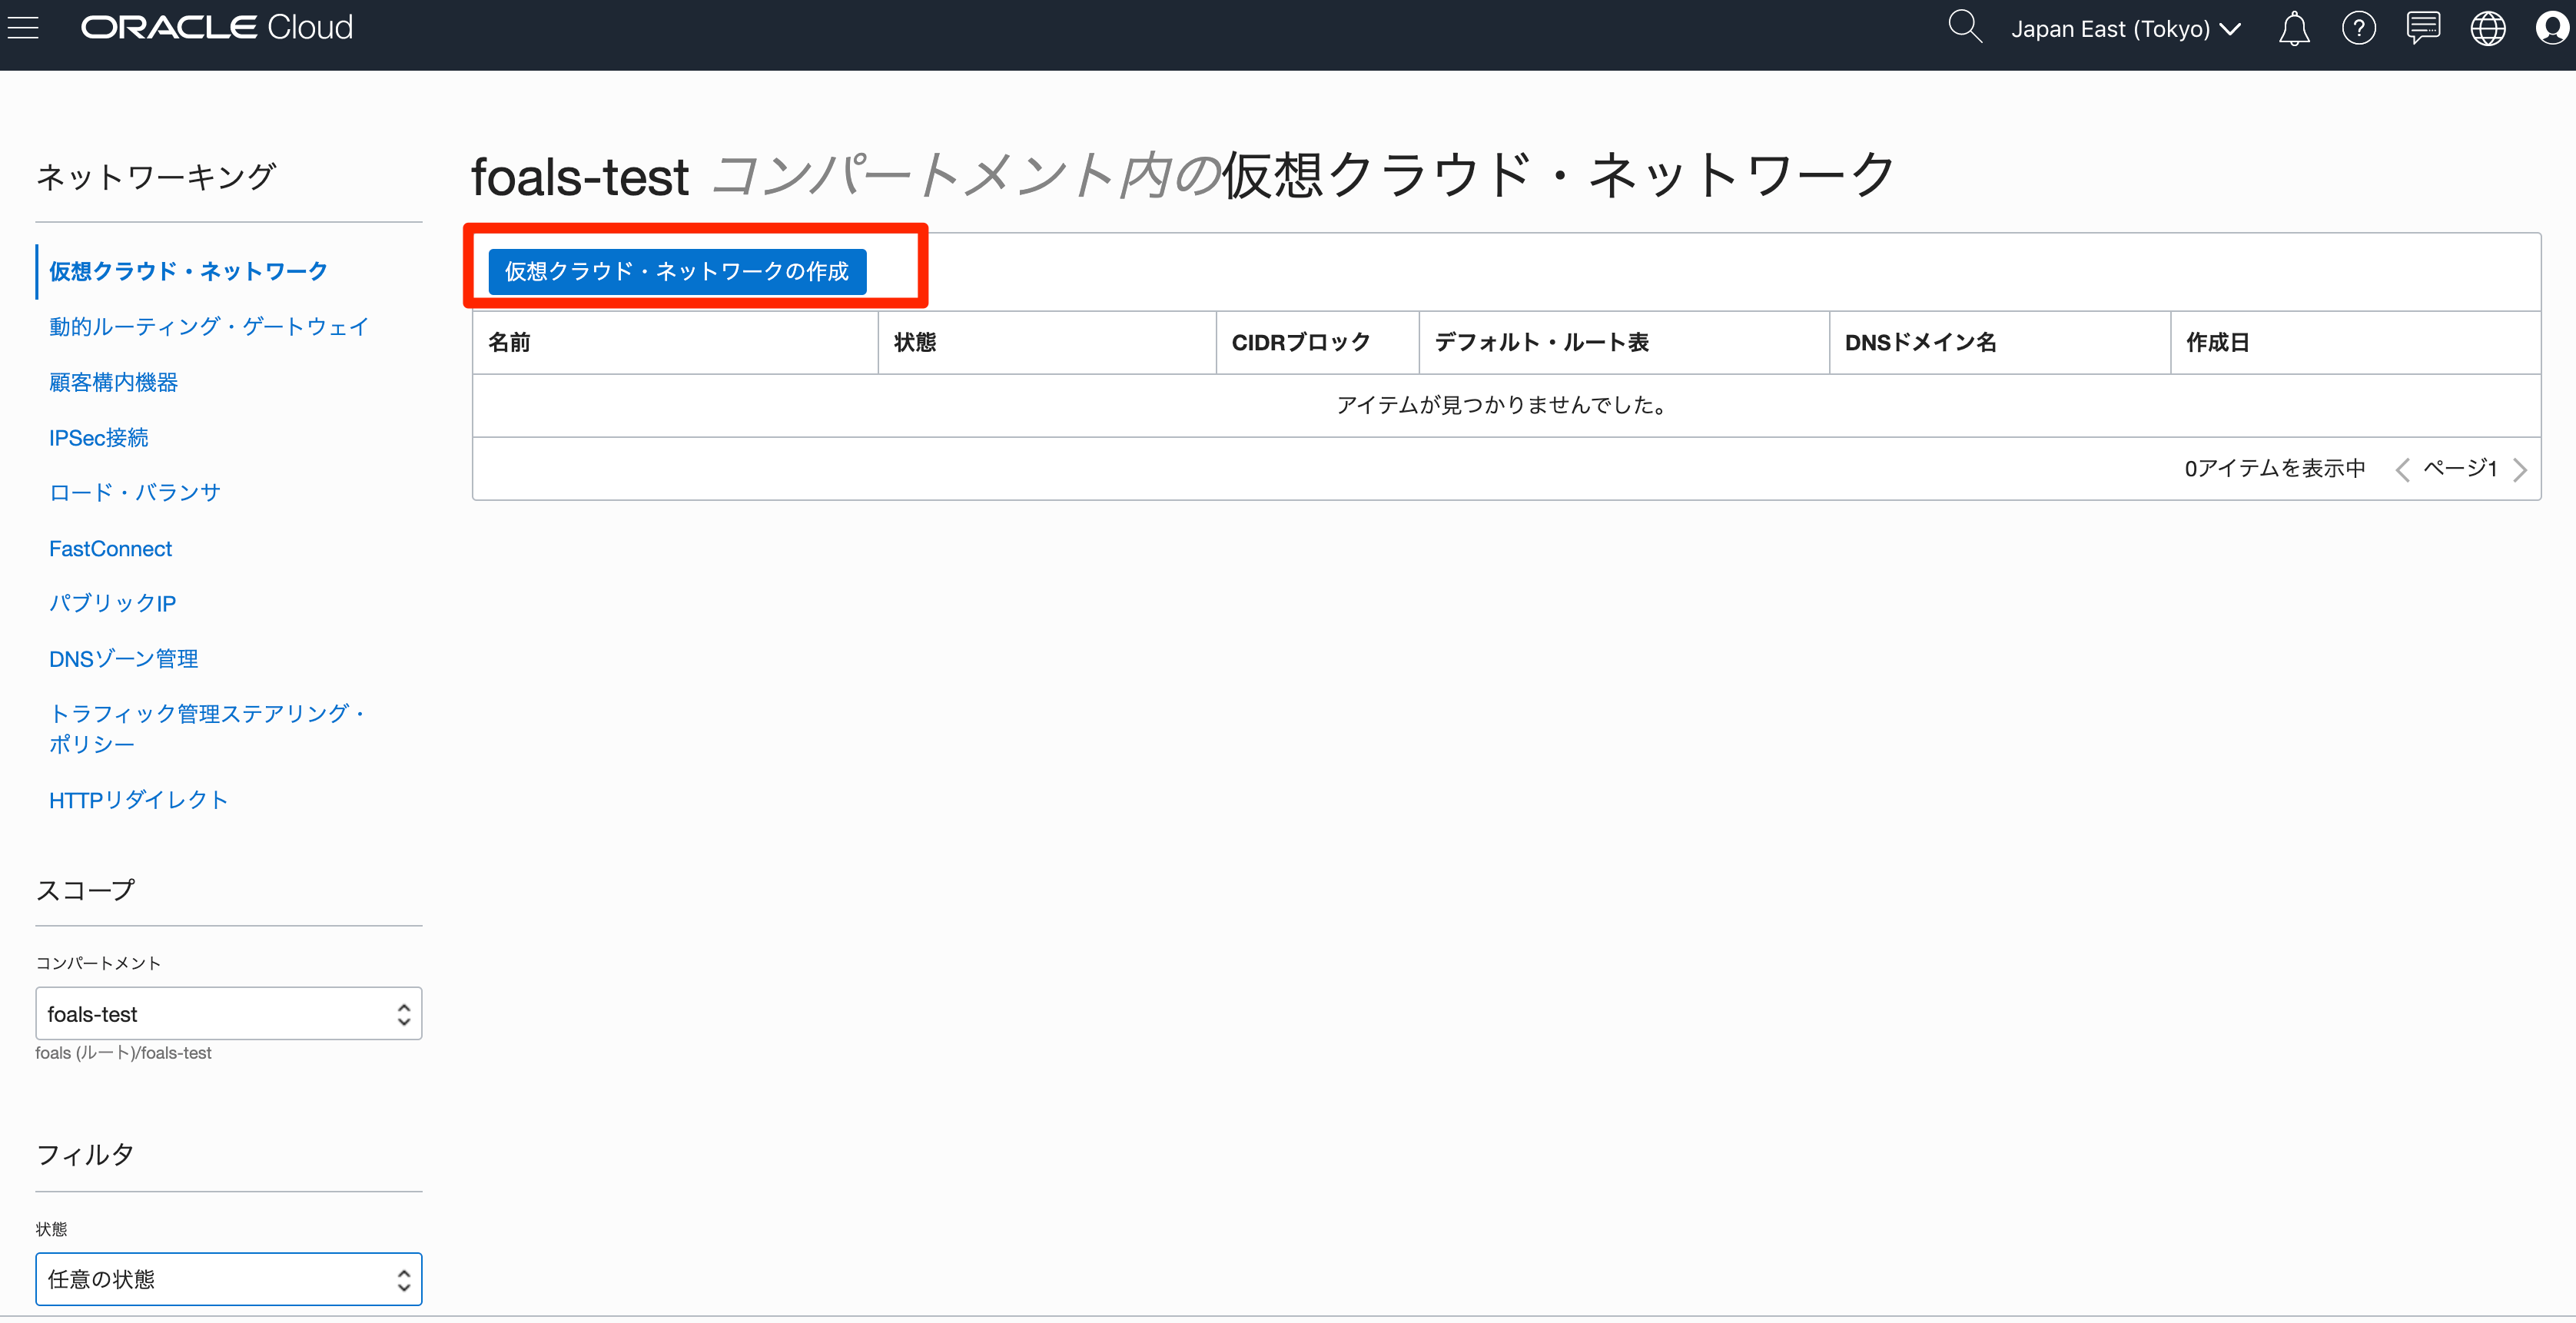
- コア・インフラストラクチャ → ネットワーキング → 仮想クラウド・ネットワークをクリック

- 左下のスコープ → コンパートメントから先程作成したコンパートメントを選択する

- 仮想クラウド・ネットワークの作成をクリック
- VCN名を入力
- デフォルトでは仮想クラウド・ネットワークのみの作成にチェックが入ってる
- 今回は仮想クラウド・ネットワークおよび関連リソースの作成にチェックを入れ 仮想クラウド・ネットワークの作成をクリック
- インターネット・ゲートウェイやルートテーブル、サブネットなどもまとめて作成してくれるみたい


- 確認画面で閉じる
 - 作成されたVCNはこんな感じ
 - 作成されたパブリックサブネットはこんな感じ
 - 作成されたセキュリティリスト
 - 作成されたルートテーブル
 - 作成されたインターネットゲートウェイ
 - 作成されたDHCPオプション

3.その他追加していく
- NATゲートウェイを作成
 - プライベート用のルートテーブル追加
 - セキュリティリスト追加
 - プライベートサブネット追加

以上。