Djangoを使用するための環境をDockerで構築していきます。
また、Nginx MySQLを使用するための環境も同時に構築します。
環境
MacOS Mojave
docker for mac(下記からインストールできます)
https://docs.docker.com/docker-for-mac/install/
ディレクトリ構成
python nginx MySQLで構成を分けておきます。
django
├── docker-compose.yml
├── mysql
├── sql
├── nginx
│   ├── conf
│   │   └── app_nginx.conf
│   └── uwsgi_params
└── python
    ├── Dockerfile
    └── requirements.txt
Djangoの設定
Dockerfileの作成
PYTHONUNBUFFEREDは、バッファが溜まってから出力するのを避けるための記述です。
パフォーマンスの観点からはバッファが溜まってからの出力の方が良いのですが、今回は素早い反応を求めるため、設定を記述しておきます。
参考記事:Python で stdout/stderr のバッファを無効にするオプション
FROM python:3.6
ENV PYTHONUNBUFFERED 1
RUN mkdir /code
WORKDIR /code
ADD requirements.txt /code/
RUN pip install -r requirements.txt
ADD . /code/
requirement.txtの作成
環境によって、バージョンは変更します。
uwsgiはPythonでWebサービスを動かすためのアプリケーションサーバで、今回はnginxと連携するために使用します。
PyMySQLはDjangoのMySQLを接続するために使用します。
Django==2.0.4
uwsgi==2.0.17
PyMySQL==0.8.0
docker-compose.ymlへの記述
-
commandの欄ですが、上述のuwsgiを使用してポート8001(任意のポート番号)を開放します。これが、後のnginxへの連携の際に必要な処理となります。 -
app.wsgiのappはDjangoのプロジェクト名です。(例:django-admin startproject appのapp部分) -
--py-autoreload 1はDjangoアプリ開発の際に、ファイル等に変更があった際は自動リロードするための設定です。
参考記事:How to set up autoreload with Flask+uWSGI? -
--logto /tmp/mylog.logはログを残すための記述です。
python:
    build: ./python
    command: uwsgi --socket :8001 --module app.wsgi --py-autoreload 1 --logto /tmp/mylog.log
    volumes:
      - ./src:/code
      - ./static:/static
    expose:
      - "8001"
    depends_on:
      - db
MySQLの設定
コンテナに入ったデータは、起動を停止する際にすべて破棄されます。
データを永続化するため、ローカルのmysqlフォルダと同期しておきます。
commandはMySQLの文字コードの設定です(defaultはlatin1が入っており、日本語入力ができない)
db:
    image: mysql:5.7
    command: mysqld --character-set-server=utf8mb4 --collation-server=utf8mb4_unicode_ci
    ports:
      - "3306:3306"
    environment:
      MYSQL_ROOT_PASSWORD: root
      MYSQL_DATABASE: todoList
      MYSQL_USER: user
      MYSQL_PASSWORD: password
      TZ: 'Asia/Tokyo'
    volumes:
      - ./mysql:/var/lib/mysql
      - ./sql:/docker-entrypoint-initdb.d
docker-entrypoint-initdb.dにマウントされた.sqlに記載されたsql
文は初回コンテナ起動時に実行されます。
参考記事:Docker で MySQL 起動時にデータの初期化を行う
後にdjangoでtestを実行する際にDB作成を許可するため、以下を記述します。
GRANT ALL PRIVILEGES ON test_todoList.* TO 'user'@'%';

FLUSH PRIVILEGES;
uWSGIの設定
nginxのuWSGIモジュール用の設定ファイル
例えばアクセスのあったユーザのIPアドレスが知りたい場合、REMOTE_ADDRを使用します。
参考記事:How to Hide Nginx Server Version in Linux
uwsgi_param  QUERY_STRING       $query_string;
uwsgi_param  REQUEST_METHOD     $request_method;
uwsgi_param  CONTENT_TYPE       $content_type;
uwsgi_param  CONTENT_LENGTH     $content_length;

uwsgi_param  REQUEST_URI        $request_uri;
uwsgi_param  PATH_INFO          $document_uri;
uwsgi_param  DOCUMENT_ROOT      $document_root;
uwsgi_param  SERVER_PROTOCOL    $server_protocol;
uwsgi_param  REQUEST_SCHEME     $scheme;
uwsgi_param  HTTPS              $https if_not_empty;

uwsgi_param  REMOTE_ADDR        $remote_addr;
uwsgi_param  REMOTE_PORT        $remote_port;
uwsgi_param  SERVER_PORT        $server_port;
uwsgi_param  SERVER_NAME        $server_name;
Nginxの設定
nginx:
    image: nginx:1.13
    ports:
      - "8000:8000"
    volumes:
      - ./nginx/conf:/etc/nginx/conf.d
      - ./nginx/uwsgi_params:/etc/nginx/uwsgi_params
      - ./static:/static
    depends_on:
      - python
設定ファイルの作成
location / {以降の記述によって、nginxにアクセスのあったすべての情報がDjango側へ行くことになる(静的ファイルの保管してある/staticを除く)
参考記事:nginxでDjangoを使うときの設定ファイル:クライアント、nginx、uwsgiの流れを整理しよう
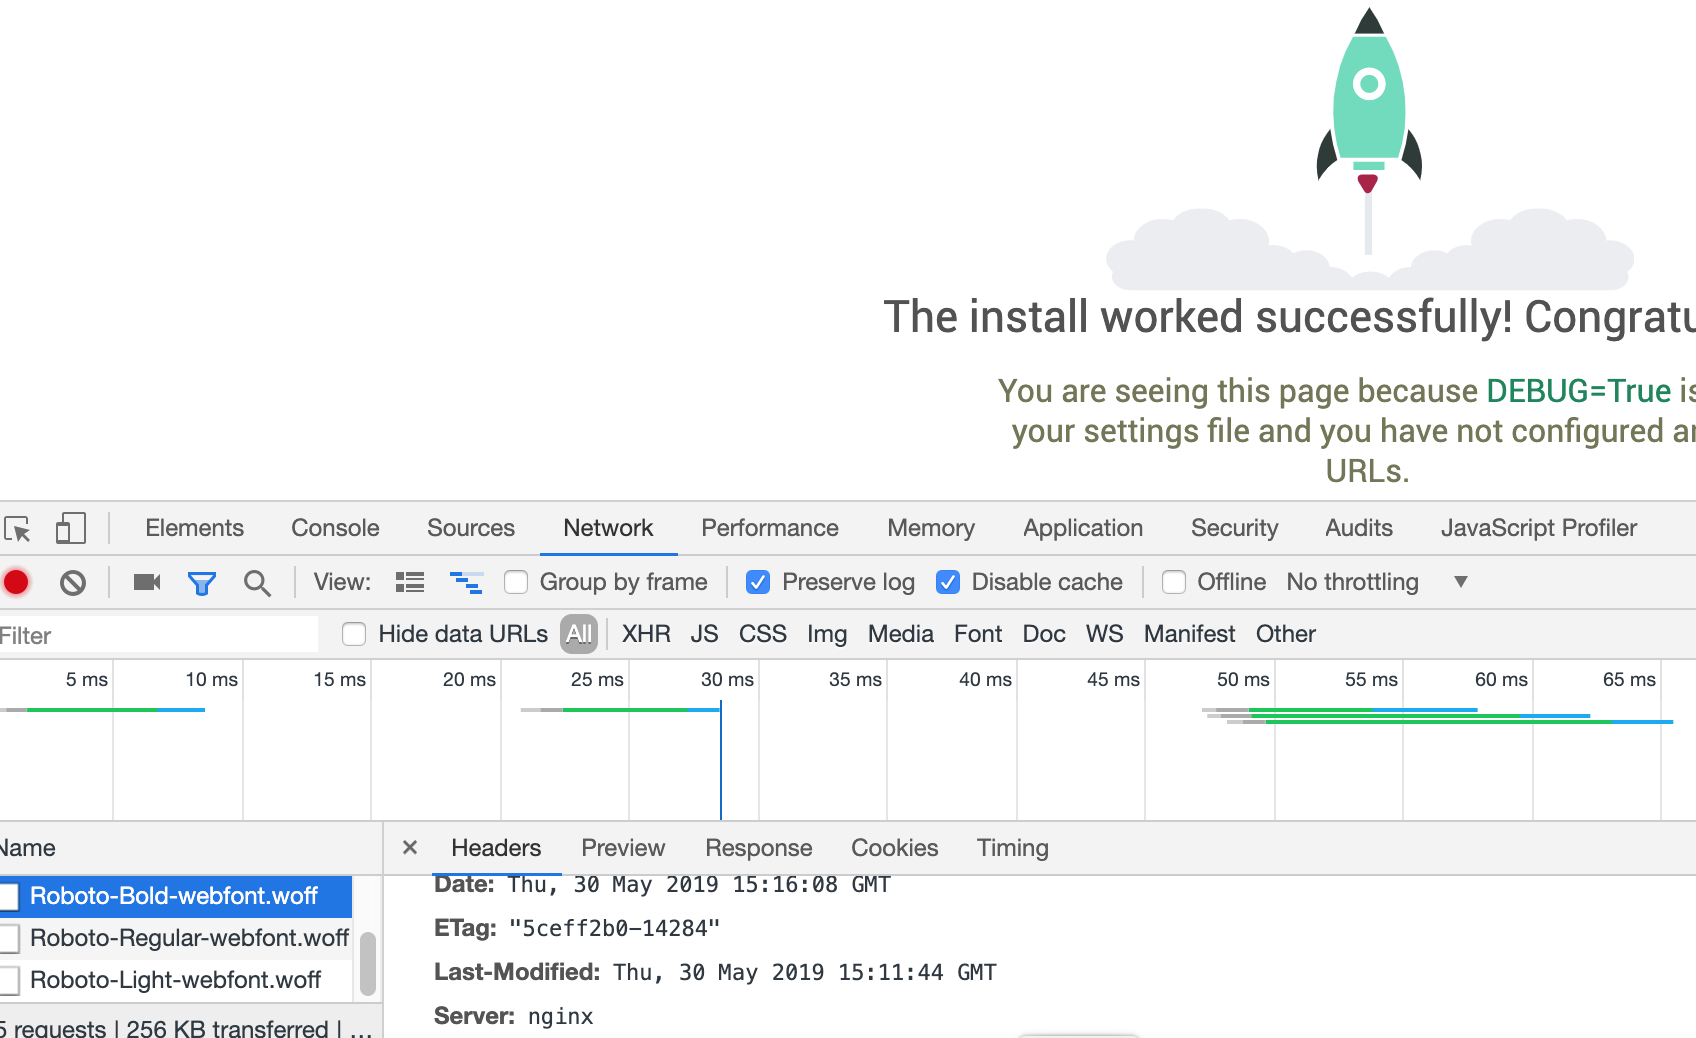
server_tokens off;を設定することで、Response Headersにnginxのバージョンを非表示にすることができます。
これは、セキュリティ強化の面で追加します。

なぜバージョンを非表示にする必要があるのか
仮にNginxのあるバージョンに脆弱性が発見された場合、ハッカーが該当のバージョンをResponse Headersから探し出し、攻撃される恐れがあるためです。
upstream django {
    ip_hash;
    server python:8001;
}

server {
    listen      8000;
    server_name 127.0.0.1;
    charset     utf-8;

    location /static {
        alias /static;
    }

    location / {
        uwsgi_pass  django;
        include     /etc/nginx/uwsgi_params;
    }
}

server_tokens off;
最終的なdocker-compose.yml
version: '3'

services:
  nginx:
      image: nginx:1.13
      ports:
        - "8000:8000"
      volumes:
        - ./nginx/conf:/etc/nginx/conf.d
        - ./nginx/uwsgi_params:/etc/nginx/uwsgi_params
        - ./static:/static
      depends_on:
        - python

  db:
      image: mysql:5.7
      command: mysqld --character-set-server=utf8mb4 --collation-server=utf8mb4_unicode_ci
      ports:
        - "3306:3306"
      environment:
        MYSQL_ROOT_PASSWORD: root
        MYSQL_DATABASE: todoList
        MYSQL_USER: user
        MYSQL_PASSWORD: password
        TZ: 'Asia/Tokyo'
      volumes:
        - ./mysql:/var/lib/mysql
        - ./sql:/docker-entrypoint-initdb.d

  python:
      build: ./python
      command: uwsgi --socket :8001 --module app.wsgi --py-autoreload 1 --logto /tmp/mylog.log
      volumes:
        - ./src:/code
        - ./static:/static
      expose:
        - "8001"
      depends_on:
        - db
Djangoプロジェクトの実行
docker-compose run python django-admin.py startproject app .
実行の結果、下記のディレクトリ構成になります。
django
├── docker-compose.yml
├── mysql
├── sql
├── nginx
│   ├── conf
│   │   └── app_nginx.conf
│   └── uwsgi_params
├── python
│   ├── Dockerfile
│   └── requirements.txt
├── src
│   ├── app
│   │   ├── __init__.py
│   │   ├── settings.py
│   │   ├── urls.py
│   │   └── wsgi.py
│   └── manage.py
└── static
MySQLとの接続
settings.pyに以下を記述
"""
Django settings for app project.

Generated by 'django-admin startproject' using Django 2.0.4.

For more information on this file, see
https://docs.djangoproject.com/en/2.0/topics/settings/

For the full list of settings and their values, see
https://docs.djangoproject.com/en/2.0/ref/settings/
"""

import os
import pymysql

# connect mysql
pymysql.install_as_MySQLdb()
DATABASESの内容を変更
NAMEはMySQLのデータベース名です
DATABASES = {
    'default': {
        'ENGINE': 'django.db.backends.mysql',
        'NAME': 'todoList',
        'USER': 'user',
        'PASSWORD': 'password',
        'HOST': 'db',
        'PORT': '3306',
    }
}
マイグレーションの実施
docker-compose run python ./manage.py makemigrations
docker-compose run python ./manage.py migrate
管理者の設定
docker-compose run python ./manage.py createsuperuser
コンテナを起動し、ブラウザで確認する
-dはバックグラウンドで実行を意味する
docker-compose up -d
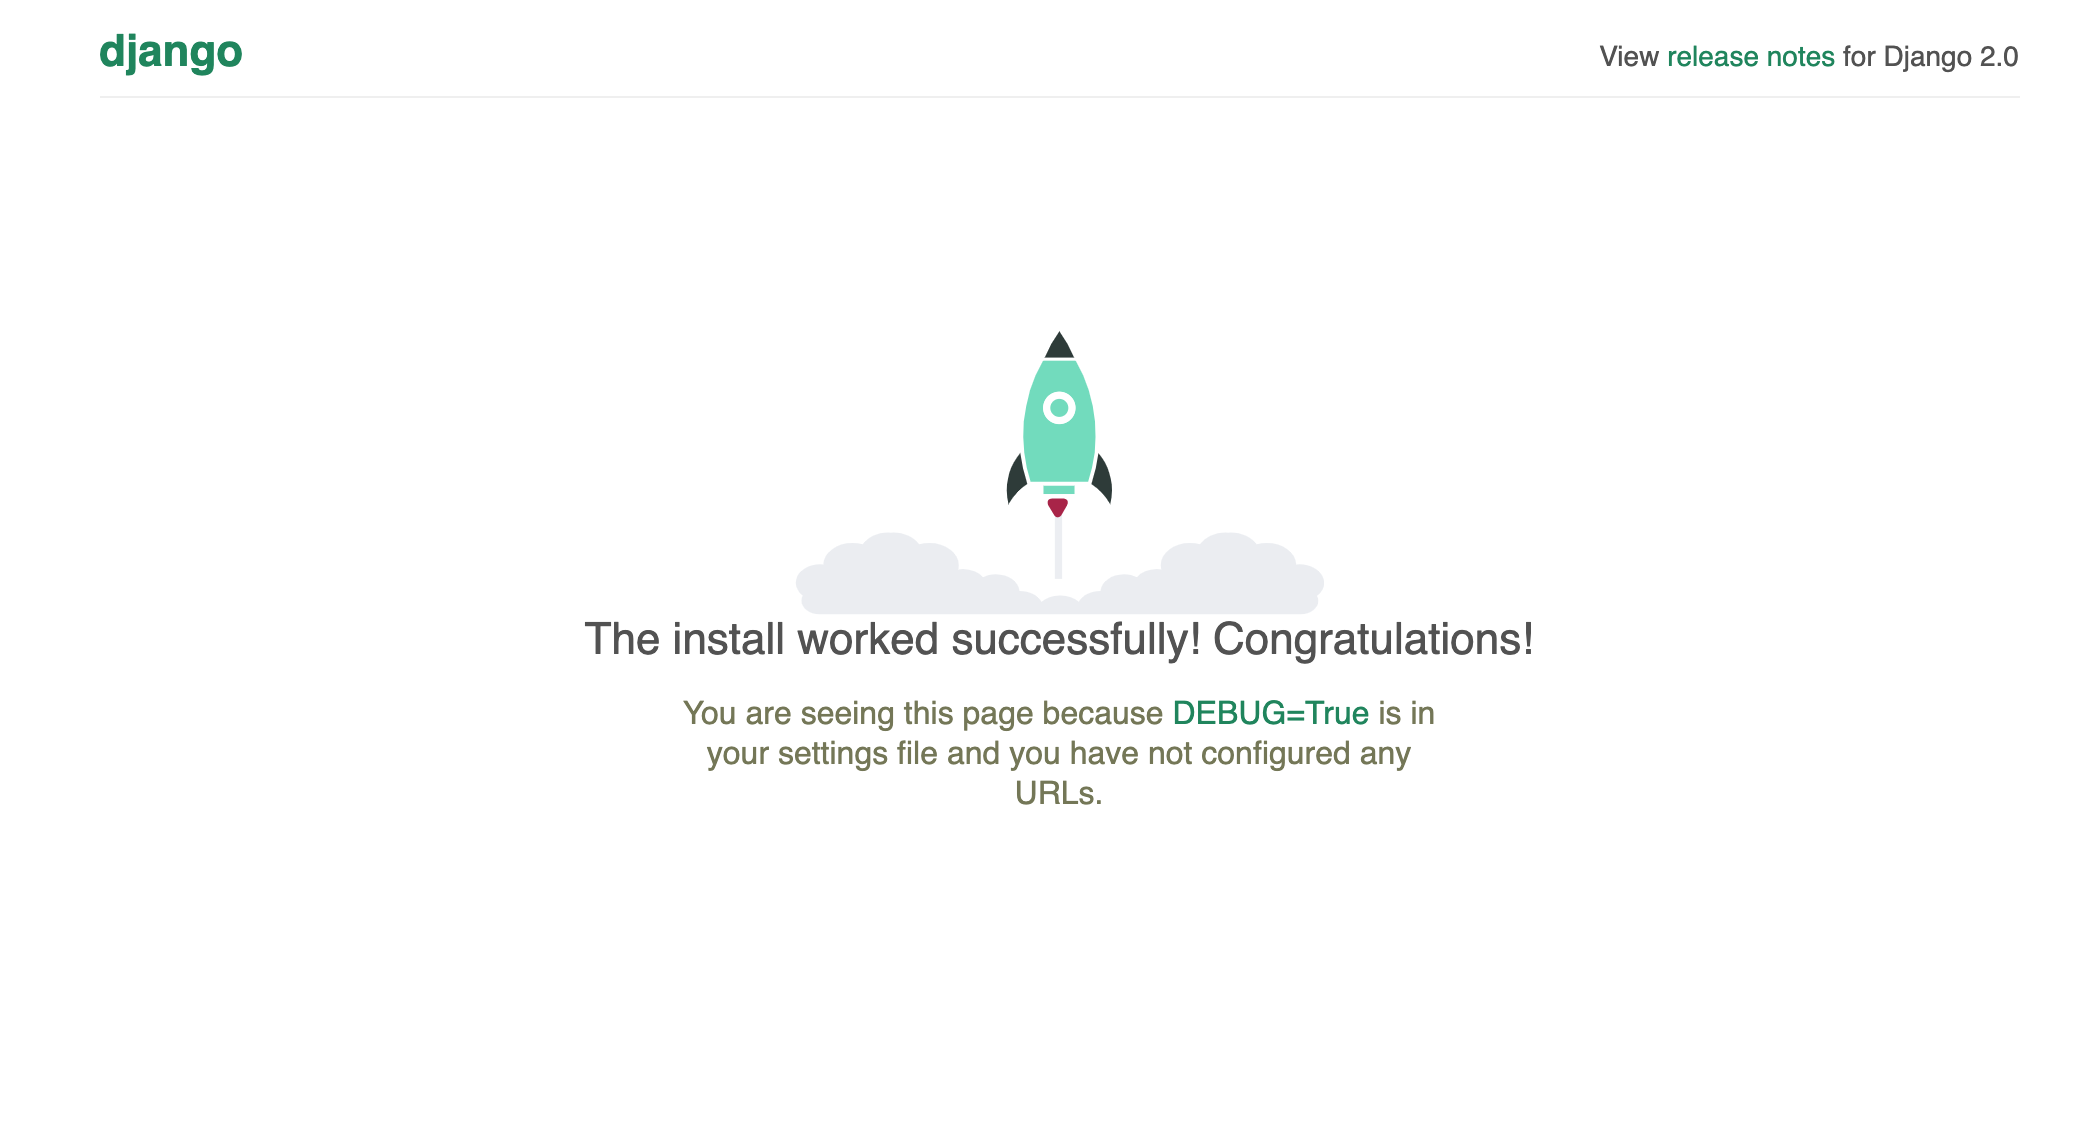
起動後、http://localhost:8000へアクセス
下記画面が表示されれば成功です。

CSSを適用させる
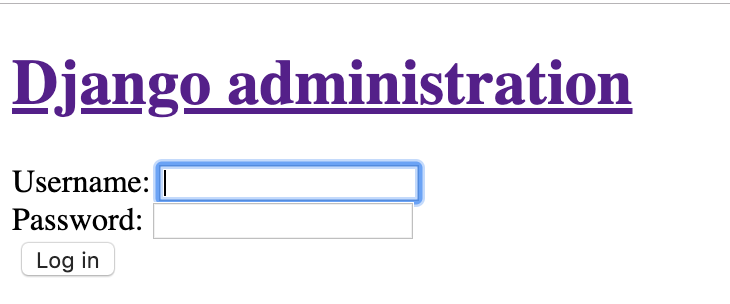
管理者画面(http://localhost:8000/admin)にいきますと、CSSが適用されていないのが確認できます。

settings.pyにSTATIC_ROOT = '/static'を追加します。
# Static files (CSS, JavaScript, Images)
# https://docs.djangoproject.com/en/2.0/howto/static-files/

STATIC_URL = '/static/'
STATIC_ROOT = '/static'
コマンドを実行
docker-compose run python ./manage.py collectstatic
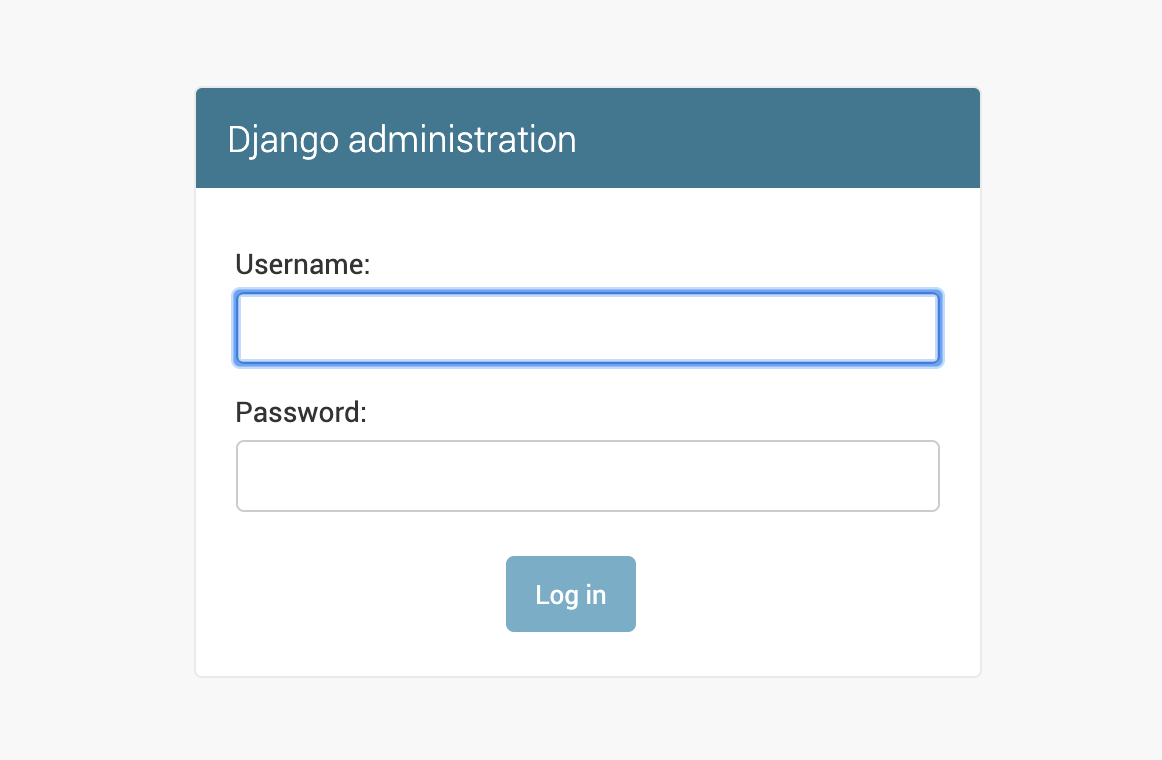
再度アクセス(http://localhost:8000/admin)すると、適用が確認できます。

注意点
git管理する際は、MySQLの中身をオープンにするのはセキュリティ的によろしくないので.gitignoreに下記を追加しておきましょう。
mysql/*
参照元
Docker-Composeで作るDjango開発環境(Django + MySQL + uWSGI + Nginx)
【Django入門】Nginxを使ってWebサーバーを動かそう