Raspberry Pi 3 Model B+ ( ラズベリーパイ ) を使用したNASのマウント
環境
- Raspberry Pi 3 Model B+
- DroboFS ( NAS )
- NAS の ipを固定(任意) [ 192.168.2.100 ]
1. cifs-utilsのインストール
$ sudo apt-get install cifs-utils
2.マウント用ディレクトリの作成
$ sudo mkdir /mnt/nas
$ chmod 777 /mnt/nas
3.マウント
$ sudo mount -t cifs //192.168.2.100/Public /mnt/nas cifs username=pi,password=,file_mode=0777,dir_mode=0777,iocharset=utf8,defaults,vers=1.0
"mount error(112): Host is down"が表示される場合はvers を 2.0 or 3.0 等に変更して再度マウント
私の環境の場合NASが古い関係でvers=1.0のパラメーターが無いとマウントできませんでした。
匿名でアクセスさせたかったのでpassword=を空で指定しています。
4.起動時に自動的にマウントさせる
1. 設定を追加
$ sudo nano /etc/fstab
//192.168.2.100/Public /mnt/nas cifs username=pi,password=,file_mode=0777,dir_mode=0777,iocharset=utf8,defaults 0 0
5.手動での動作確認
$ sudo mount -a
$ df
/mnt/nas にマウントされていることを確認
これでエラーが表示されずマウントできていることが確認できたら起動時に自動マウントされるようになります。
6.ネットワークサービス起動後にマウントするように設定
通信可能な状態になってからNASのマウントを行わないと失敗するの下記設定を行います。
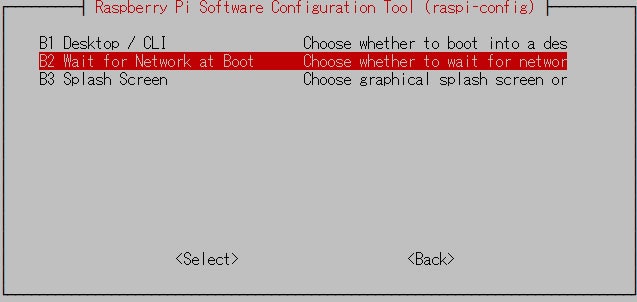
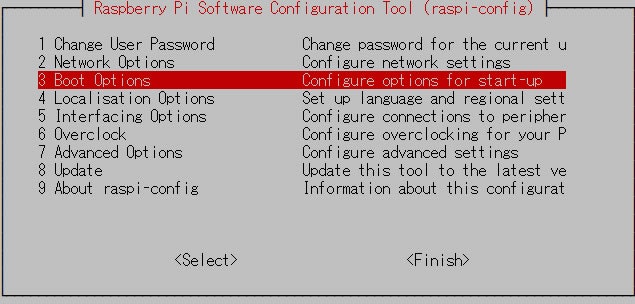
$ sudo raspi-config

「B2 Wait For Network at Boot」を選択
7.再起動
$ reboot
$ df
/mnt/nas にマウントされていることを確認
7.補足説明 ( マウントの解除 )
手順上必要はありませんがエラー時、設定変更時に再度マウントする時等に使用します。
$ sudo umount /mnt/nas
参考
・Linux上でWindows共有フォルダをマウントする時に"mount error(112): Host is down"エラーが発生
・ラズパイZeroで自宅のNASをマウントする
・Raspberry PiにNASをマウントする。
・Raspberry Pi で Linkstation を自動マウントする
・Raspberry Pi (Wheezy)でWindowsの共有フォルダへのアクセス
・Raspberry piにNASをマウントした時の覚書
