
ZedはGPUを活用したRust製の高性能エディタで、3Dゲームのような手法で画面を描画しているのが特徴です。
GPUIと呼ばれるUIフレームワークがUIの描画を担っており、そのコア機能がgpuiクレートとして利用できるようになっています。
- gpui 0.2.2
そこで、このgpuiクレートを使って単純なUIアプリを作ってみました。
はじめに
GPUIを利用するには、gpuiクレートをcargo addするだけです。
$ cargo add gpui
[dependencies]
gpui = "0.2.2"
ただし、ビルド時にシェーダーコンパイル1等が必要になるため、そのための環境が必要です。
例えば、macOS環境ではXcodeとMetalToolchain、Windows環境ではVisual StudioのビルドツールとWindows SDKが必要でした。
ちなみに、Zedソースコード内のクレートを用いる方法も可能でしたが2、場合によっては手間が増えそうなのでご注意ください。
テキスト表示
GPUIでウインドウを表示する処理は例えばこのようになります。
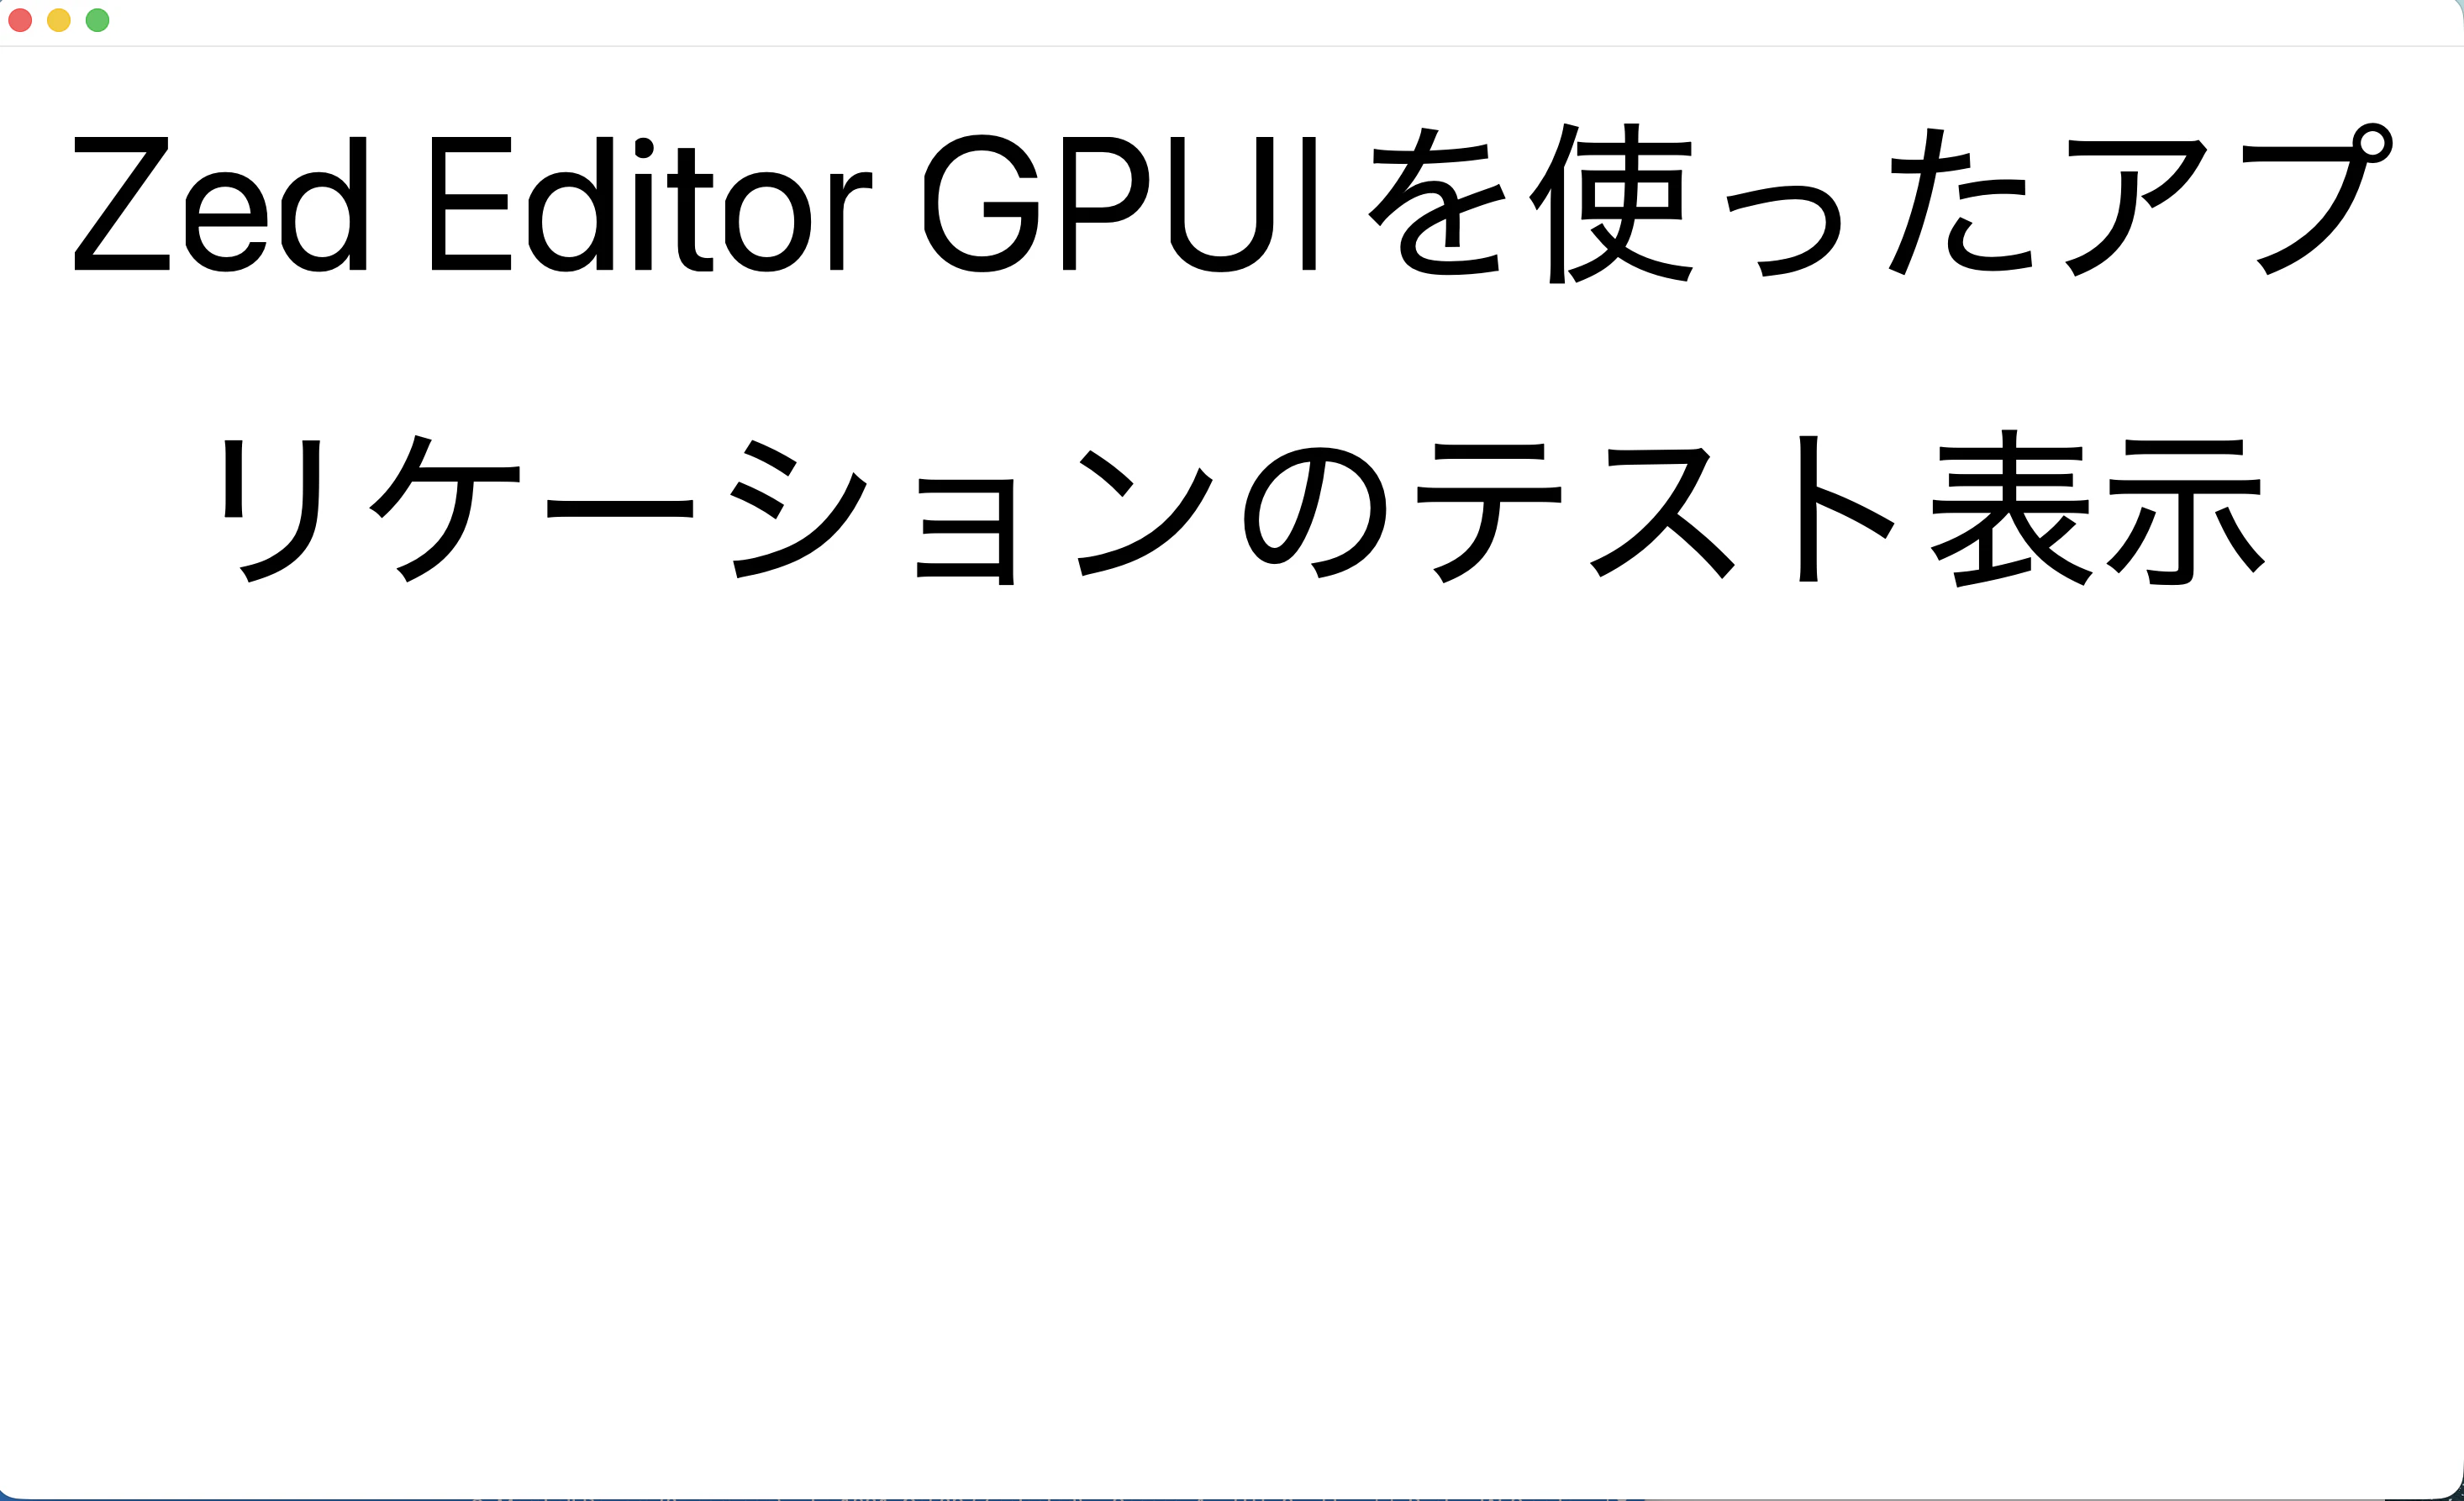
ここでは、描画領域の上部にセンタリングしたテキスト(文字サイズを大きくしている)を表示しています。
use gpui::{AppContext, Application, ParentElement, Render, Styled, WindowOptions, div, rems};
use std::env;

struct SimpleView(String);

impl Render for SimpleView {
    fn render(
        &mut self,
        _window: &mut gpui::Window,
        _ctx: &mut gpui::prelude::Context<Self>,
    ) -> impl gpui::prelude::IntoElement {
        div()
            .size_full()
            .bg(gpui::white())
            .text_center()
            .text_size(rems(7.))
            .child(self.0.clone())
    }
}

fn main() {
    let text = env::args()
        .skip(1)
        .next()
        .unwrap_or("GPUI Test View".into());

    Application::new().run(|app| {
        app.open_window(WindowOptions::default(), |_, app| {
            app.new(|_| SimpleView(text))
        })
        .unwrap();

        app.activate(true);
    });
}
Renderトレイトのrenderメソッドを実装してUIを描画します。
div()で作成したDivのメソッドチェーンを用いてUIを組み立てるのが基本的な作法のようです。
CSSに相当する機能がStyledトレイトで定義されており、Divはこのトレイトを実装しています。
例えば、CSSのdisplay相当のレイアウト関連メソッドには次のようなものがあります。
- block()
- flex()
- grid()
- hidden()3
また、Styledトレイトはマクロで大量のメソッドを定義しており4、例えばこのようなものが用意されています。
| メソッド | 例 | 概要 |
|---|---|---|
| p_xxx | p_10 | top, bottom, left, rightのパディング指定 |
| pt_xxx | pt_5 | topのパディング指定 |
| m_xxx | m_1 | top, bottom, left, rightのマージン指定 |
| mb_xxx | mb_2 | bottomのマージン指定 |
| border_xxx | border_3 | top, bottom, left, rightのボーダー指定 |
| border_l_xxx | border_l_4 | leftのボーダー指定 |
| size_xxx | size_full | 要素のサイズ指定。size_fullの場合は100%になる |
ちなみに、上記コードでsize_fullしていないと、背景色(white)の適用範囲がテキストの表示エリアだけに限定されてしまい、その他の部分は環境依存で黒や透明になりました。
実行結果はこのようになります。(macOS環境の場合)
$ cargo run "Zed Editor GPUIを使ったアプリケーションのテスト表示"
ウインドウ表示例(macOS環境)
マウスイベント処理
マウスのダウンイベントを使って数値をアップ・ダウンするような処理はこのようになります。
on_mouse_downで対象とするマウスボタンの種類とイベントハンドラを登録します。
状態を更新した際はContextのnotifyを呼び出す事で再描画が行われます。
use gpui::prelude::*;
use gpui::{
    Application, Bounds, MouseButton, MouseDownEvent, Render, Window, WindowBounds, WindowOptions,
    div, px, rgb, size, white,
};

struct Counter {
    count: isize,
}

impl Counter {
    fn up(&mut self, _event: &MouseDownEvent, _window: &mut Window, ctx: &mut Context<Self>) {
        self.count += 1;
        ctx.notify();
    }

    fn down(&mut self, _event: &MouseDownEvent, _window: &mut Window, ctx: &mut Context<Self>) {
        self.count -= 1;
        ctx.notify();
    }
}

impl Render for Counter {
    fn render(&mut self, _window: &mut Window, ctx: &mut Context<Self>) -> impl IntoElement {
        div()
            .size_full()
            .flex()
            .flex_col()
            .p_10()
            .bg(white())
            .justify_center()
            .child("Counter:")
            .child(
                div()
                    .bg(rgb(0xAAEEAA))
                    .text_center()
                    .text_3xl()
                    .child(format!("{}", self.count))
                    .on_mouse_down(MouseButton::Left, ctx.listener(Self::up))
                    .on_mouse_down(MouseButton::Right, ctx.listener(Self::down)),
            )
    }
}

fn main() {
    Application::new().run(|app| {
        // ウインドウサイズ
        let bounds = Bounds::centered(None, size(px(500.), px(300.)), app);

        let opts = WindowOptions {
            window_bounds: Some(WindowBounds::Windowed(bounds)),
            ..Default::default()
        };

        app.open_window(opts, |_, app| app.new(|_| Counter { count: 1 }))
            .unwrap();

        app.activate(true);
    });
}
flex()だけだと横方向へ要素を配置するため、flex_col()で縦方向へ配置するようにしています。
こちらの実行結果はこのようになります。
ウインドウ表示例(macOS環境)

-
macOS環境ではMetal、Windows環境ではHLSLファイルのシェーダーコンパイルを行うようになっている ↩
-
例えば、
gpui = { git = "https://github.com/zed-industries/zed", version = "0.2.2", tag = "v1.13.1" }のように依存関係を設定。なお、こちらの方法だとgpui単体では扱えず、gpui_platformも必要でした ↩ -
非表示。noneに相当 ↩
-
prefixとsuffixを組み合わせたりしてメソッドを生成している。Zedソースコードの crates/gpui_macros/src/styles.rs 参照 ↩