ReduxToolkitの値を永続化したい(๑╹ω╹๑ )
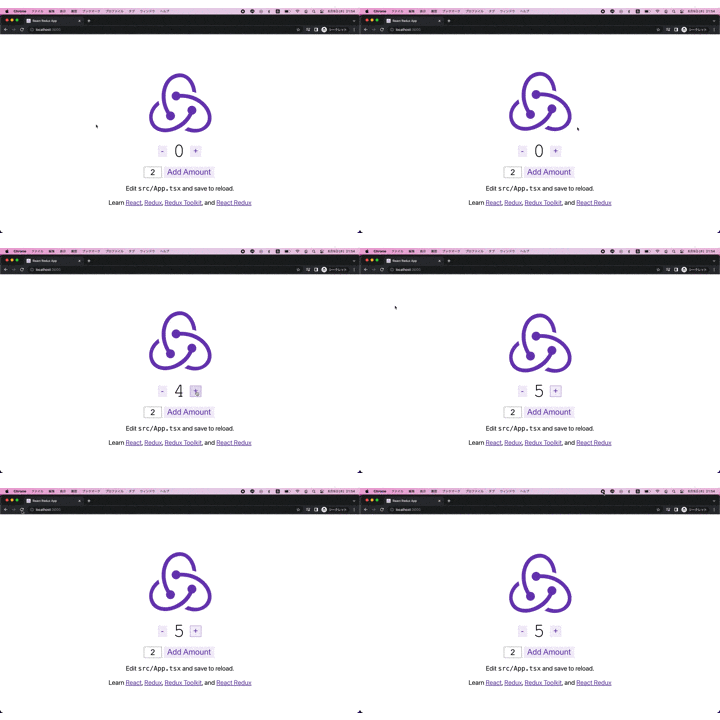
小難しく言うてますが、端的に言うとリロードしても消えないようにしたいということです。
( +ボタンを押した後、リロードしても数字がリセットされません )
すばらしいですね。
これができれば、サーバサイドから取得した値を再リロード後、いちいちもう一回サーバサイドへ取得しに行く必要がなくなります。
では、Let's ハンズオン!!
環境構築
今回のスキルスタックは以下になります。
- React
- TypeScript
- ReduxToolkit
とにかくシンプルです。
コードの全貌はこちらに置いておきます。
では、以下のコマンドを実行しましょう!
create-react-app localstorage-redux --template redux-typescript
このコマンドを実行して、HappyHacking!!と祈ってもらえれば作業開始です。
では、完了したら以下コマンドでアプリを開始させてください。
npm start
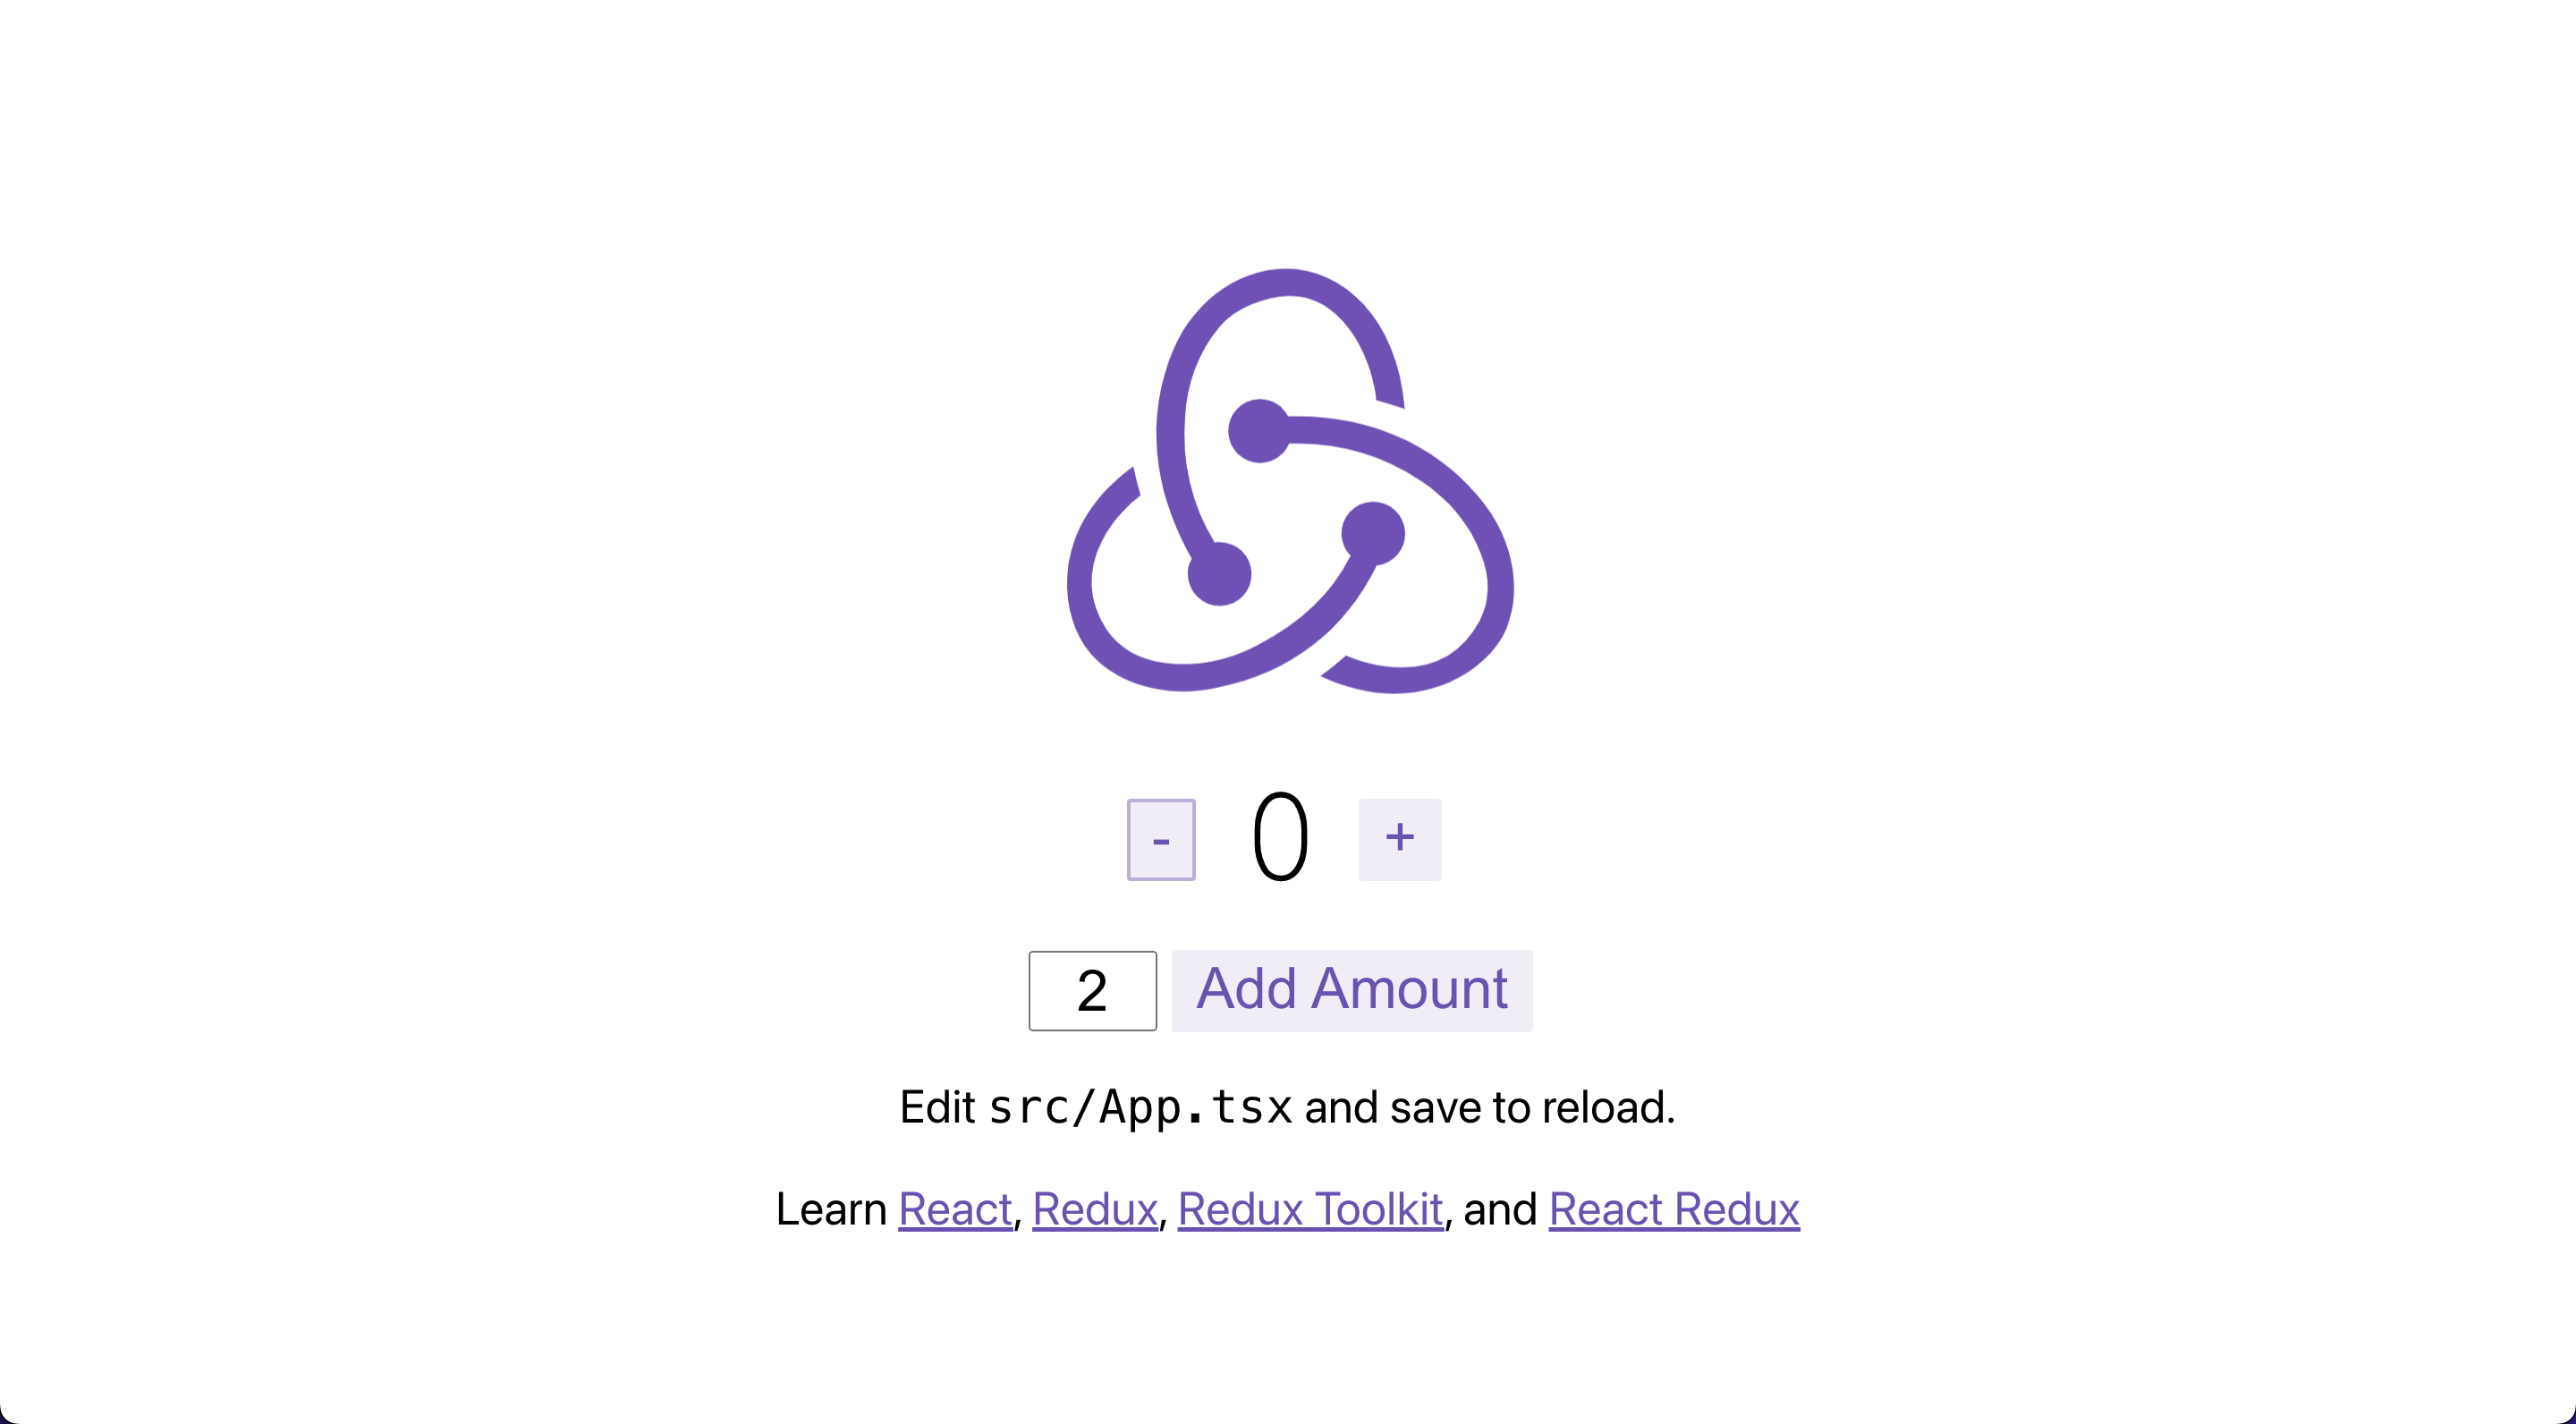
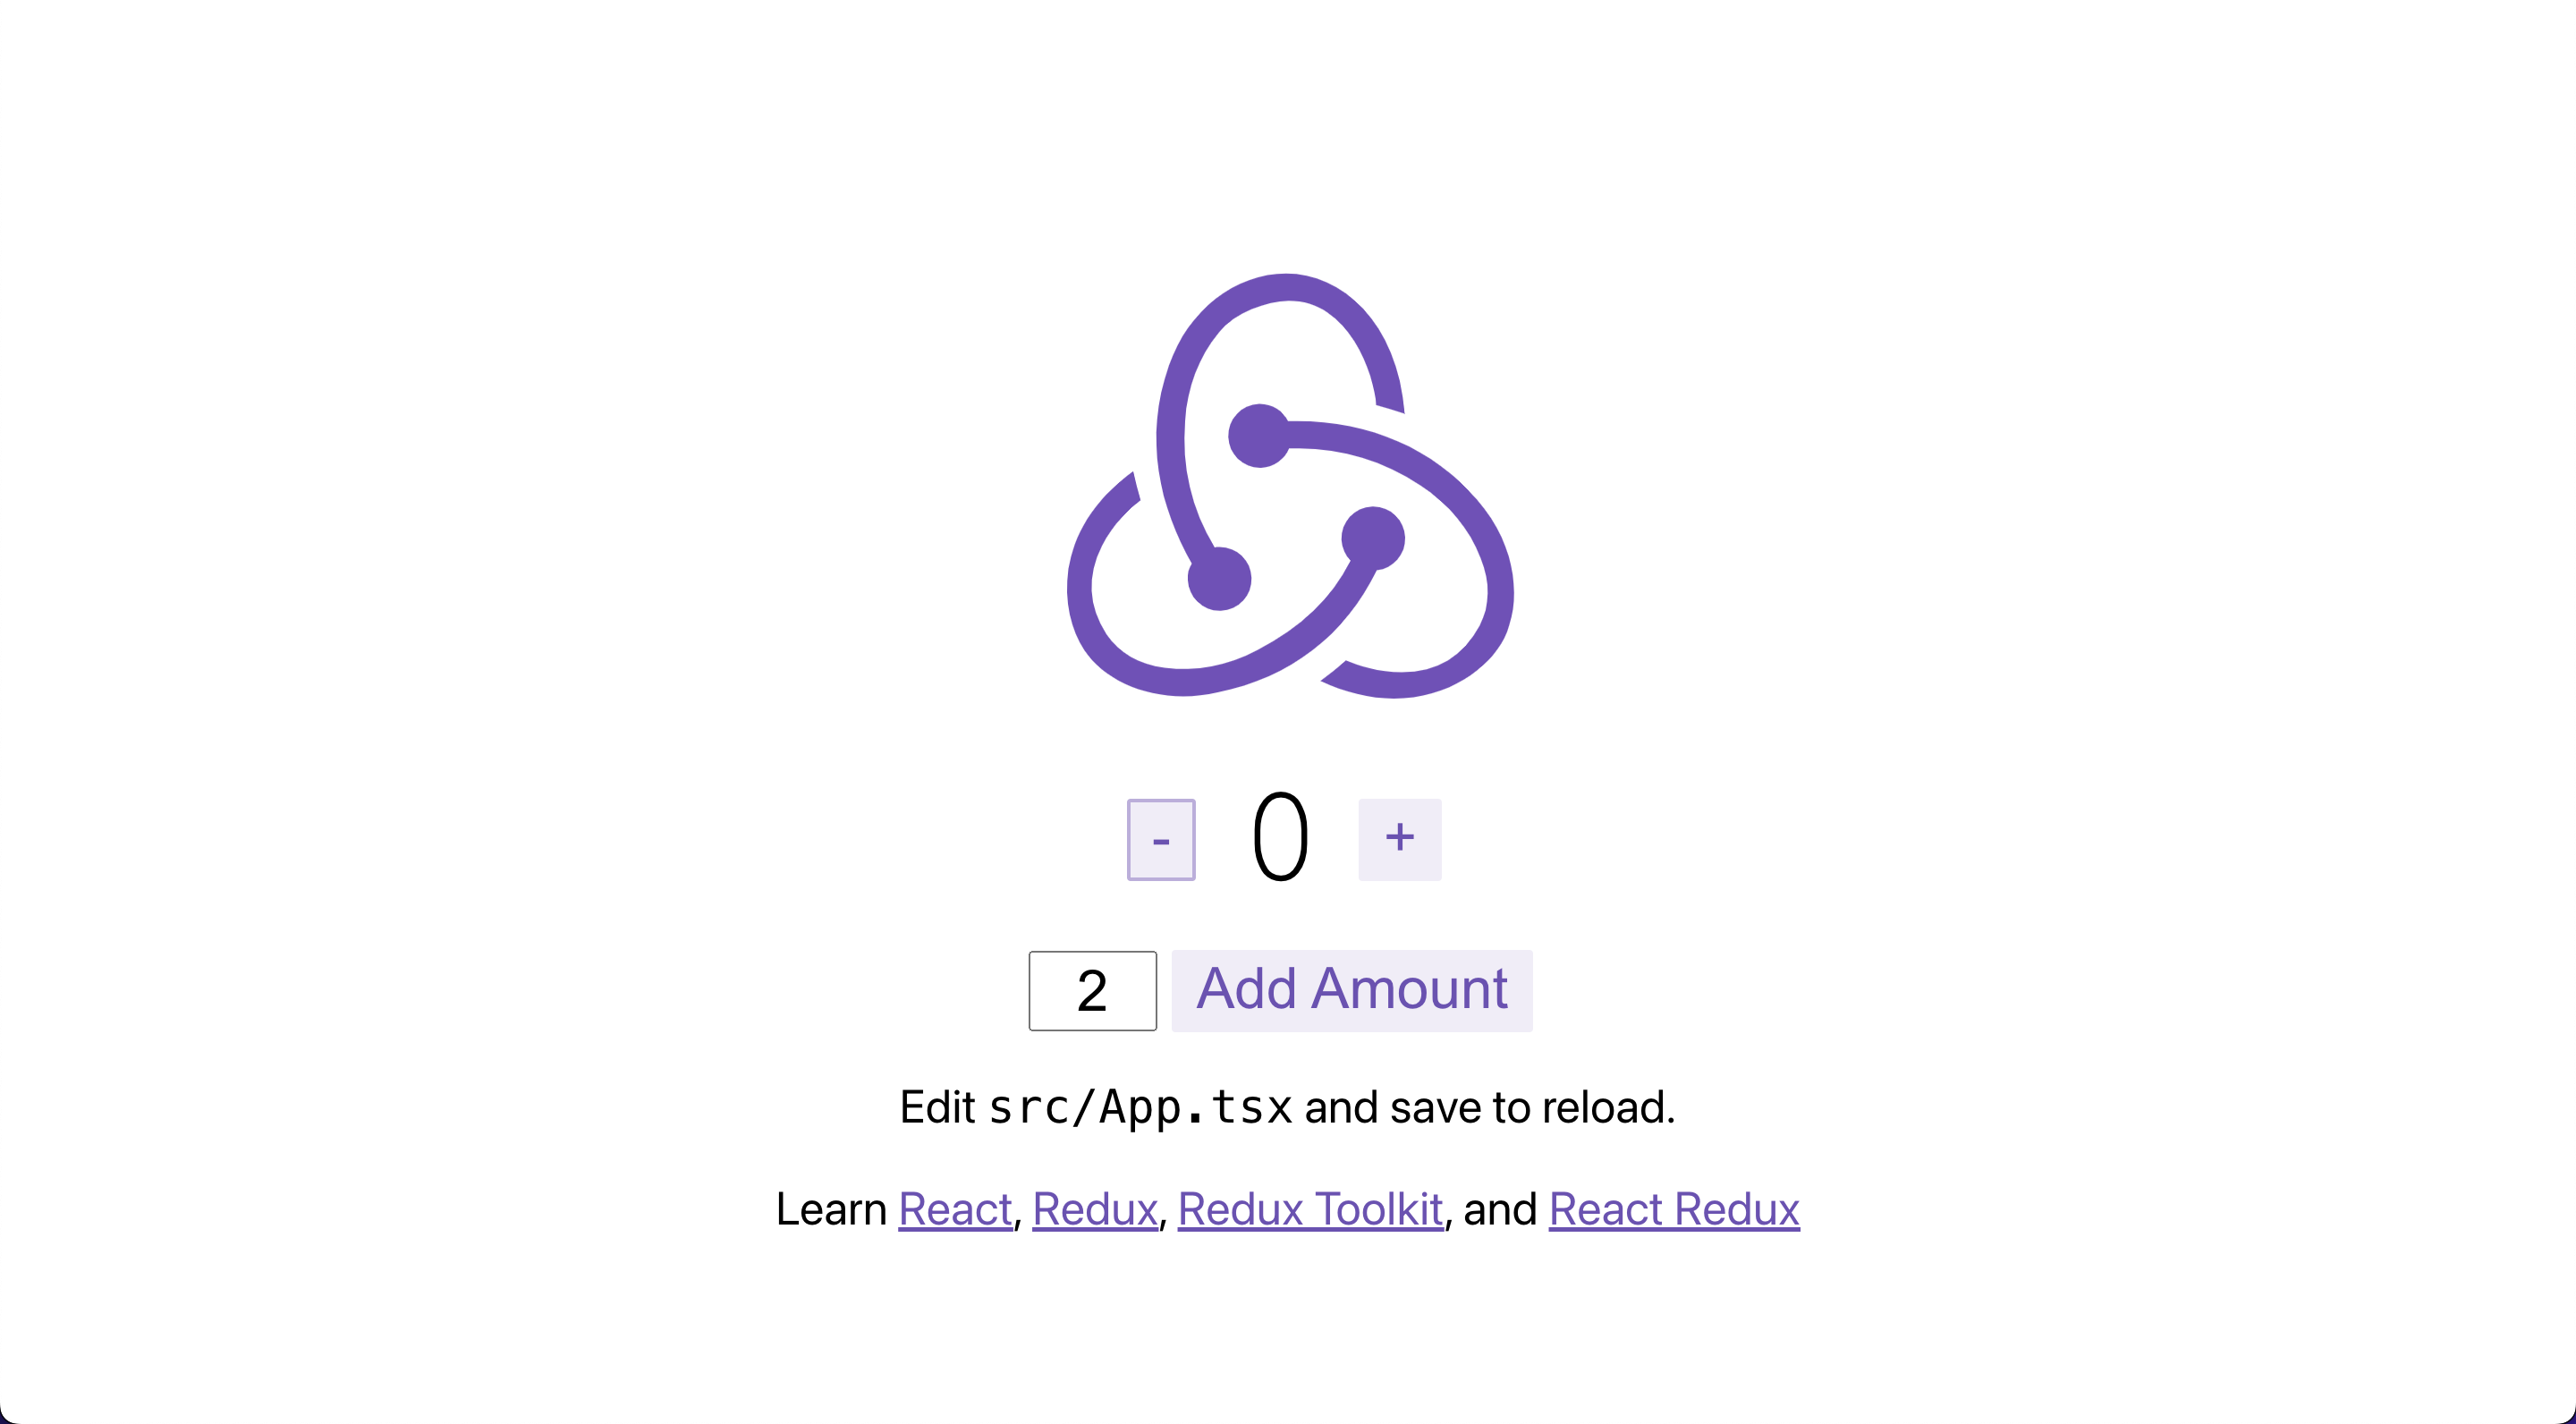
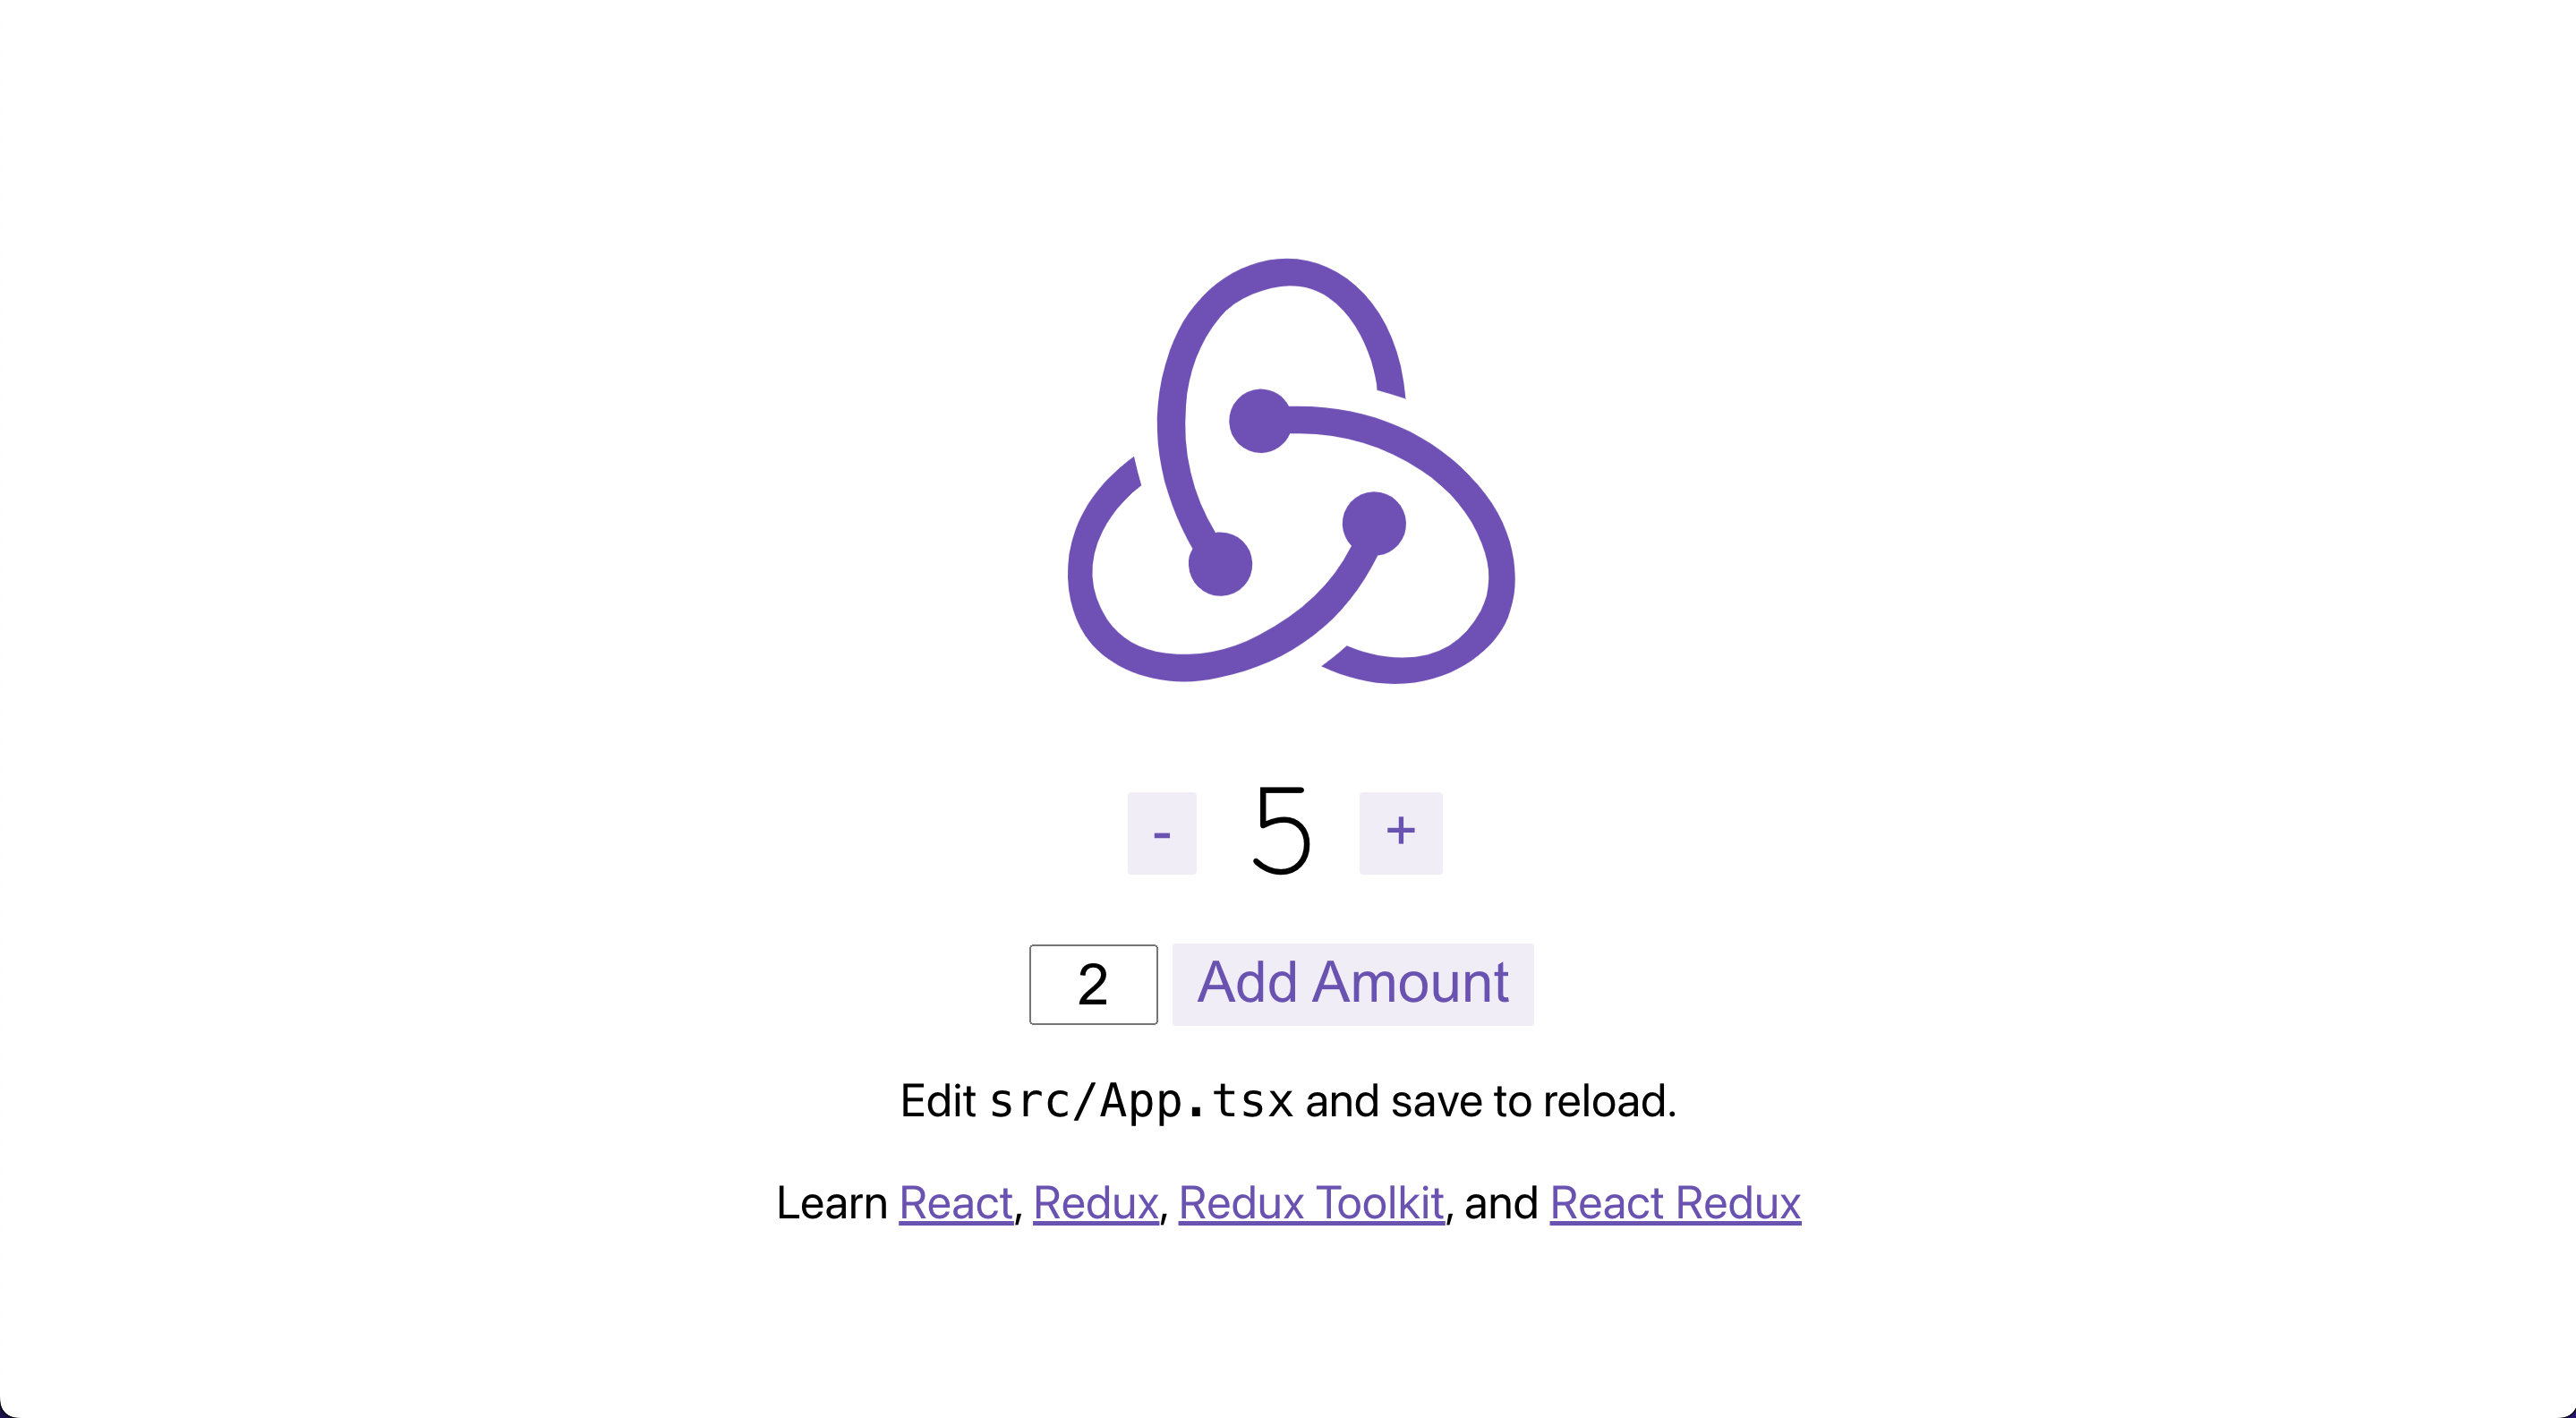
こんな画面になりましたか?
では、コードを見ていきましょう。
実装
まずは、Store内のReduxのstateを永続化するためのライブラリをインストールしましょう!
今回はredux-persistというライブラリを使用します。
npm install redux-persist
次にsrc/app/store.tsを追記していきます。
こんな感じにしてみてください。
import { Action, configureStore, ThunkAction } from '@reduxjs/toolkit';
import { combineReducers } from "redux";
import { persistReducer } from 'redux-persist';
import storage from 'redux-persist/lib/storage';
import thunk from 'redux-thunk';
import counterReducer from '../features/counter/counterSlice';

const reducers = combineReducers({
 counter: counterReducer,
});

const persistConfig = {
    key: 'root',
    storage
};

const persistedReducer = persistReducer(persistConfig, reducers);

const store = configureStore({
    reducer: persistedReducer,
    middleware: [thunk]
});

export type AppDispatch = typeof store.dispatch;
export type RootState = ReturnType<typeof store.getState>;
export type AppThunk<ReturnType = void> = ThunkAction<
  ReturnType,
  RootState,
  unknown,
  Action<string>
>;

export default store;
そして、src/index.tsxがエラーでてると思うので、改修。
React18で書いておきますね。
import React from 'react';
import { createRoot } from 'react-dom/client';
import { Provider } from 'react-redux';
import { persistStore } from 'redux-persist';
import { PersistGate } from 'redux-persist/integration/react';
import App from './App';
import store from './app/store';
import './index.css';
import reportWebVitals from './reportWebVitals';

let persistor = persistStore(store);

const container = document.getElementById('root')!;
const root = createRoot(container);

root.render(
  <React.StrictMode>
    <Provider store={store}>
      <PersistGate loading={null} persistor={persistor}>
        <App />
      </PersistGate>
    </Provider>
  </React.StrictMode>
);

// If you want to start measuring performance in your app, pass a function
// to log results (for example: reportWebVitals(console.log))
// or send to an analytics endpoint. Learn more: https://bit.ly/CRA-vitals
reportWebVitals();
そして、src/features/counter/Counter.tsxの不要箇所を削除
import React, { useState } from 'react';
import { useAppDispatch, useAppSelector } from '../../app/hooks';
import styles from './Counter.module.css';
import {
  decrement,
  increment,
  incrementByAmount,
  selectCount,
} from './counterSlice';

export function Counter() {
  const count = useAppSelector(selectCount);
  const dispatch = useAppDispatch();
  const [incrementAmount, setIncrementAmount] = useState('2');

  const incrementValue = Number(incrementAmount) || 0;

  return (
    <div>
      <div className={styles.row}>
        <button
          className={styles.button}
          aria-label="Decrement value"
          onClick={() => dispatch(decrement())}
        >
          -
        </button>
        <span className={styles.value}>{count}</span>
        <button
          className={styles.button}
          aria-label="Increment value"
          onClick={() => dispatch(increment())}
        >
          +
        </button>
      </div>
      <div className={styles.row}>
        <input
          className={styles.textbox}
          aria-label="Set increment amount"
          value={incrementAmount}
          onChange={(e) => setIncrementAmount(e.target.value)}
        />
        <button
          className={styles.button}
          onClick={() => dispatch(incrementByAmount(incrementValue))}
        >
          Add Amount
        </button>
      </div>
    </div>
  );
}
これで、再度npm startしてみるとこんな画面になります。
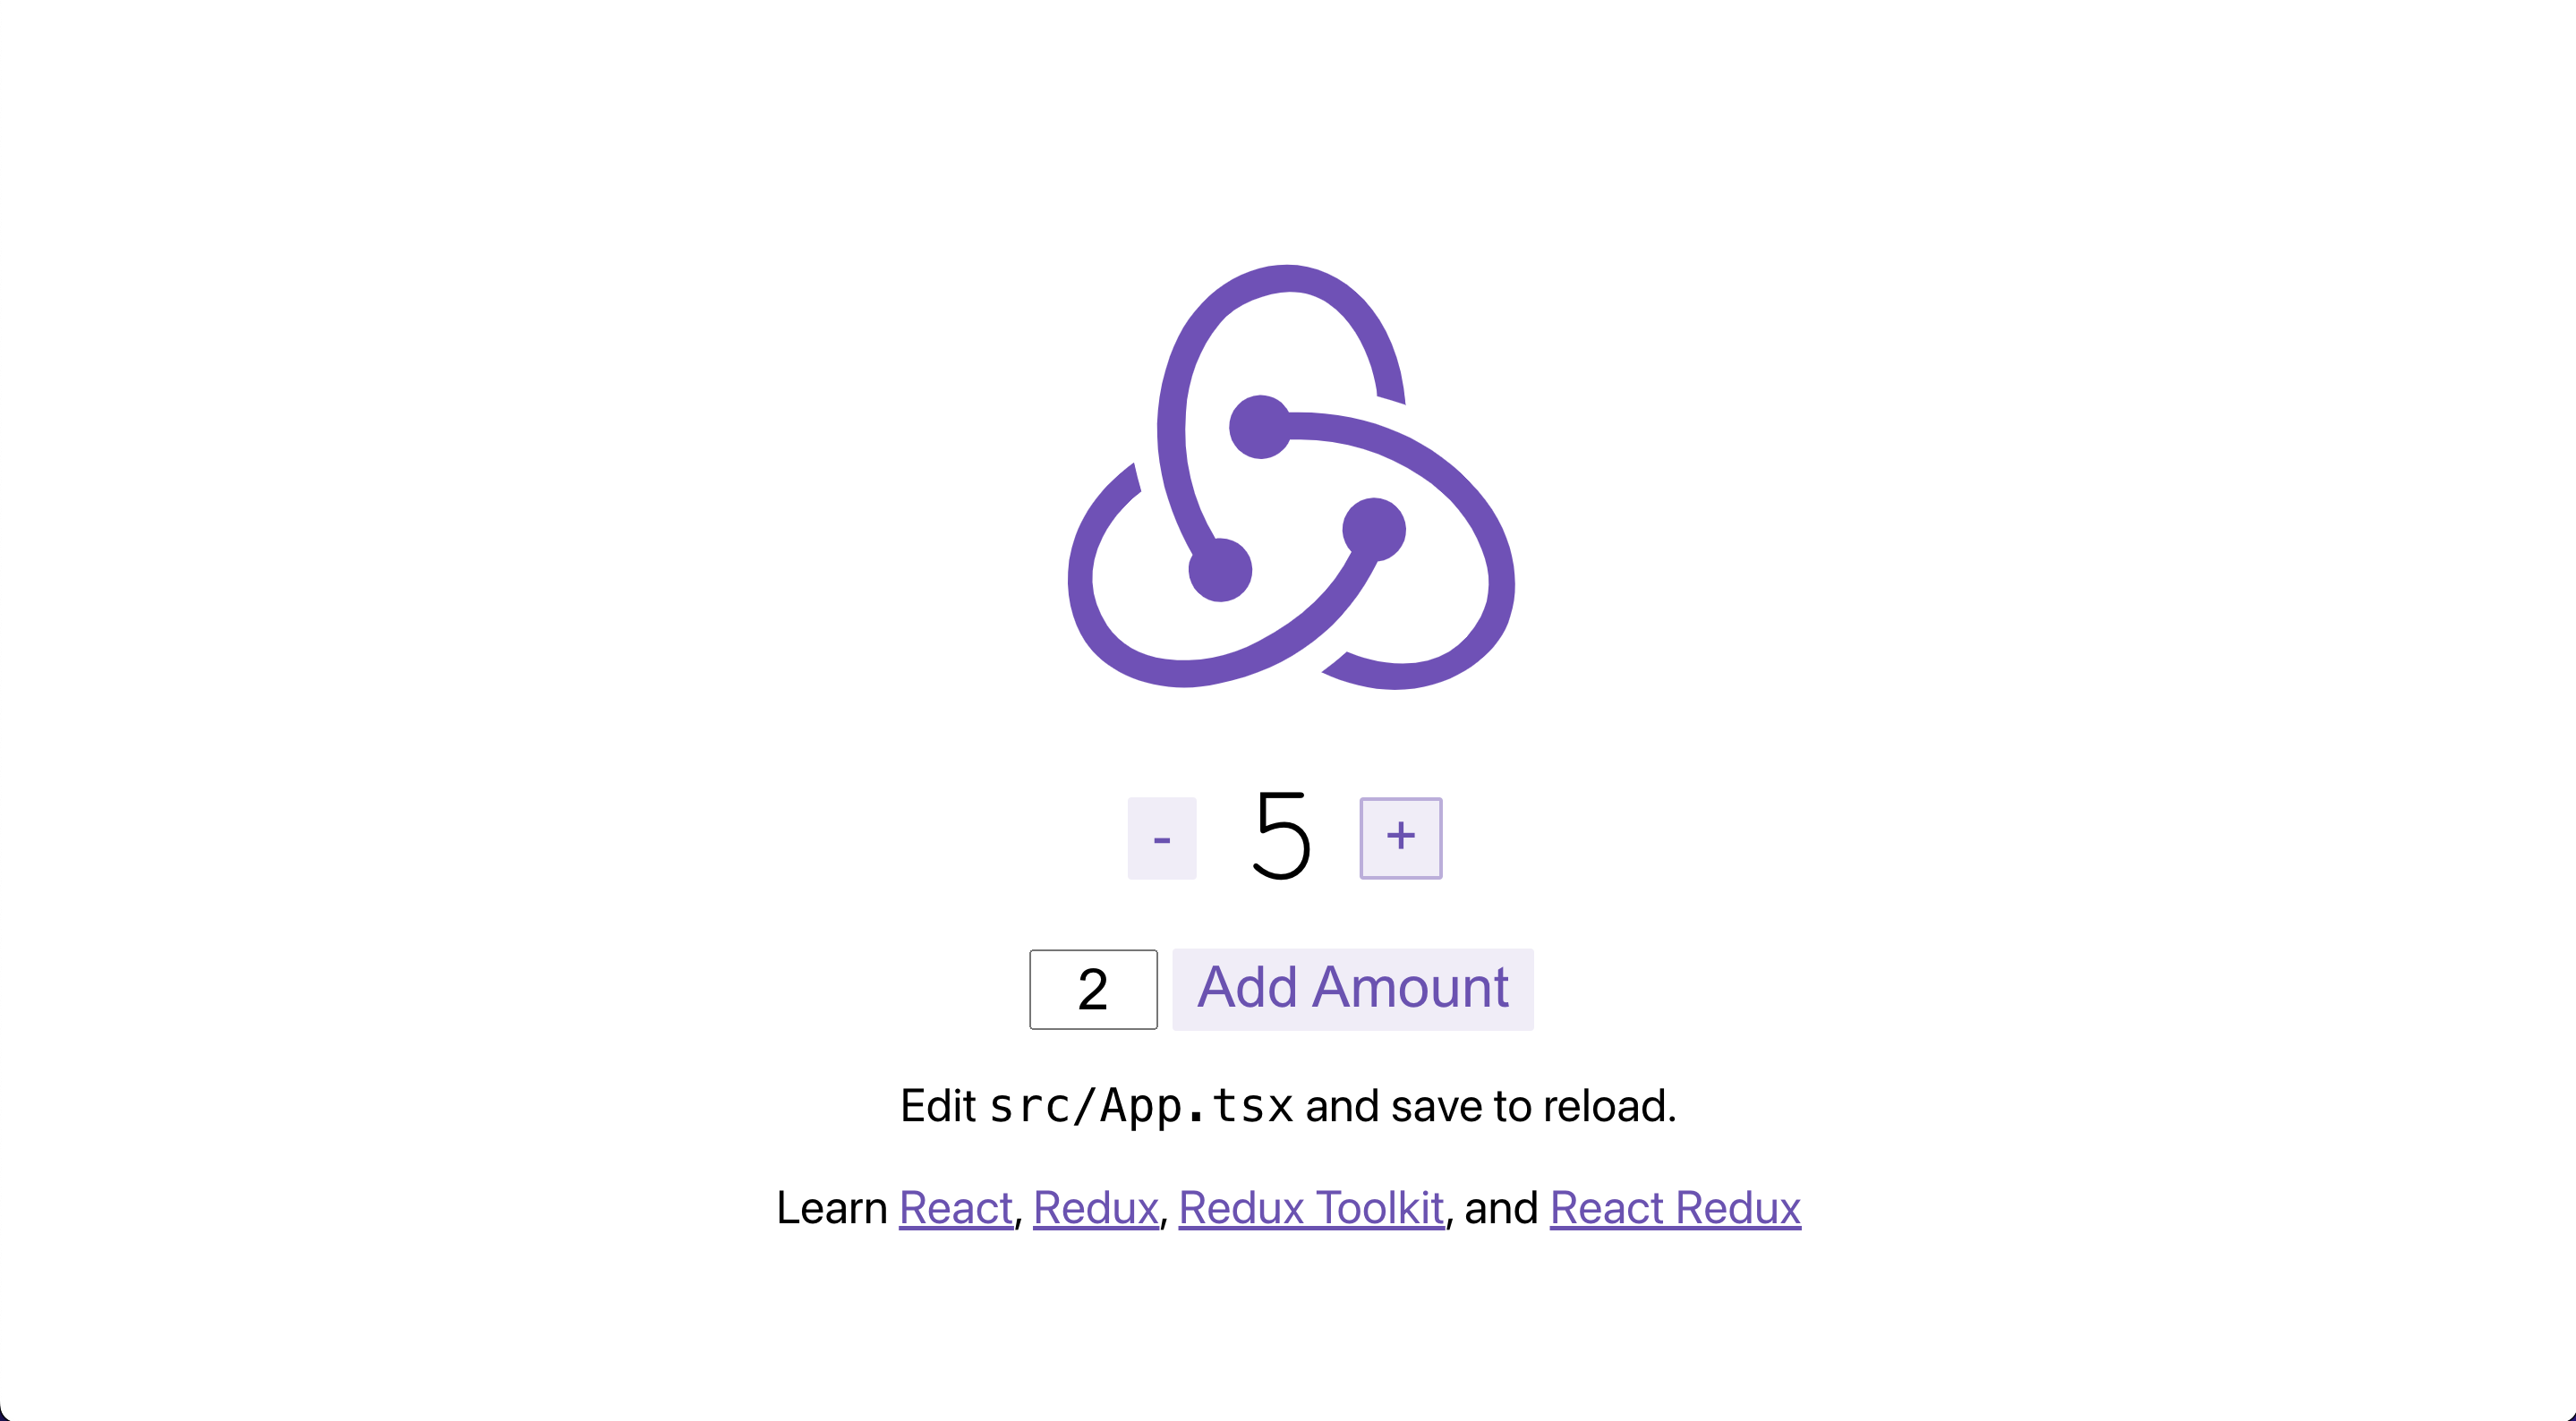
プラスボタンを連打してみてください。
そして、ブラウザを再リロード!
5 がめでたくそのまま残りましたね。
これでReduxToolkitのstate永続化が完了です!
お疲れ様でした。
