はじめに
前回、Next.js アプリに Cypress を追加しました。
今回は、Next.js アプリに、 Cypress と GitHub Actions を使用した CI を組み込んでみました。
環境
-
Next.js
- v11.0.0
-
Cypress
- v7.5.0
-
cypress-io/github-action@v2
- Cypress 公式の GitHub Actions
- 自前で cypress を実行するステップを組むより、簡単に設定可能
- マイナーバージョンを省略した場合、自動で最新版 (7/4 時点では v2.11.5) が適用される
ソースコード
https://github.com/eyuta/cypress-nextjs-test/tree/github-actions
手順
1. 前提
※こちらで作成したアプリをそのまま使ってます。
ざっくり手順
インストール
# Next.jsインストール
yarn create next-app --typescript # or npx create-next-app --ts

cd my-app

# 依存関係を分離するため、直下にe2eフォルダを作成し、そこにCypressをインストールする
mkdir e2e
cd e2e
echo e2e/node_modules >> .gitignore
yarn init -y # or npm init -y
yarn add -D cypress typescript # or npm install -D cypress typescript
npx tsc --init --types cypress --lib dom,es6
実行
# /e2e/cypress, /e2e/cypress.json が作成される
# ブラウザ起動後、Ctrl+Cで停止して良い
npx cypress open
Next.js アプリの検証用テストケース追加
echo "
context('Next.js test', () => {
  it('should access localhost', () => {
    cy.visit('http://localhost:3000');
    cy.get('h1')
      .should('have.text', 'Welcome to Next.js!')
  });
});
" > e2e/cypress/sample.spec.ts
2. ワークフローの追加
※ワークフローの詳細については、公式 Docsを参照してください。
# .github/workflows/e2e.yml を作成
mkdir -p .github/workflows
touch .github/workflows/e2e.yml
以下のように .github/workflows/e2e.yml を修正します。
# 任意のワークフロー名
name: End-to-end tests
# トリガーするイベントを設定。この場合はpush
# 参考: https://docs.github.com/ja/actions/reference/events-that-trigger-workflows#example-workflow-configuration
on: [push]
jobs:
  # 任意のジョブ名を指定
  cypress-run:
    # 使用するランナーを指定。
    # Cypress公式が20.04を指定しているので合わせているが、どのバージョンでも問題ないはず
    runs-on: ubuntu-20.04
    steps:
      # リポジトリをチェックアウトし、ワークフローがリポジトリにアクセスできるようにする
      # 参考: https://github.com/actions/checkout
      - name: Checkout
        uses: actions/checkout@v2

      # Next.jsアプリを起動
      - name: Start App
        run: |
          yarn
          yarn build
          yarn start &

      # cypress-io/github-action@v2 を使用してCypressを実行
      - uses: cypress-io/github-action@v2
        with:
          # Next.js (http://localhost:3000) の起動を待つ
          wait-on: "http://localhost:3000"
          # Cypress を ./e2e/ に配置しているため、working-directoryを指定する
          # デフォルトはルートディレクトリ
          # 参考: https://github.com/cypress-io/github-action#working-directory
          working-directory: e2e

      # 任意
      # Cypress実行時に生成されたビデオとスクリーンショットを保存できる
      # 参考: https://github.com/cypress-io/github-action#artifacts
      - uses: actions/upload-artifact@v2
        if: always()
        with:
          name: Cypress E2E Videos
          path: e2e/cypress/videos
コメントなしバージョン
name: End-to-end tests
on: [push]
jobs:
  cypress-run:
    runs-on: ubuntu-20.04
    steps:
      - name: Checkout
        uses: actions/checkout@v2

      - name: Start App
        run: |
          yarn
          yarn build
          yarn start &

      - uses: cypress-io/github-action@v2
        with:
          wait-on: "http://localhost:3000"
          working-directory: e2e

      - uses: actions/upload-artifact@v2
        if: always()
        with:
          name: Cypress E2E Videos
          path: e2e/cypress/videos
3. 変更を Push
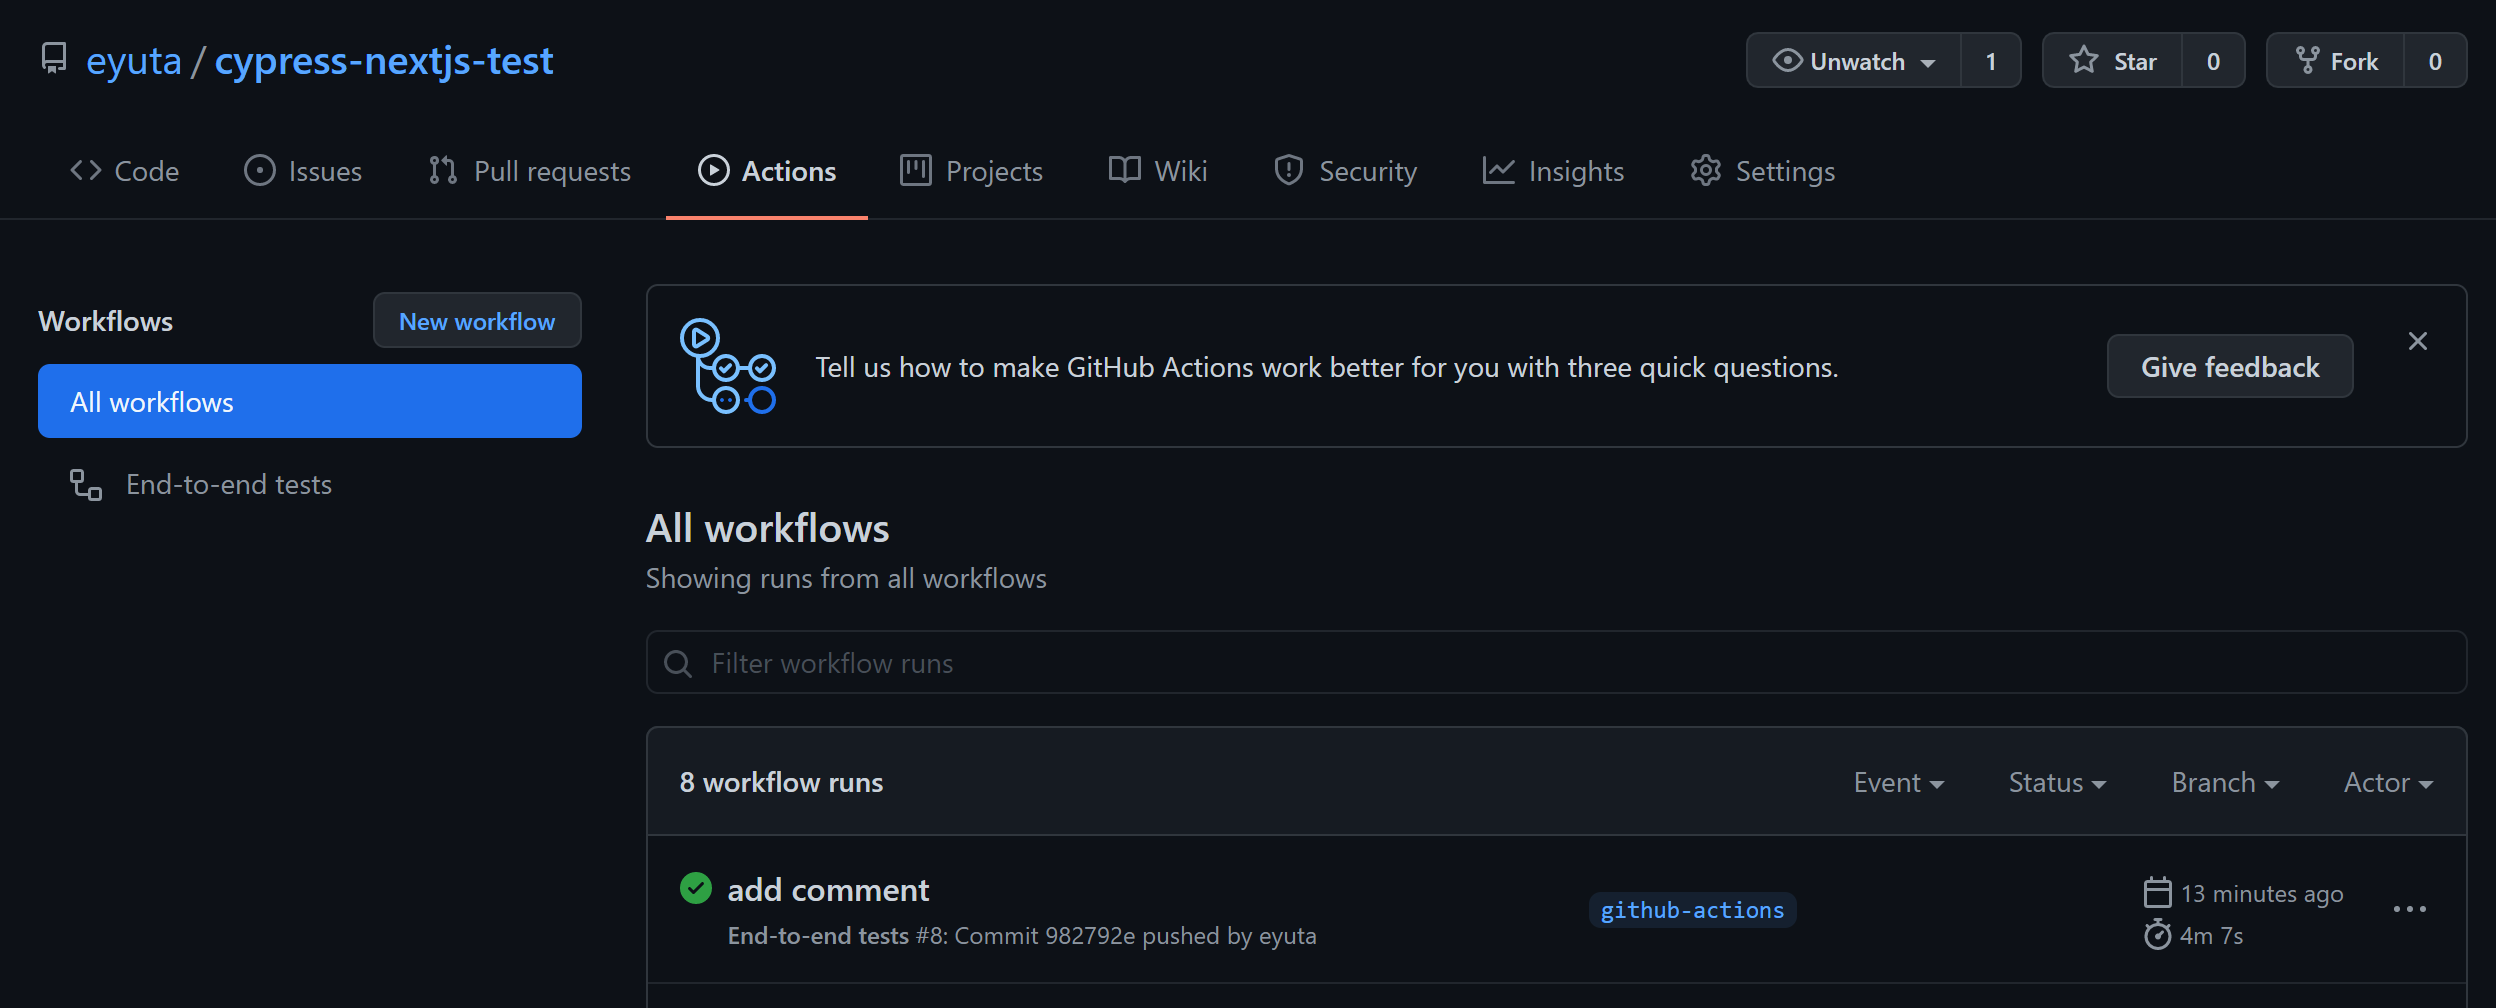
変更をリポジトリに Push すると、GitHub Actions が自動で実行されます。
以下の手順で詳細を確認できます。
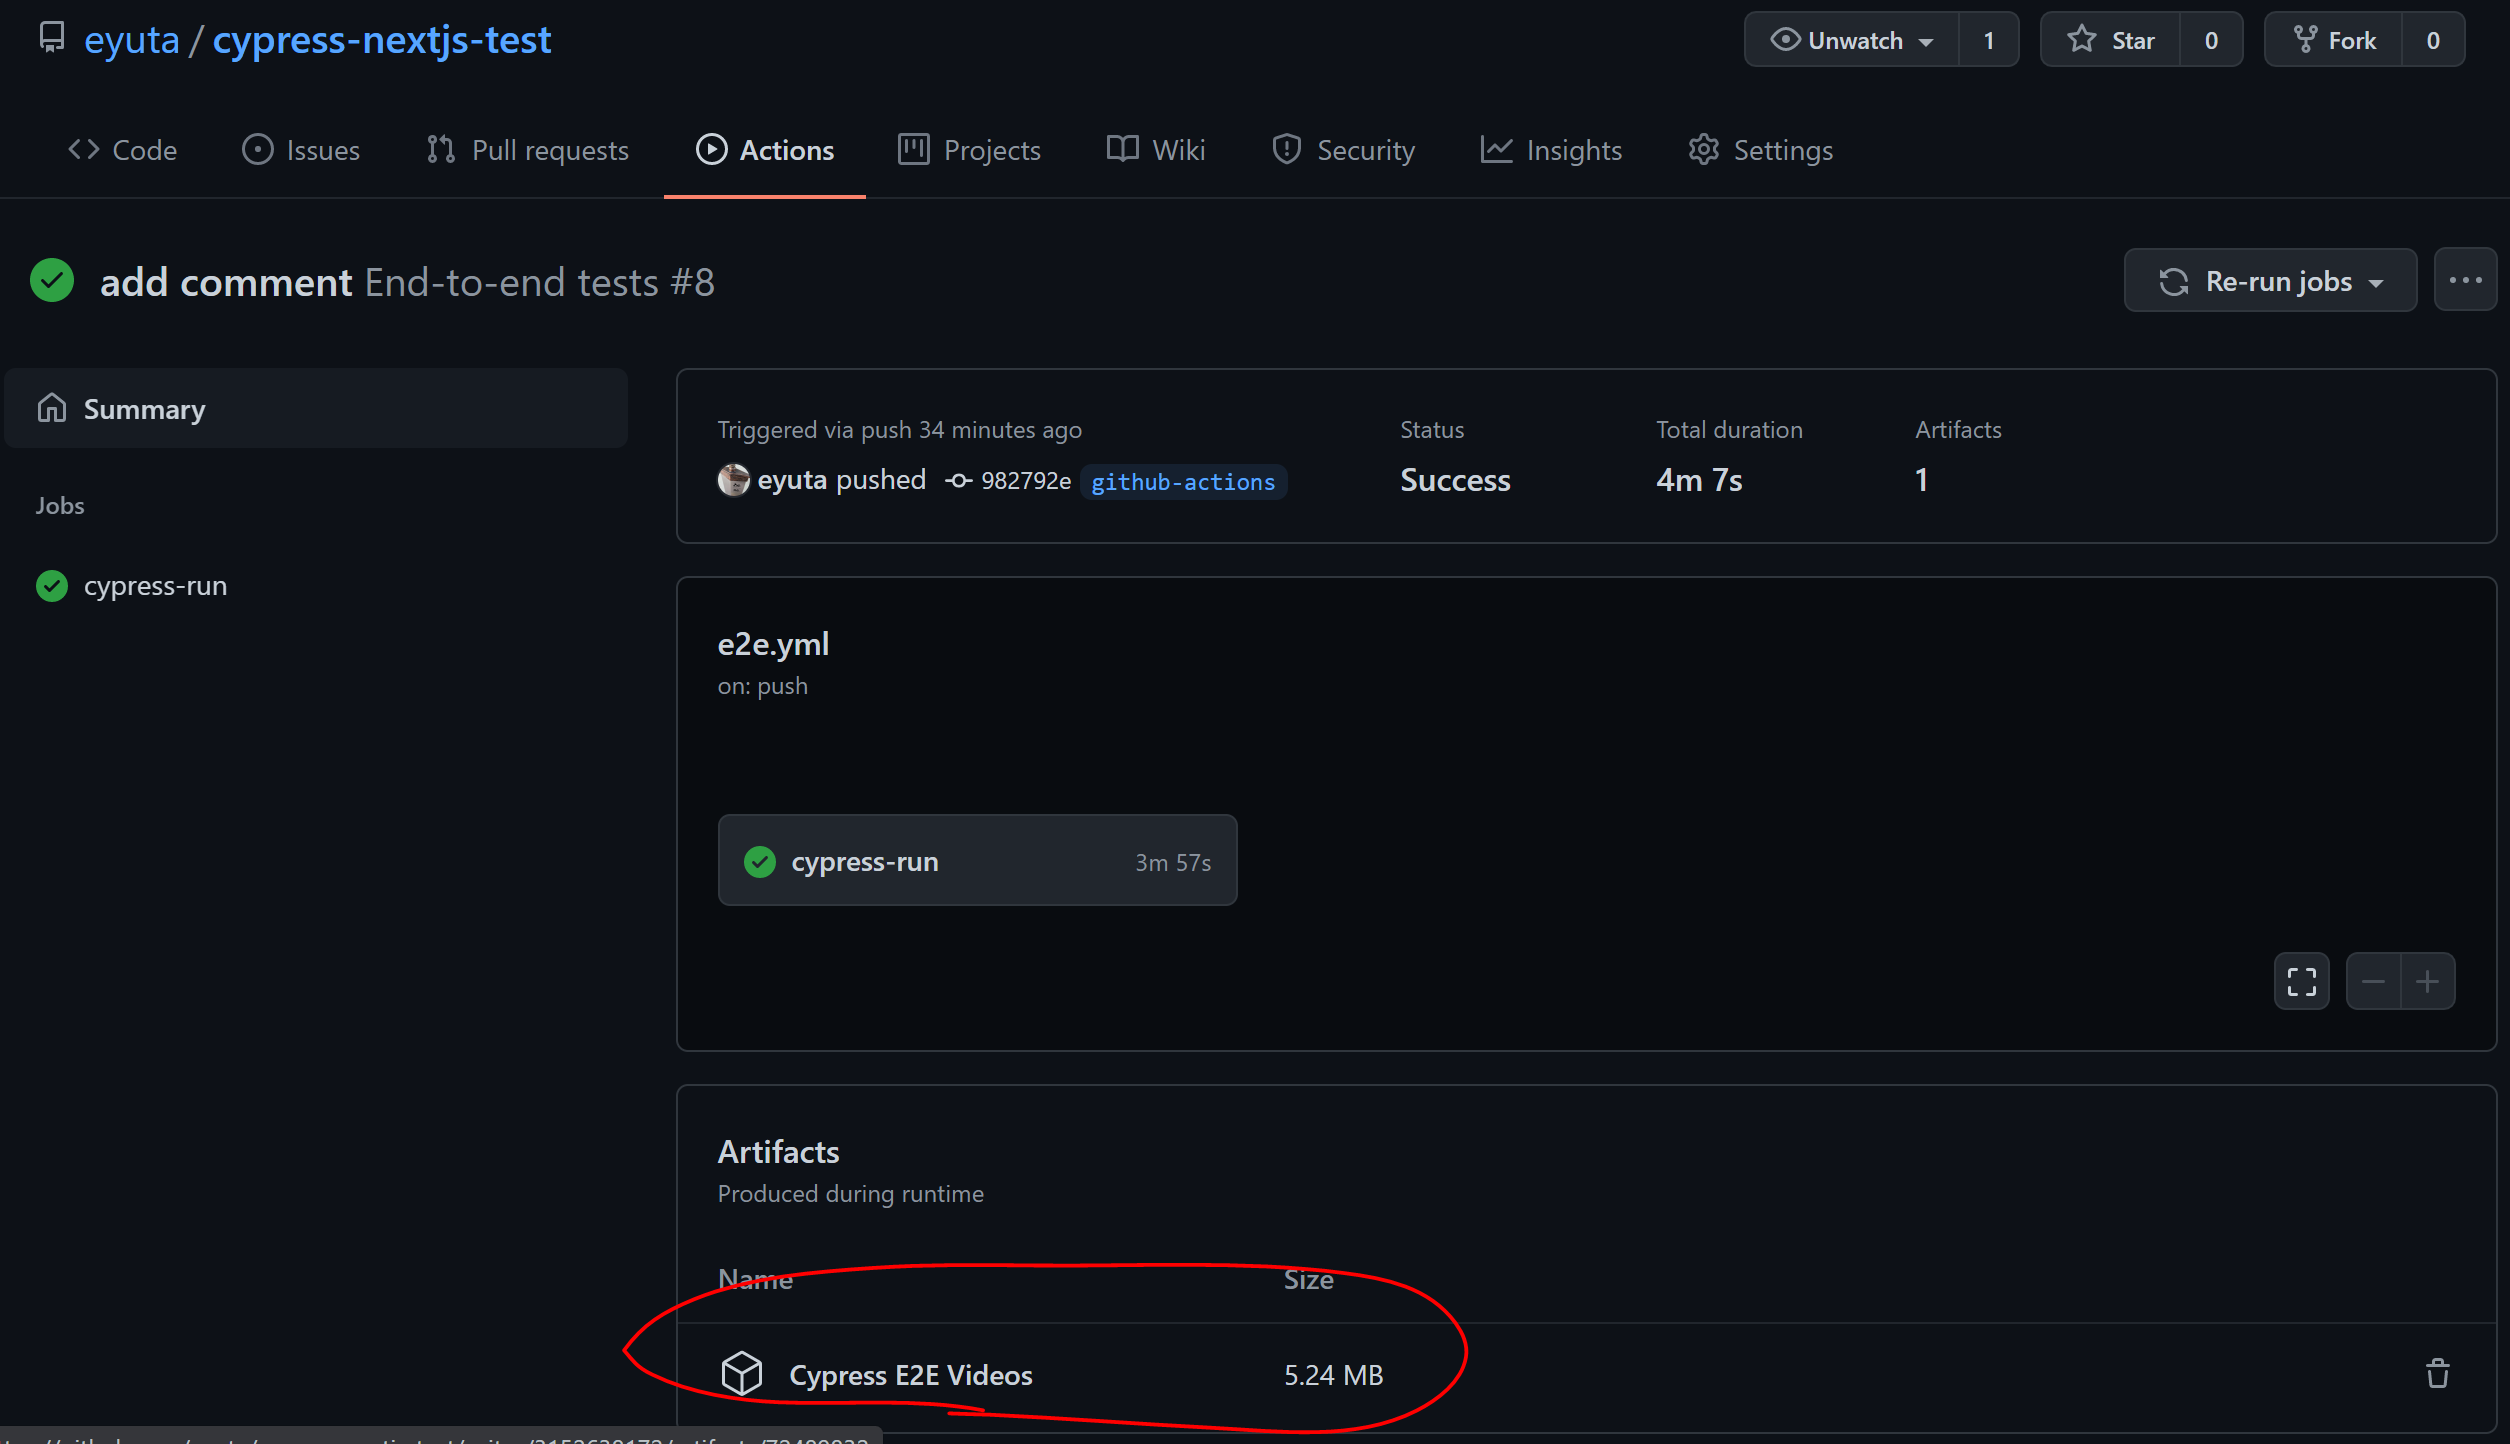
- Your repository > Actions
- 確認したいワークフロー >
cypress-run>Run cypress-io/github-action@v2
また、確認したいワークフロー > Artifactsに、実行時の mp4 が格納されているため、実行時の動作も確認できます。
おわりに
今回は、簡単に Cypress を GitHub Actions で実行するところまで行いました。
公式 Docsを見る限り様々なワークフローに対応できそうなので、折を見て色々試してみます。
トラブルシューティング
AssertionError: expected { Object (baseUrl, projectRoot, ...) } to have property 'baseUrl' of null, but got 'http://localhost:3000'
e2e/cypress.jsonにbaseUrlが指定してあると、サンプルのe2e/cypress/integration/examples/cypress_api.spec.js:174:30が転びます。
baseUrlを削除するか、当該テストケースを削除してください。