はじめに
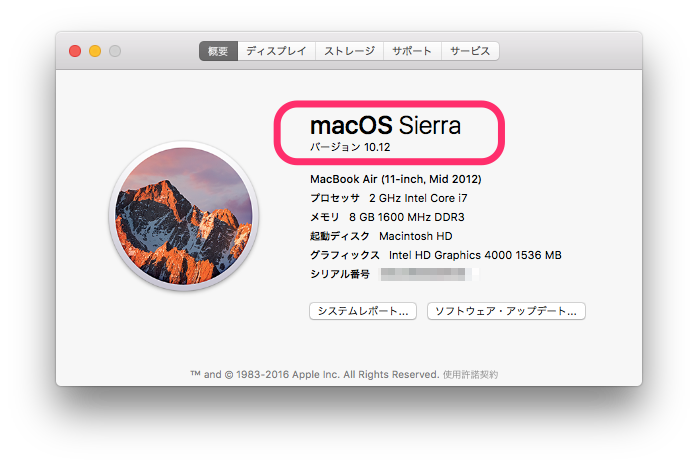
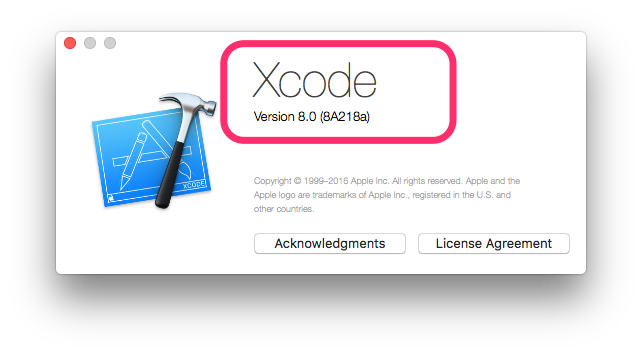
とにかく最も簡単に、Push通知を出す手順をまとめる(iOS10版)
参考サイト
前提条件
-
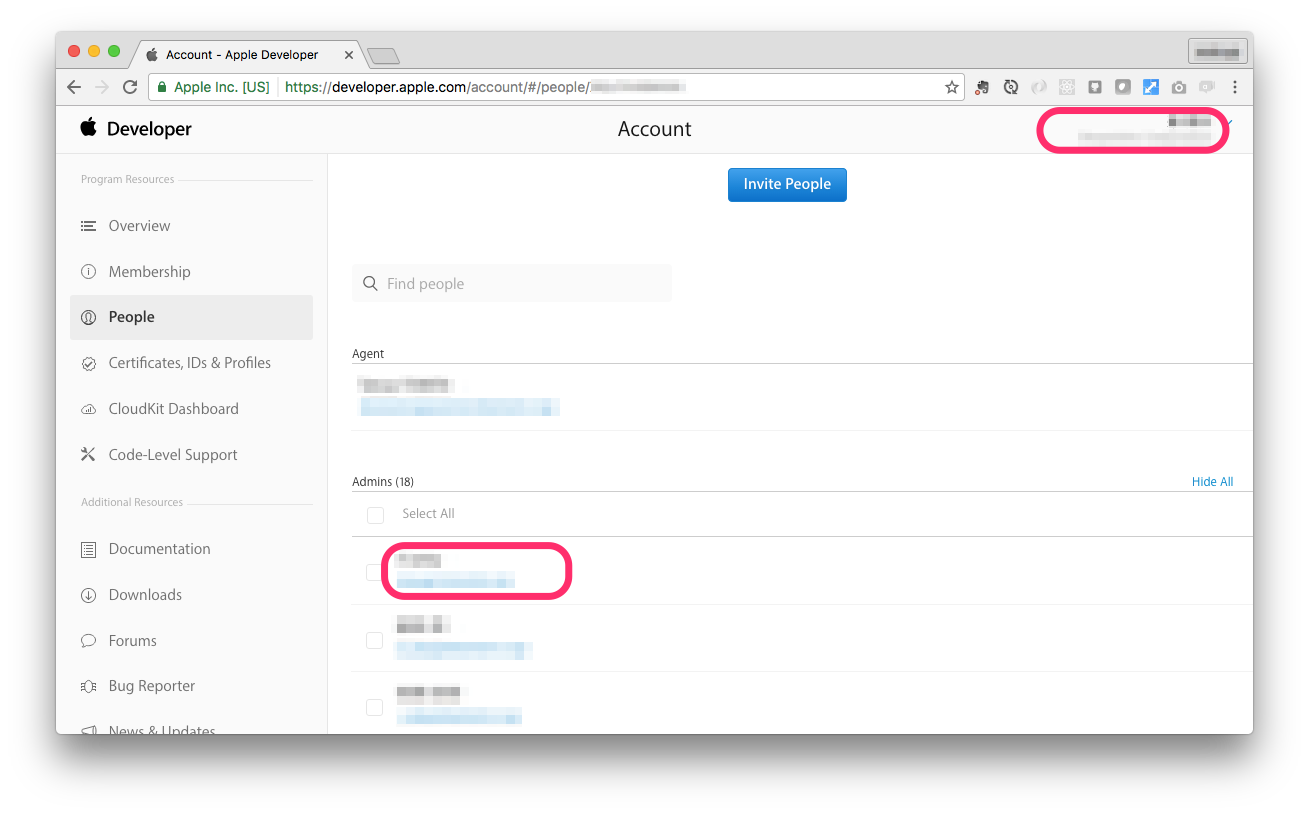
Apple Developer Program に加入済みで、Admins の一員であること
https://developer.apple.com/account/#/people/
-
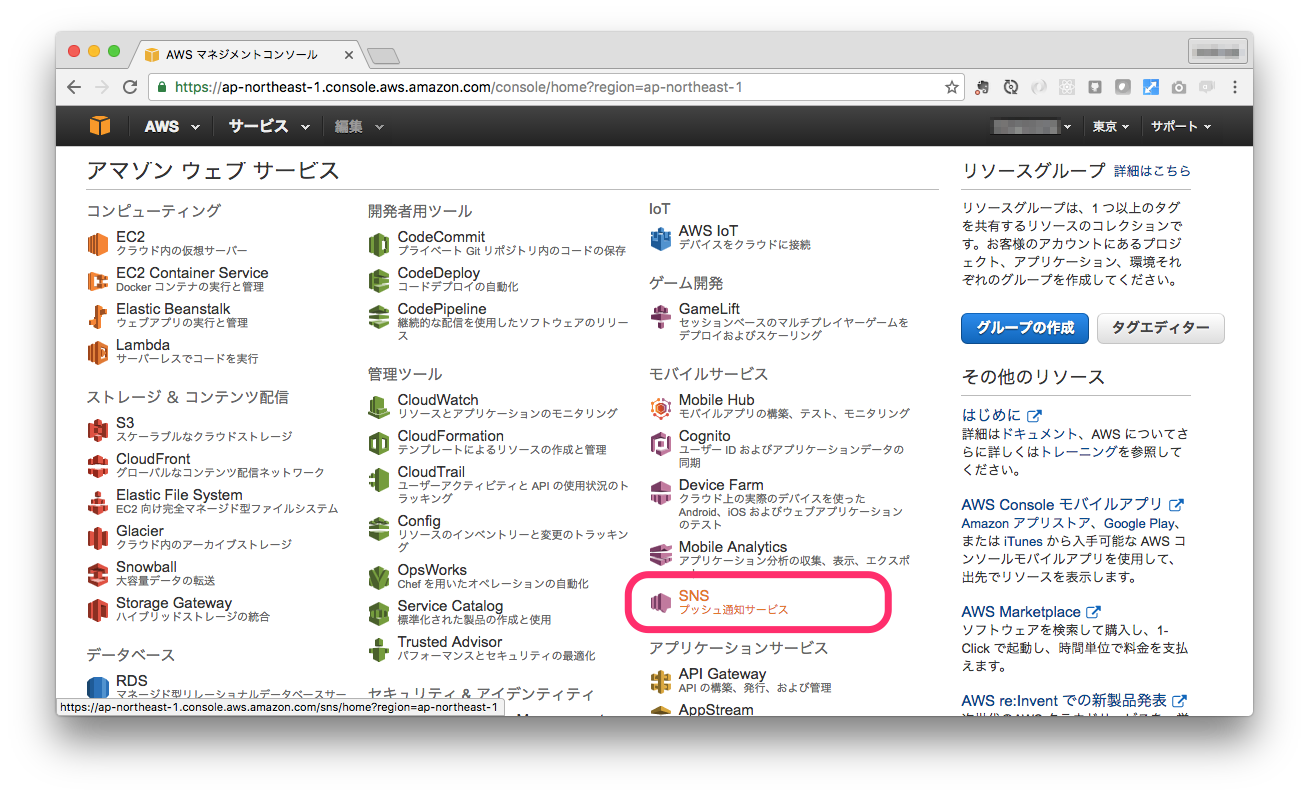
AWS コンソール へのログイン、SNS の操作が可能なこと
手順
証明書
-
CSR (証明書署名要求) を作成
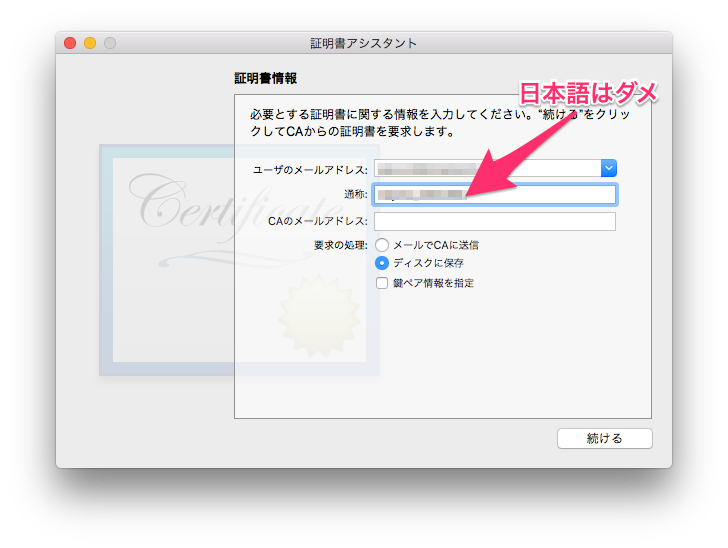
Mac で「キーチェーンアクセス」を起動し、「証明書アシスタント」から「認証局に証明書を要求」を選択します。
「Apple Developer Program」に登録されているアカウント(メールアドレス)を指定します。
また、「通称」には分かり易い任意の名前をつけますが日本語はダメです(以降のAWSでエラーになるため)。
「ディスクに保存」します。あとで二回使用します。
-
App ID を作成
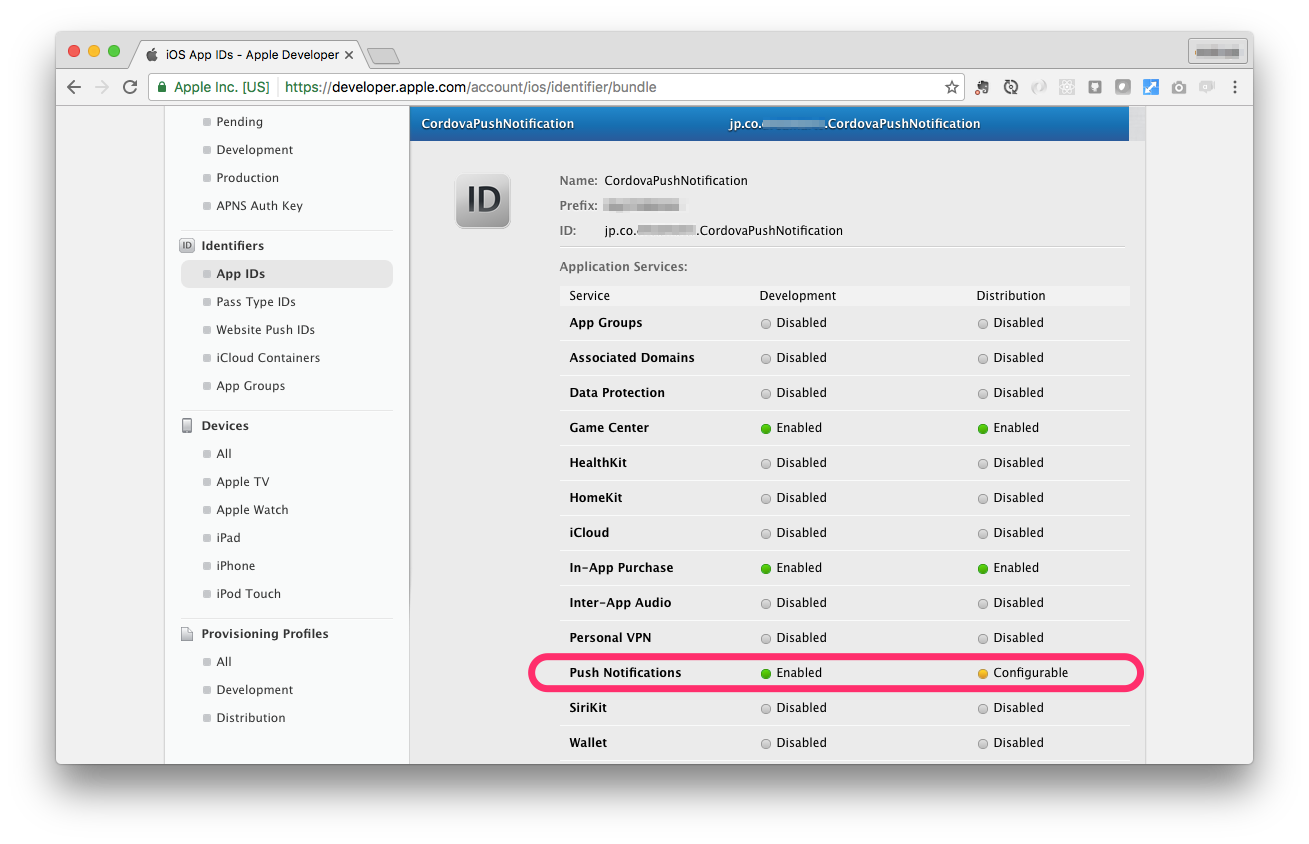
App ID を作成します。
「Explicit App ID」を選択し、明示的に Bundle ID を指定します。(ワイルドカードは不可)
「Push Notifications」 にチェックします。
https://developer.apple.com/account/ios/identifier/bundle
-
実機の開発機登録
まず、UDID を調べるために、デバイスとMacを接続し、iTunesを起動します。
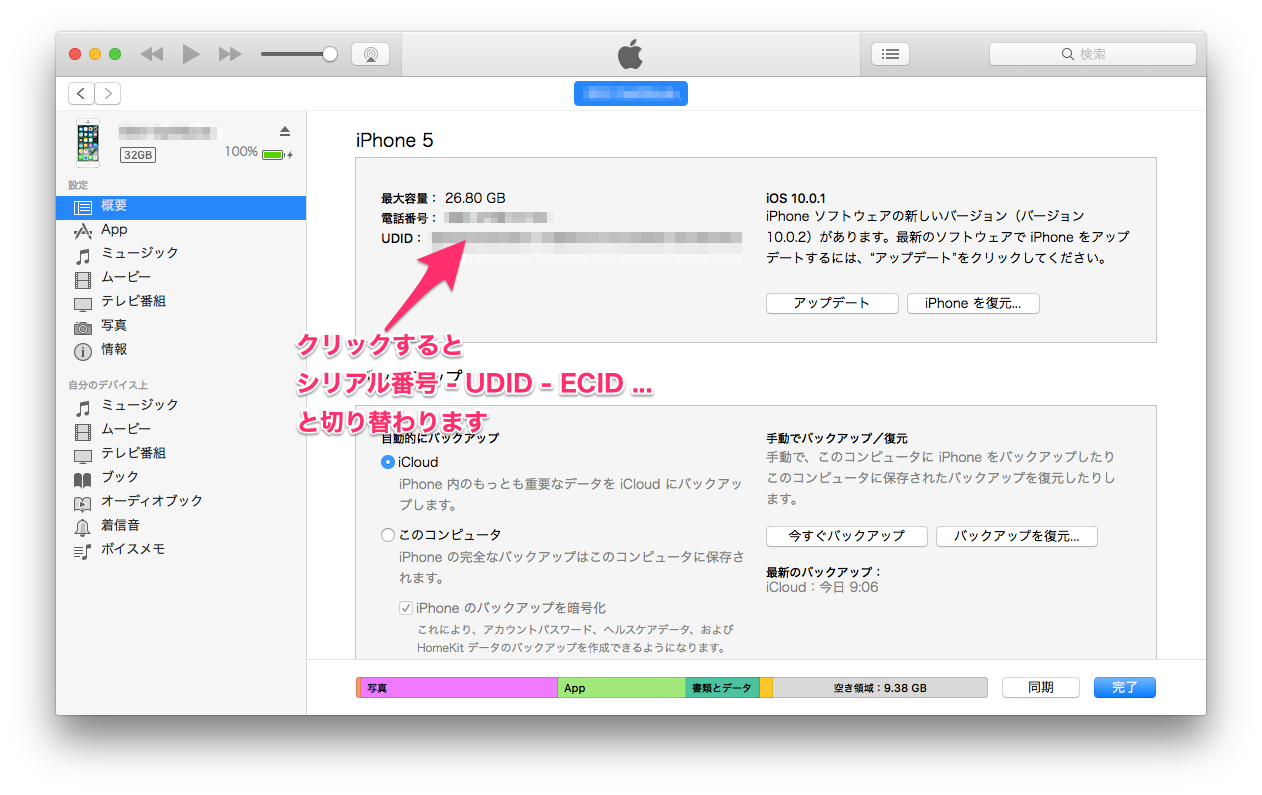
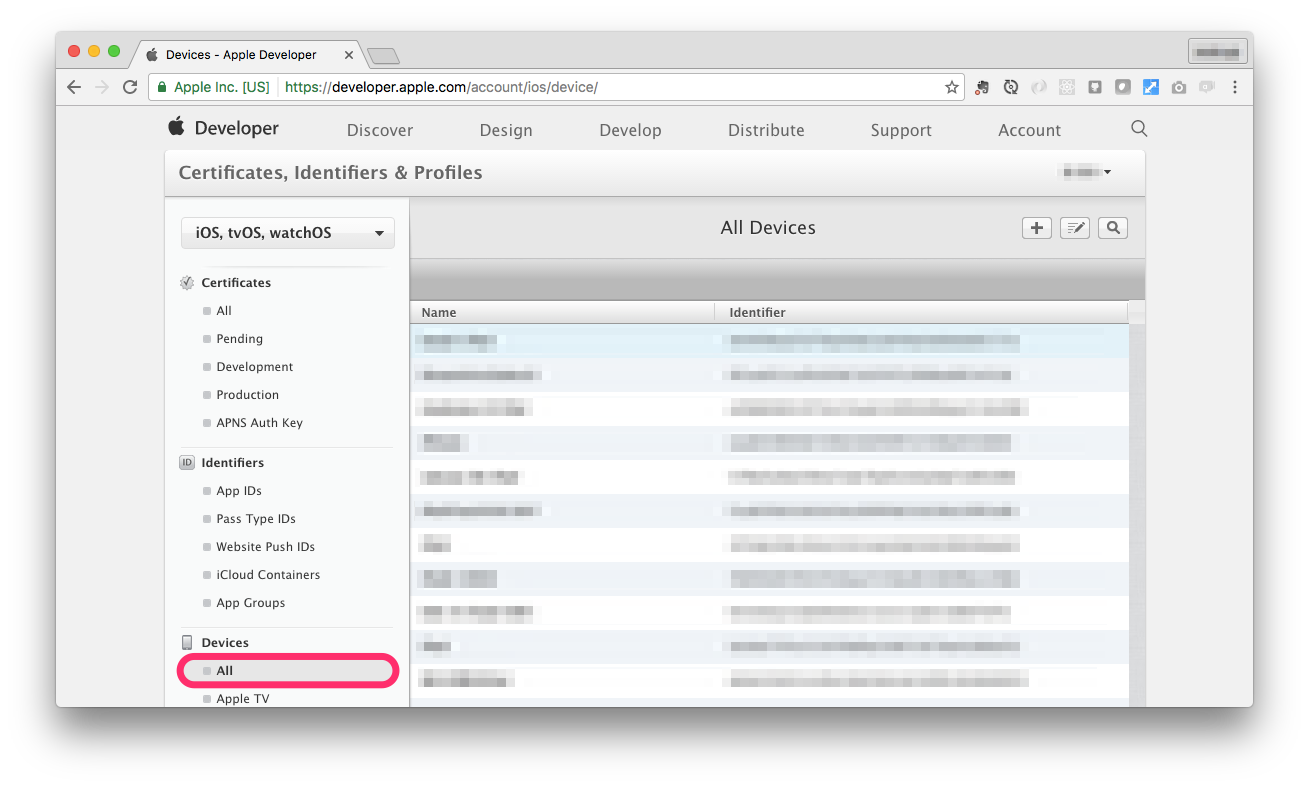
入手したUDIDを、Devicesに登録します。
https://developer.apple.com/account/ios/device/
-
証明書作成
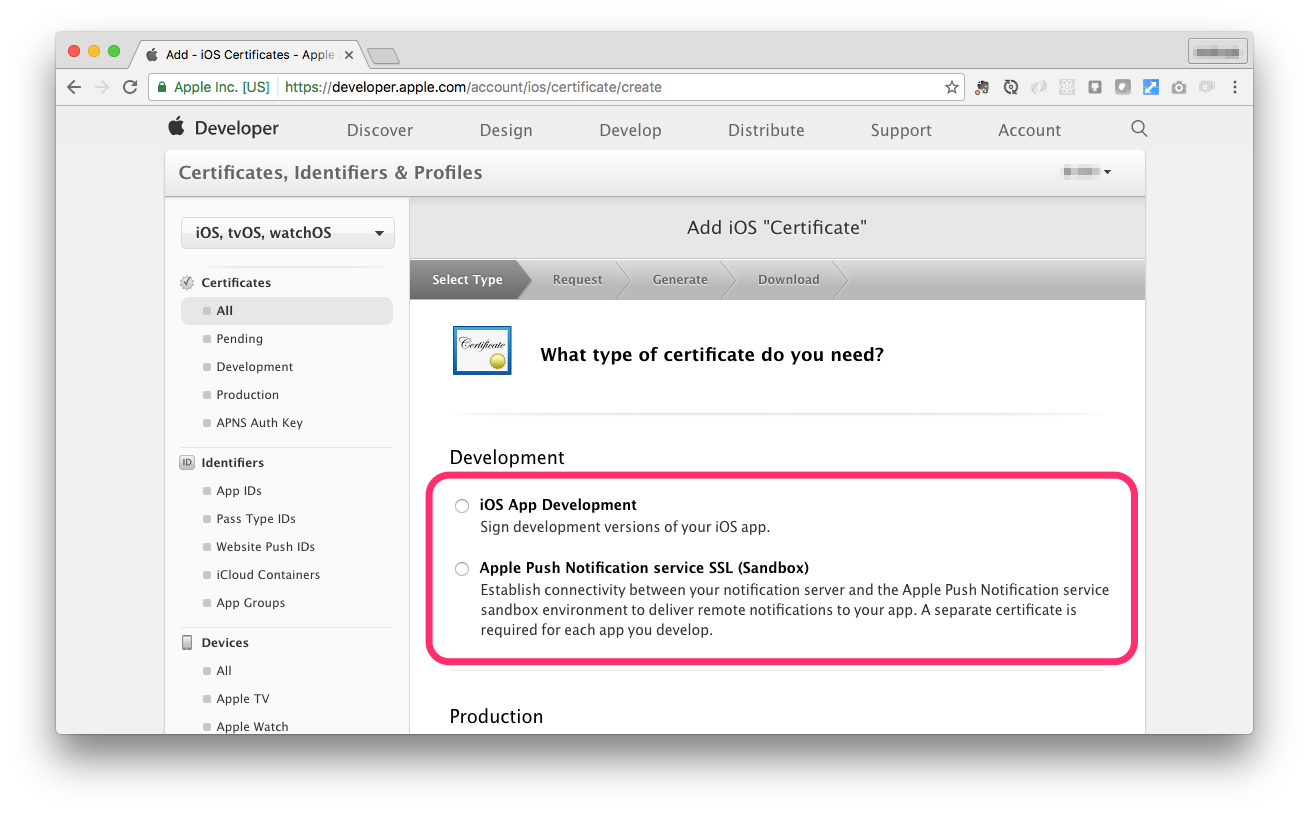
今回は、以下の二種類の証明書が必要です。 -
iOSアプリを作成するための証明書(iOS App Development)
-
Push通知をするための証明書(Apple Push Notification service SSL)
https://developer.apple.com/account/ios/certificate/
それぞれ、Development(開発用) と Production(本番用) があります。
本記事では Development(開発用) を扱います。
上記で生成した
   - CSR(証明書署名要求)
   - App ID
   - Device
を指定すると、証明書が生成されます。

証明書はMacにダウンロードし、キーチェーンアクセスに登録 (ダブルクリックでOK) しておきます。
- Push通知用証明書のエクスポート(P12形式)
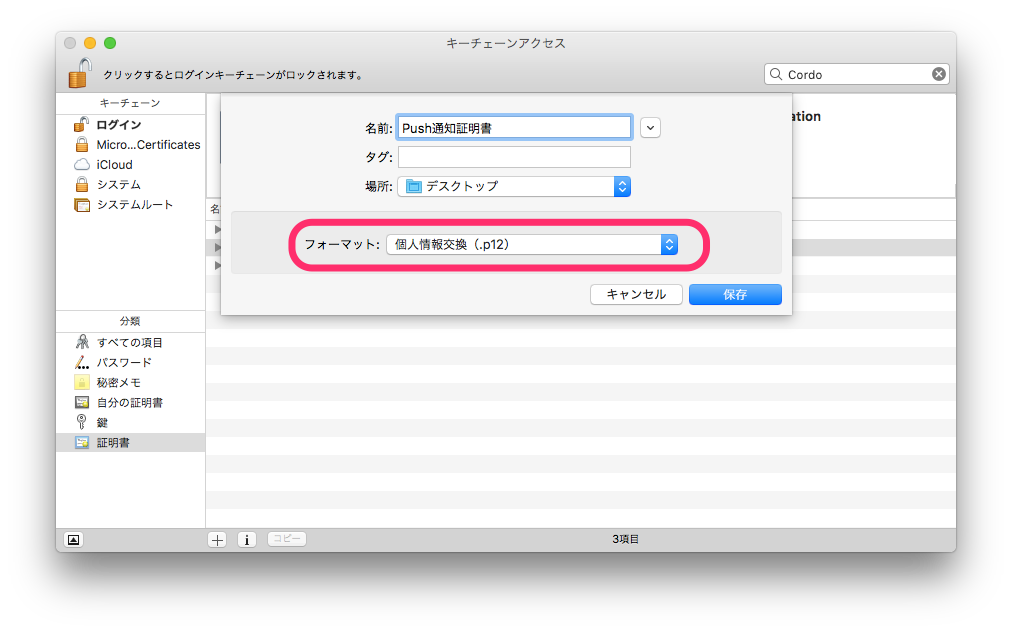
再びキーチェーンアクセスを起動し、上記で取り込んだPush通知用証明書を選択し、右クリックして「書き出す」を選択します。

「P12形式」を選択して保存します。(以降AWS設定で使用します)
cordova
$ npm install -g cordova
 1. [アプリ作成](https://cordova.apache.org/docs/ja/latest/guide/cli/#アプリを作成します。)
    create コマンド
     - 第一引数 : ディレクトリ名称
     - 第二引数 : App ID 【重要】 (証明書の Bundle ID と一致のこと)
     - 第三引数 : 表示名称

    ```
$ cordova create CordovaPushNotification jp.co.xxxxxxxx.CordovaPushNotification CordovaPushNotification
$ cd CordovaPushNotification
$ cordova platform add ios
 1. [プラグイン 追加](https://cordova.apache.org/docs/ja/latest/guide/cli/#プラグイン機能を追加します。)
SENDER_ID は Android用ですが、ここで指定しておかないとエラーになる。何でも良い。

    ```
$ cordova plugin add cordova-plugin-console --save
$ cordova plugin add phonegap-plugin-push --variable SENDER_ID=XXXXXXXX --save
プラグインについての詳細は、プラットフォームのサポートを参照して下さい。
-
プログラム修正
www/js/index.js に以下の二箇所を追記しますindex.jsonDeviceReady: function() { this.receivedEvent('deviceready'); this.initPushNotification(); // ← これ追加 },
    ```index.js
        // Initialize push notification
        initPushNotification: function(){
            var push = PushNotification.init({
                "ios": {"alert": "true", "badge": "true", "sound": "true"} } );

            push.on('registration', function(data) {
                // data.registrationId
                console.log(data);
            });

            push.on('notification', function(data) {
                // data.message,
                // data.title,
                // data.count,
                // data.sound,
                // data.image,
                // data.additionalData
            });

            push.on('error', function(e) {
                // e.message
            });
        }
- 起動直後に、Push通知が使用可能であれば、'registration' が呼ばれる
- Push通知を受信時、'notification' が呼ばれる
-
Xcode 起動
$ cordova build ios
$ open platforms/ios/CordovaPushNotification.xcodeproj
## Xcode
bundle ID が正しければ、適切な証明書を自動で選択してくれているはずです。
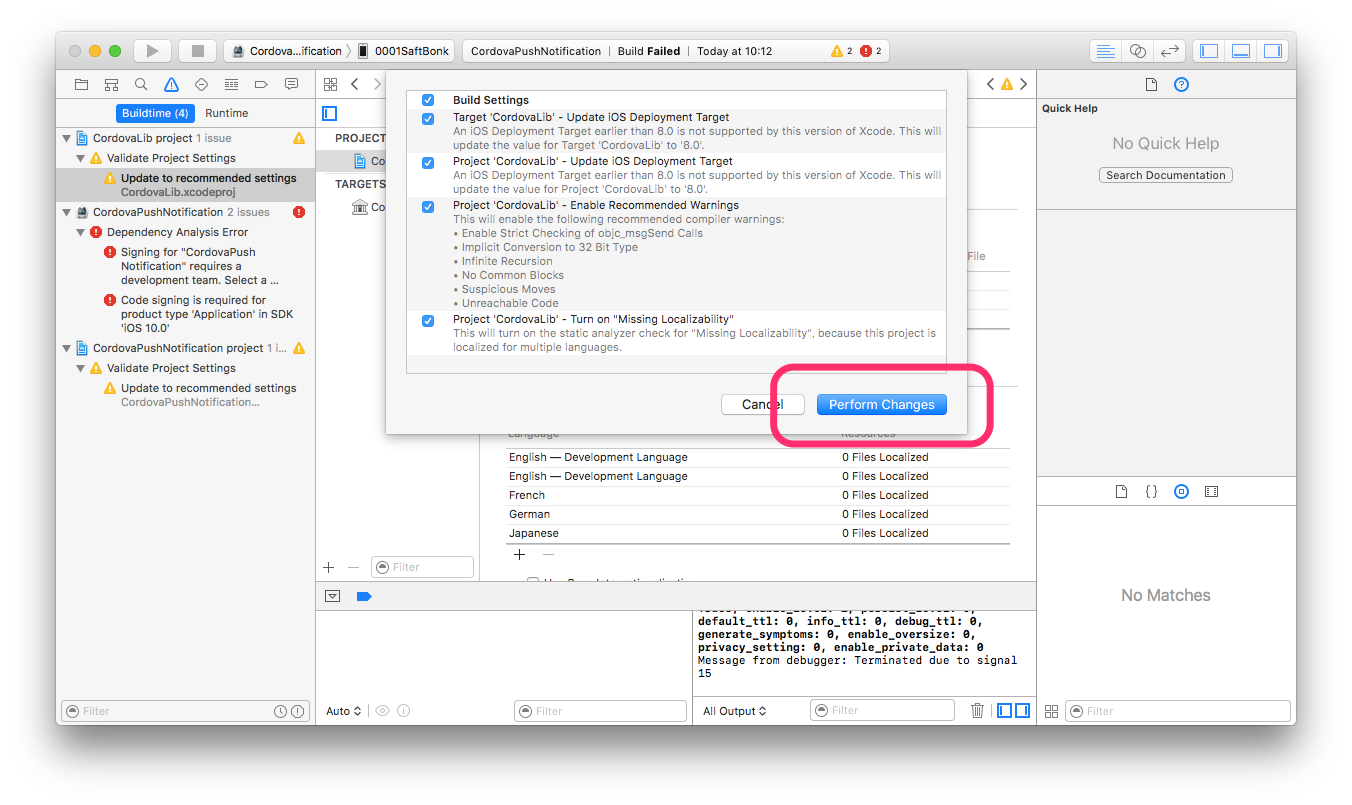
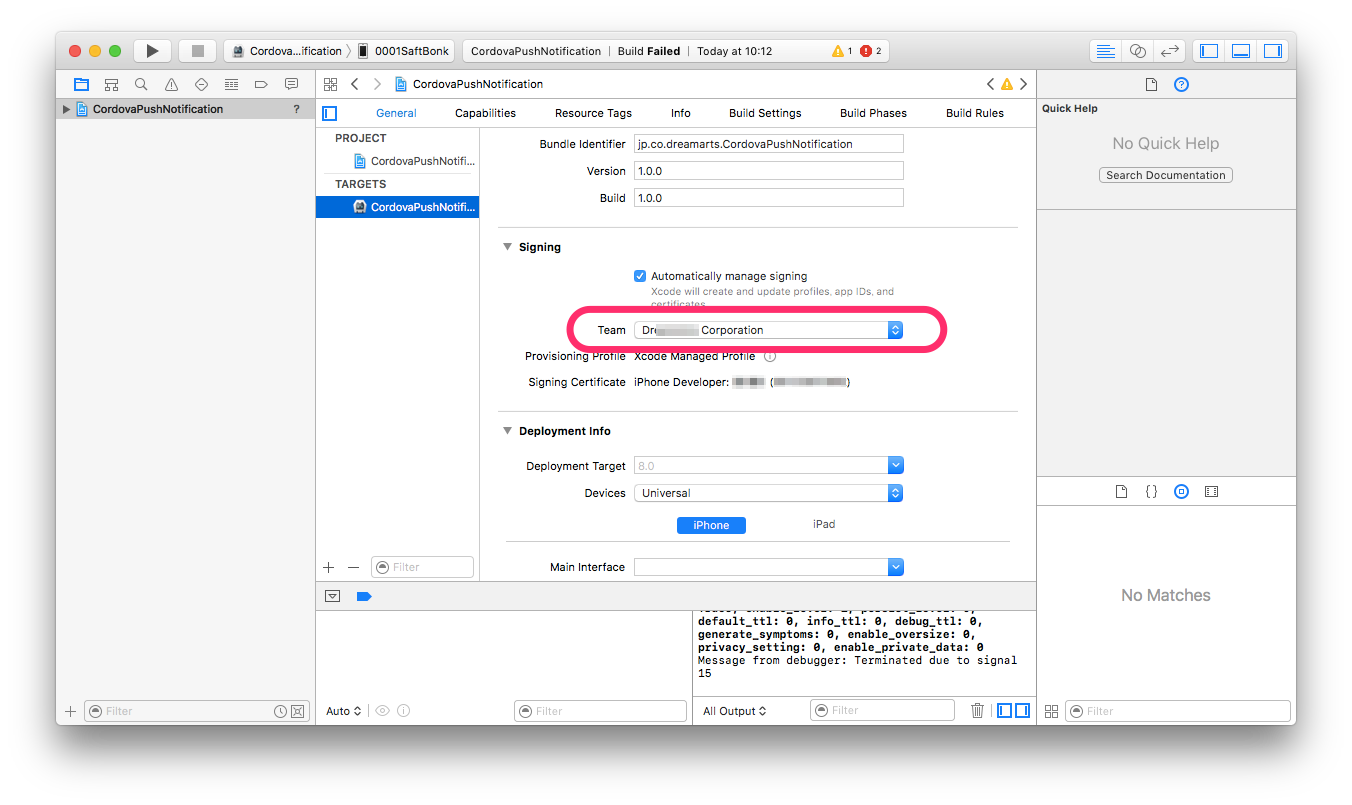
以下 4箇所を Xcode上で設定します。
1. 自動でワーニングをフィックスしてくれるので、「Perform Changes」を押下。
1. 「development team」の設定が必要です。
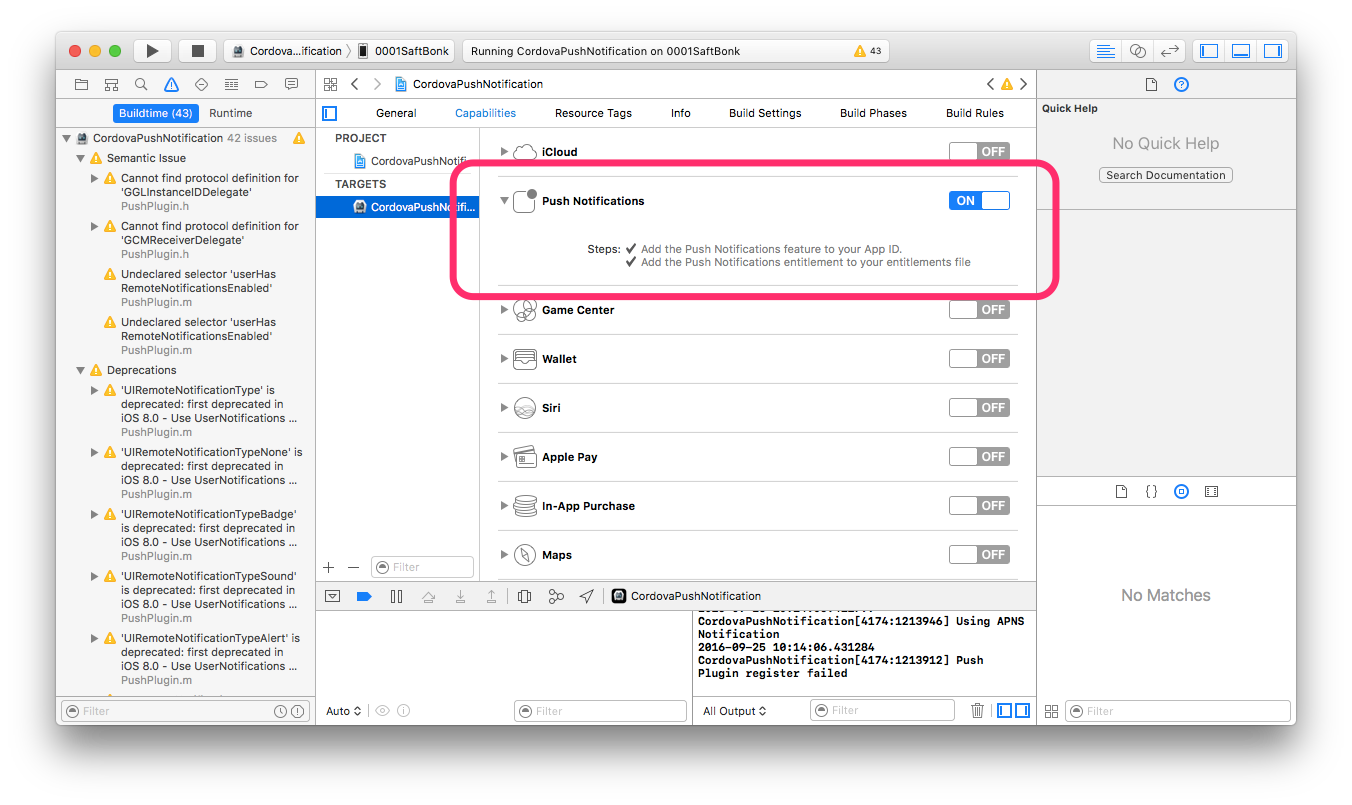
1. Capabilitiesで 「Push Notification」をONにします。
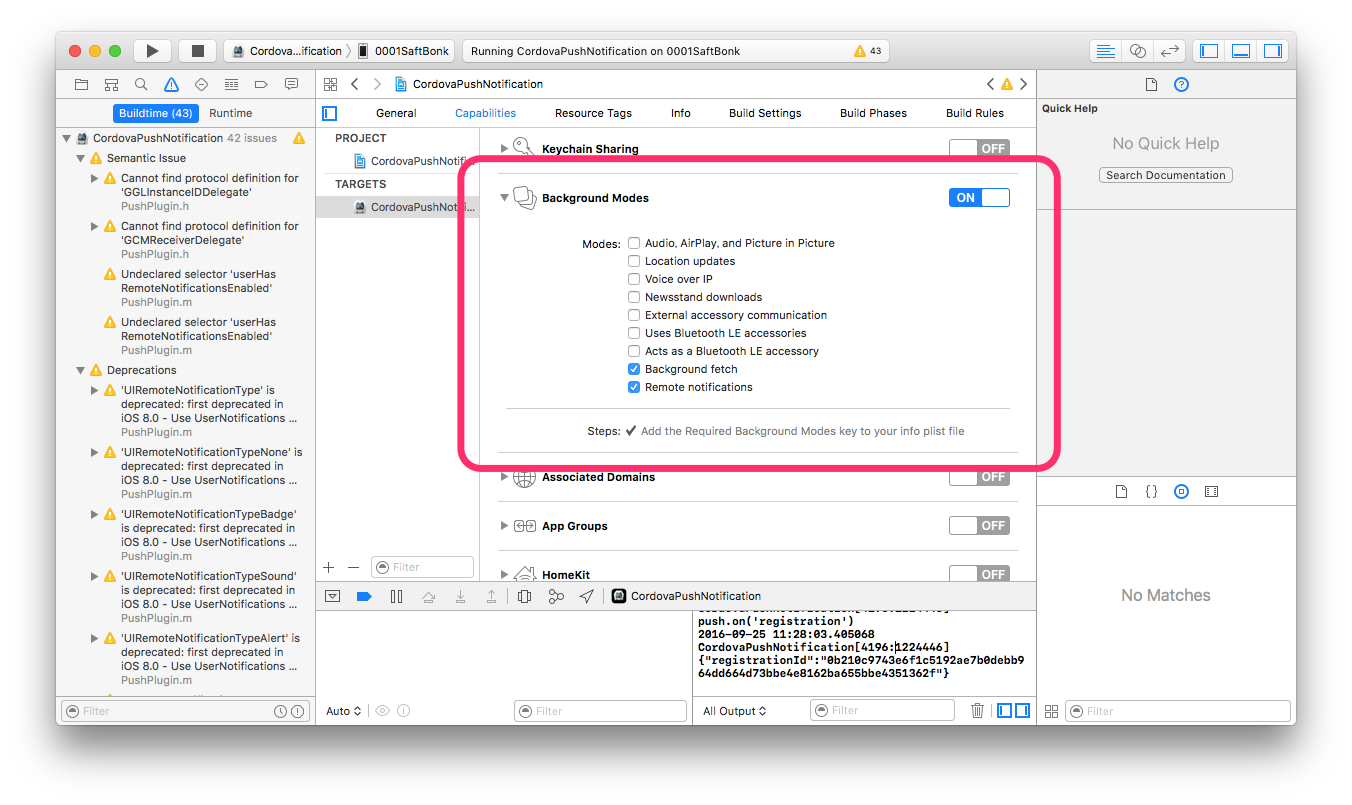
1. Capabilitiesで 「Background Modes」の「Background Fetch」と「Remote Notifications」をONにします。
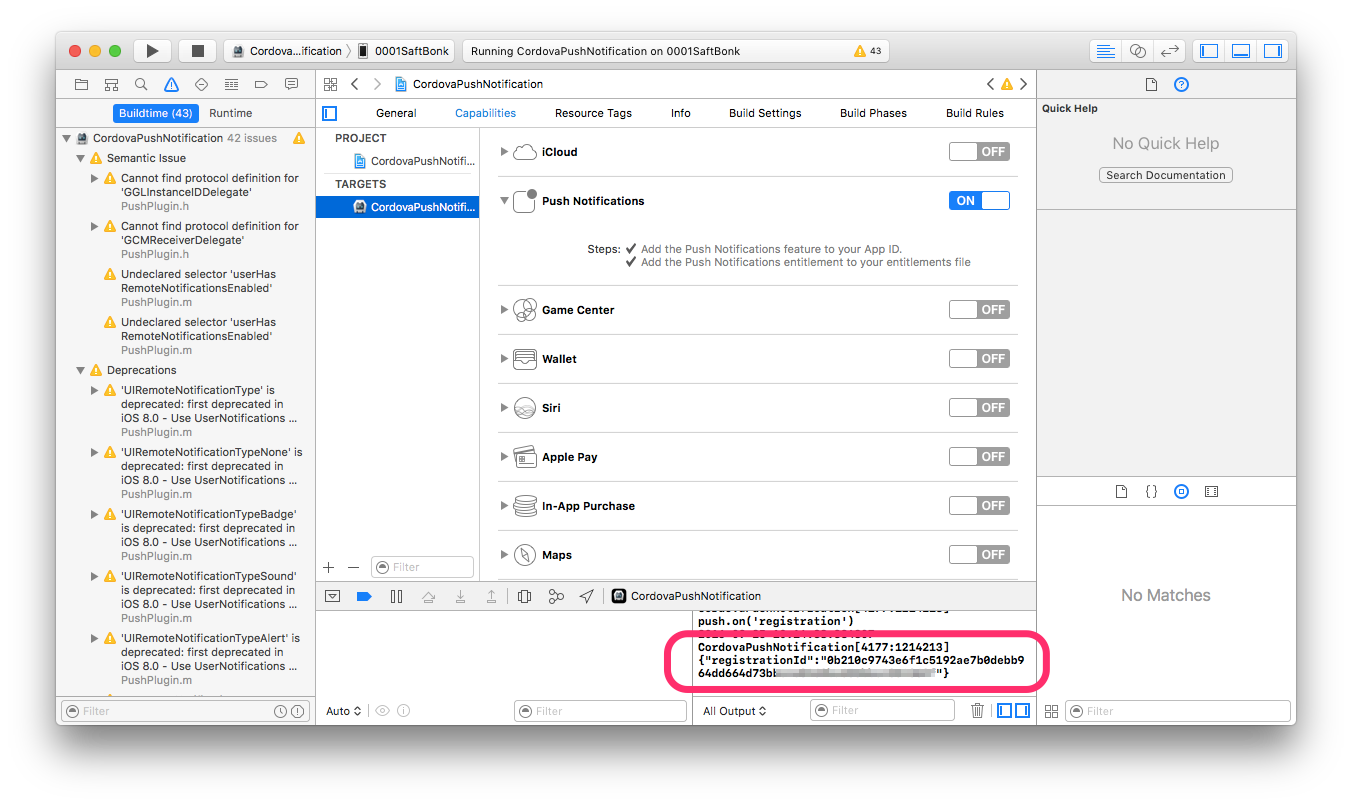
実機で実行し、**Push通知用のID(registration ID)**が取得できていれば成功です。
この値は以下で使用しますので、メモしておいて下さい。
## AWS SNS
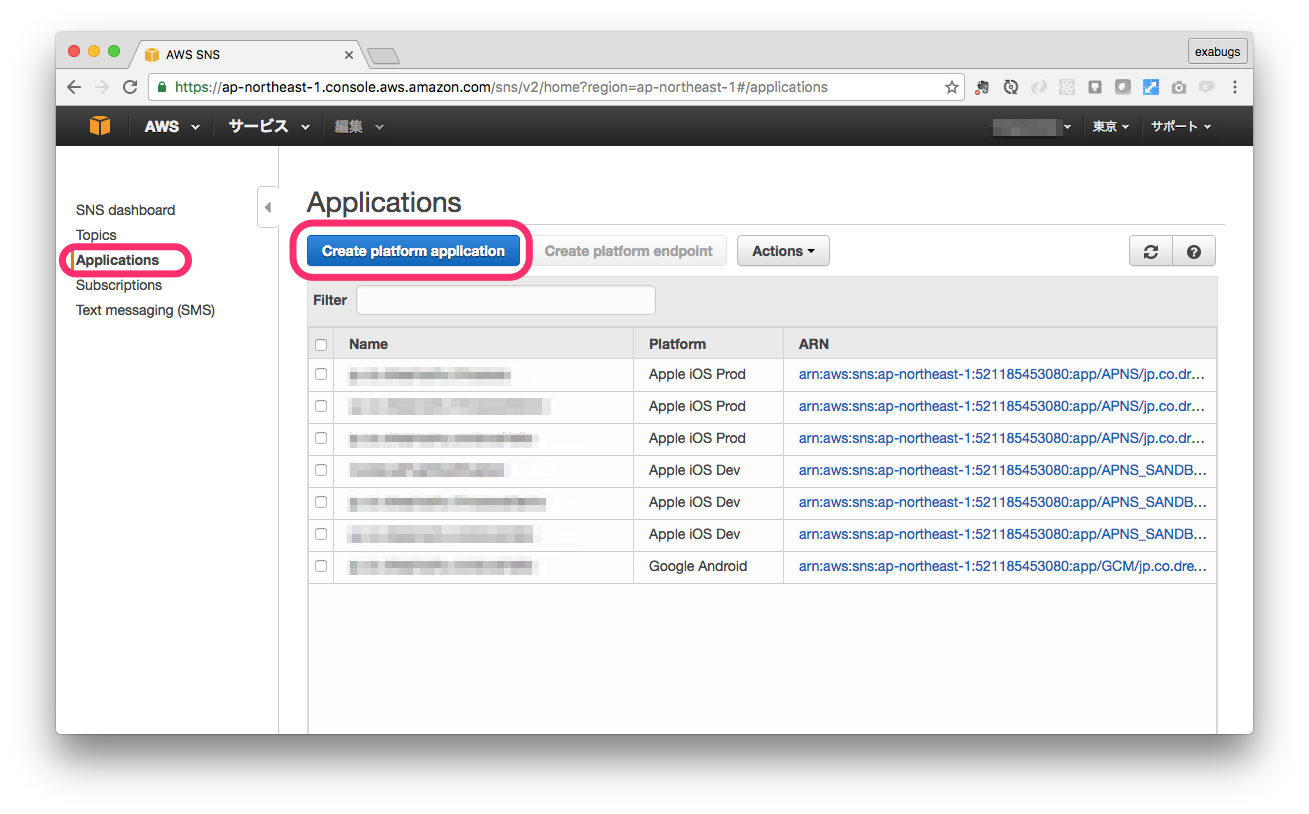
1. AWS コンソールにログインし、SNS を選択します。
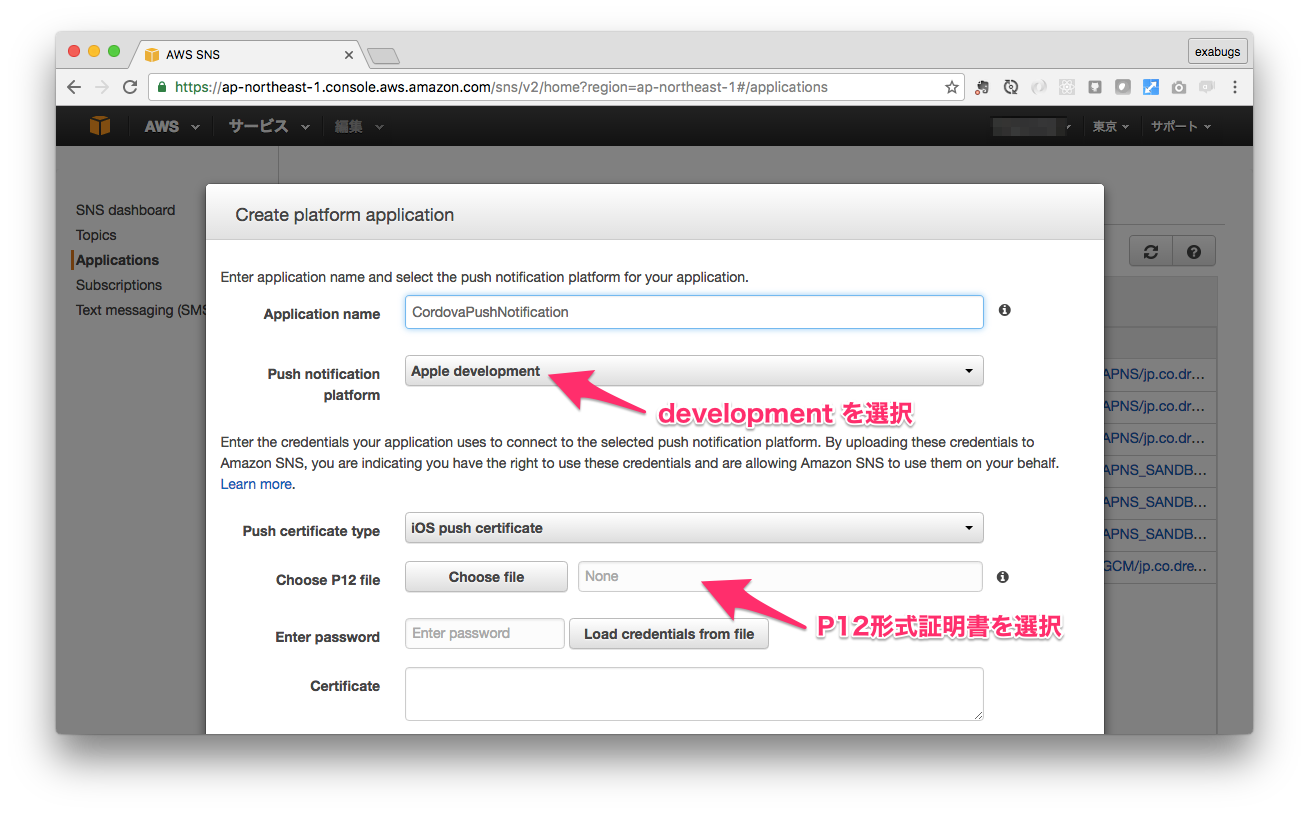
2. Applications を選択し、「Create Platform application」を押下します。
3. Push通知用証明書を設定します
1. 「Push notification platform」では、「Apple production」と「Apple development」がありますが、先に作成した証明書と同じ方(ここではdevelopment)を選択します。間違わないように。
2. 「Push certificate type」では、「iOS push certificate」を選択。
3. 「Choose file」で、先に作成した**証明書をP12形式で書き出したファイル**を指定します。
4. パスワードを入力し、「Load credentials from file」を押下すれば、「Certificate」と「Private key」が自動で読み込まれます。
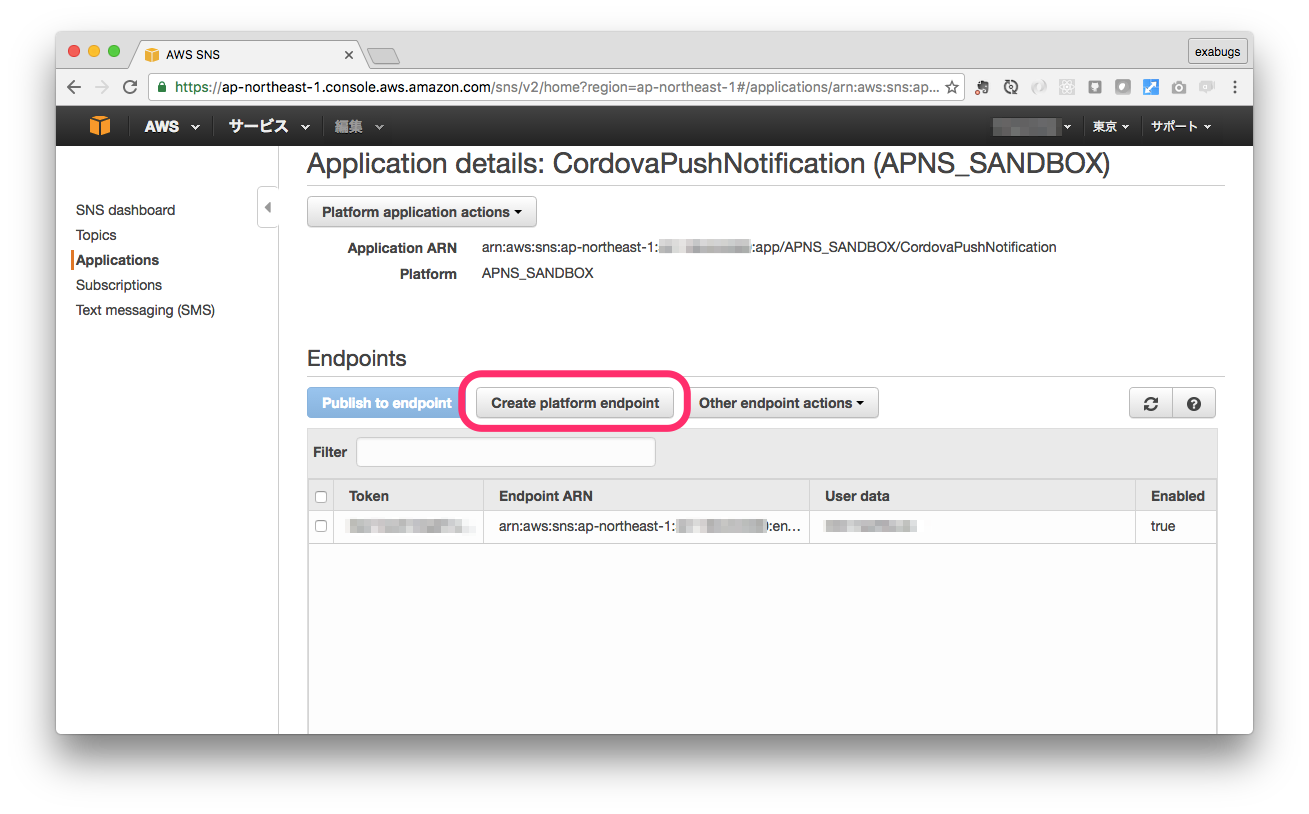
1. Endpointを作成します
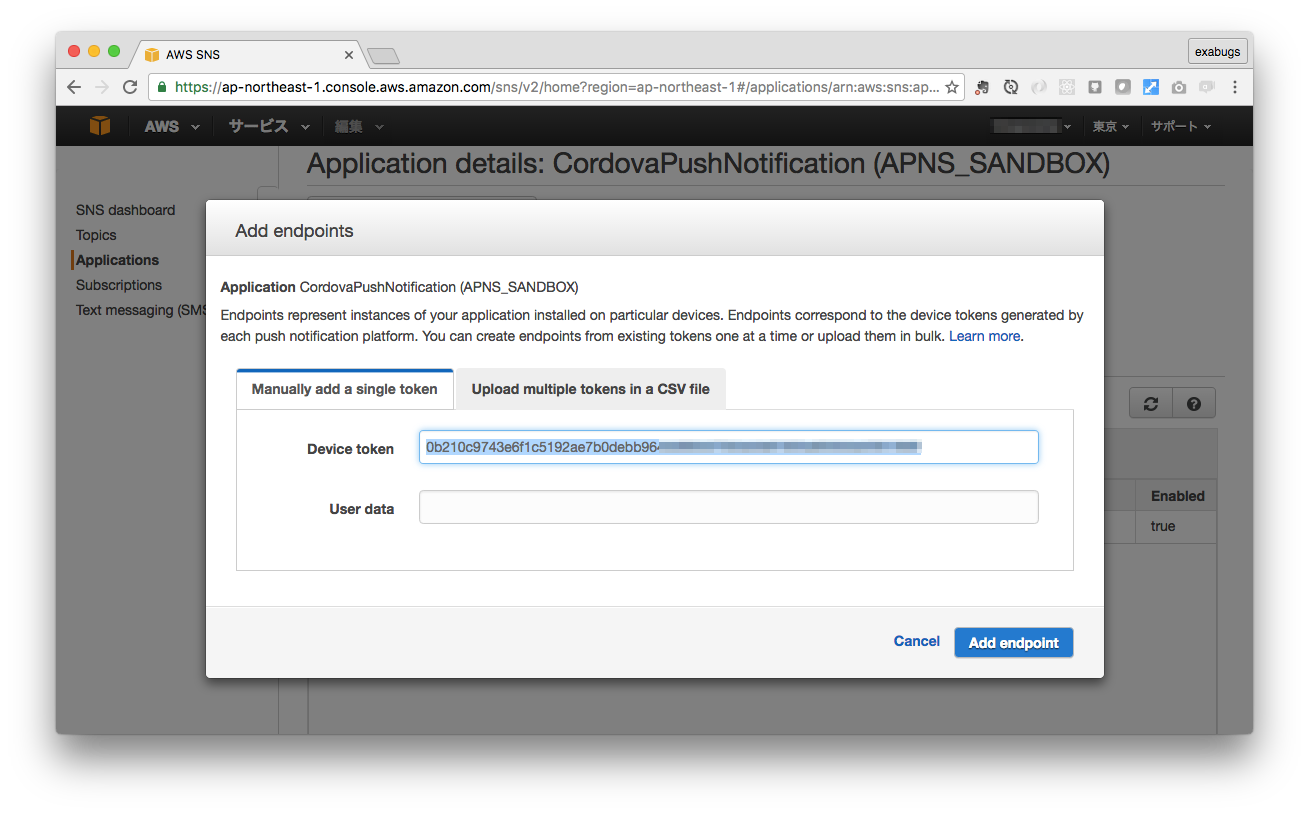
作成したApplicationのARNをクリックすると、Endpoints登録画面に進みます。
先にメモした**Push通知用のID(registration ID)**を「Device token」に設定します。
「User data」は任意の値を格納できます。
1. Push通知の実行
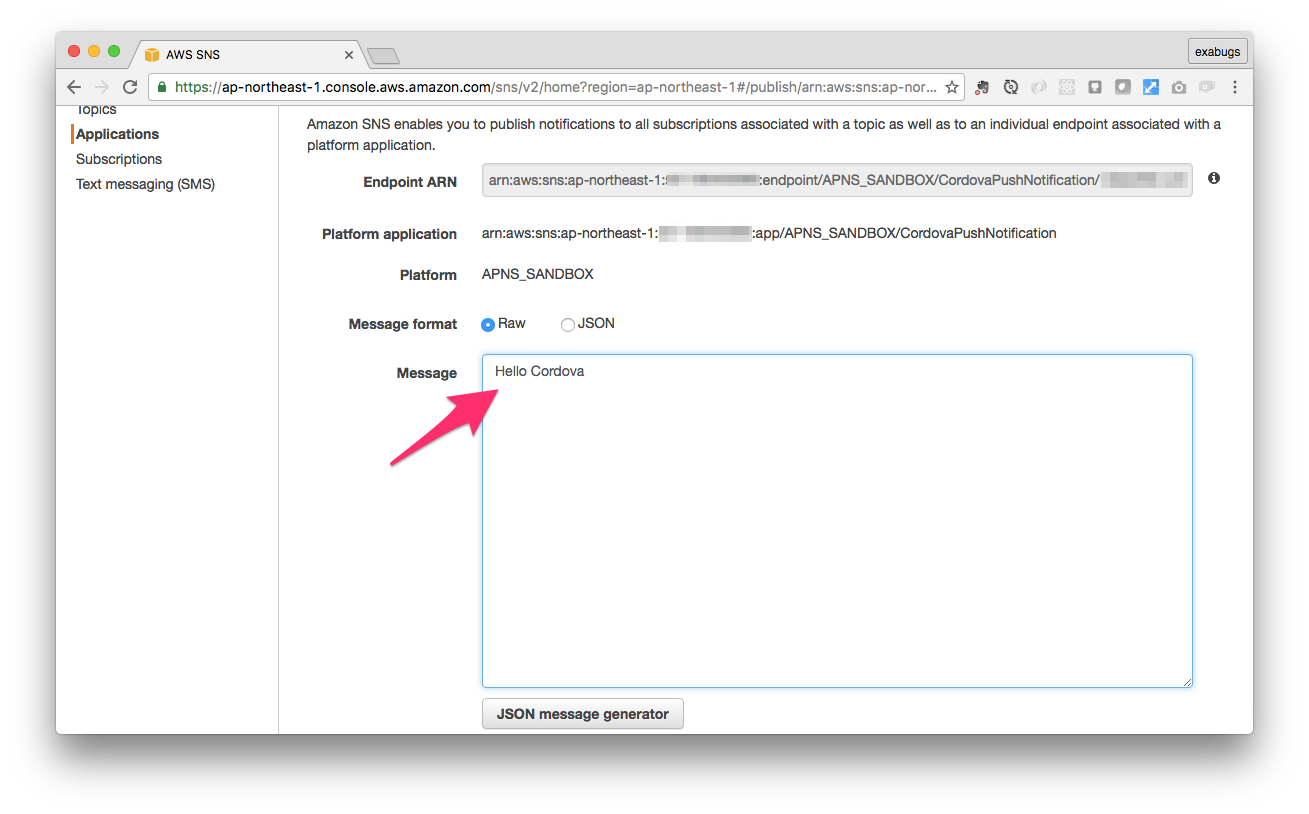
作成したEndpointを選択して、「Publish to endpoint」を押下
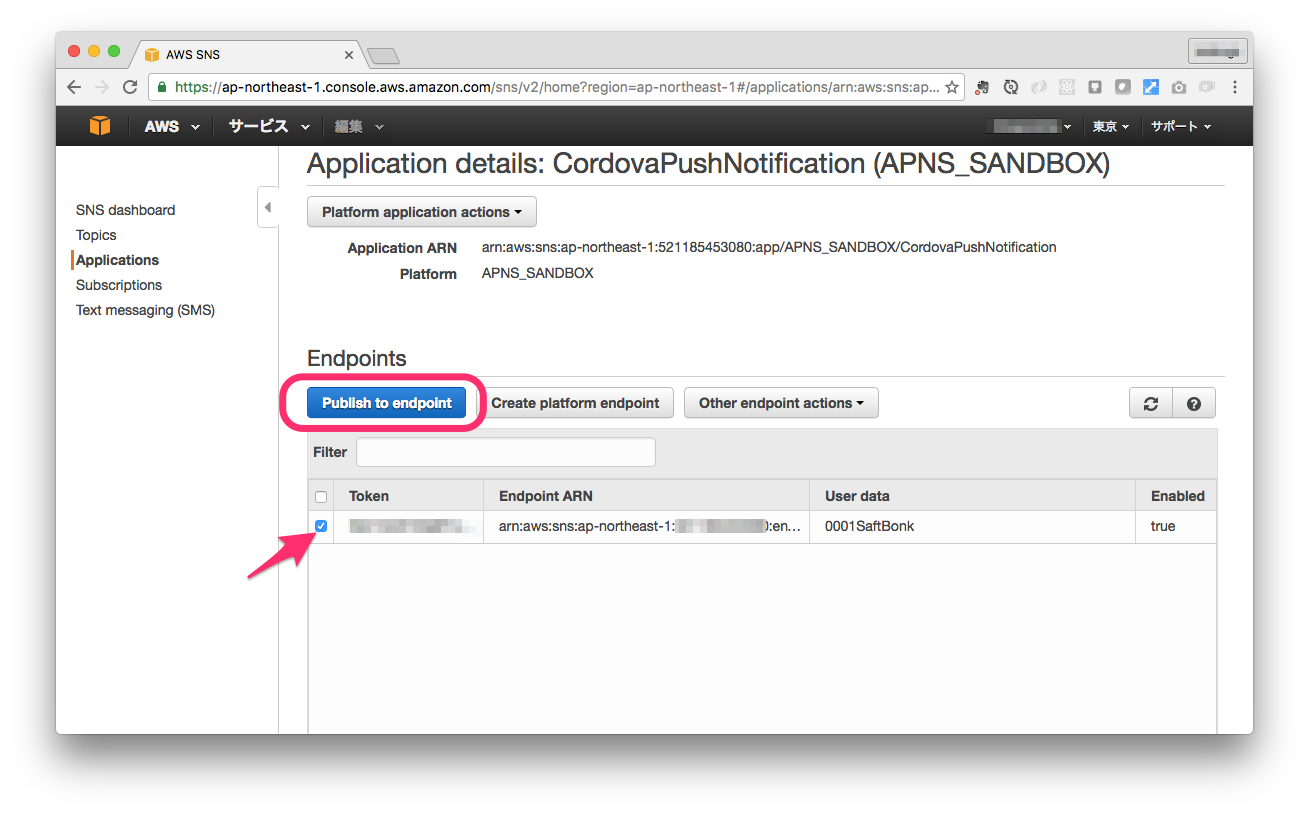
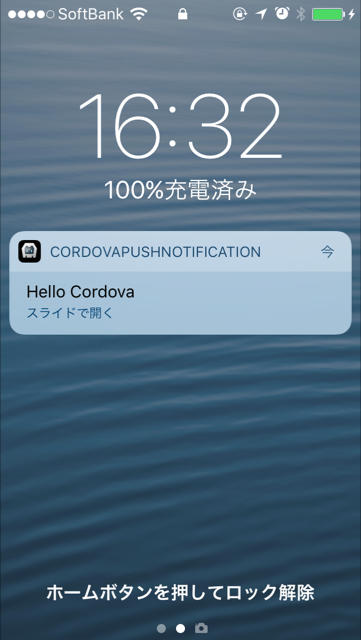
適当にメッセージを書いて、「Publish message」を押下すると、、、
1. キタ~
(アプリは閉じた状態にしておく)
# おわりに
- AWS SNS と Cordova を使って Push通知 の雛形を作成しました。
- ちゃんとしたアプリにするためには、ログイン後に「Device token」をサーバに送信し、ログインユーザとの関連を管理して、SNSに登録する必要があります。
- 今後は、Cognito との連携を調査していきます。
