ステッピングモーター
ステッピングモーターは一定の角度ずつ回転するモーターです。
使用するステッピングモーター
入力定格電圧:12V, ステップ角:1.8度
モータードライバA4988
配線
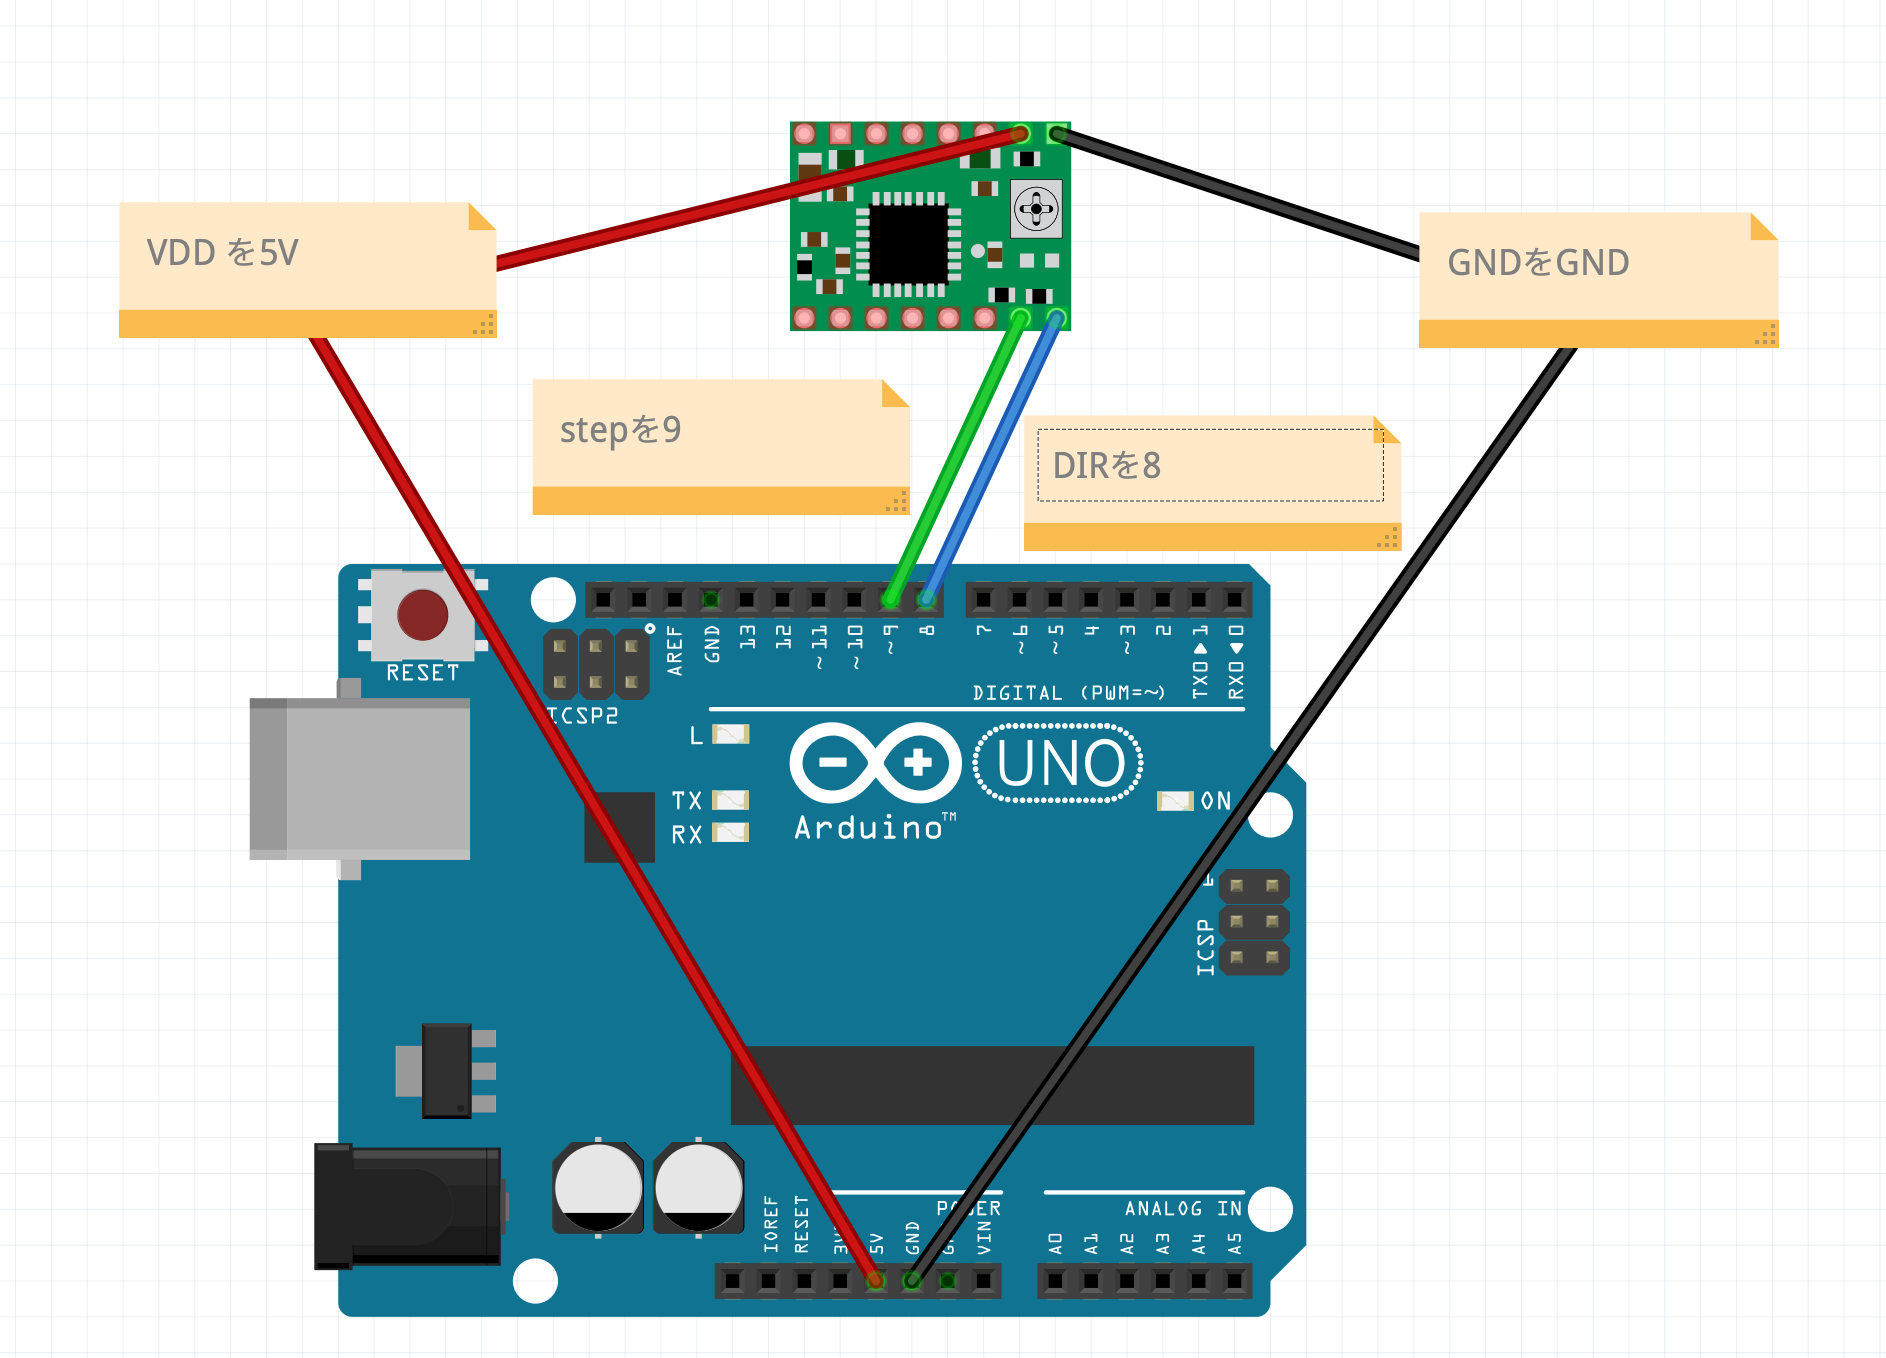
ステッピングモーターをA4988に接続し、STEPを9番ピン、DIRを8番ピン、VDDを5V、GNDとGNDをつなぎます。
プログラム
下記のプログラムをArduinoに書き込みましょう。
const int DIR  = 8;
const int STEP = 9;

void setup() {
  pinMode(DIR, OUTPUT);
  pinMode(STEP, OUTPUT);
  digitalWrite(DIR, LOW);
  digitalWrite(STEP, LOW);
}

void loop() {

  for (int i=0; i <= 50; i++){
    clockwise(5000);
  }
  for (int i=0; i <= 50; i++){
    counter_clockwise(5000);
  }
}

void clockwise(int delaytime){
  digitalWrite(DIR, HIGH);//HIGHは時計回り

  digitalWrite(STEP, HIGH);
  delayMicroseconds(delaytime);
  digitalWrite(STEP, LOW);
  delayMicroseconds(delaytime);

}

void counter_clockwise(int delaytime){

  digitalWrite(DIR, LOW);//はLOWは反時計回り
  digitalWrite(STEP, HIGH);
  delayMicroseconds(delaytime);
  digitalWrite(STEP, LOW);
  delayMicroseconds(delaytime);
}
