概要
ZabbixのWebページに、アプリ担当者やオペレータに、一部の情報しか閲覧させたくないような場合、ソースのPHPファイルを編集することで、特定ページのみを閲覧できる環境を構築することができる。
環境
CentOS 6.5
zabbix2.2
手順
/usr/share/zabbix配下が、zabbixのドキュメントルートとする。
/usr/share/zabbix配下を/usr/share/monitorへコピーする。

# cd /usr/share
# mkdir monitor
# cp -pr zabbix/* monitor/

PHPファイル(/usr/share/monitor/include/menu.inc.php)を編集する。
隠したいページの配列をコメントアウトする。

# vi /usr/share/monitor/include/menu.inc.php
//                      array(
//                              'url' => 'dashboard.php',
//                              'label' => _('Dashboard'),
//                              'sub_pages' => array('dashconf.php')
//                      ),
//                      array(
//                              'url' => 'overview.php',
//                              'label' => _('Overview')
//                      ),
//                      array(
//                              'url' => 'httpmon.php',
//                              'label' => _('Web'),
//                              'sub_pages' => array('httpdetails.php')
//                      ),
                        array(
                                'url' => 'latest.php',
                                'label' => _('Latest data'),
                                'sub_pages' => array('history.php', 'chart.php')
                        ),
//                      array(
//                              'url' => 'tr_status.php',
//                              'label' => _('Triggers'),
//                              'sub_pages' => array('acknow.php', 'tr_comments.php', 'chart4.php', 'scripts_exec.php')
//                      ),
//                      array(
//                              'url' => 'events.php',
//                              'label' => _('Events'),
//                              'sub_pages' => array('tr_events.php')
//                      ),
                        array(
                                'url' => 'charts.php',
                                'label' => _('Graphs'),
                                'sub_pages' => array('chart2.php', 'chart3.php', 'chart6.php', 'chart7.php')
                ),
                        array(
                                'url' => 'screens.php',
                                'label' => _('Screens'),
                                'sub_pages' => array('slides.php')
                        ),
//                      array(
//                              'url' => 'maps.php',
//                              'label' => _('Maps'),
//                              'sub_pages' => array('map.php')
//                      ),
//                      array(
//                              'url' => 'discovery.php',
//                              'label' => _('Discovery'),
//                              'user_type' => USER_TYPE_ZABBIX_ADMIN
//                      ),
//                      array(
//                              'url' => 'srv_status.php',
//                              'label' => _('IT services'),
//                              'force_disable_all_nodes' => true,
//                              'sub_pages' => array('report3.php', 'chart5.php')
//                      ),
                        array(
                                'url' => 'chart3.php'
                        ),
                        array(
                                'url' => 'imgstore.php'
                        ),
                        array(
                                'url' => 'search.php'
                        ),
                        array(
                                'url' => 'jsrpc.php'
                        )
                )
        ),
//      'cm' => array(
//              'label'                         => _('Inventory'),
//              'user_type'                     => USER_TYPE_ZABBIX_USER,
//              'node_perm'                     => PERM_READ,
//              'default_page_id'       => 0,
//              'pages' => array(
//                      array(
//                              'url' => 'hostinventoriesoverview.php',
//                              'label' => _('Overview')
//                      ),
//                      array(
//                              'url' => 'hostinventories.php',
//                              'label' => _('Hosts')
//                      )
//              )
//      ),
//      'reports' => array(
//              'label'                         => _('Reports'),
//              'user_type'                     => USER_TYPE_ZABBIX_USER,
//              'node_perm'                     => PERM_READ,
//              'default_page_id'       => 0,
//              'pages' => array(
//                      array(
//                              'url' => 'report1.php',
//                              'label' => _('Status of Zabbix'),
//                              'user_type' => USER_TYPE_SUPER_ADMIN
//                      ),
//                      array(
//                              'url' => 'report2.php',
//                              'label' => _('Availability report')
//                      ),
//                      array(
//                              'url' => 'report5.php',
//                              'label' => _('Triggers top 100')
//                      ),
//                      array(
//                              'url' => 'report6.php',
//                              'label' => _('Bar reports'),
//                              'sub_pages' => array('popup_period.php', 'popup_bitem.php', 'chart_bar.php')
//                      ),
//                      array(
//                              'url

monitor用のZabbixページのApacheの設定ファイルを作成する。

# cp -p /etc/httpd/conf.d/zabbix.conf /etc/httpd/conf.d/zabbix-monitor.conf

ファイルを修正します。
# vi /etc/httpd/conf.d/zabbix-monitor.conf
#
# Zabbix monitoring system php web frontend
#

# Alias /zabbix /usr/share/zabbix
Alias /monitor /usr/share/monitor

<Directory "/usr/share/monitor">
    Options FollowSymLinks
    AllowOverride None
    Order allow,deny
    Allow from all

    php_value max_execution_time 300
    php_value memory_limit 128M
    php_value post_max_size 16M
    php_value upload_max_filesize 2M
    php_value max_input_time 300
    # php_value date.timezone Europe/Riga
</Directory>

<Directory "/usr/share/monitor/conf">
    Order deny,allow
    Deny from all
    <files *.php>
        Order deny,allow
        Deny from all
    </files>
</Directory>

<Directory "/usr/share/monitor/api">
    Order deny,allow
    Deny from all
    <files *.php>
        Order deny,allow
        Deny from all
    </files>
</Directory>

<Directory "/usr/share/monitor/include">
    Order deny,allow
    Deny from all
    <files *.php>
        Order deny,allow
        Deny from all
    </files>
</Directory>

<Directory "/usr/share/monitor/include/classes">
    Order deny,allow
    Deny from all
    <files *.php>
        Order deny,allow
        Deny from all
    </files>
</Directory>

編集後、Apacheを再起動しておきます。
# service httpd restart
閲覧者用のユーザ、ユーザグループを作成します。以下がサンプルです。

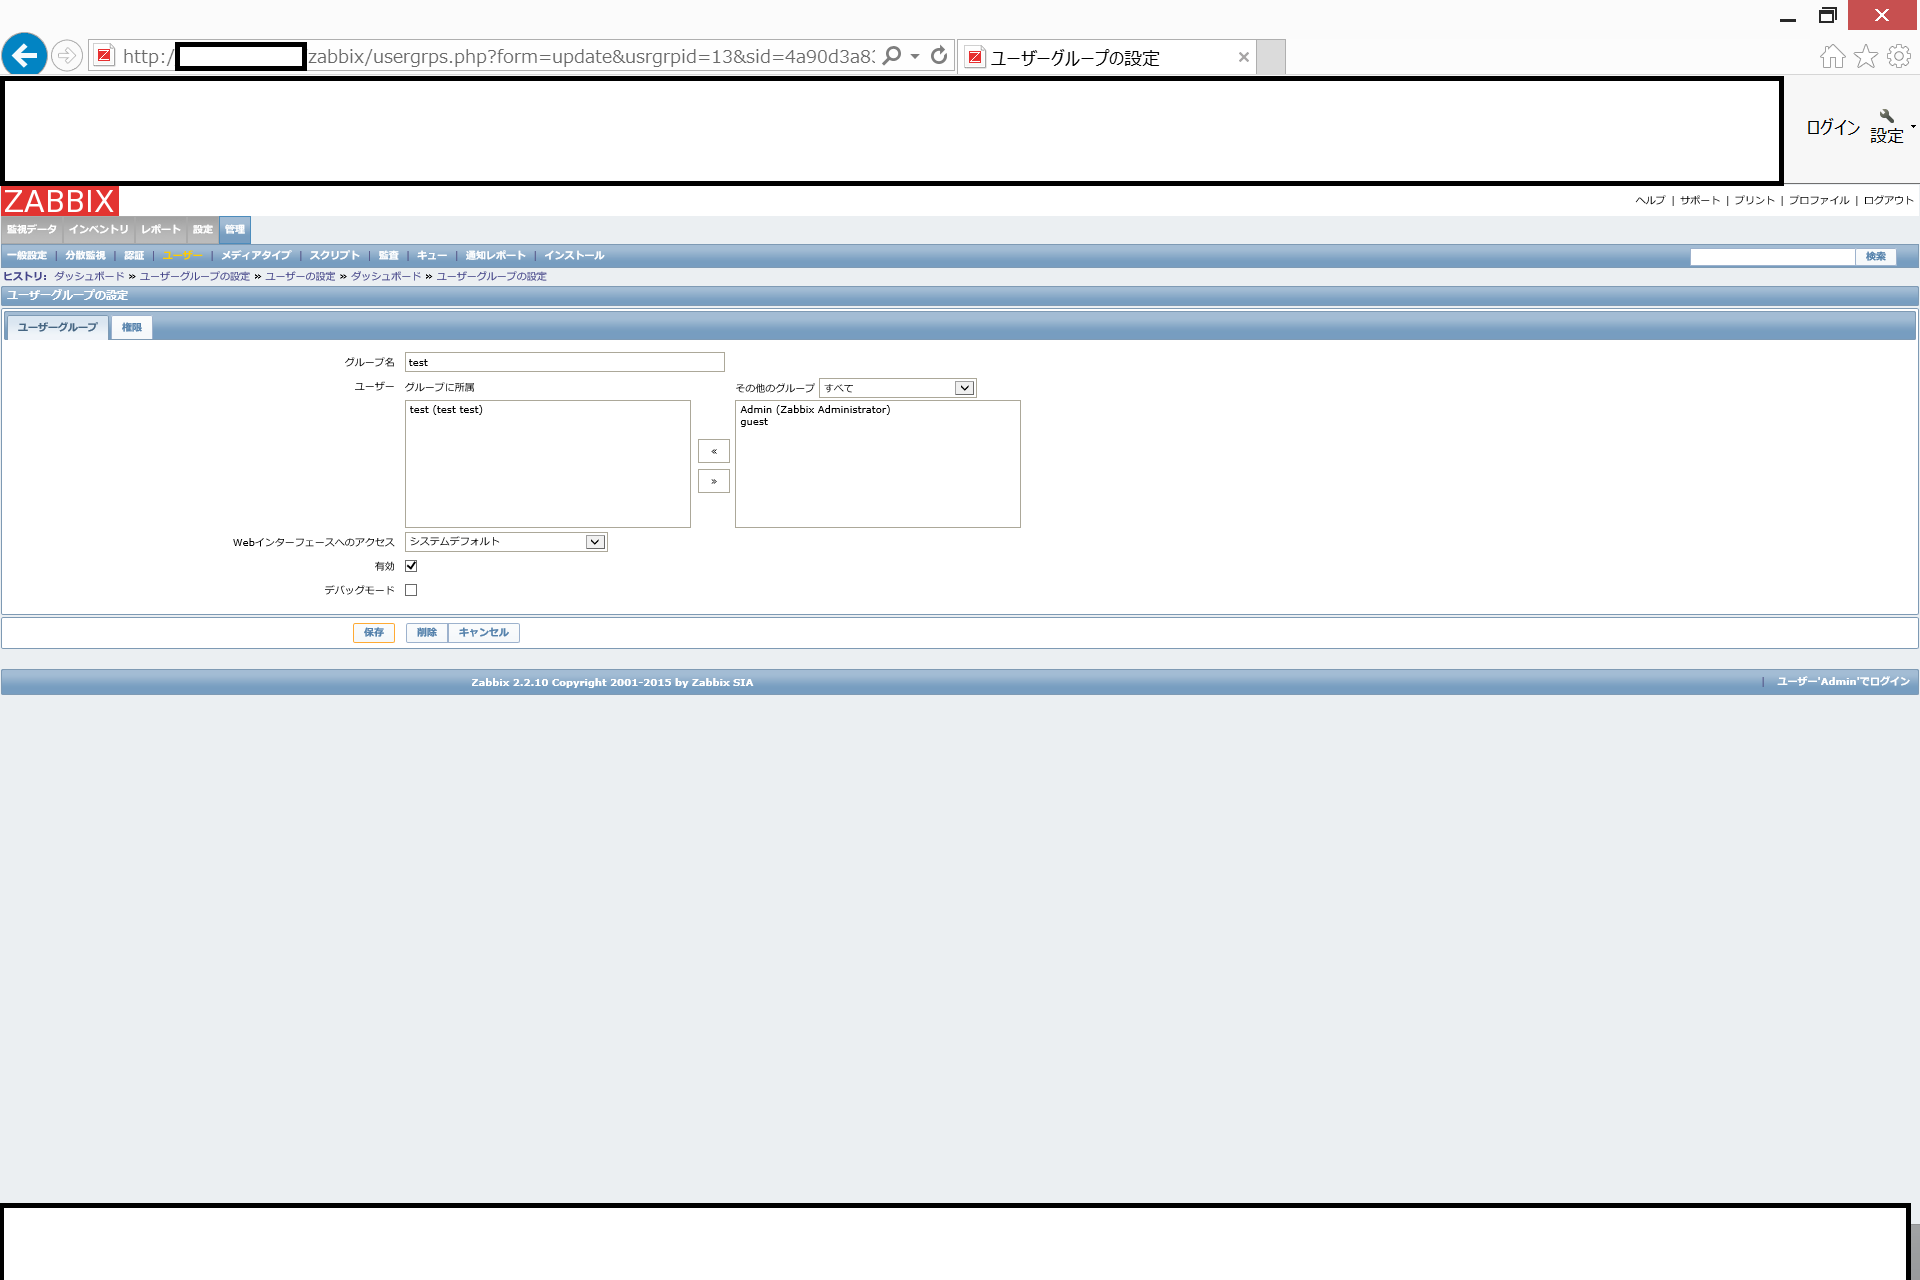
ここで注意すべきなのは、ログイン後のURLに「http://ZabbixサーバIPアドレス/monitor/latest.php」を指定することです。
コメントアウトしたページには、アクセスできないので、ログイン後にエラーで出力されます。

これで完成です。
閲覧者には、Zabbixへのアクセスは、「http://ZabbixサーバのIPアドレス/monitor」だと伝えましょう。作成したtestユーザでアクセスしてみます。
※知っている人は、「http://ZabbixサーバのIPアドレス/zabbix」が、本来のZabbixのアクセスする場所だとわかっているので、こちらも場所をかえたり、F/W(iptables)やApacheの設定でアクセス制限をするのがいいでしょう。

「監視データ」の下に「最新データ」、「グラフ」、「スクリーン」しかないのが、確認できます。
