自宅で運用しているLinuxサーバーを本体ごとリプレイスしたので、その時のメモ
本体はARMベースのOrange Pi 3Bです。
スペック
- OS:Armbian (Debian trixie)
- CPU: Cortex-A55 1.8GHz Quad-core
- RAM:8GB
- Storage: M.2 SSD 256GB
起動ディスクの作成
Armbian Orange pi 3B
https://www.armbian.com/orangepi3b/
ArmbianのイメージをmicroSDに書き込む。
Mac環境なので、balenaEtcherを使用する。
書き込んだmicroSDをサーバーへ差し込み。
コンソールにログイン
基本的にはrootアカウントになる。
初期パスワードがかかっていることが多いので、事前に調べる。
今回は1234でした。
インストール先のストレージを調べる
root@server:~$ fdisk -l

Disk /dev/mmcblk1: 128 GiB, xxx bytes, xxx sectors
Units: sectors of 1 * 512 = 512 bytes
Sector size (logical/physical): 512 bytes / 512 bytes
I/O size (minimum/optimal): 512 bytes / 512 bytes


Disk /dev/nvme0n1: 256 GiB, xxx bytes, xxx sectors
Disk model: SAMSUNG xxx
Units: sectors of 1 * 512 = 512 bytes
Sector size (logical/physical): 512 bytes / 512 bytes
I/O size (minimum/optimal): 16384 bytes / 131072 bytes
Disklabel type: gpt
Disk identifier: xxx

Device         Start       End   Sectors   Size Type
/dev/nvme0n1p1 xxx         xxx       xxx 256G Linux filesystem
今回はM.2 SSDにインストールするので、/dev/nvme0n1になります。
ディストリビュージョンイメージをSSHで転送
- サーバーのIPアドレスを調べる
root@server:~$ ip a

1: lo: <LOOPBACK,UP,LOWER_UP> mtu 65536 qdisc noqueue state UNKNOWN group default qlen 1000
    link/loopback 00:00:00:00:00:00 brd 00:00:00:00:00:00
    inet 127.0.0.1/8 scope host lo
       valid_lft forever preferred_lft forever
    inet6 ::1/128 scope host noprefixroute
       valid_lft forever preferred_lft forever
2: end1: <BROADCAST,MULTICAST,UP,LOWER_UP> mtu 1500 qdisc mq state UP group default qlen 1000
    link/ether xx:xx:xx:xx:xx:xx brd ff:ff:ff:ff:ff:ff
    altname aaaaaaaaaaaa
    inet 192.168.0.2/24 brd 192.168.0.255 scope global end1
       valid_lft forever preferred_lft forever
今回は192.168.0.2がサーバーのアドレスになります。
ssh root@192.168.0.2でsshログイン可能だが、rootログイン不可の場合がある。
その場合は、サーバー側からuseraddを実行してユーザーを追加し、ログインする。
- SCPでイメージをサーバーへ転送
armbian.img…相手に送るファイルのパス
/root…相手の保存先。dochinユーザーなら/home/dochinになる。
dochin@macbook:~$ scp armbian.img root@192.168.0.2:/root
イメージをストレージに書き込む
- ddコマンド
root@server:~$ dd if=/root/armbian.img of=/dev/nvme0n1 bs=1M status=progress
status=progressで進捗確認ができます。
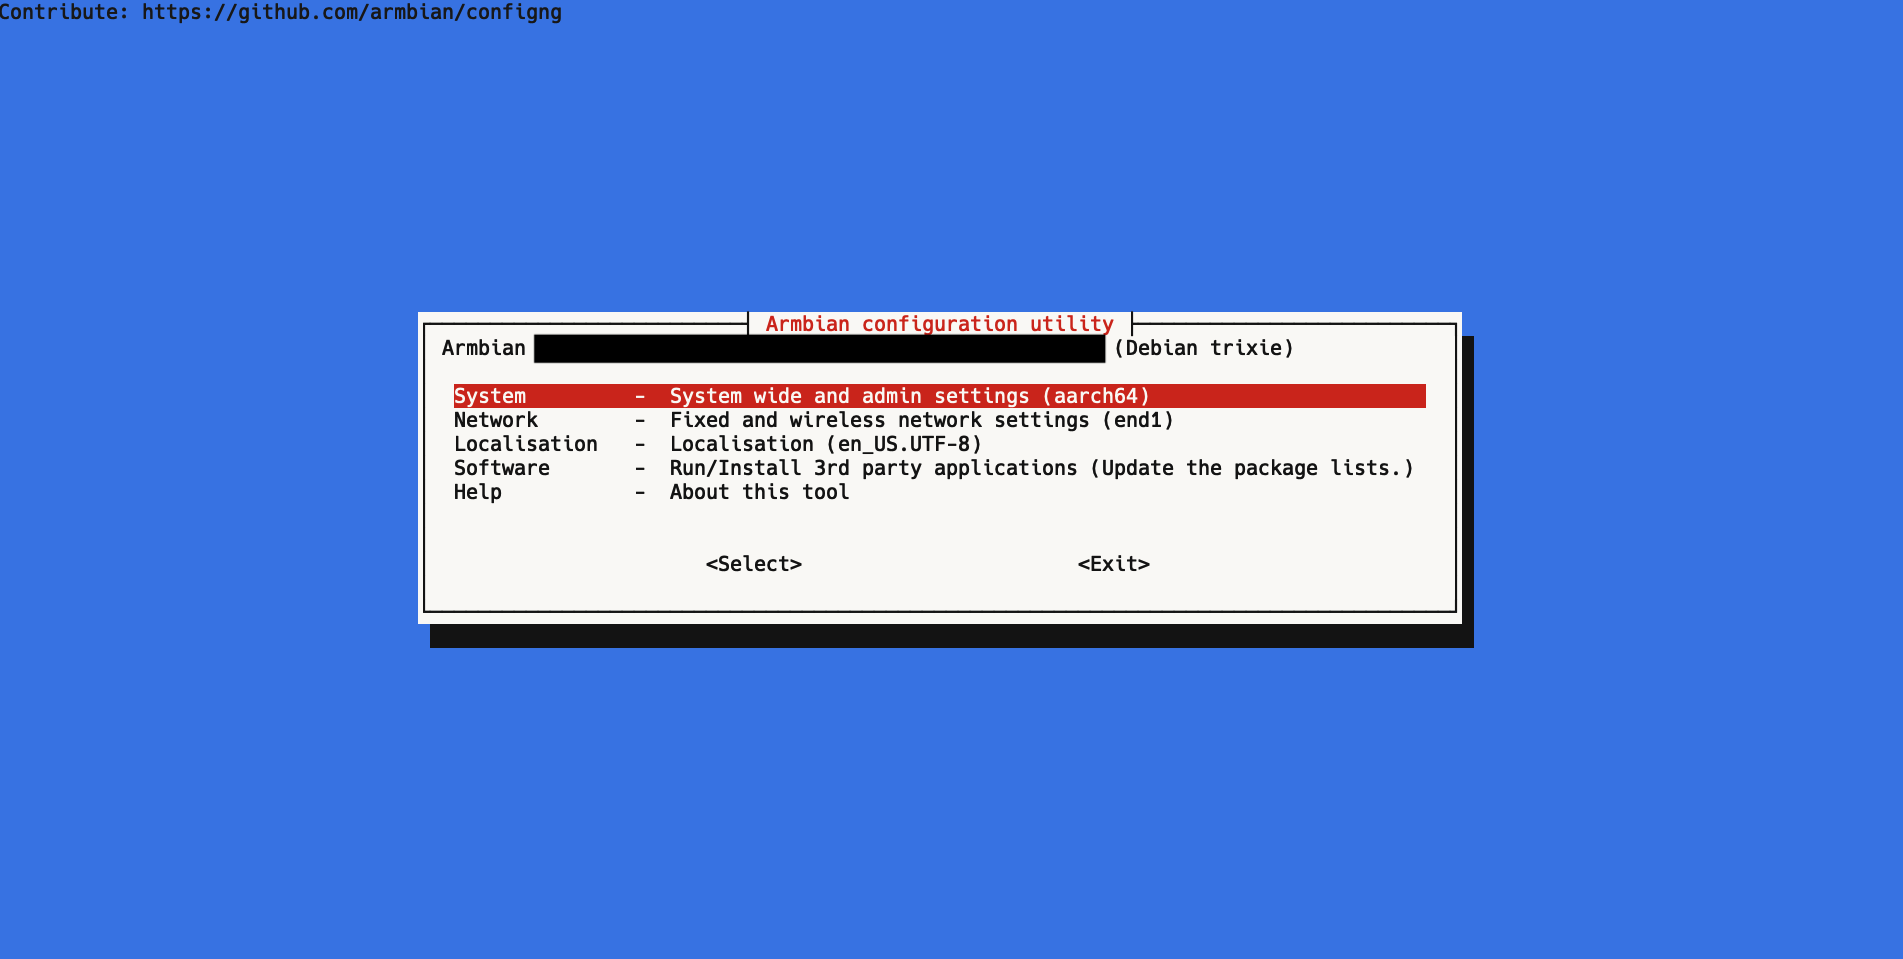
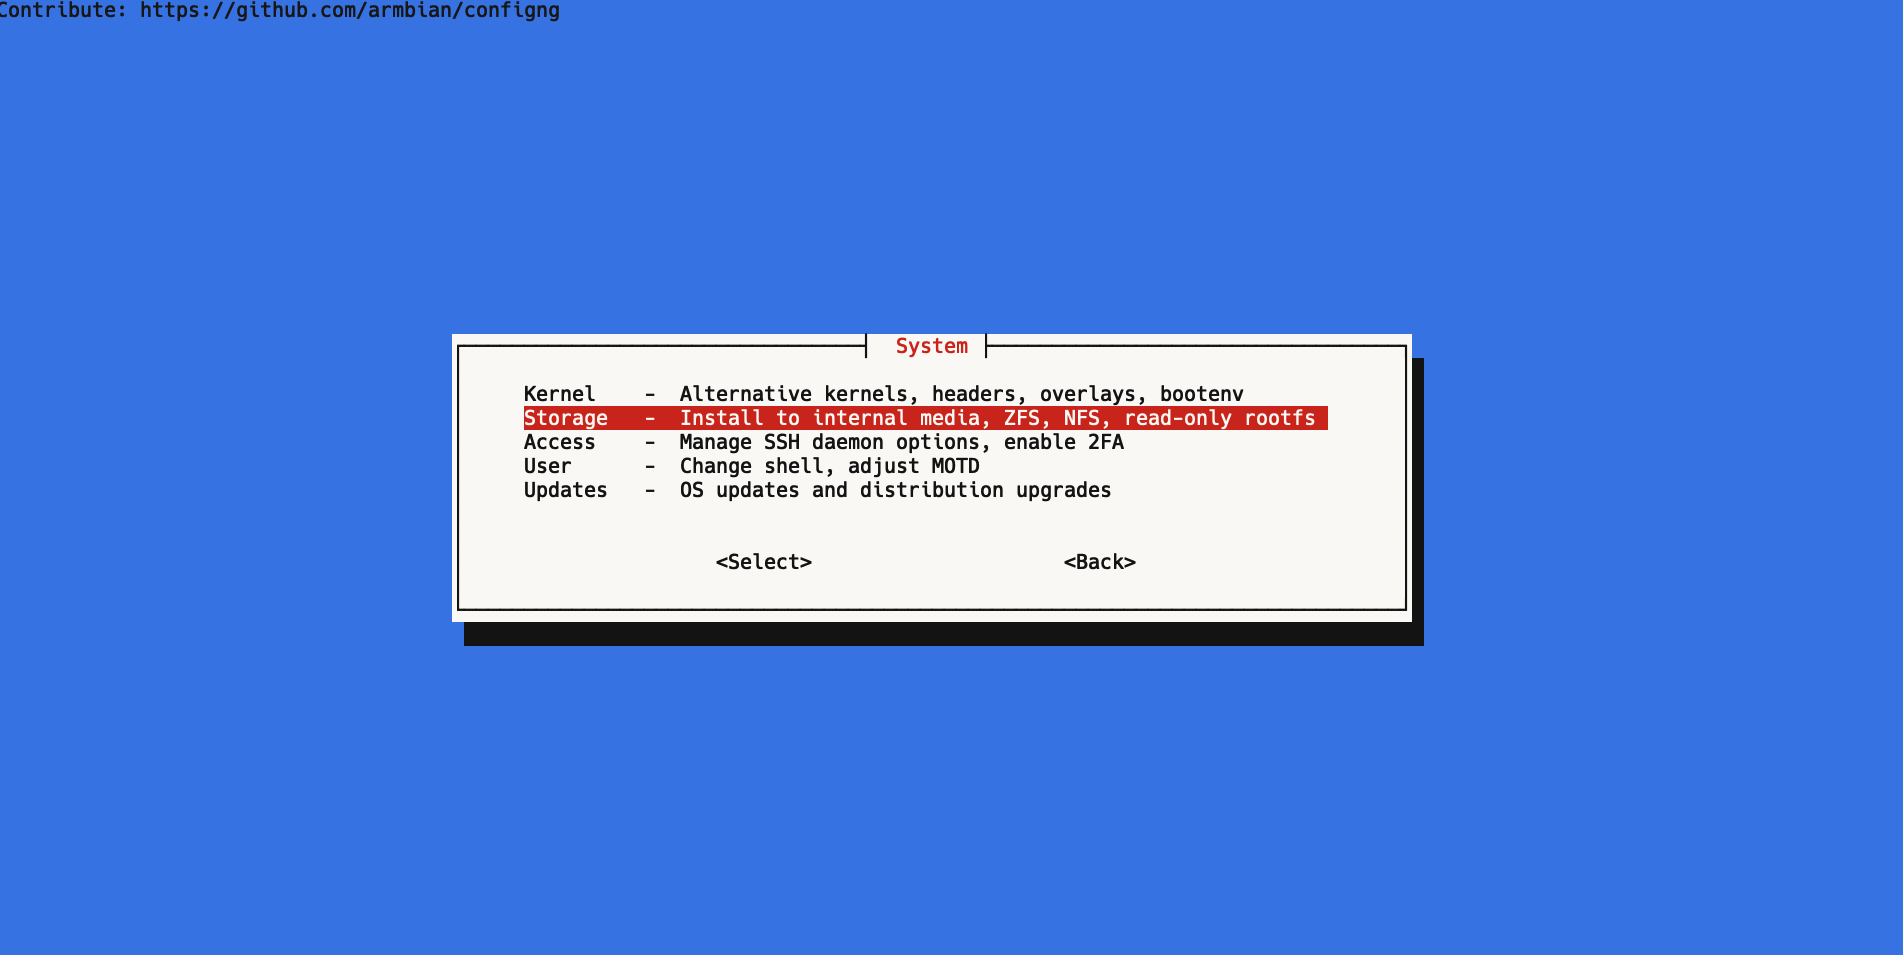
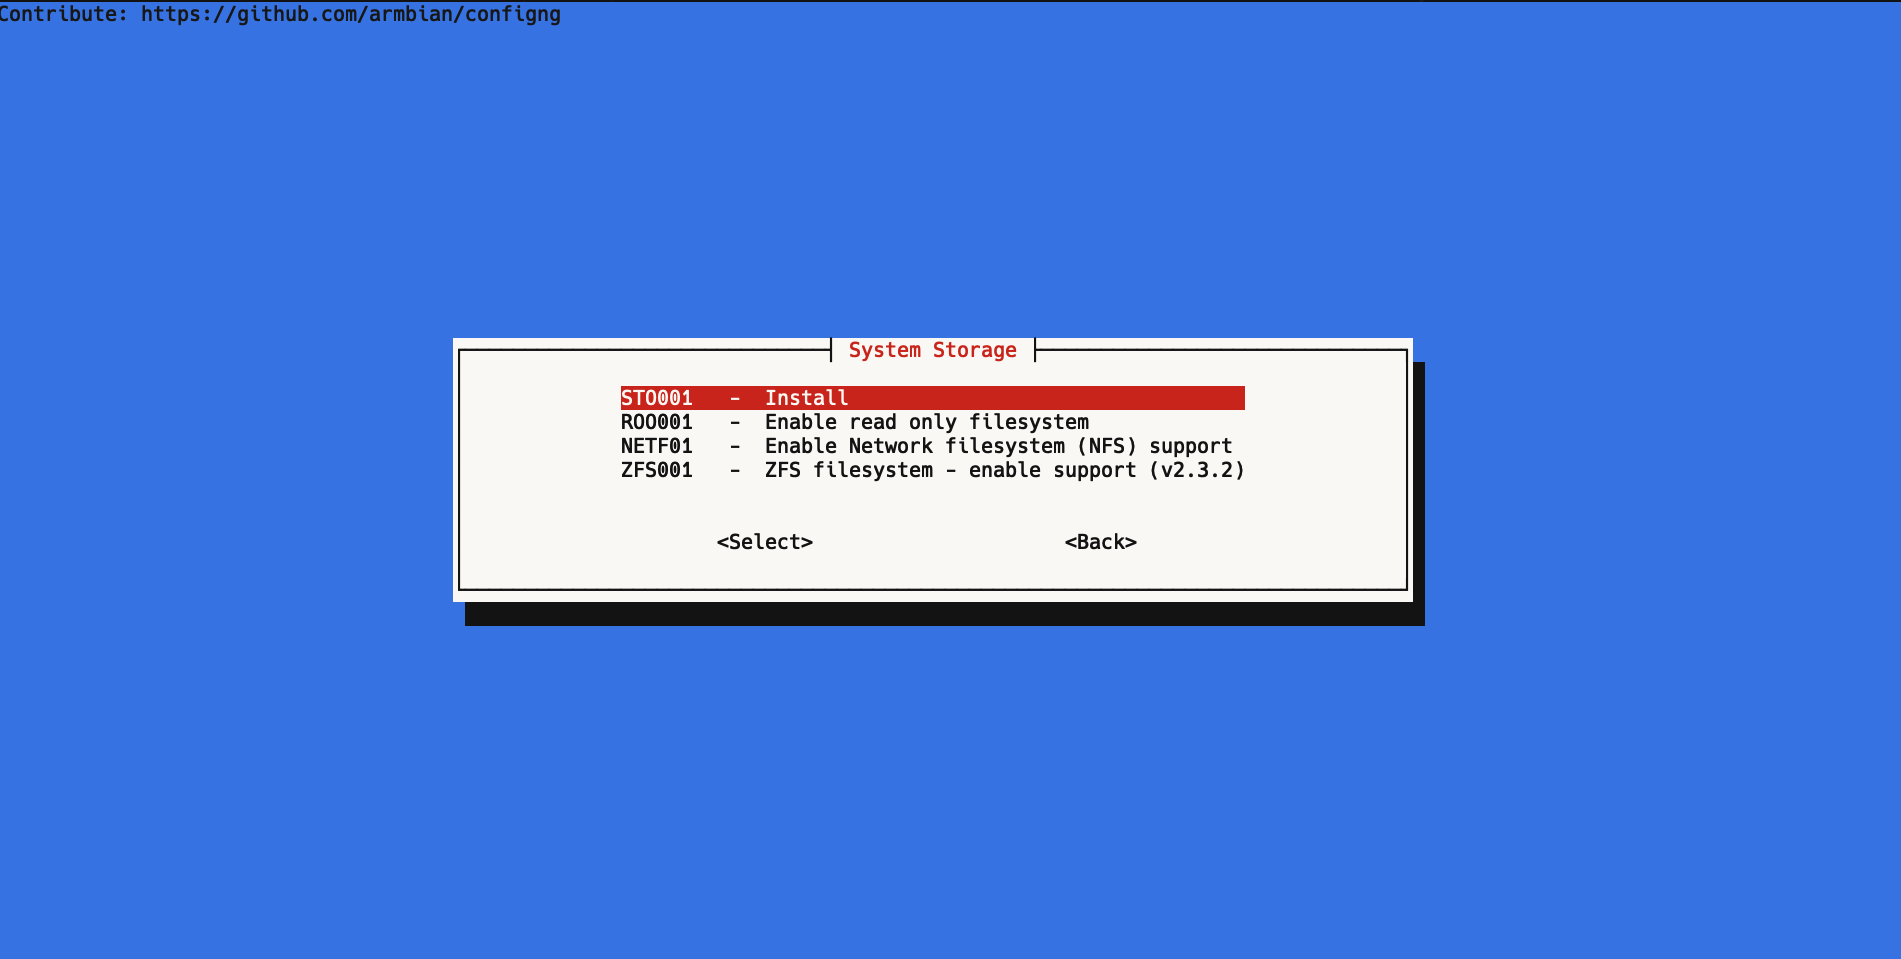
ブートローダーのインストール
armbian-configを使用。
System→Strage→ST001→Install/Update the bootloader on (/dev/nvme0n1)と進む。

WARNINGと表示され、Yesを選択する。
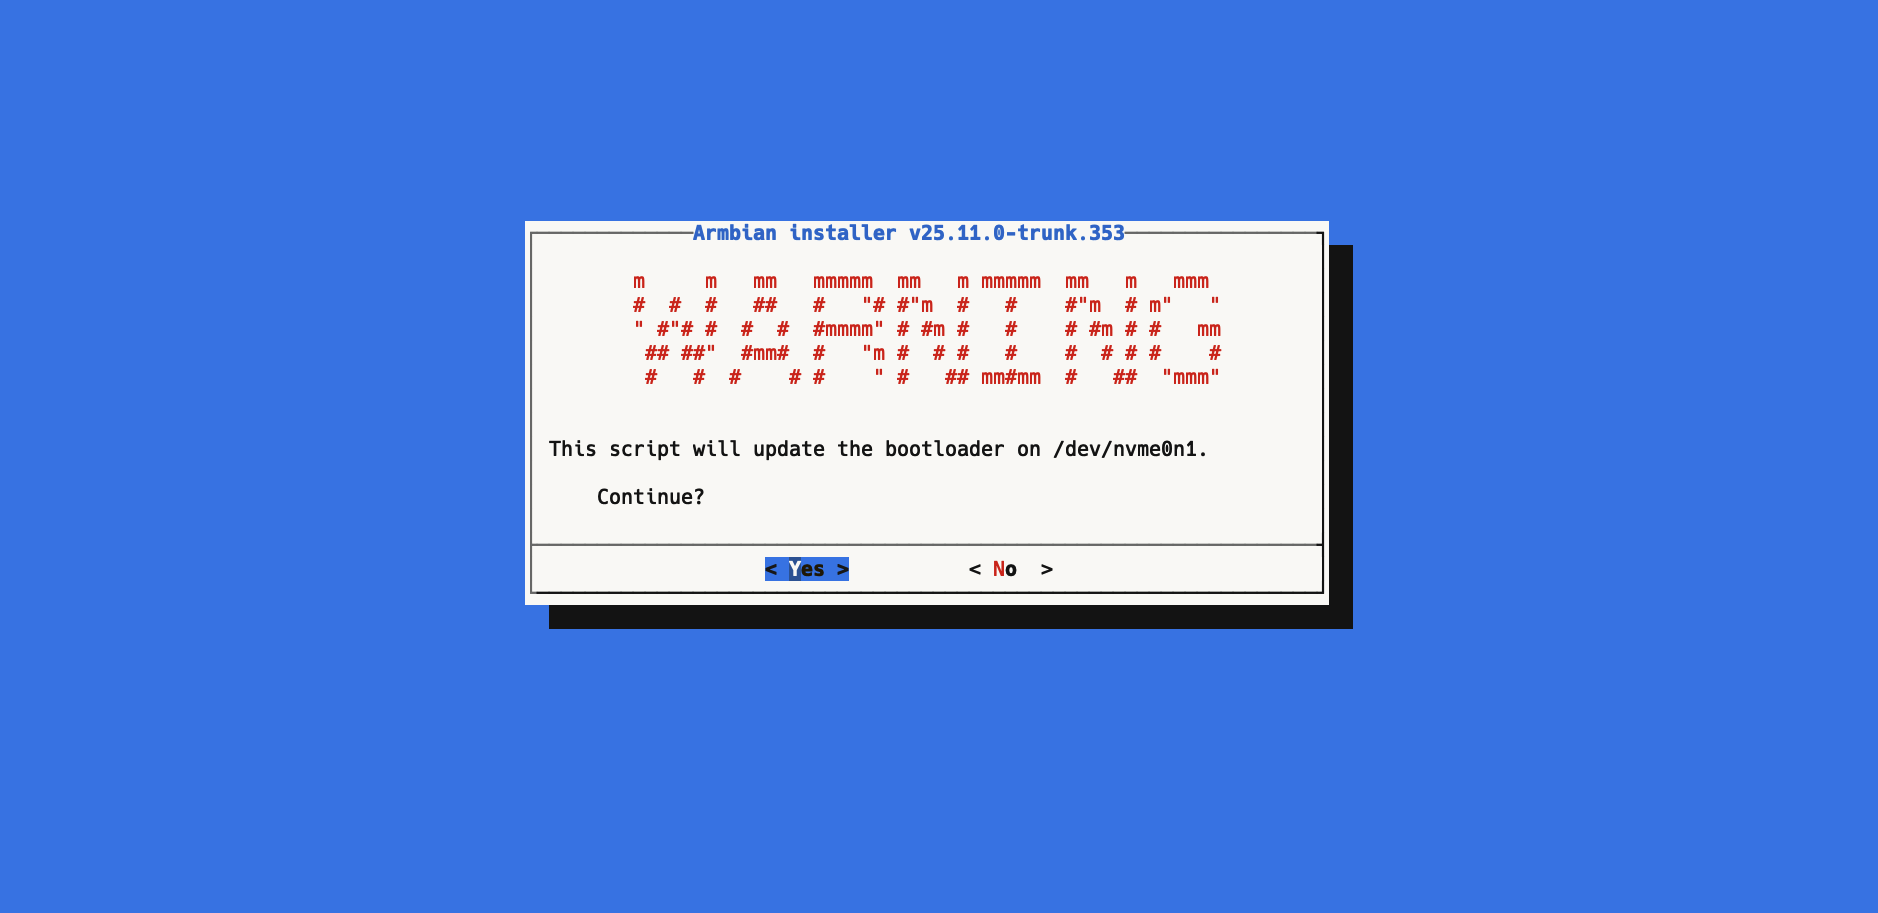
再起動すると、M.2 SSDから起動できます。