この記事は、「Flutter Advent Calendar 2021」の20日目の記事です。
AWS AmplifyとFlutterでログイン機能を構築してみました 
AWS AmplifyとAmplify UI Componentsのamplify_authenticatorとFlutterを組み合わせてログイン機能を構築してみました!
事前準備
- Flutterの環境準備
-
Flutter #001 - インストール
- Flutter v2.8.0
- Dart v2.15.0
- Xcode v13.1
- Android SDK v32.0.0
- Android Studio v2020.3
- Visual Studio Code v1.63.0
- Flutter extension v3.29.0
-
Flutter #001 - インストール
- AWS Amplifyの環境準備
-
AWS Amplify #001 - インストール
- node v16.10.0
- npm v7.24.0
-
AWS Amplify #001 - インストール
Flutterのプロジェクト作成
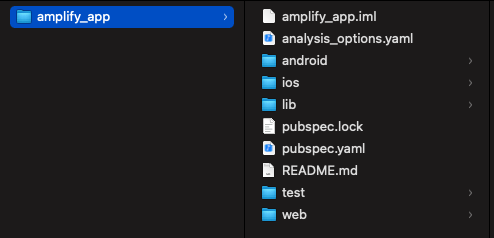
はじめに、Flutterのプロジェクトを作成します。
flutter create amplify_app
これでFlutterのプロジェクト作成は完了になります。
AWS Amplifyの設定
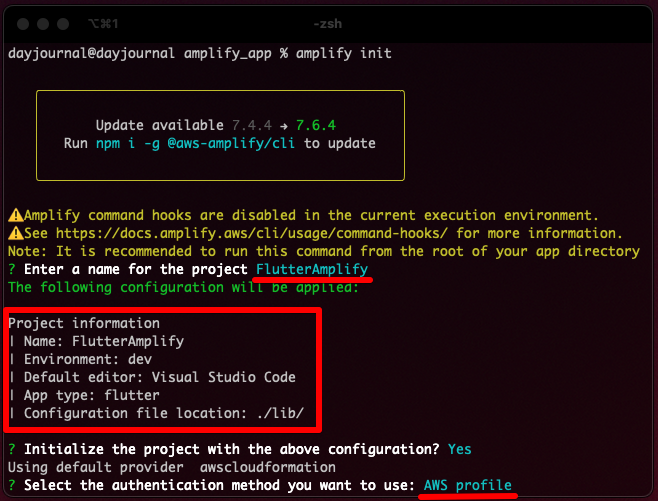
次に、AWS AmplifyをFlutter用に設定し認証機能を追加します。
AWS AmplifyをFlutter用に設定
amplify init
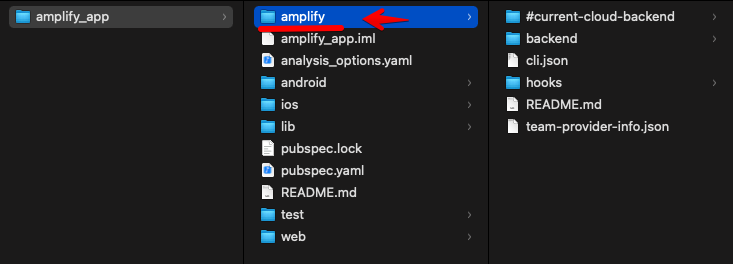
認証機能を追加
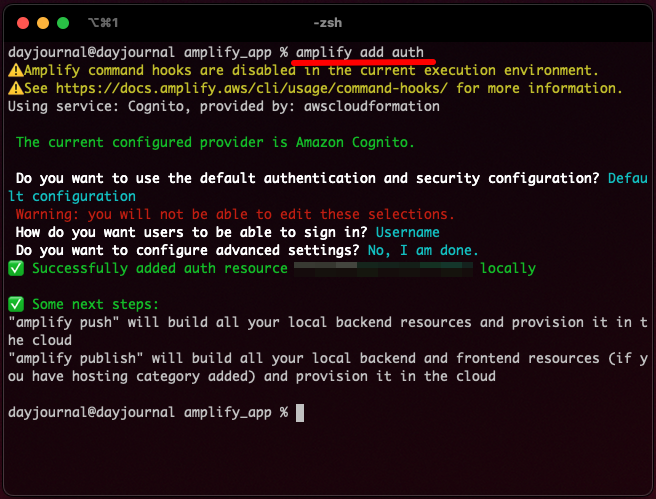
amplify add auth
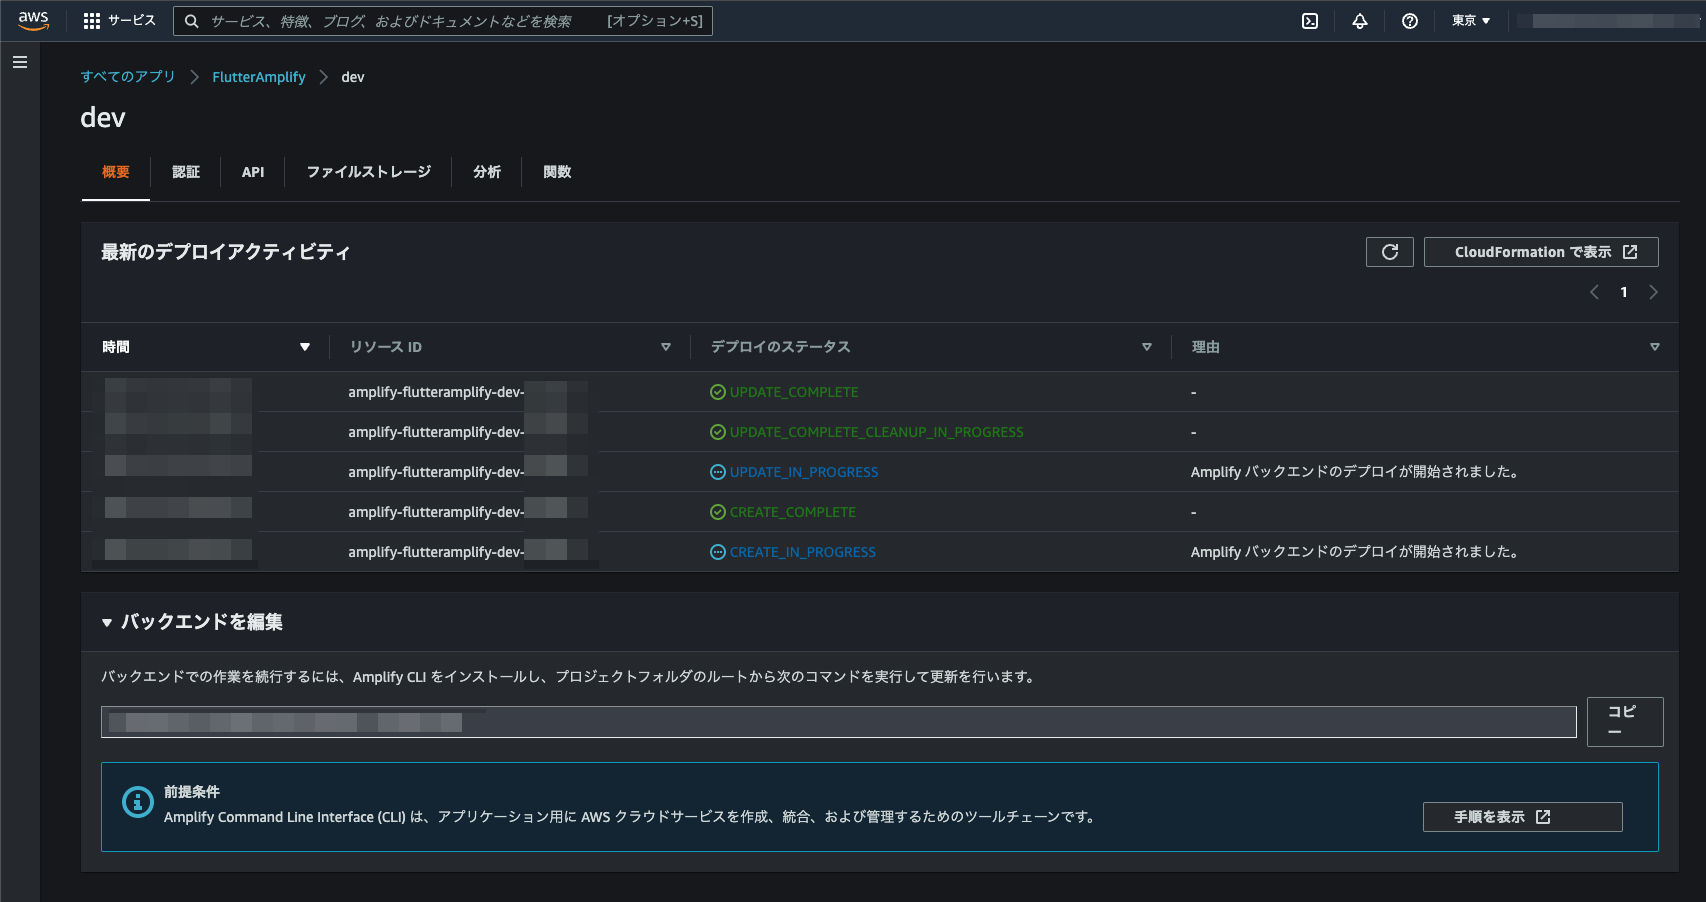
amplify push
これでAWS Amplifyの設定は完了になります。
Flutterの設定
最後に、実際にログイン機能のコードを記述していきます。
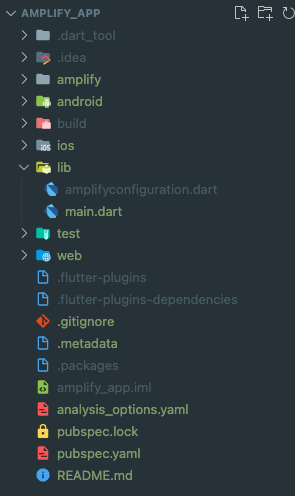
全体構成
pubspec.yaml
name: amplify_app
description: A new Flutter project.

publish_to: 'none'

version: 1.0.0+1

environment:
    sdk: '>=2.15.0 <3.0.0'

dependencies:
    flutter:
        sdk: flutter

    cupertino_icons: ^1.0.2

    amplify_auth_cognito: ^0.3.0-0
    amplify_authenticator: ^0.1.0-0
    amplify_flutter: ^0.3.0-0

dev_dependencies:
    flutter_test:
        sdk: flutter

    flutter_lints: ^1.0.0

flutter:
    uses-material-design: true
Amplify UI Componentsの「amplify_authenticator」関係のパッケージをインストールします。
amplify_auth_cognito: ^0.3.0-0
amplify_authenticator: ^0.1.0-0
amplify_flutter: ^0.3.0-0
/lib
main.dart
import 'package:amplify_auth_cognito/amplify_auth_cognito.dart';
import 'package:amplify_authenticator/amplify_authenticator.dart';
import 'package:amplify_flutter/amplify.dart';
import 'package:flutter/material.dart';

import 'amplifyconfiguration.dart';

void main() {
  runApp(const MyApp());
}

class MyApp extends StatefulWidget {
  const MyApp({Key? key}) : super(key: key);

  @override
  _MyAppState createState() => _MyAppState();
}

class _MyAppState extends State<MyApp> {
  @override
  void initState() {
    super.initState();
    _configureAmplify();
  }

  Future<void> _configureAmplify() async {
    try {
      await Amplify.addPlugin(AmplifyAuthCognito());
      await Amplify.configure(amplifyconfig);
    } on Exception catch (e) {
      print('Could not configure Amplify: $e');
    }
  }

  @override
  Widget build(BuildContext context) {
    return MaterialApp(
      theme: ThemeData.light(),
      darkTheme: ThemeData.dark(),
      home: Authenticator(
        child: const LoggedInScreen(),
      ),
    );
  }
}

class LoggedInScreen extends StatelessWidget {
  const LoggedInScreen({Key? key}) : super(key: key);

  @override
  Widget build(BuildContext context) {
    return Scaffold(
      body: Center(
        child: Column(
          children: const [
            Text('Logged In'),
            SignOutButton(),
          ],
        ),
      ),
    );
  }
}
AWS Amplify関係を読み込みます。
import 'package:amplify_auth_cognito/amplify_auth_cognito.dart';
import 'package:amplify_authenticator/amplify_authenticator.dart';
import 'package:amplify_flutter/amplify.dart';
import 'amplifyconfiguration.dart';
AWS Amplifyの認証設定をします。
  Future<void> _configureAmplify() async {
    try {
      await Amplify.addPlugin(AmplifyAuthCognito());
      await Amplify.configure(amplifyconfig);
    } on Exception catch (e) {
      print('Could not configure Amplify: $e');
    }
  }
UIコンポーネントを設定します。
  @override
  Widget build(BuildContext context) {
    return MaterialApp(
      theme: ThemeData.light(),
      darkTheme: ThemeData.dark(),
      home: Authenticator(
        child: const LoggedInScreen(),
      ),
    );
  }
ログイン後の画面を設定します。
  @override
  Widget build(BuildContext context) {
    return Scaffold(
      body: Center(
        child: Column(
          children: const [
            Text('Logged In'),
            SignOutButton(),
          ],
        ),
      ),
    );
  }
/android/app
build.gradle
def localProperties = new Properties()
def localPropertiesFile = rootProject.file('local.properties')
if (localPropertiesFile.exists()) {
    localPropertiesFile.withReader('UTF-8') { reader ->
        localProperties.load(reader)
    }
}

def flutterRoot = localProperties.getProperty('flutter.sdk')
if (flutterRoot == null) {
    throw new GradleException("Flutter SDK not found. Define location with flutter.sdk in the local.properties file.")
}

def flutterVersionCode = localProperties.getProperty('flutter.versionCode')
if (flutterVersionCode == null) {
    flutterVersionCode = '1'
}

def flutterVersionName = localProperties.getProperty('flutter.versionName')
if (flutterVersionName == null) {
    flutterVersionName = '1.0'
}

apply plugin: 'com.android.application'
apply plugin: 'kotlin-android'
apply from: "$flutterRoot/packages/flutter_tools/gradle/flutter.gradle"

android {
    compileSdkVersion flutter.compileSdkVersion

    compileOptions {
        sourceCompatibility JavaVersion.VERSION_1_8
        targetCompatibility JavaVersion.VERSION_1_8
    }

    kotlinOptions {
        jvmTarget = '1.8'
    }

    sourceSets {
        main.java.srcDirs += 'src/main/kotlin'
    }

    defaultConfig {
        // TODO: Specify your own unique Application ID (https://developer.android.com/studio/build/application-id.html).
        applicationId "com.example.amplify_app"
        minSdkVersion 21
        targetSdkVersion flutter.targetSdkVersion
        versionCode flutterVersionCode.toInteger()
        versionName flutterVersionName
    }

    buildTypes {
        release {
            // TODO: Add your own signing config for the release build.
            // Signing with the debug keys for now, so `flutter run --release` works.
            signingConfig signingConfigs.debug
        }
    }
}

flutter {
    source '../..'
}

dependencies {
    implementation "org.jetbrains.kotlin:kotlin-stdlib-jdk7:$kotlin_version"
}
Androidでamplify_authenticatorを表示するには、現状でAndroid SDKのバージョンを指定する必要があるため「minSdkVersion」を固定で指定します。
    defaultConfig {
        // TODO: Specify your own unique Application ID (https://developer.android.com/studio/build/application-id.html).
        applicationId "com.example.amplify_app"
        minSdkVersion 21
        targetSdkVersion flutter.targetSdkVersion
        versionCode flutterVersionCode.toInteger()
        versionName flutterVersionName
    }
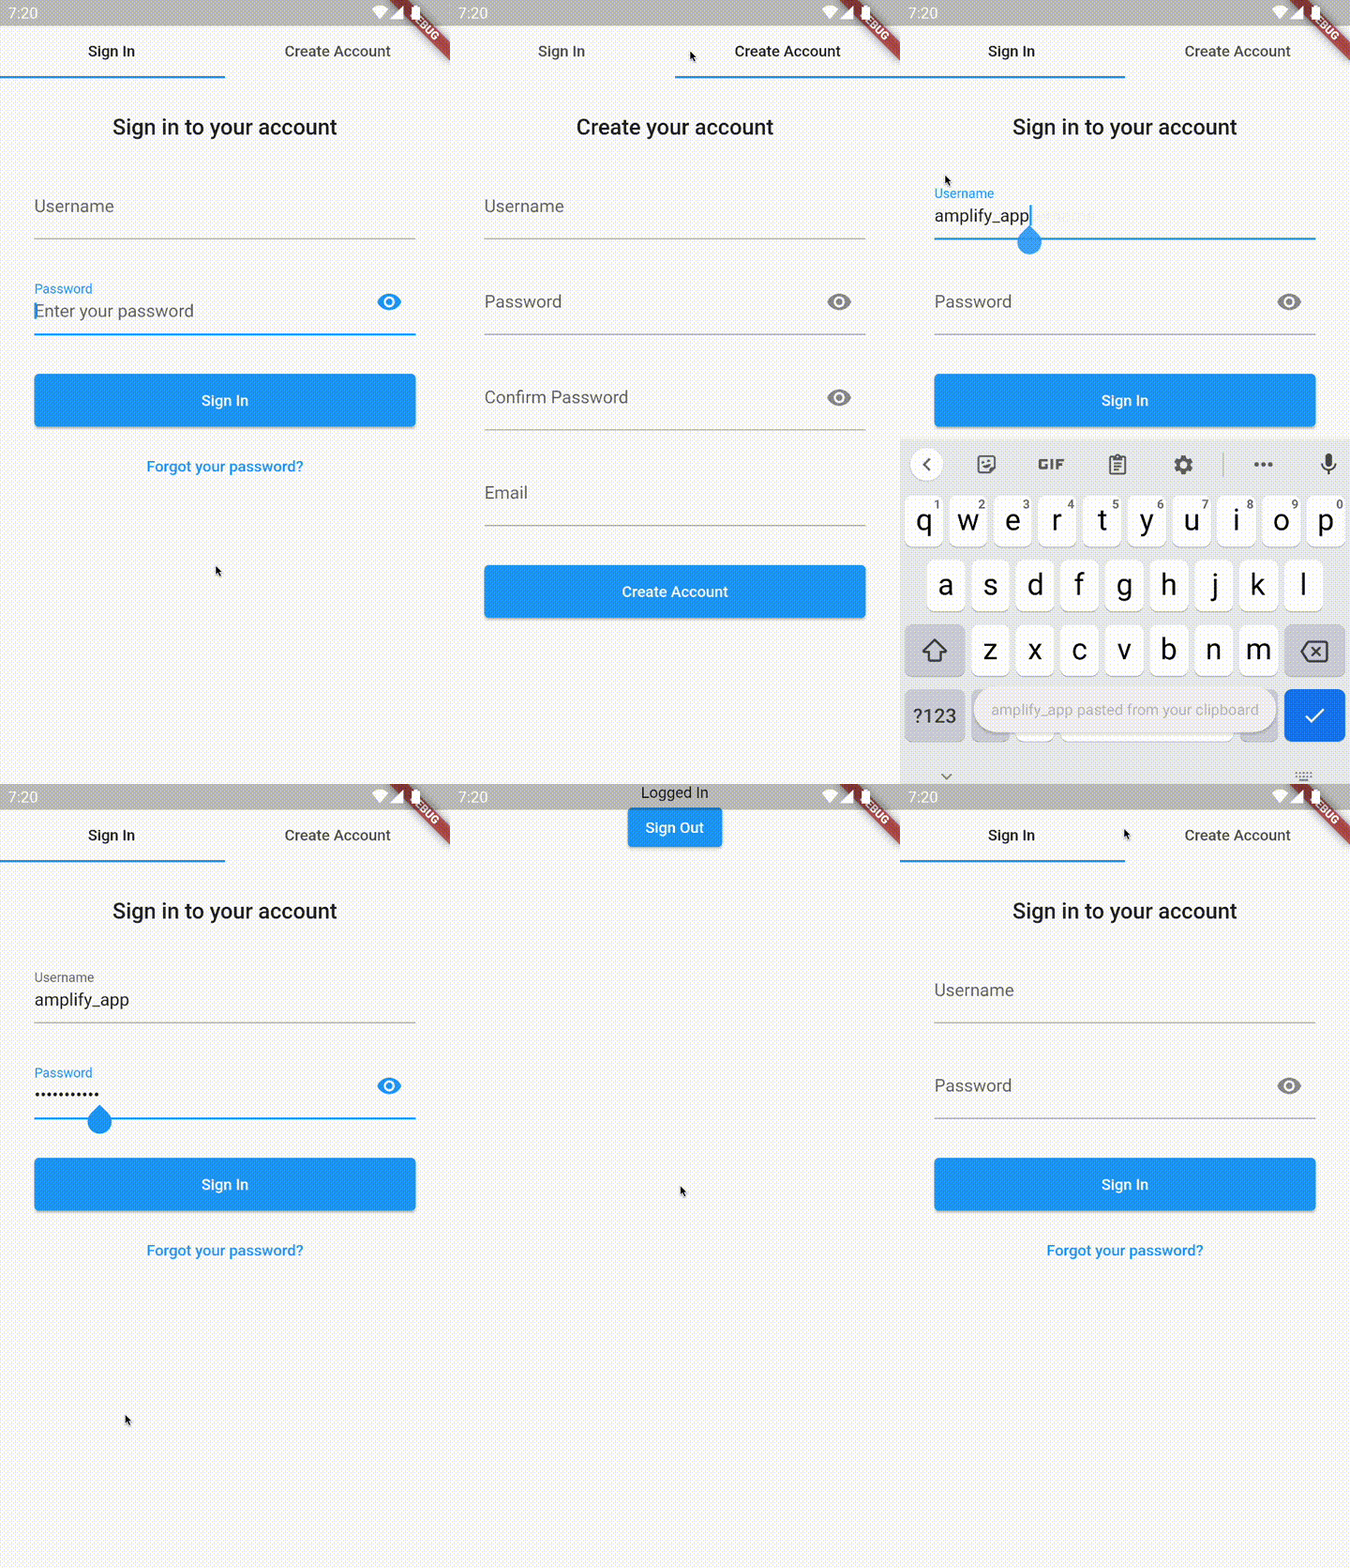
Visual Studio Codeの「実行とデバッグ」を実行し、ユーザー登録後にログインしてみます。
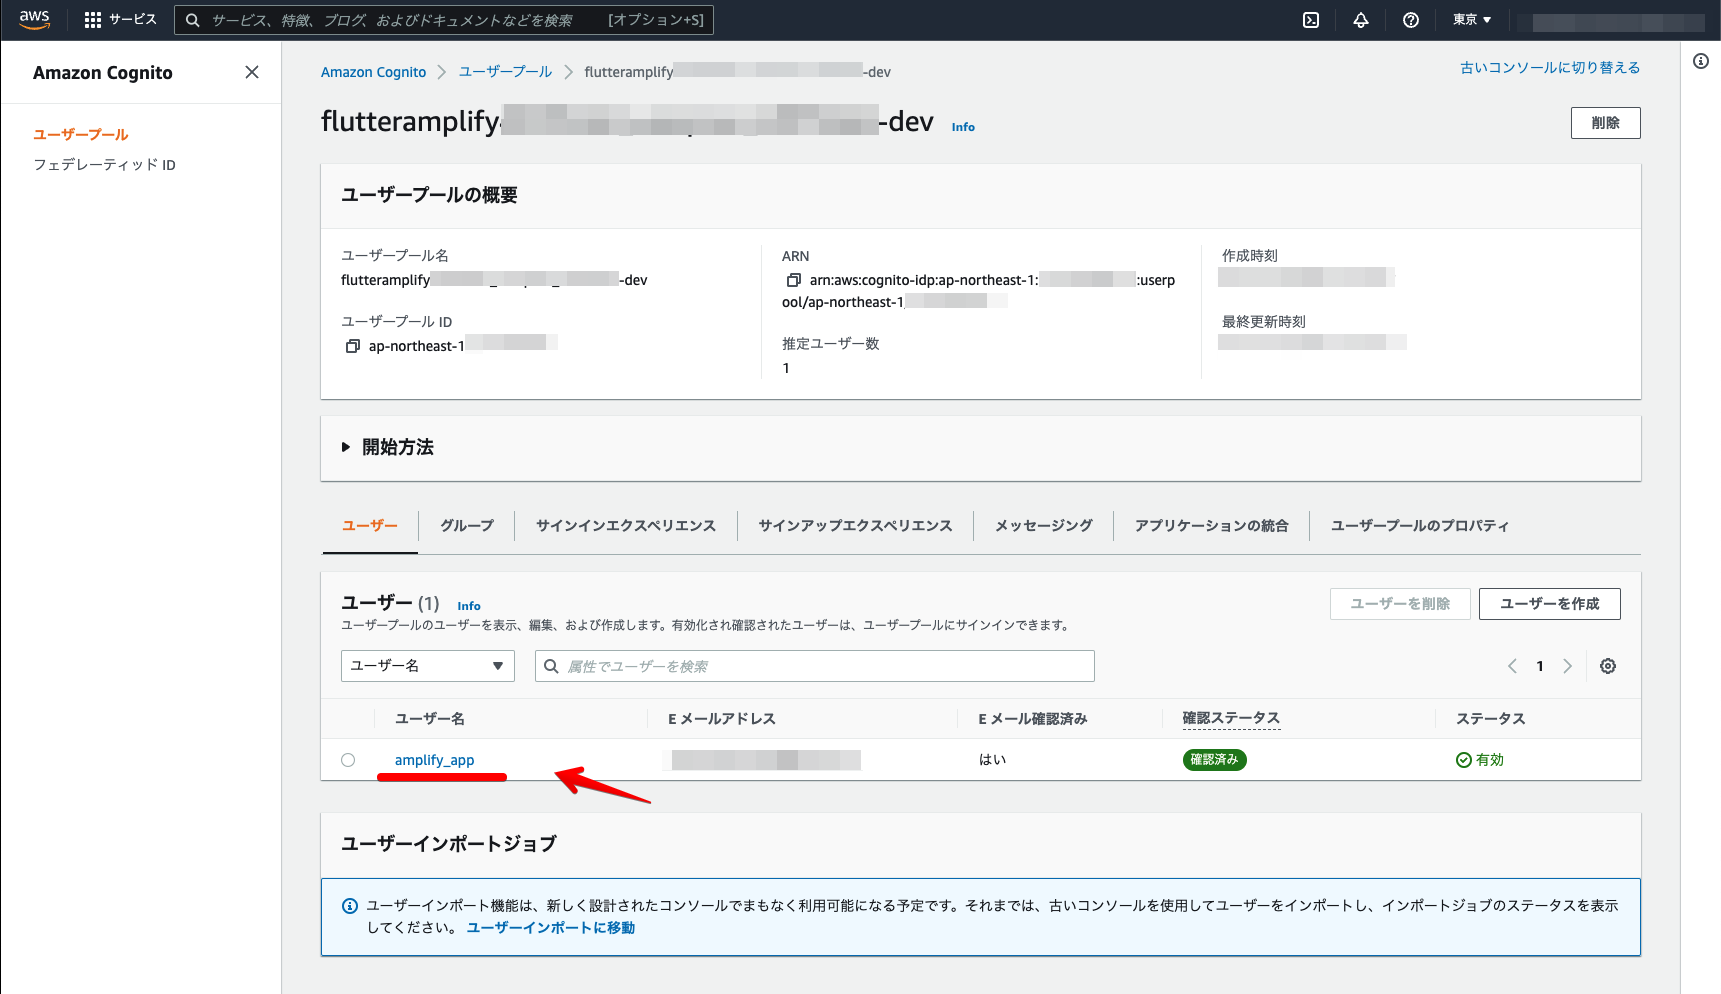
AWSコンソールでユーザーが登録されているかも確認してみます。
AWS AmplifyとFlutterでログイン機能を構築できました 
Flutterでログイン機能を実装する場合は、Firebaseが利用されることが多いですが、今回AWS Amplifyで実装することができるのを確認できました![]()
AWS AmplifyとFlutterについて、他にも記事を書いています。よろしければぜひ ![]()
tags - AWS Amplify
tags - Flutter
やってみたシリーズ ![]()
tags - Try
