過去の記事で「Spark + Kubernetes Docker on SoftLayer by Rancher」のview数が4000近くあるので、Rancher2.0 Tech Preview2 alpha21からHelm対応したRancherカタログにSparkが復活しているので、GKE上にSparkをデプロイしてみたいともいます。
当方Sparkについては詳しくないので、こちらの記事を参考にkubernetesクラスタにSparkをデプロイしてBigDataやMachine Learningなど試していただきたいと思います。
Rancher2.0 Tech Preview2 alpha21環境の構築
GCEの準備
Compute Engineで以下の1インスタンスを作成します。
| 項目 | 入力概要 |
|---|---|
| 名前 | rancher-server |
| ゾーン | asia-northeast1-b |
| マシンタイプ | vCPUx1 |
| ブートディスク | Ubuntu 16.04 LTS ディスクサイズ80GB |
| ファイアウォール | HTTP トラフィックを許可する、HTTPS トラフィックを許可するの両方をチェックします。 |
GCPでは、デフォルトでファイアウォールが設定されていて、ホスト間でのコンテナの通信が行えないため、
設定を変更する必要があります。
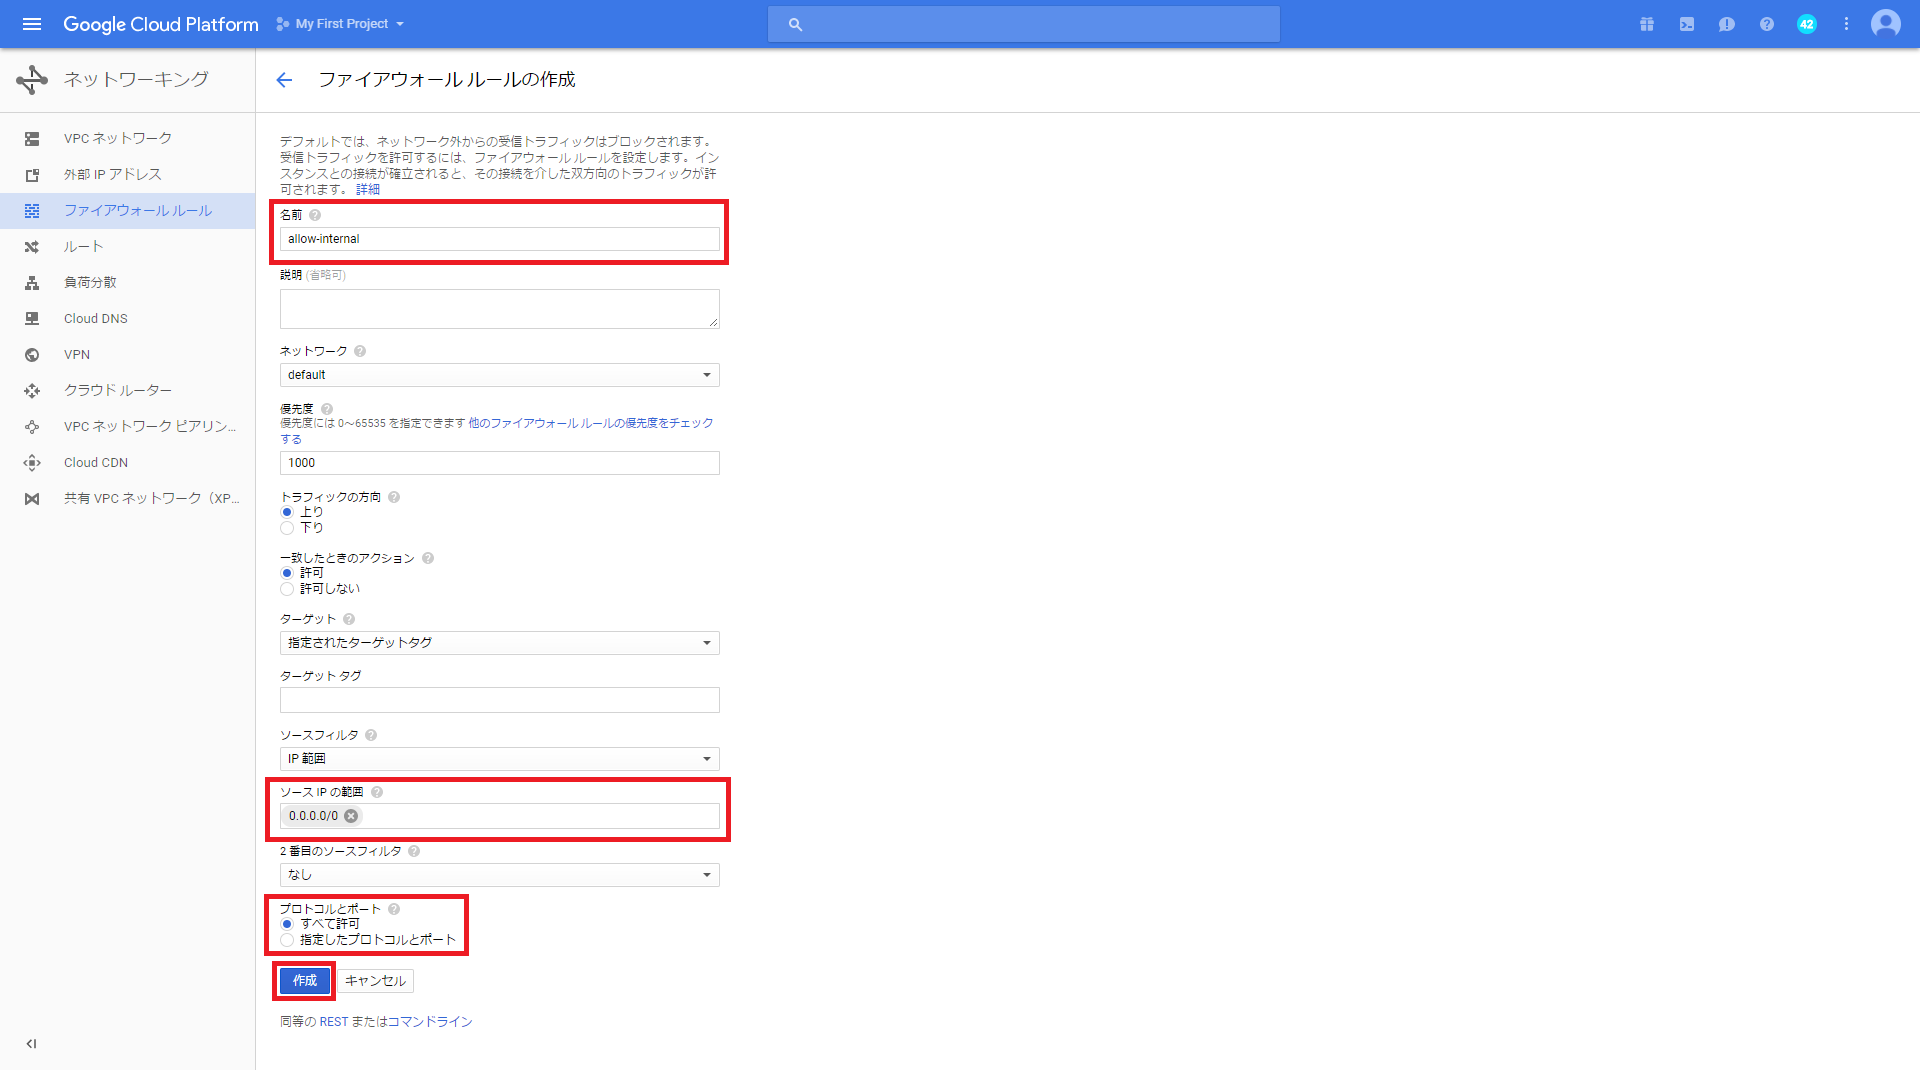
GCPのダッシュボードで、「ネットワーキング」-「ファイアウォール」を選択して、ファイアウォールルールを作成します。
名前は任意名、ソースIPの範囲は0.0.0.0/0、プロトコルとポートは全て許可とします。
今回はお試しということで、全許可にしています。
最後に「作成」ボタンをクリックします。
Rancher2.0 Tech Preview2 alpha21のインストール
1.Dockerのインストール
最新版のDockerをインストールします。
$ curl -fsSL https://get.docker.com/ | sh
# Executing docker install script, commit: 02d7c3c
+ sudo -E sh -c apt-get update -qq >/dev/null
+ sudo -E sh -c apt-get install -y -qq apt-transport-https ca-certificates curl >/dev/null
+ sudo -E sh -c curl -fsSL "https://download.docker.com/linux/ubuntu/gpg" | apt-key add -qq - >/dev/null
+ sudo -E sh -c echo "deb [arch=amd64] https://download.docker.com/linux/ubuntu xenial edge" > /etc/apt/sources.list.d/docker.list
+ [ ubuntu = debian ]
+ sudo -E sh -c apt-get update -qq >/dev/null
+ sudo -E sh -c apt-get install -y -qq --no-install-recommends docker-ce >/dev/null
+ sudo -E sh -c docker version
Client:
 Version:       18.02.0-ce
 API version:   1.36
 Go version:    go1.9.3
 Git commit:    fc4de44
 Built: Wed Feb  7 21:16:33 2018
 OS/Arch:       linux/amd64
 Experimental:  false
 Orchestrator:  swarm

Server:
 Engine:
  Version:      18.02.0-ce
  API version:  1.36 (minimum version 1.12)
  Go version:   go1.9.3
  Git commit:   fc4de44
  Built:        Wed Feb  7 21:15:05 2018
  OS/Arch:      linux/amd64
  Experimental: false
If you would like to use Docker as a non-root user, you should now consider
adding your user to the "docker" group with something like:

  sudo usermod -aG docker cyberblackvoom

Remember that you will have to log out and back in for this to take effect!

WARNING: Adding a user to the "docker" group will grant the ability to run
         containers which can be used to obtain root privileges on the
         docker host.
         Refer to https://docs.docker.com/engine/security/security/#docker-daemon-attack-surface
         for more information.
2.Rancher2.0 Tech Preview2 alpha21のインストール
$ sudo docker run -d -p 80:80 -p 443:443 rancher/server:preview
Unable to find image 'rancher/server:preview' locally
preview: Pulling from rancher/server
c3b9c0688e3b: Pull complete
e9fb5affebb0: Pull complete
0f1378f511ad: Pull complete
96a961dc7843: Pull complete
16564141bc83: Pull complete
e58cffa0cb0e: Pull complete
ae52f3198700: Pull complete
226b9ead1a79: Pull complete
c6d73e35a6a4: Pull complete
05529e6df84b: Pull complete
Digest: sha256:b997803f07db1ae22ab47f513a43c70bb39c054aac8aebca4a6cfb0fc908300f
Status: Downloaded newer image for rancher/server:preview
4113f312bf487f372f5909059b13a6fb015cd50ac0e45f29091efddf3fe21e96
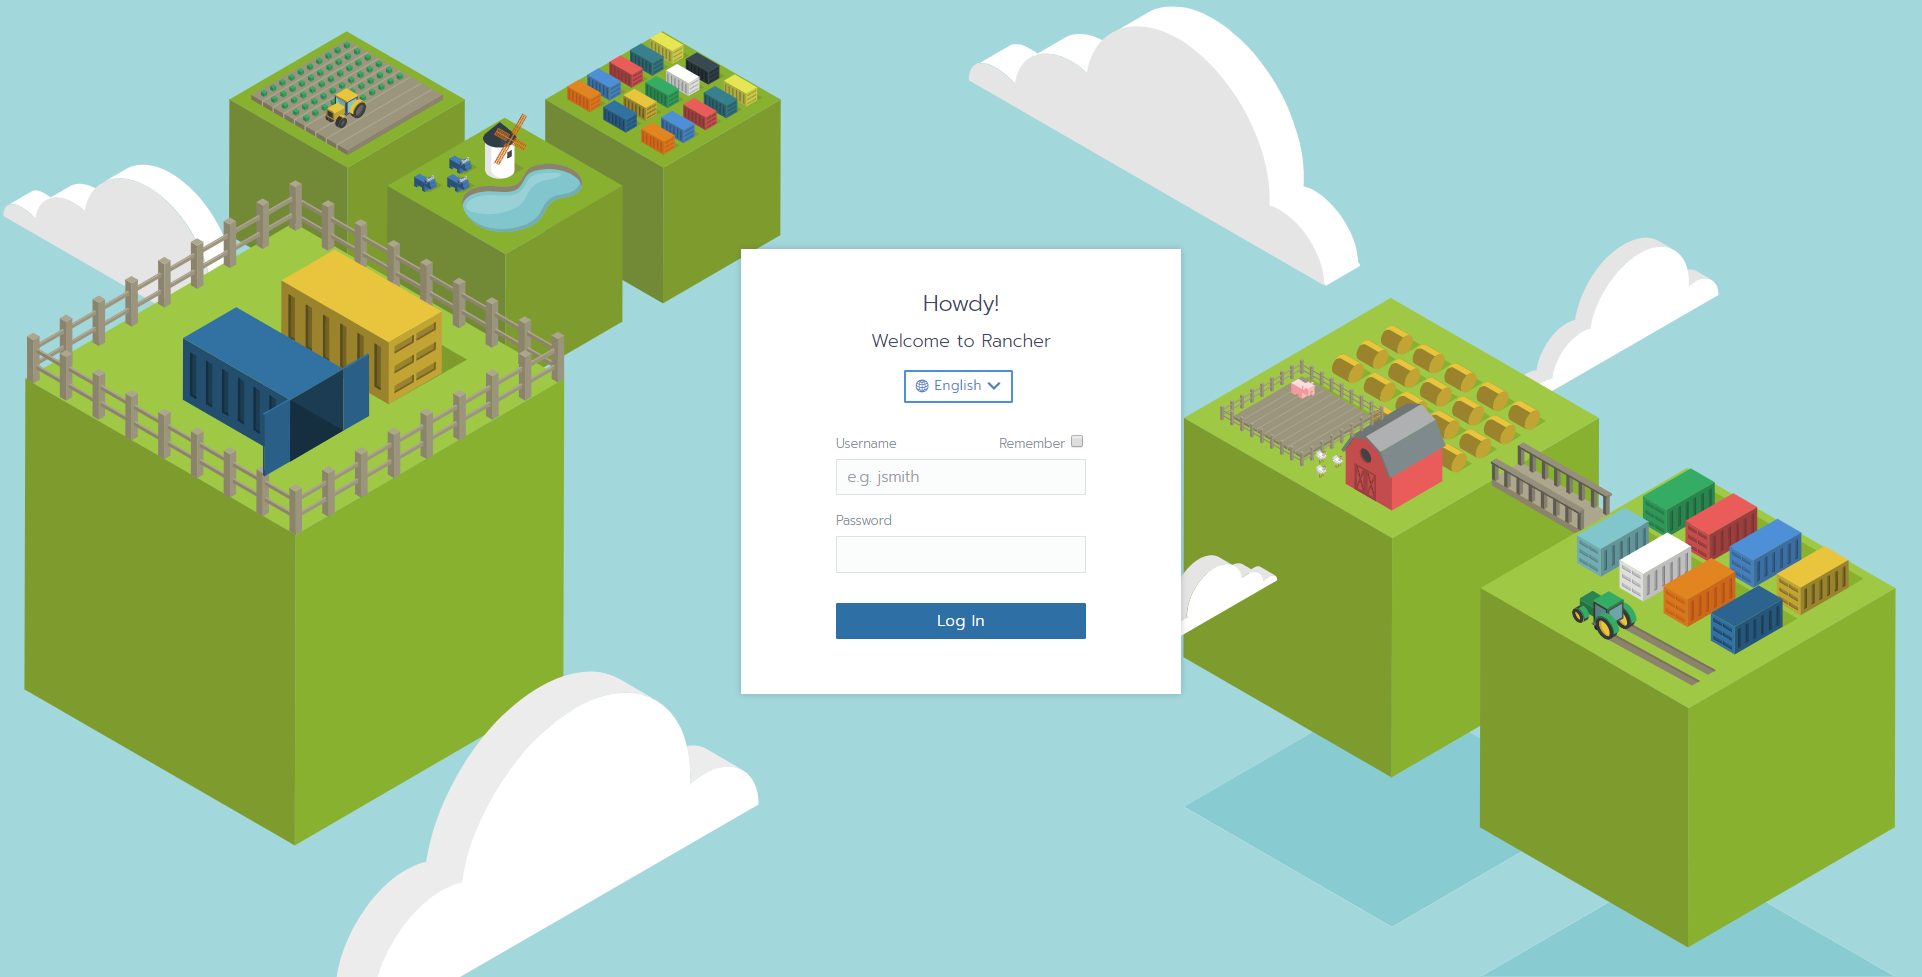
3.ブラウザを起動して、UIにアクセスします。
以下の初期Usernameと初期Passwordでログインします。
| 項目 | 入力概要 |
|---|---|
| Username | admin |
| Password | admin |
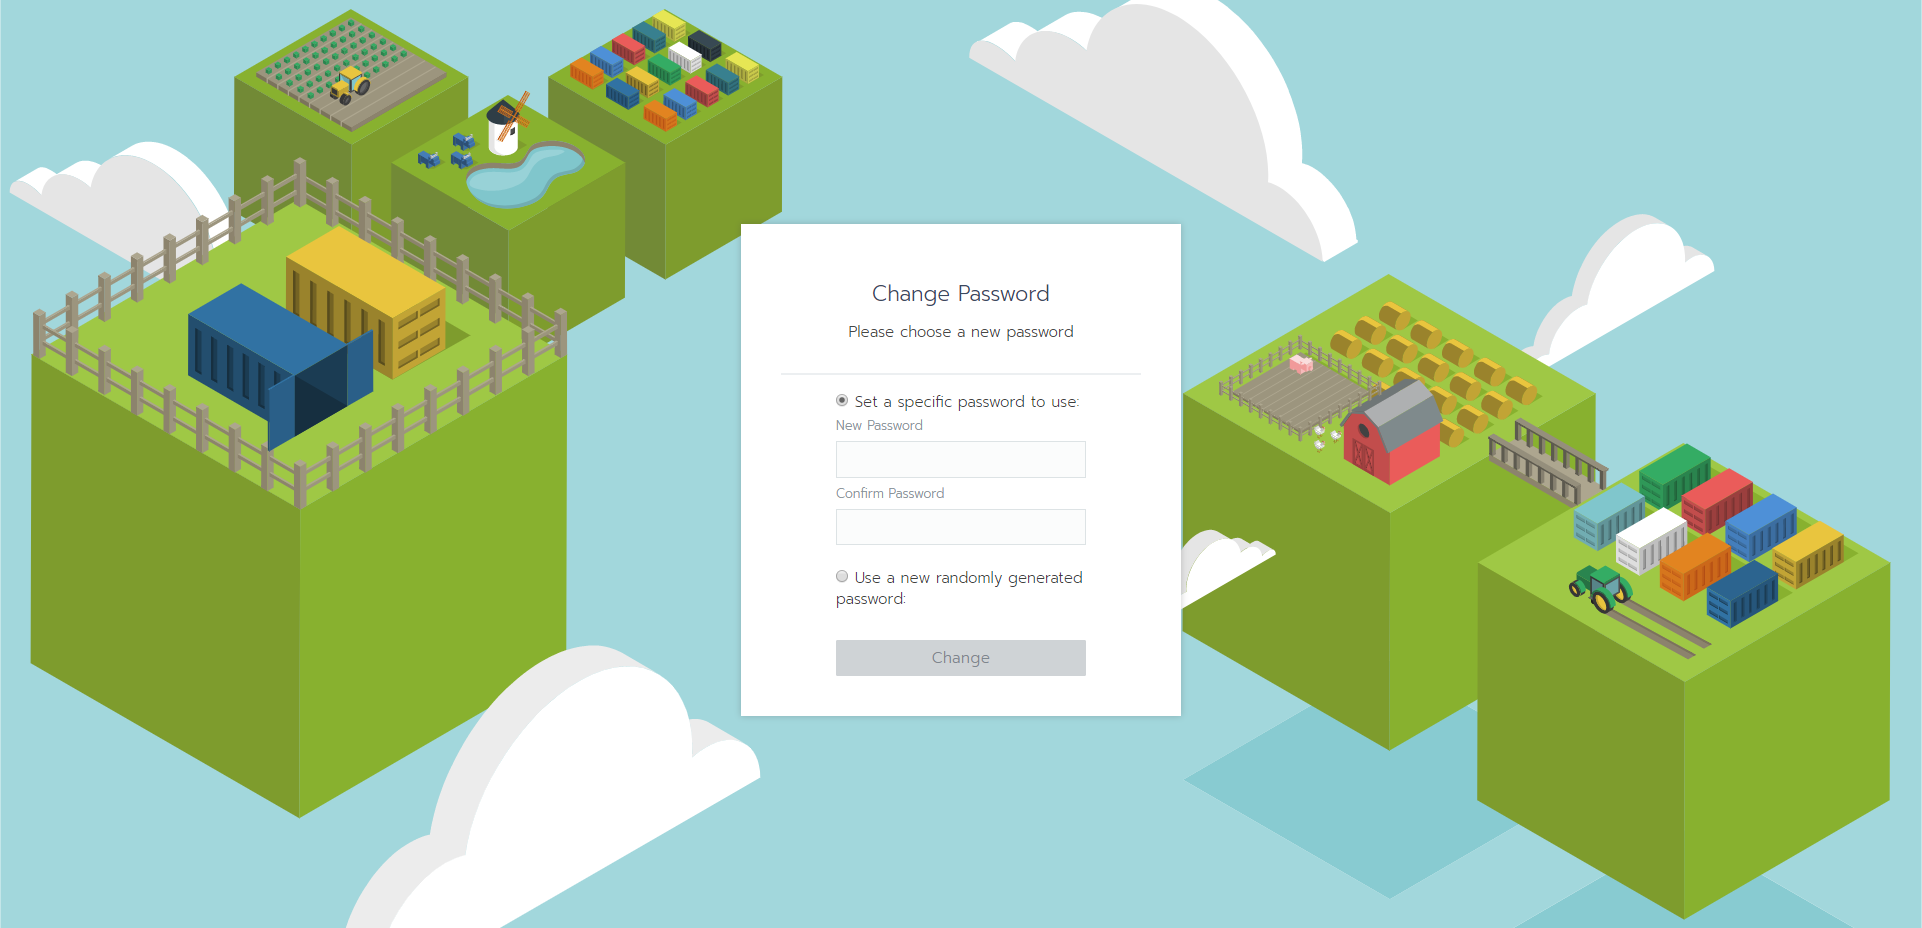
次に初期パスワード変更を求められますので、任意のパスワードを入力します。
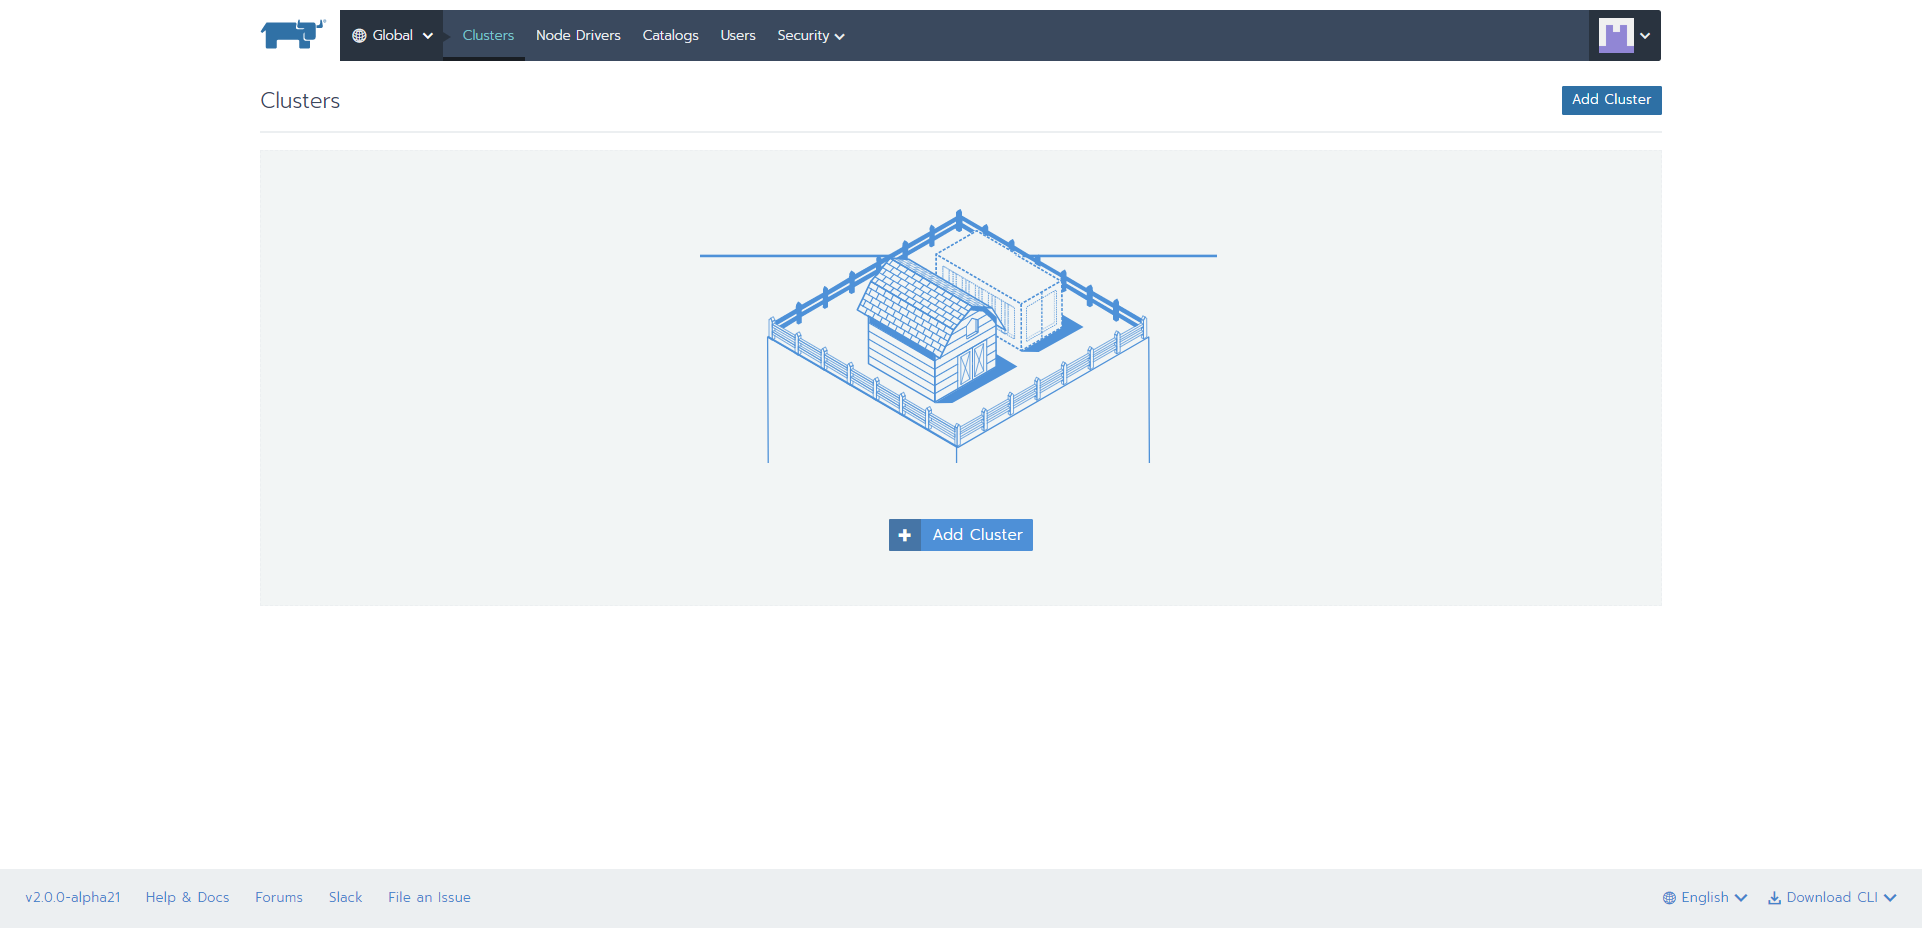
ログイン完了となります。
GKEとの連携
サービスアカウントの作成
GKEと連携するために、GCPでサービスアカウントを作成し、jsonファイルをエクスポートします。
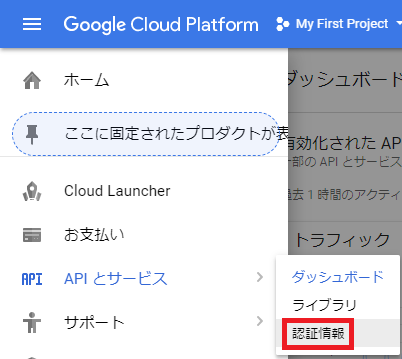
1.「APIとサービス」-「認証情報」を選択
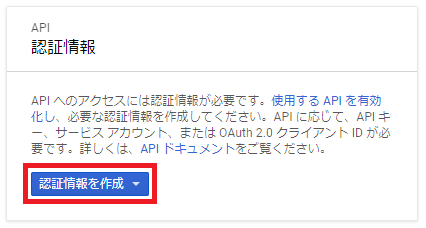
2.「認証情報を作成」を選択します。
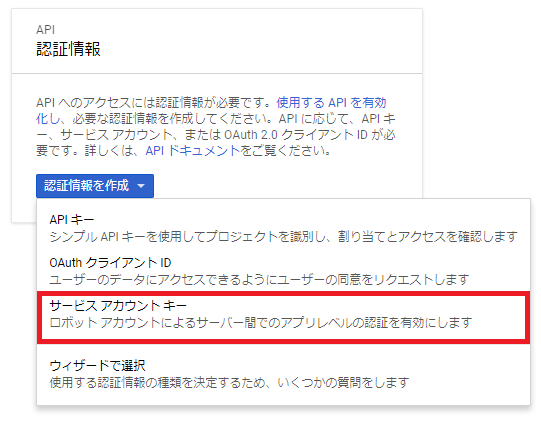
3.「サービスアカウントキー」を選択
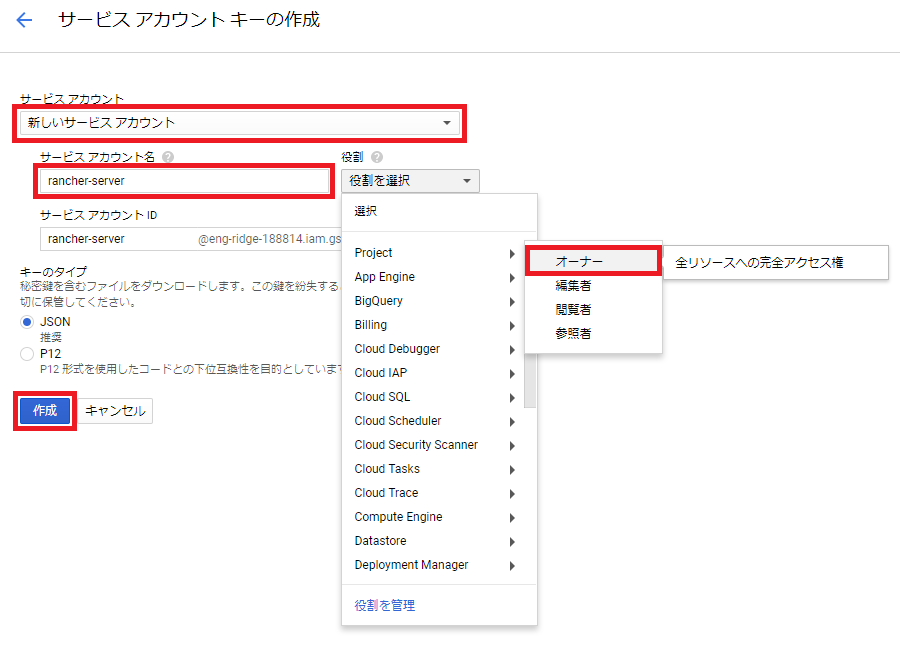
4.「新しいサービスアカウント」を選択し、サービスアカウントに任意名を入力し、役割でProjectからオーナーを選択して、作成ボタンをクリックします。
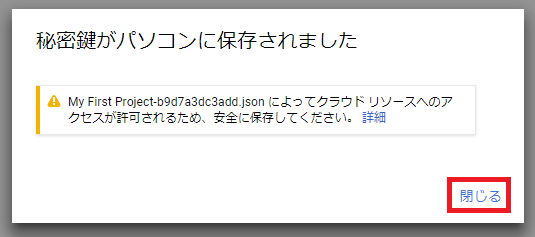
5.jsonファイルがダウンロードされます。その後「閉じる」を選択します。
クラスタ作成からWordPressデプロイ
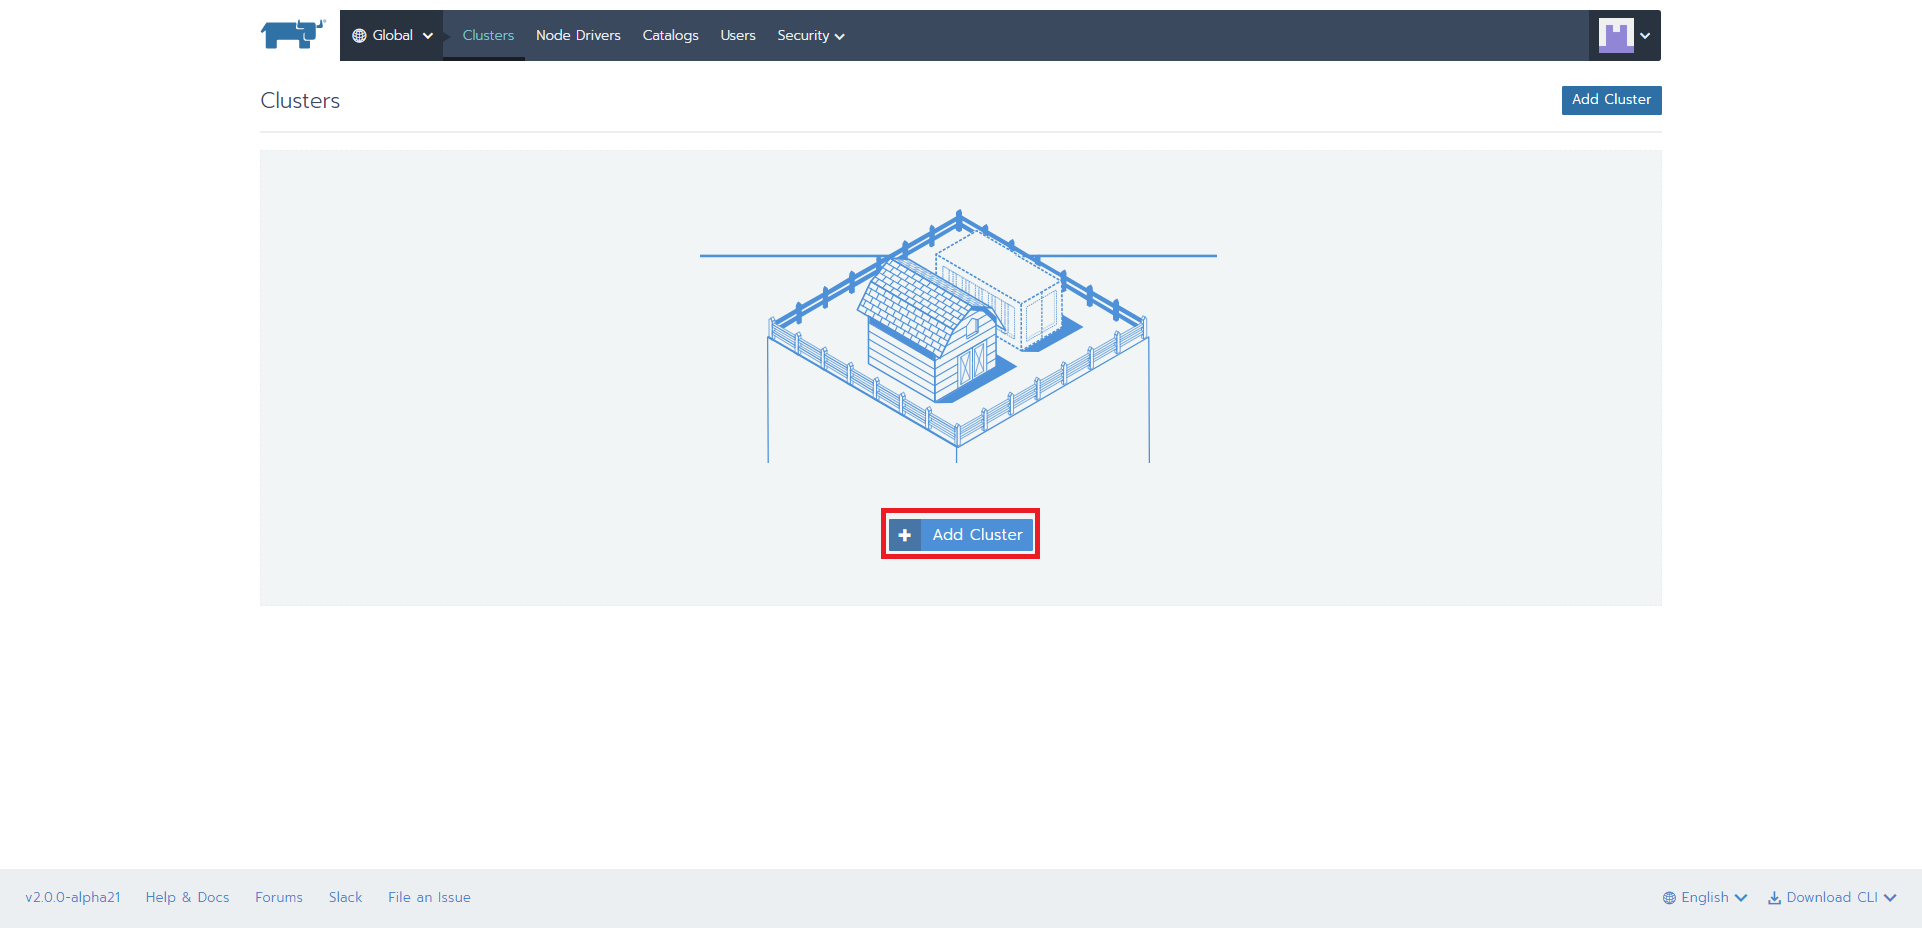
1.「Add Cluster」ボタンを押下
2.jsonファイルを読み込み
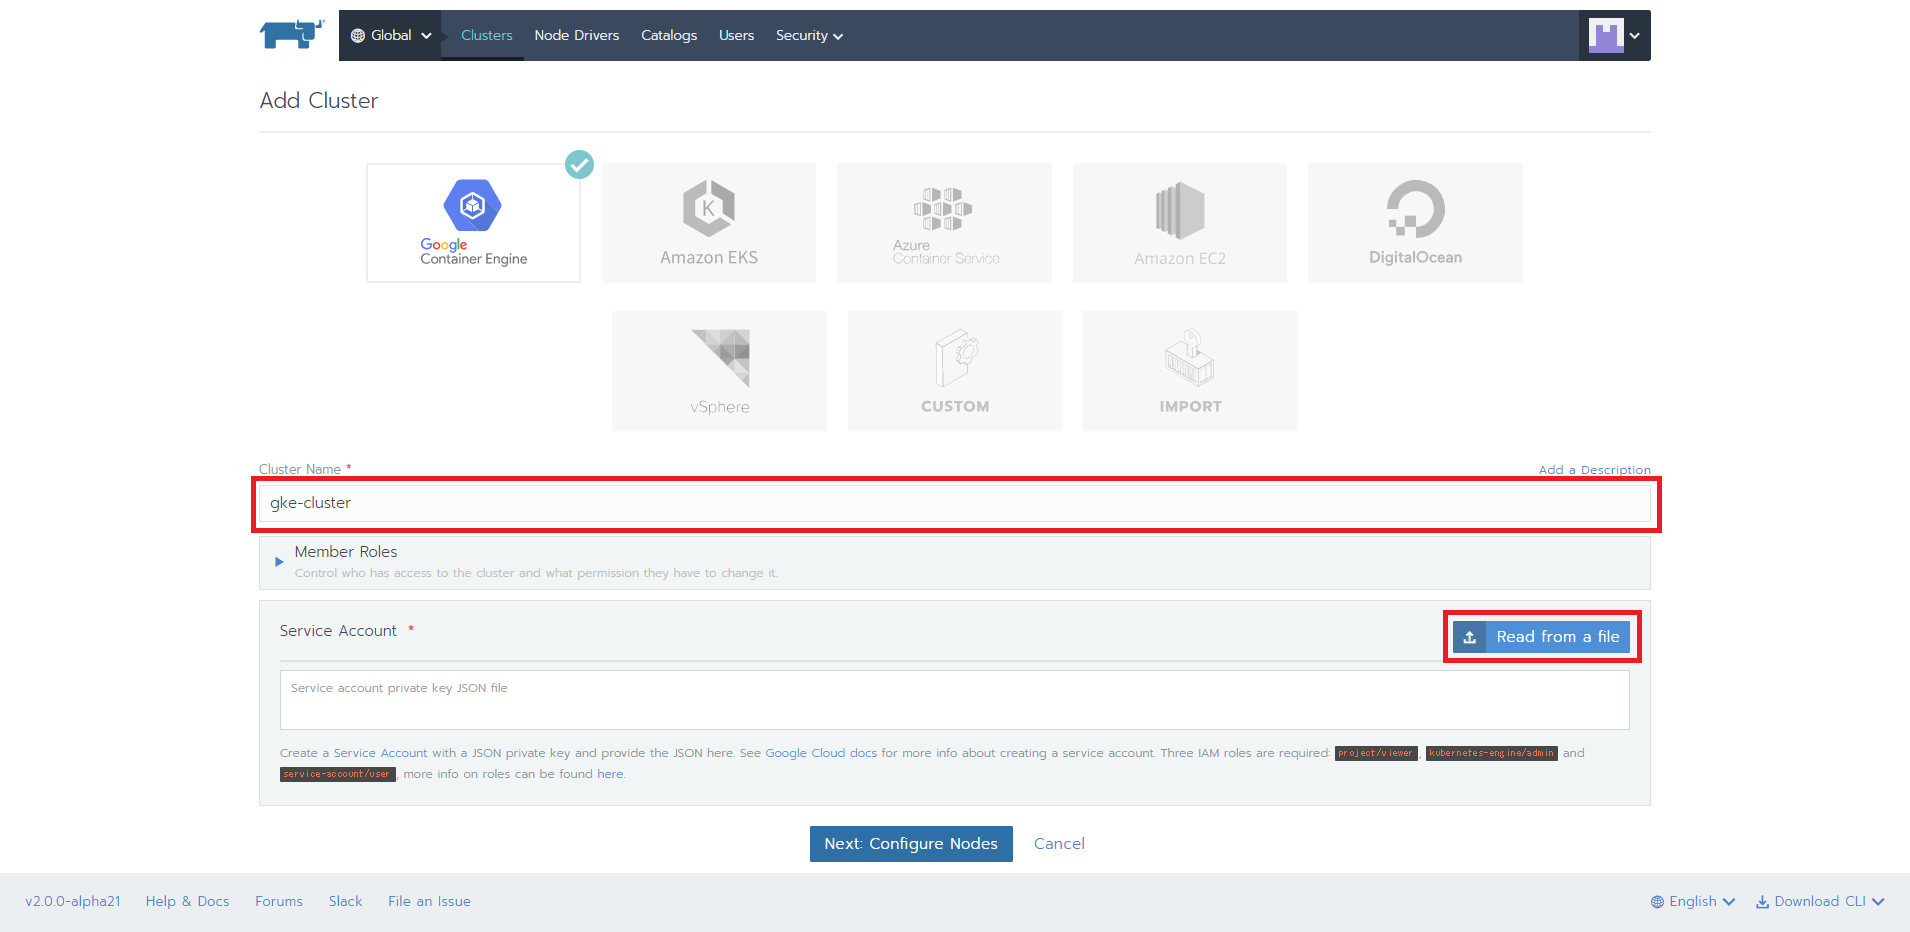
「Cluster Name」に任意の名前を入力し、「Read from a file」ボタンを押下します。
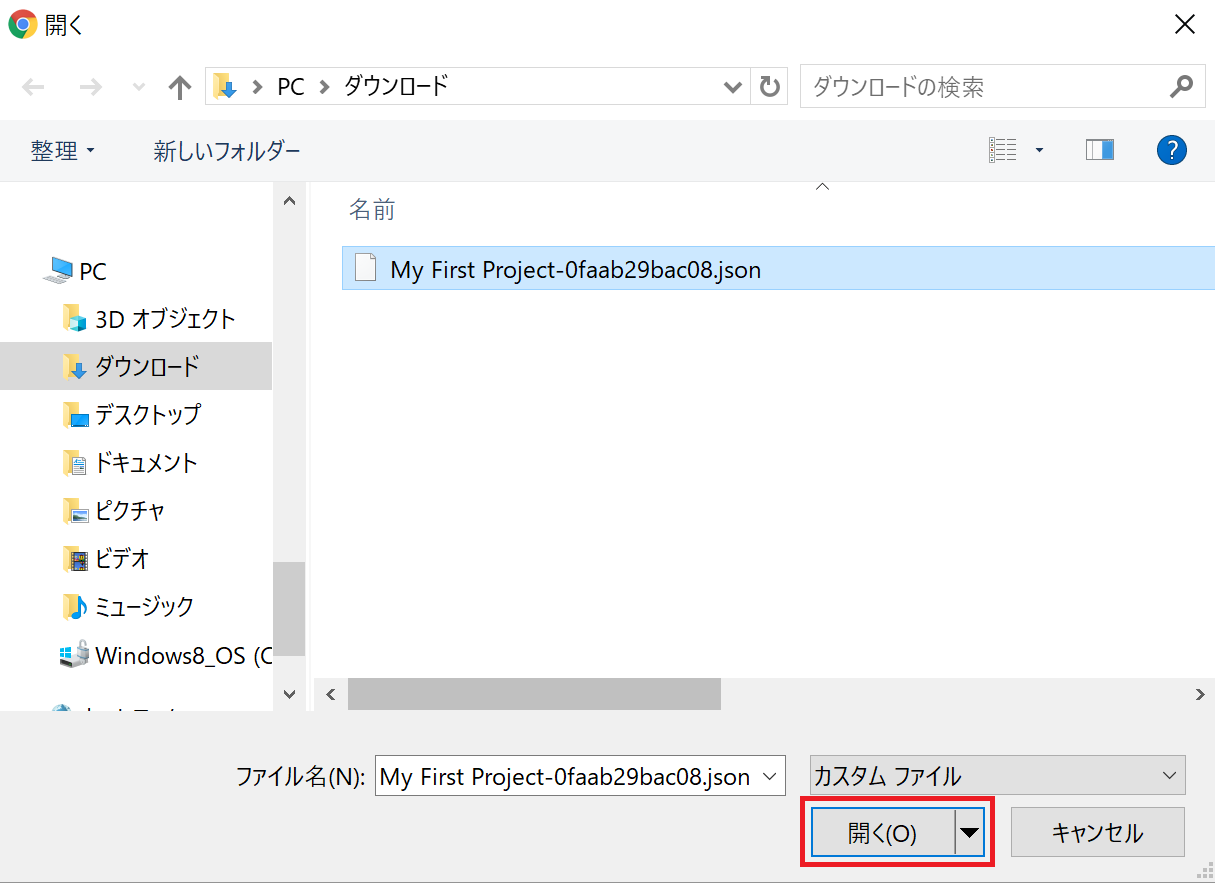
ダウンロードしたjsonファイルを選択して、「開く」ボタンを押下します。
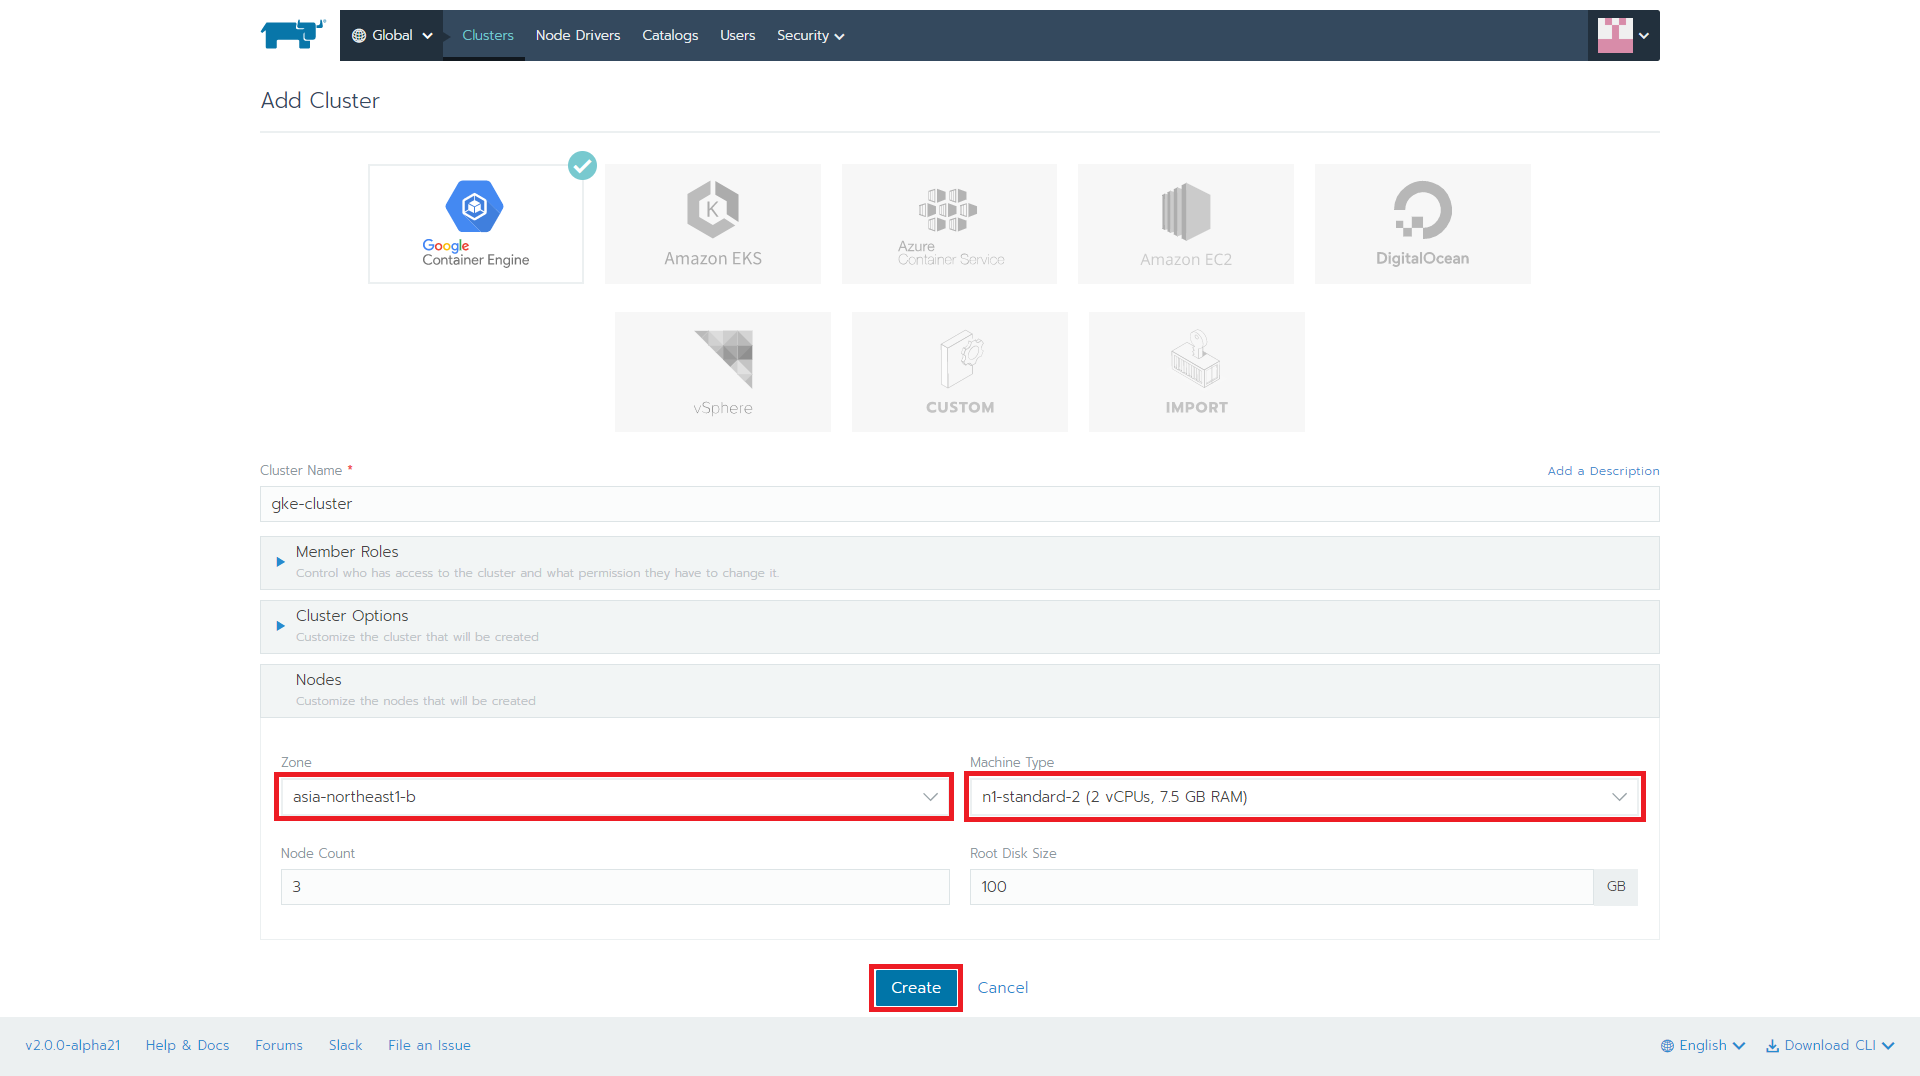
3.Rancherからkubernetesクラスタ構築設定
「Zone」を「asia-northeast1-b」、「n1-standard-(2 vCPUs,7.5 GB RAM)」に設定し、「Create」ボタンを押下します。
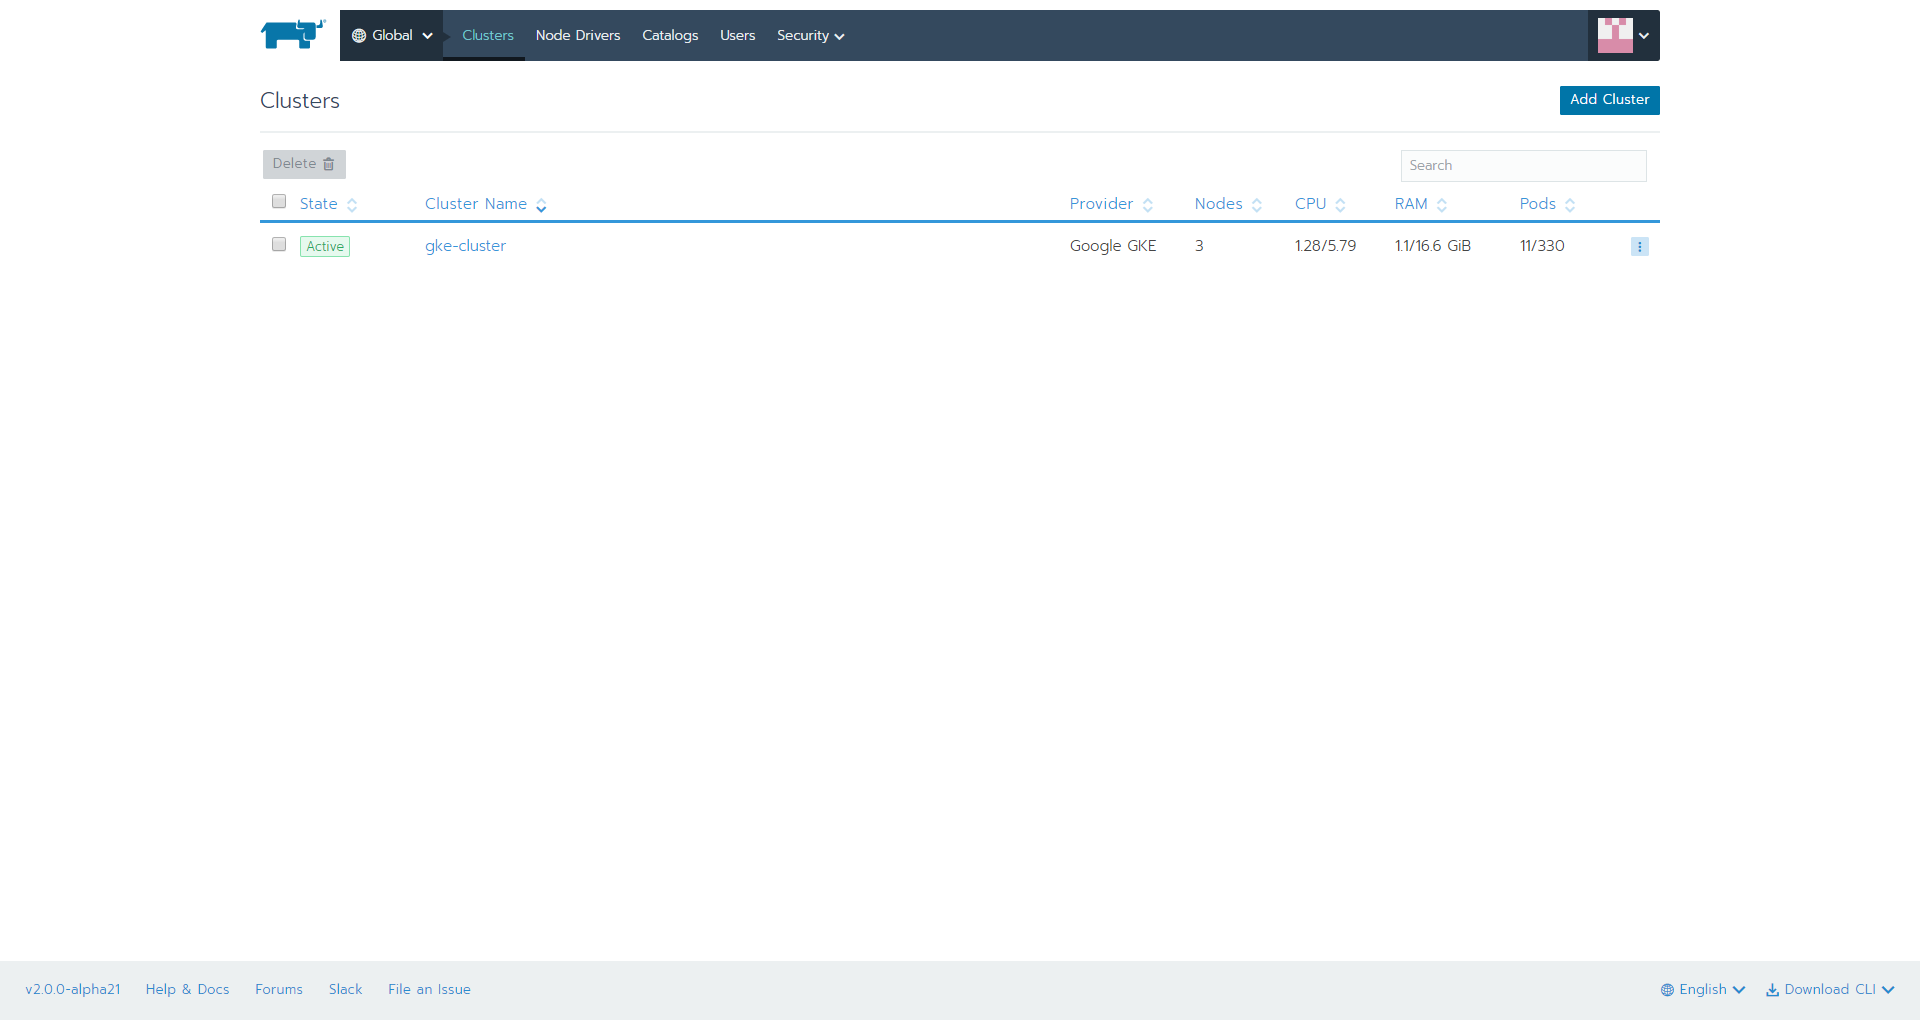
4.kubernetes clusterの構築完了
しばらくすると、構築が完了します。
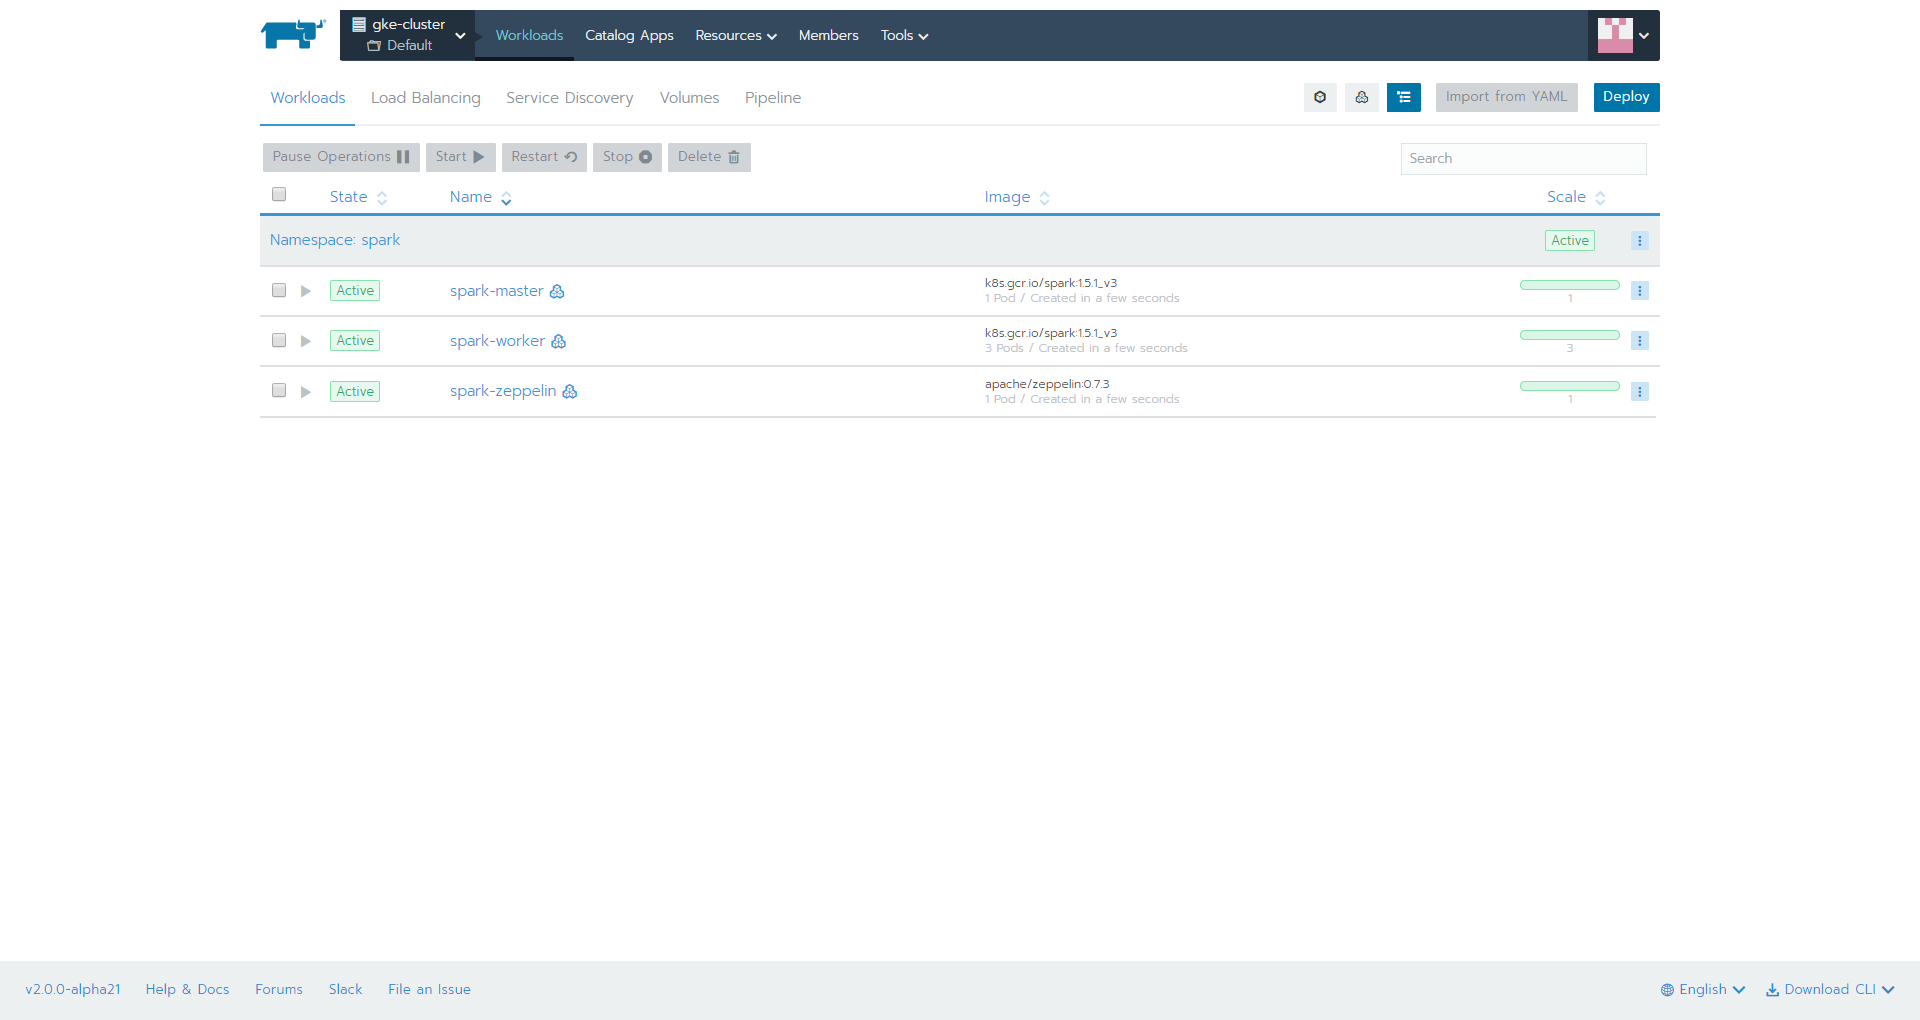
spark-master,spark-worker,spark-zeppelinのpodがデプロイされます。
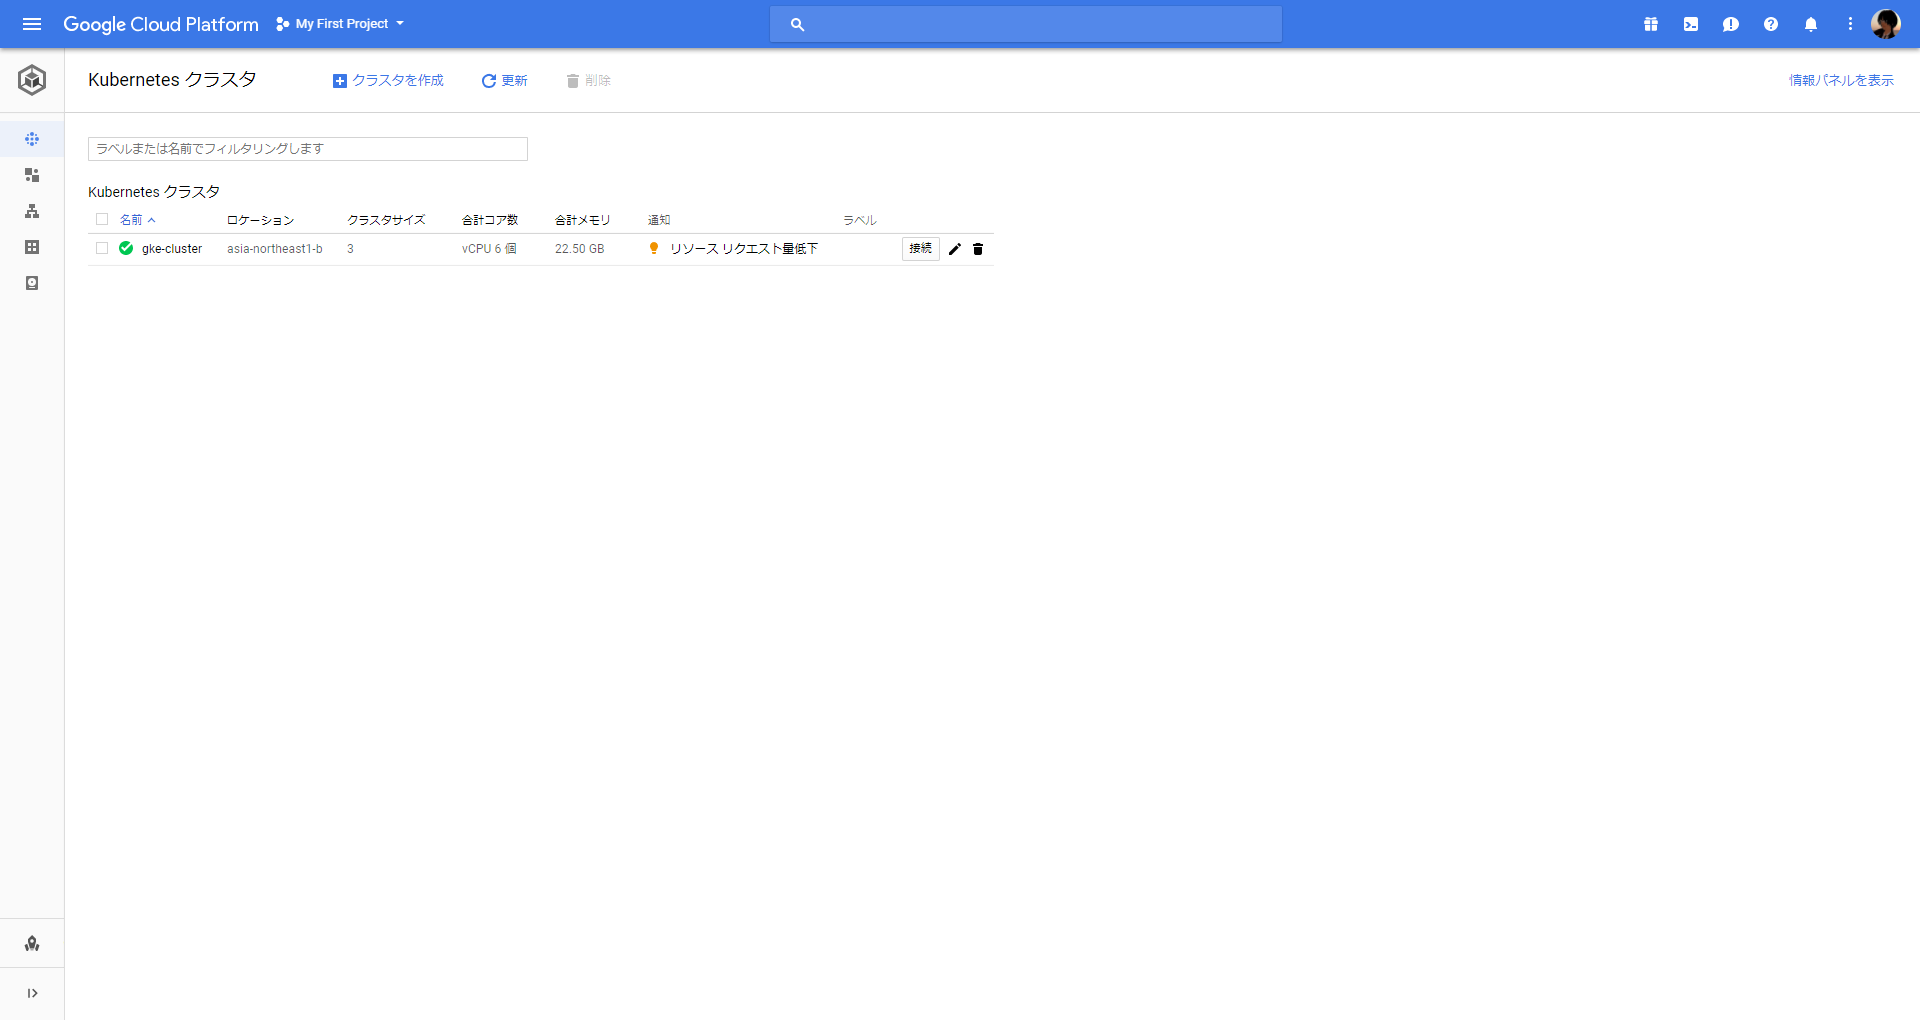
GKE側でも確認できます。
5.リソース状況の確認
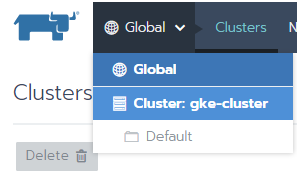
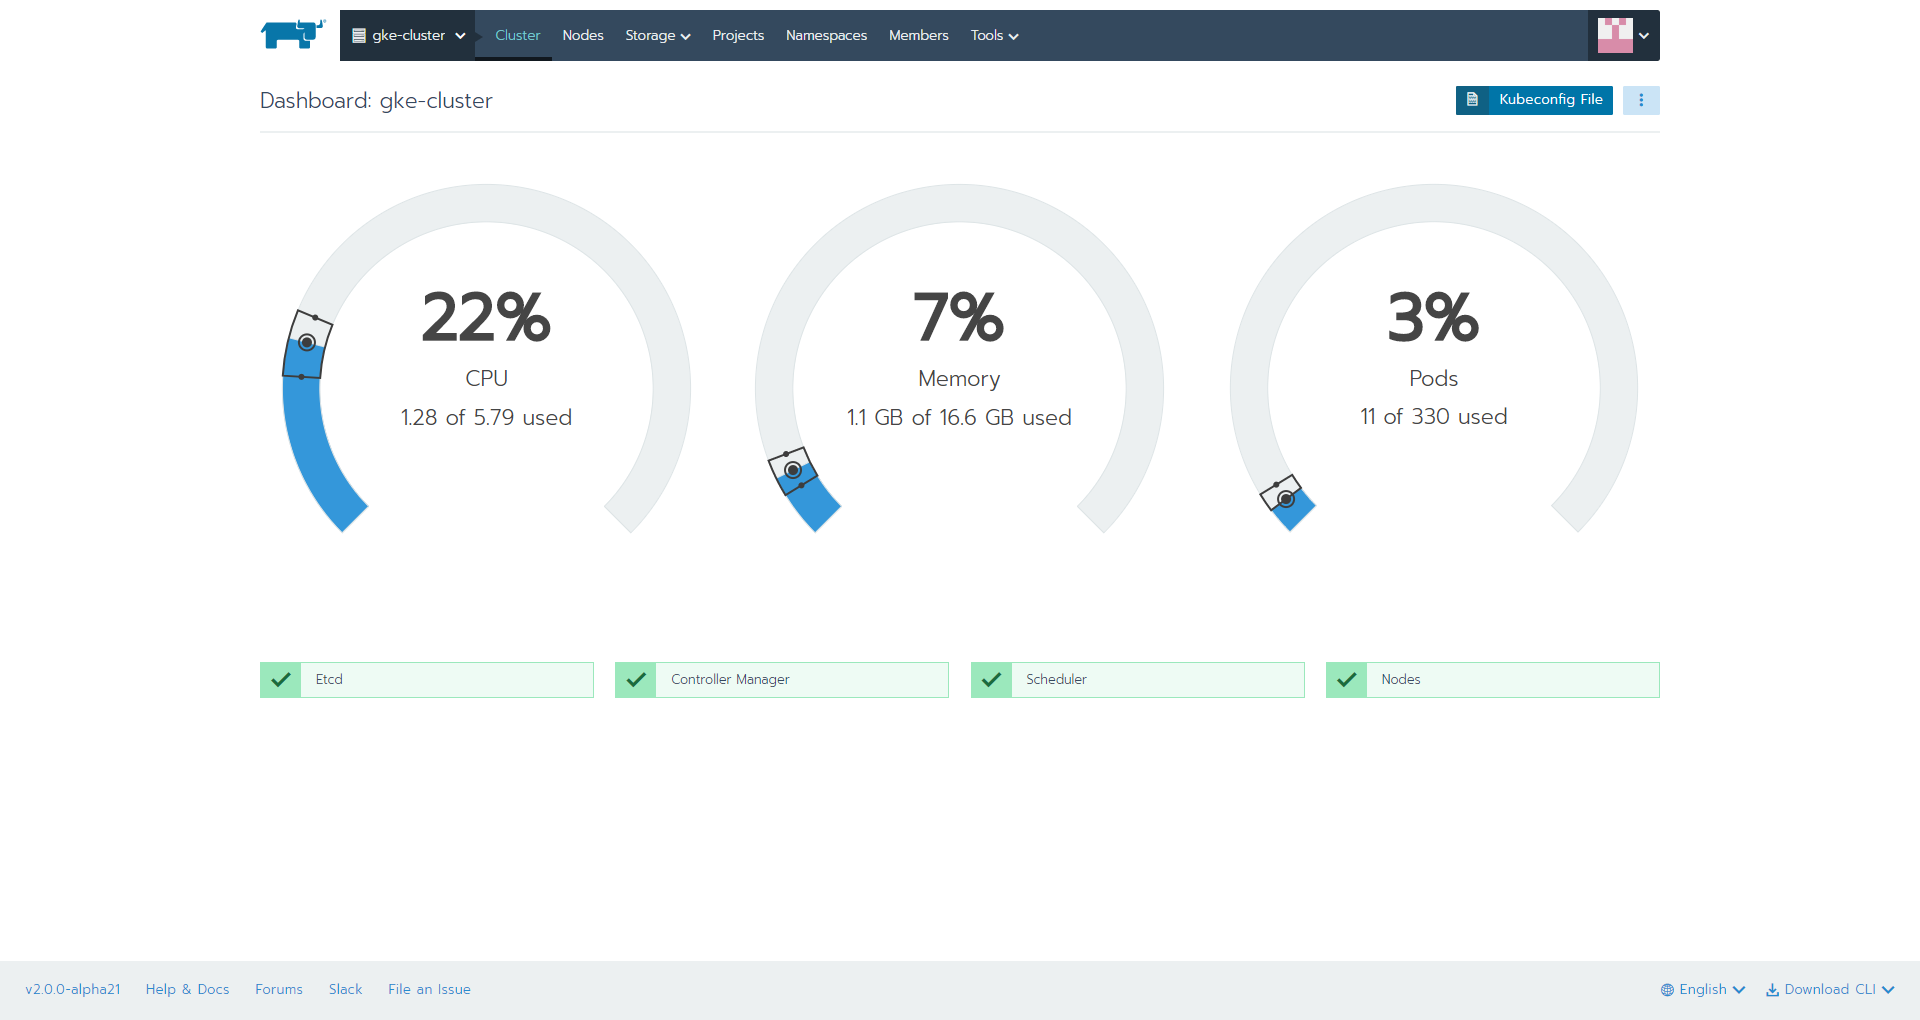
上部メニュー「Global」-「Cluster:gke-cluster」を選択します。
GKE上のkubernetesクラスタのリソース状況を確認できます。
カタログ機能からSparkをデプロイ
1.カタログ設定
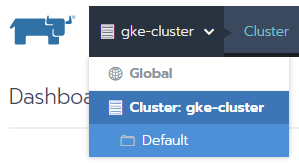
上部メニュー「Global」-「Cluster:gke-cluster」-「Default」を選択します。
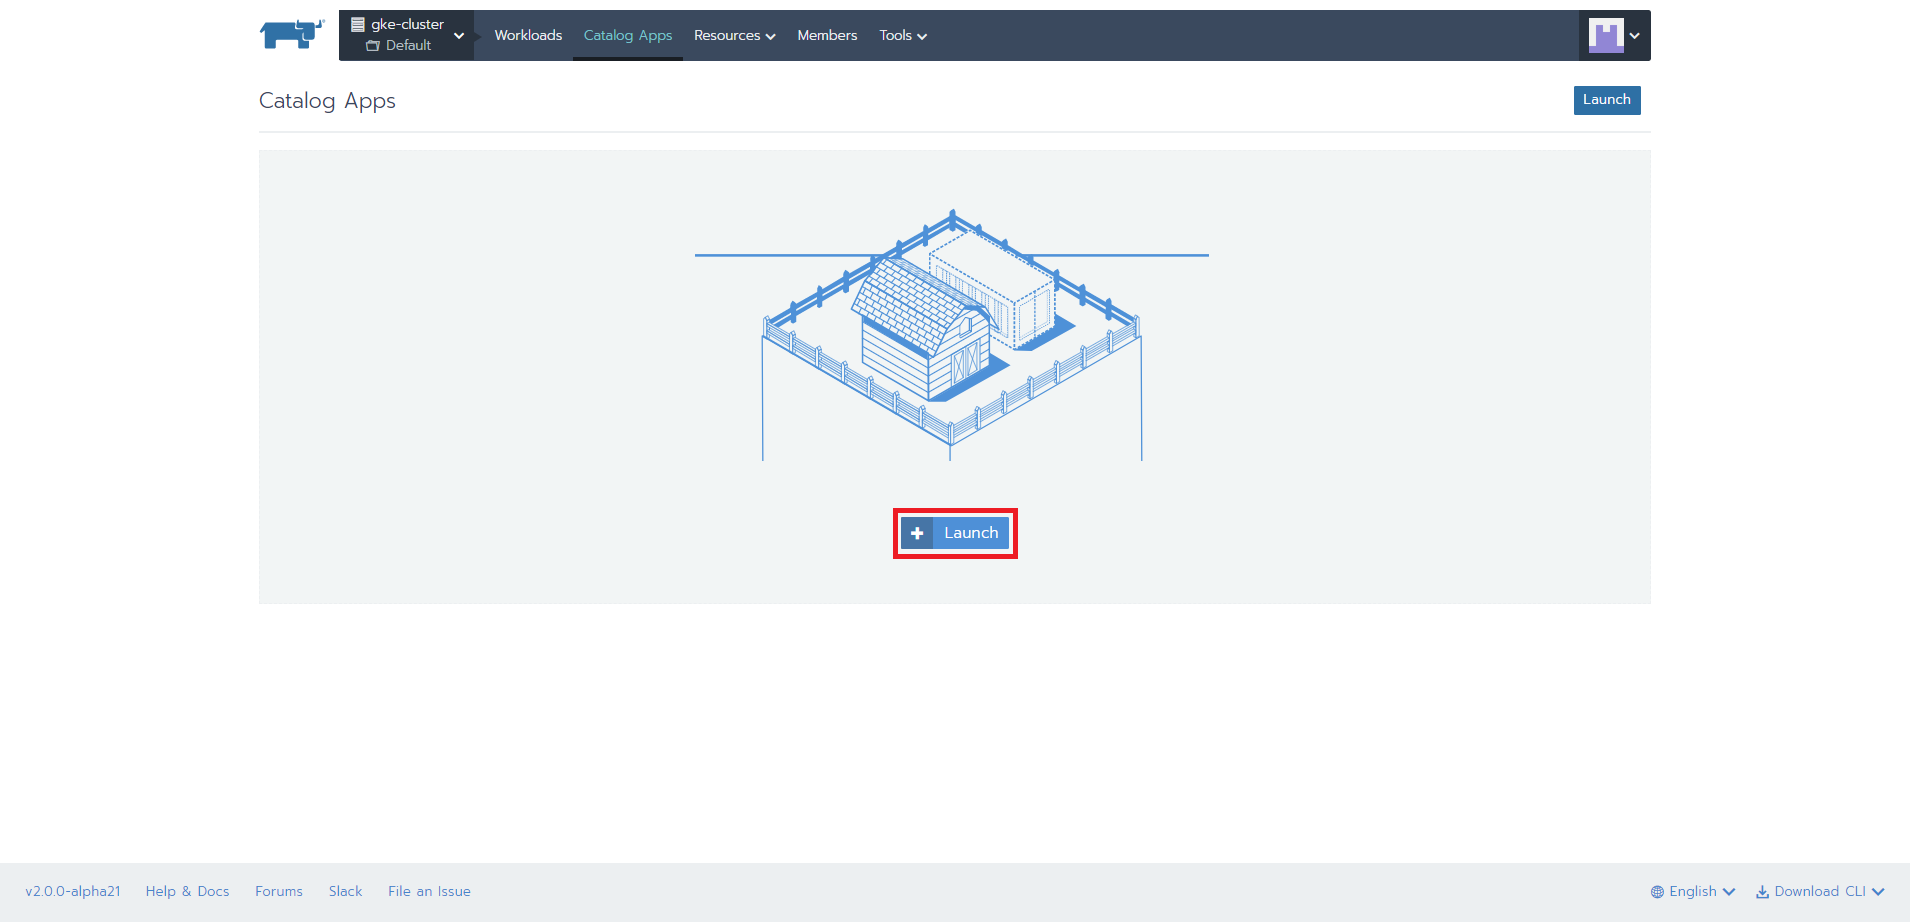
上部メニュー「Catalog App」を選択
「Launch」ボタンを押下します。
カタログ一覧が表示されます。
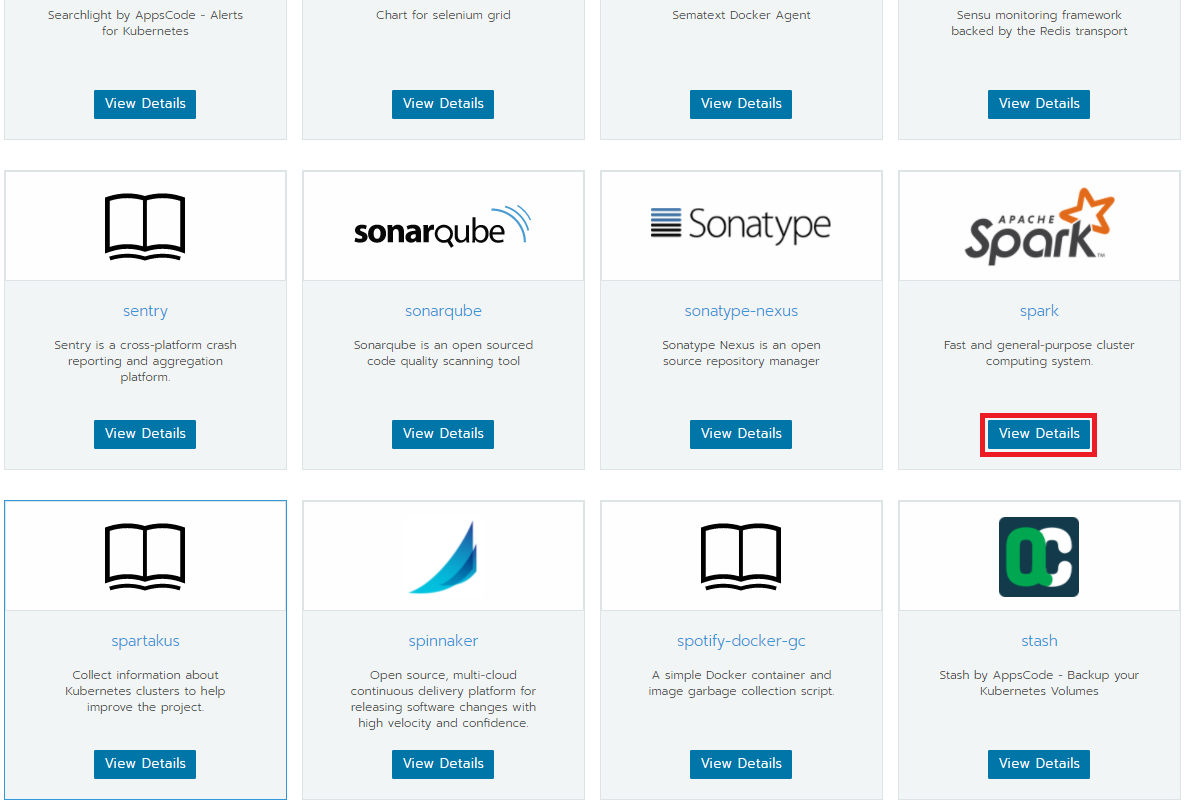
Sparkの「View Details」ボタンを押下します。
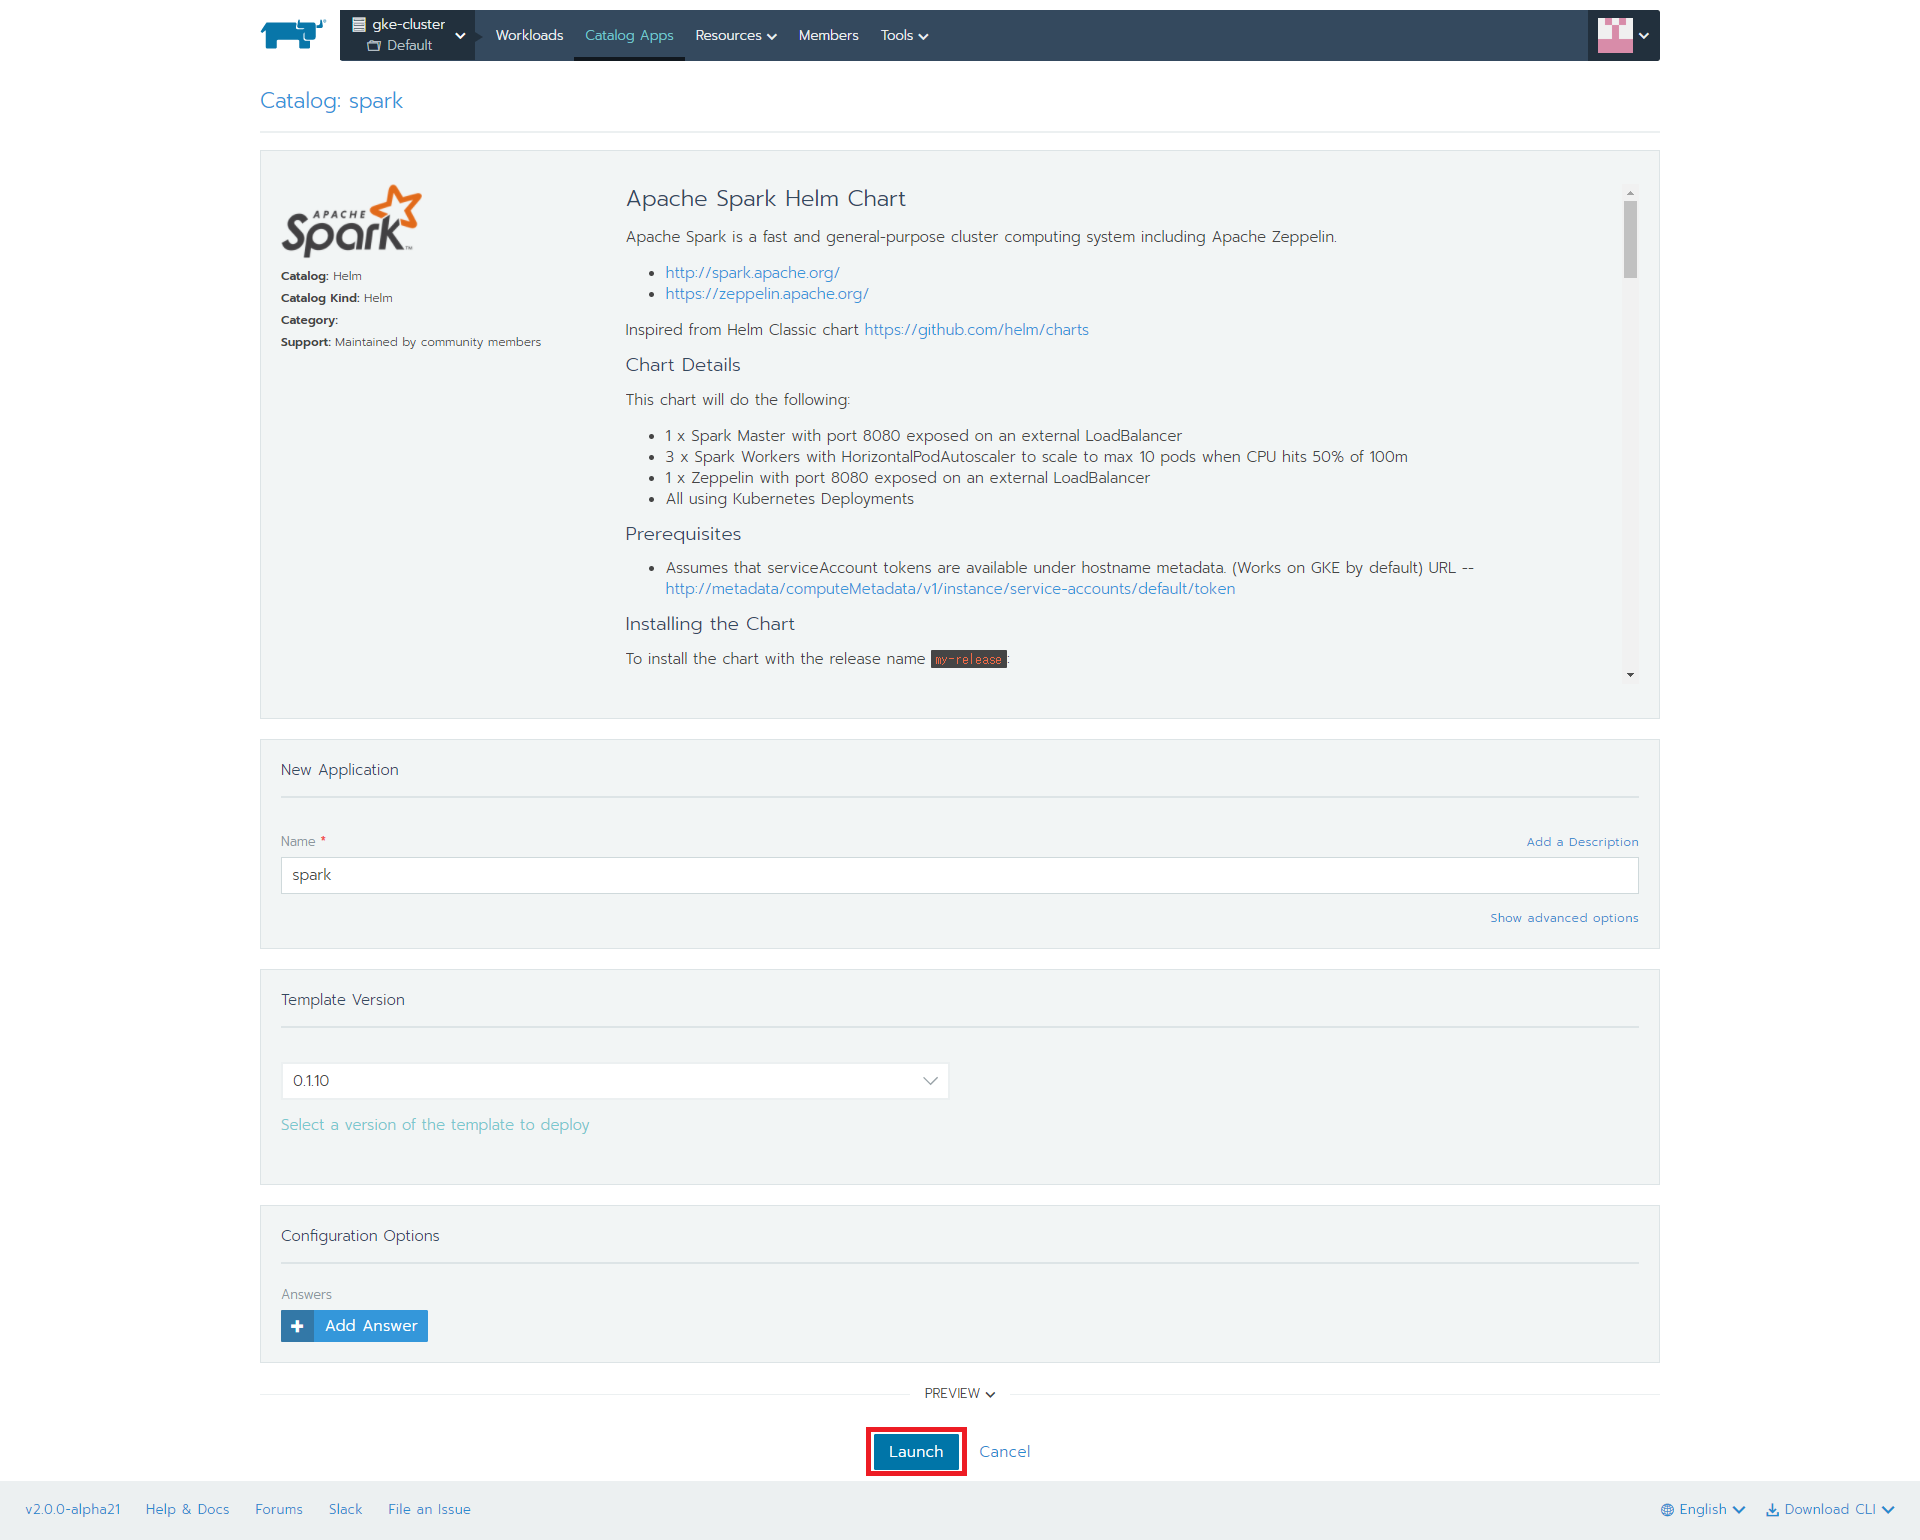
「Launch」ボタンを押下します。
Helm Chartの詳細は以下となります。
Apache Spark Helm Chart
Apache Spark is a fast and general-purpose cluster computing system including Apache Zeppelin.
http://spark.apache.org/
https://zeppelin.apache.org/
Inspired from Helm Classic chart https://github.com/helm/charts
Chart Details
This chart will do the following:
1 x Spark Master with port 8080 exposed on an external LoadBalancer
3 x Spark Workers with HorizontalPodAutoscaler to scale to max 10 pods when CPU hits 50% of 100m
1 x Zeppelin with port 8080 exposed on an external LoadBalancer
All using Kubernetes Deployments
Prerequisites
Assumes that serviceAccount tokens are available under hostname metadata. (Works on GKE by default) URL -- http://metadata/computeMetadata/v1/instance/service-accounts/default/token
Installing the Chart
To install the chart with the release name my-release:
$ helm install --name my-release stable/spark
Configuration
The following tables lists the configurable parameters of the Spark chart and their default values.
Spark Master
| Parameter | Description | Default |
|---|---|---|
| Master.Name | Spark master name | spark-master |
| Master.Image | Container image name | k8s.gcr.io/spark |
| Master.ImageTag | Container image tag | 1.5.1_v3 |
| Master.Replicas | k8s deployment replicas | 1 |
| Master.Component | k8s selector key | spark-master |
| Master.Cpu | container requested cpu | 100m |
| Master.Memory | container requested memory | 512Mi |
| Master.ServicePort | k8s service port | 7077 |
| Master.ContainerPort | Container listening port | 7077 |
| Master.DaemonMemory | Master JVM Xms and Xmx option | 1g |
| Master.ServiceType | Kubernetes Service type | LoadBalancer |
Spark WebUi
| Parameter | Description | Default |
|---|---|---|
| WebUi.Name | Spark webui name | spark-webui |
| WebUi.ServicePort | k8s service port | 8080 |
| WebUi.ContainerPort | Container listening port | 8080 |
Spark Worker
| Parameter | Description | Default |
|---|---|---|
| Worker.Name | Spark worker name | spark-worker |
| Worker.Image | Container image name | k8s.gcr.io/spark |
| Worker.ImageTag | Container image tag | 1.5.1_v3 |
| Worker.Replicas | k8s hpa and deployment replicas | 3 |
| Worker.ReplicasMax | k8s hpa max replicas | 10 |
| Worker.Component | k8s selector key | spark-worker |
| Worker.Cpu | container requested cpu | 100m |
| Worker.Memory | container requested memory | 512Mi |
| Worker.ContainerPort | Container listening port | 7077 |
| Worker.CpuTargetPercentage | k8s hpa cpu targetPercentage | 50 |
| Worker.DaemonMemory | Worker JVM Xms and Xmx setting | 1g |
| Worker.ExecutorMemory | Worker memory available for executor | 1g |
Zeppelin
| Parameter | Description | Default |
|---|---|---|
| Zeppelin.Name | Zeppelin name | zeppelin-controller |
| Zeppelin.Image | Container image name | gcr.io/google_containers/zeppelin |
| Zeppelin.ImageTag | Container image tag | v0.5.5_v2 |
| Zeppelin.Replicas | k8s deployment replicas | 1 |
| Zeppelin.Component | k8s selector key | zeppelin |
| Zeppelin.Cpu | container requested cpu | 100m |
| Zeppelin.ServicePort | k8s service port | 8080 |
| Zeppelin.ContainerPort | Container listening port | 8080 |
| Zeppelin.Ingress.Enabled | if?true, an ingress is created | FALSE |
| Zeppelin.Ingress.Annotations | annotations for the ingress | {} |
| Zeppelin.Ingress.Path | the ingress path | / |
| Zeppelin.Ingress.Hosts | a list of ingress hosts | [zeppelin.example.com] |
| Zeppelin.Ingress.Tls | a list of?IngressTLS?items | [] |
| Zeppelin.ServiceType | Kubernetes Service type | LoadBalancer |
Specify each parameter using the --set key=value[,key=value] argument to helm install.
Alternatively, a YAML file that specifies the values for the parameters can be provided while installing the chart. For example,
$ helm install --name my-release -f values.yaml stable/spark
Tip: You can use the default values.yaml
2.Google Cloud SDK ShellでEXTERNAL-IPの確認
> gcloud container clusters get-credentials gke-cluster --zone asia-northeast1-a --project 対象のproject名
Fetching cluster endpoint and auth data.
kubeconfig entry generated for gke-cluster.
> kubectl get -n wordpress services
NAME             TYPE           CLUSTER-IP      EXTERNAL-IP      PORT(S)          AGE
spark-master     ClusterIP      10.27.247.241   <none>           7077/TCP         1m
spark-webui      LoadBalancer   10.27.245.177   35.200.102.242   8080:31837/TCP   1m
spark-zeppelin   LoadBalancer   10.27.246.53    <pending>        8080:30515/TCP   1m
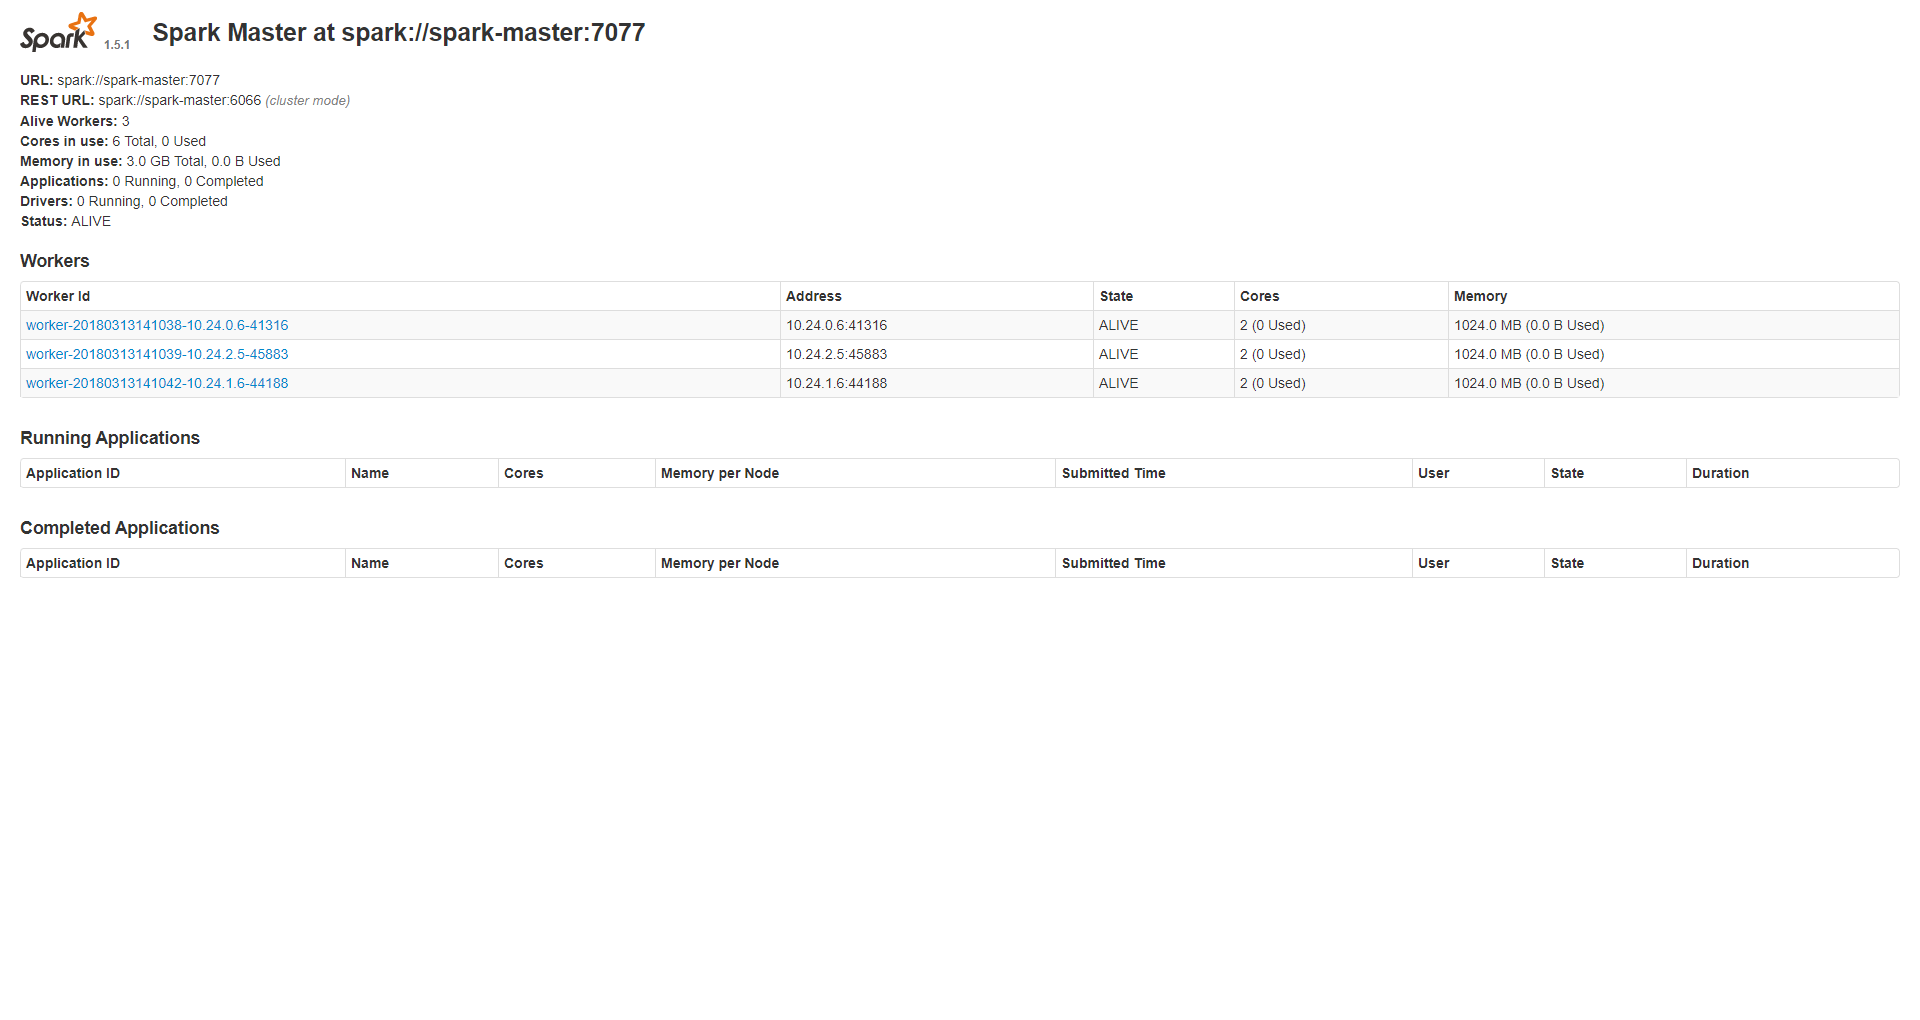
ブラウザを起動して、http://EXTERNAL-IP:8080/ にアクセスします。
クラスタの削除
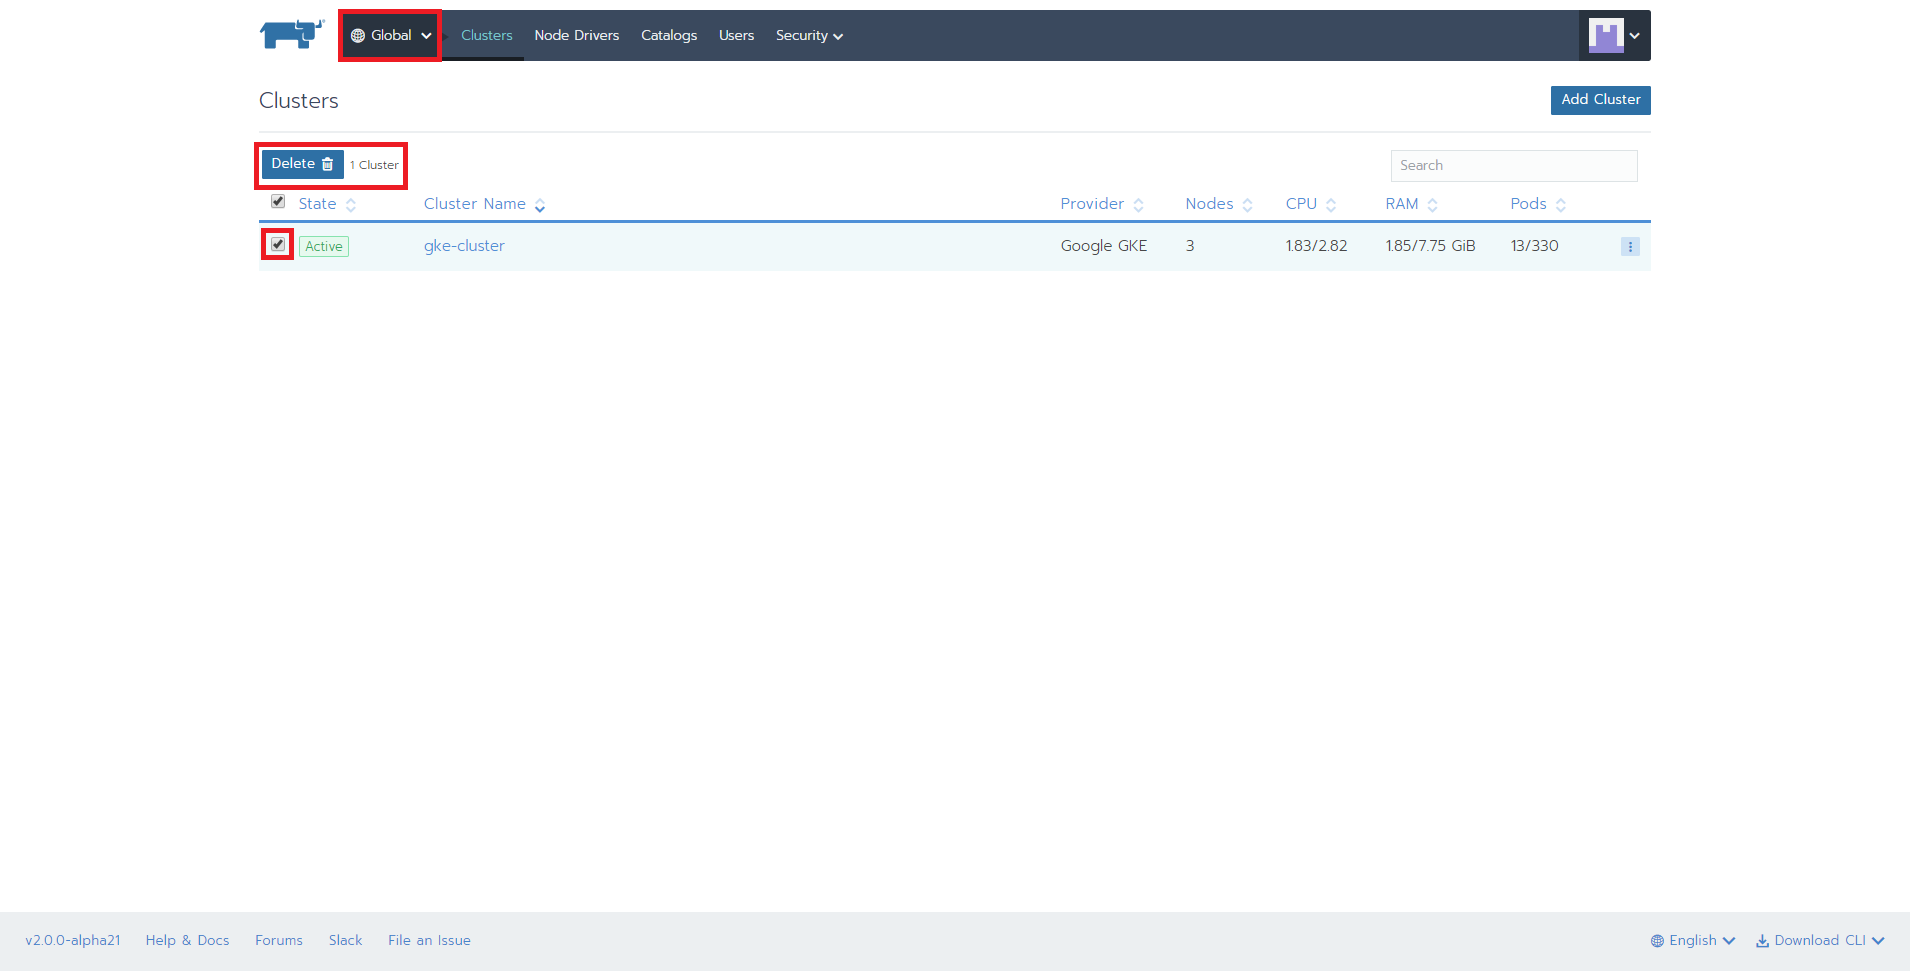
上部メニュー「Global」を選択し、「gke-cluster」の左にあるチェックボックスにチェックを入れて、「Delete」ボタンを押下します。
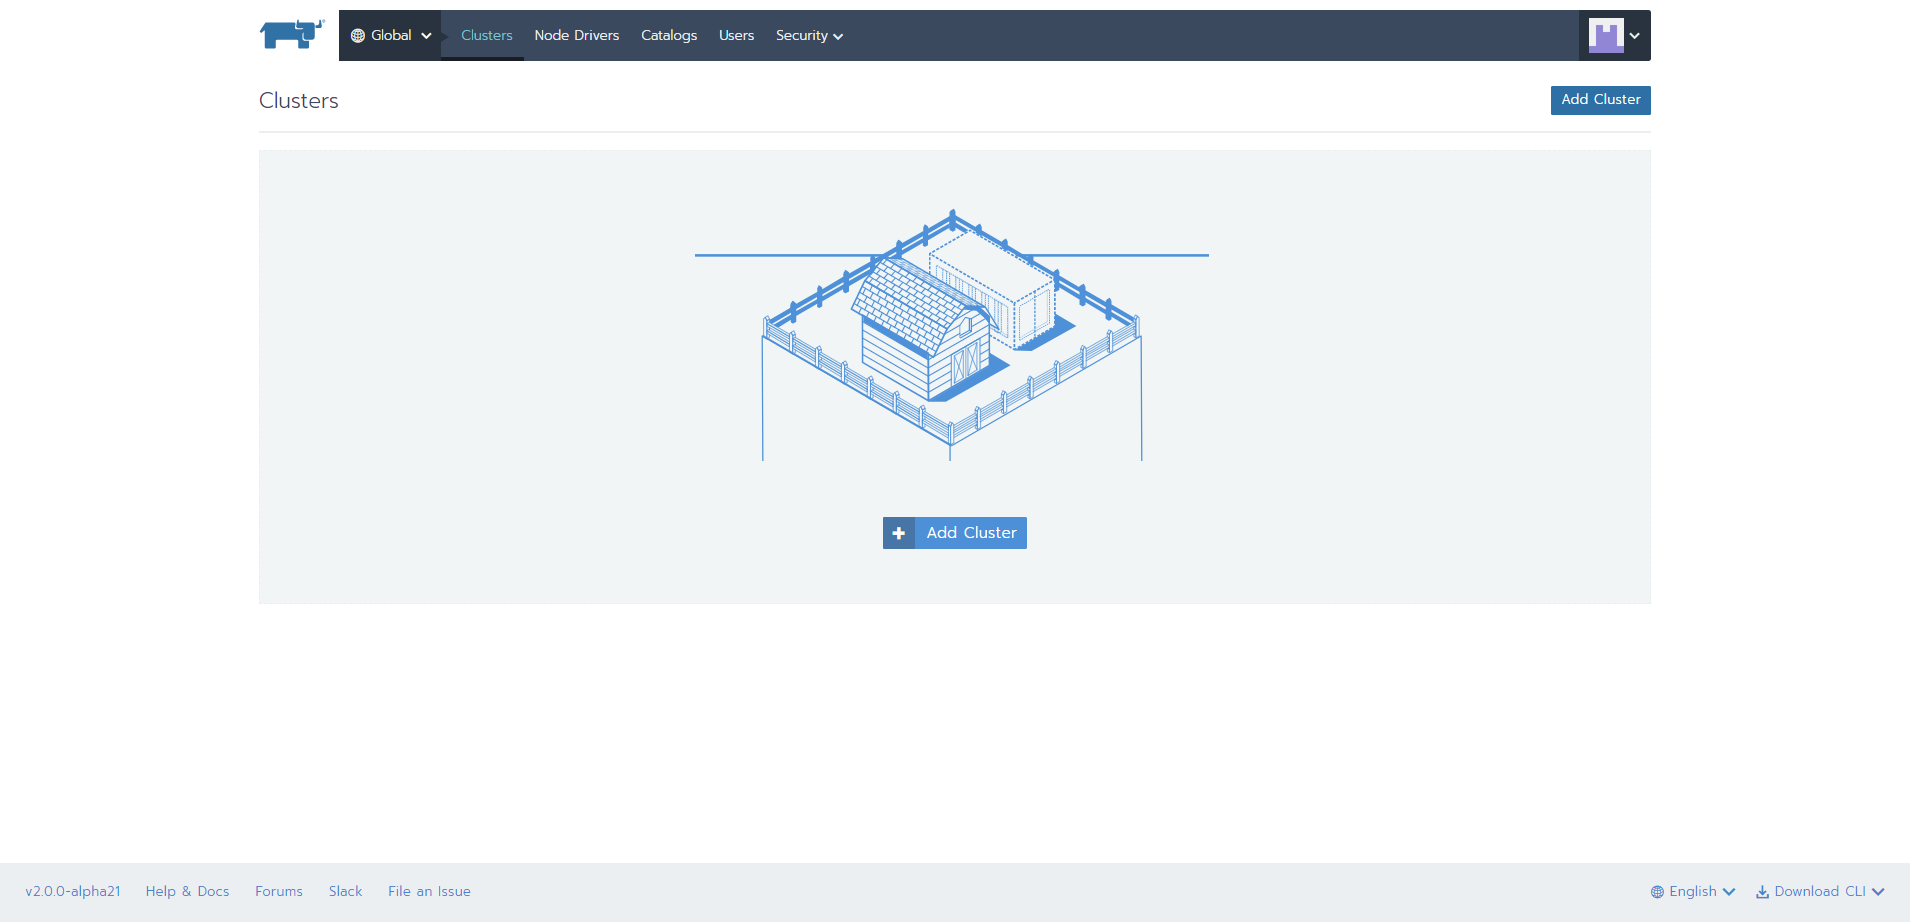
削除されると以下の画面になります。
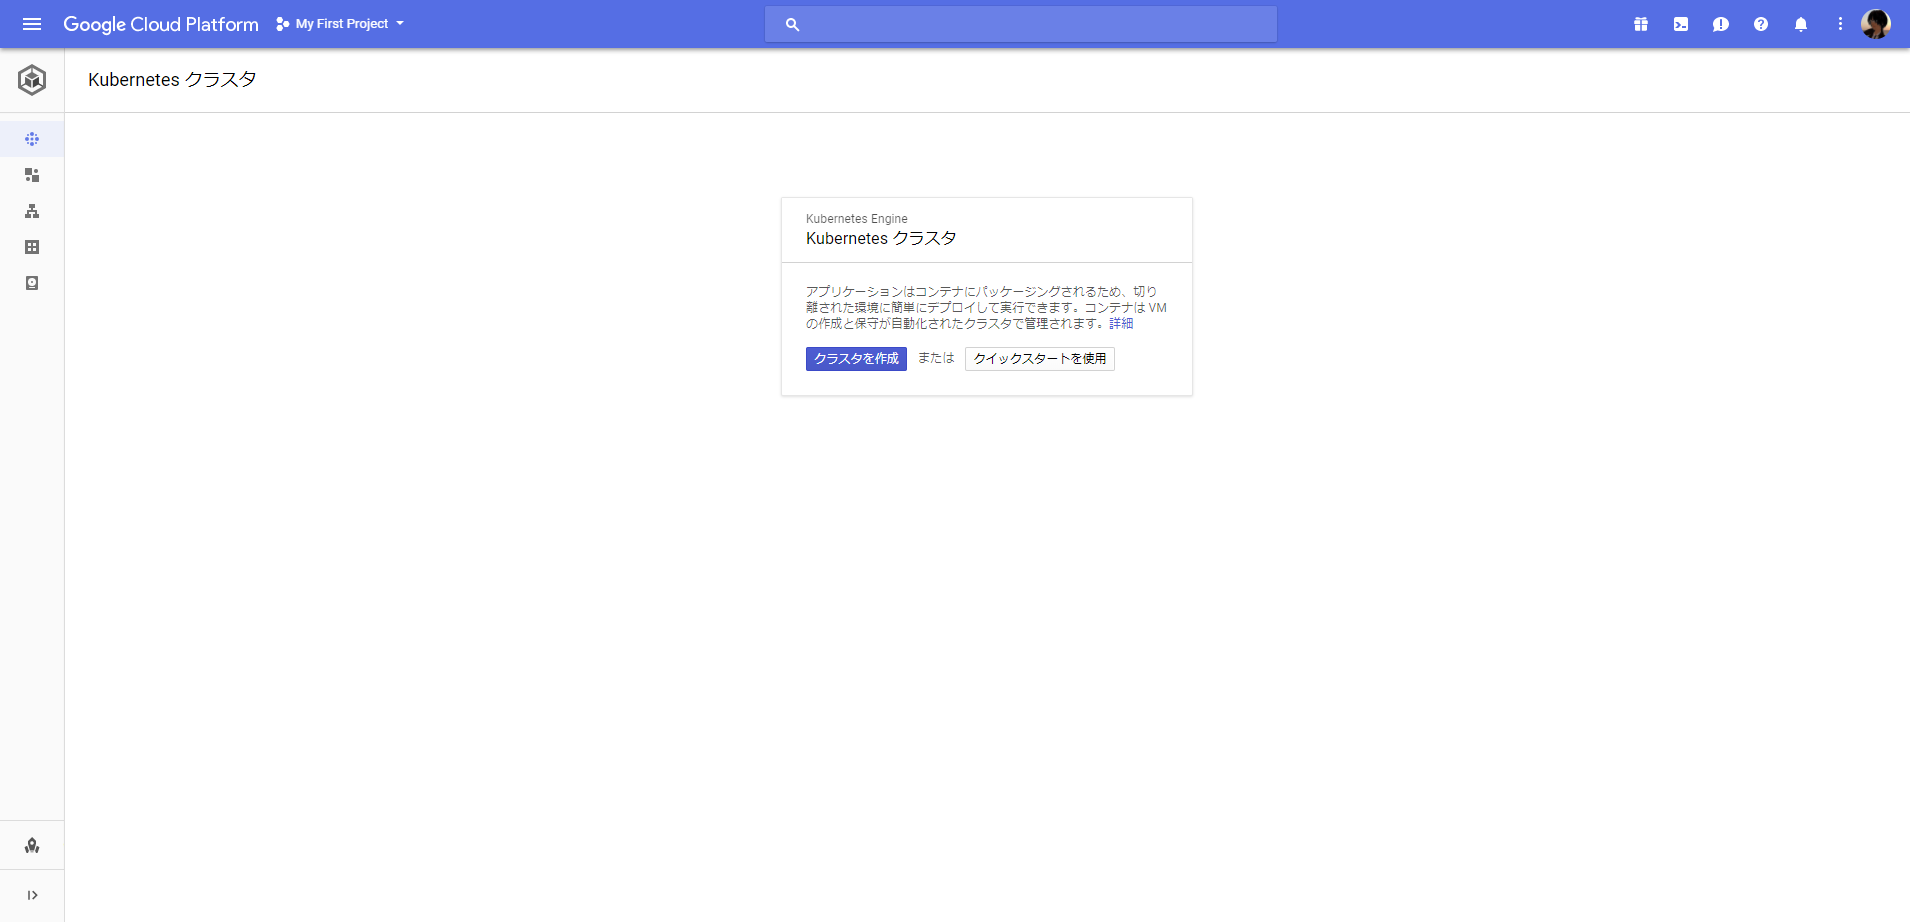
GKE側でも削除されていることを確認します。
このカタログのSparkがどの程度利用できるかはわかりませんが、kubernetesクラスタに簡単にデプロイできてしまうのは魅力的ではないでしょうか。
