2022年11月2日 Oracle Cloud Hangout Cafe Season6 #3 「ワークフローツールで楽々Job管理」 で実施したデモをベースに Oracle Container Engine for Kubernetes (OKE) + Airflow の環境構築から公式チュートリアルを実行しながら、 Airflow の最初の一歩を踏み出してみましょう。
以下、スライド資料と公開動画を合わせてご利用頂くとより理解が深まると思います。
What is Airflow ?
Airflow は、オープンソースのワークフロー管理プラットフォームです。2014年に Airbnb 社が開発した OSS であり、2016年から Apache Software Foundation のプロジェクトになりました。Python と DAG ベースにワークフローを表現できることが特徴です。
DEMO Environment
以下の環境を構築して、実施します。
- Kubernetes Cluster : Oracle Container Engine for Kubernetes
- Node Shape (3 Nodes) : VM.Standard.E3.Flex
- Airflow : v2.4.1
OKE Set Up
OKE のプロビジョニングについては、以下チュートリアルを参考にしてください。
Oracle Container Engine for Kubernetes(OKE)をプロビジョニングしよう
Airflow Set Up
1.Airflow Install
Airflow は、PyPi, Docker, Helm を利用してインストールできます。ここでは、Helm を利用します。
事前に Helm クライアントをインストールが必要となります。
Oracle Cloud Infrastructure(OCI) の場合は、Cloud Shell を利用することで Helm クライアントのインストールは不要です。
helm repo add apache-airflow https://airflow.apache.org
helm repo update
helm install airflow apache-airflow/airflow --create-namespace --namespace airflow
NAME: airflow
LAST DEPLOYED: Sun Oct 16 13:30:17 2022
NAMESPACE: airflow
STATUS: deployed
REVISION: 1
TEST SUITE: None
NOTES:
Thank you for installing Apache Airflow 2.4.1!

Your release is named airflow.
You can now access your dashboard(s) by executing the following command(s) and visiting the corresponding port at localhost in your browser:

Airflow Webserver:     kubectl port-forward svc/airflow-webserver 8080:8080 --namespace airflow
Default Webserver (Airflow UI) Login credentials:
    username: admin
    password: admin
Default Postgres connection credentials:
    username: postgres
    password: postgres
    port: 5432

You can get Fernet Key value by running the following:

    echo Fernet Key: $(kubectl get secret --namespace airflow airflow-fernet-key -o jsonpath="{.data.fernet-key}" | base64 --decode)

###########################################################
#  WARNING: You should set a static webserver secret key  #
###########################################################

You are using a dynamically generated webserver secret key, which can lead to
unnecessary restarts of your Airflow components.

Information on how to set a static webserver secret key can be found here:
https://airflow.apache.org/docs/helm-chart/stable/production-guide.html#webserver-secret-key
7個の Pod が Running であることを確認します。
kubectl get pods -n airflow
NAME                                 READY   STATUS    RESTARTS   AGE
airflow-postgresql-0                 1/1     Running   0          2m46s
airflow-redis-0                      1/1     Running   0          2m46s
airflow-scheduler-5754fc7746-cdkvb   2/2     Running   0          2m47s
airflow-statsd-5b4964646f-nqqzc      1/1     Running   0          2m47s
airflow-triggerer-7795dfffcb-ln22d   1/1     Running   0          2m47s
airflow-webserver-7bf76fd7fc-qccj5   1/1     Running   0          2m47s
airflow-worker-0                     2/2     Running   0          2m46s
2.Airflow UI Access
Service としてインストールされる argo-workflow-service の type を LoadBalancer に変更して、ブラウザからアクセスできるようにします。
kubectl edit service/airflow-webserver -n airflow
・
・ <省略>
・
  selector:
    component: webserver
    release: airflow
    tier: airflow
  sessionAffinity: None
  type: ClusterIP # type: LoadBalancer に変更
・
・ <省略>
・
EXTERNAL-IP を確認
kubectl get service airflow-webserver -n airflow
NAME                TYPE           CLUSTER-IP      EXTERNAL-IP       PORT(S)          AGE
airflow-webserver   LoadBalancer   10.96.110.188   144.xxx.xxx.xxx   8080:31703/TCP   4h5m
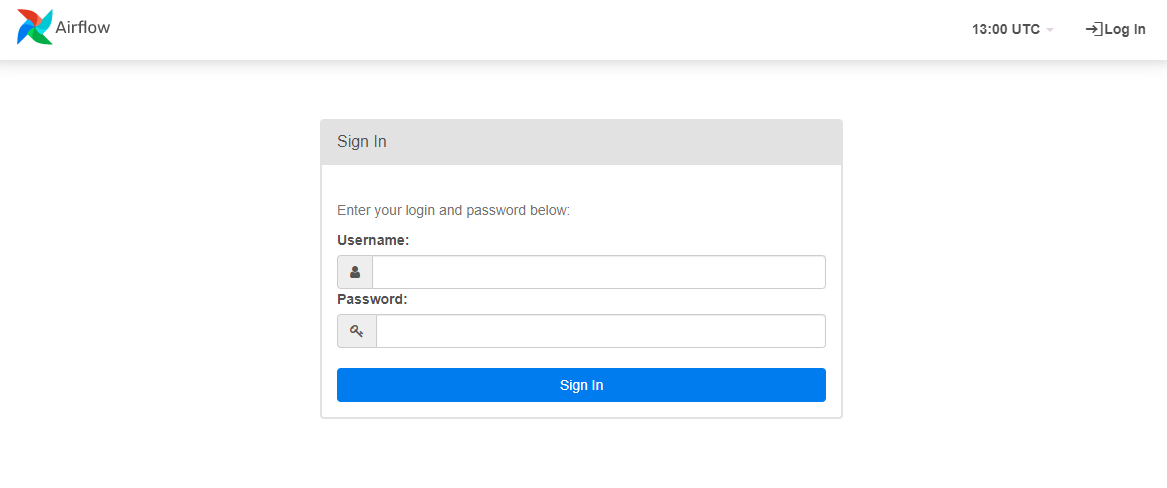
ブラウザを起動して、UI にアクセスします。
Default Username : admin
Default Password : admin
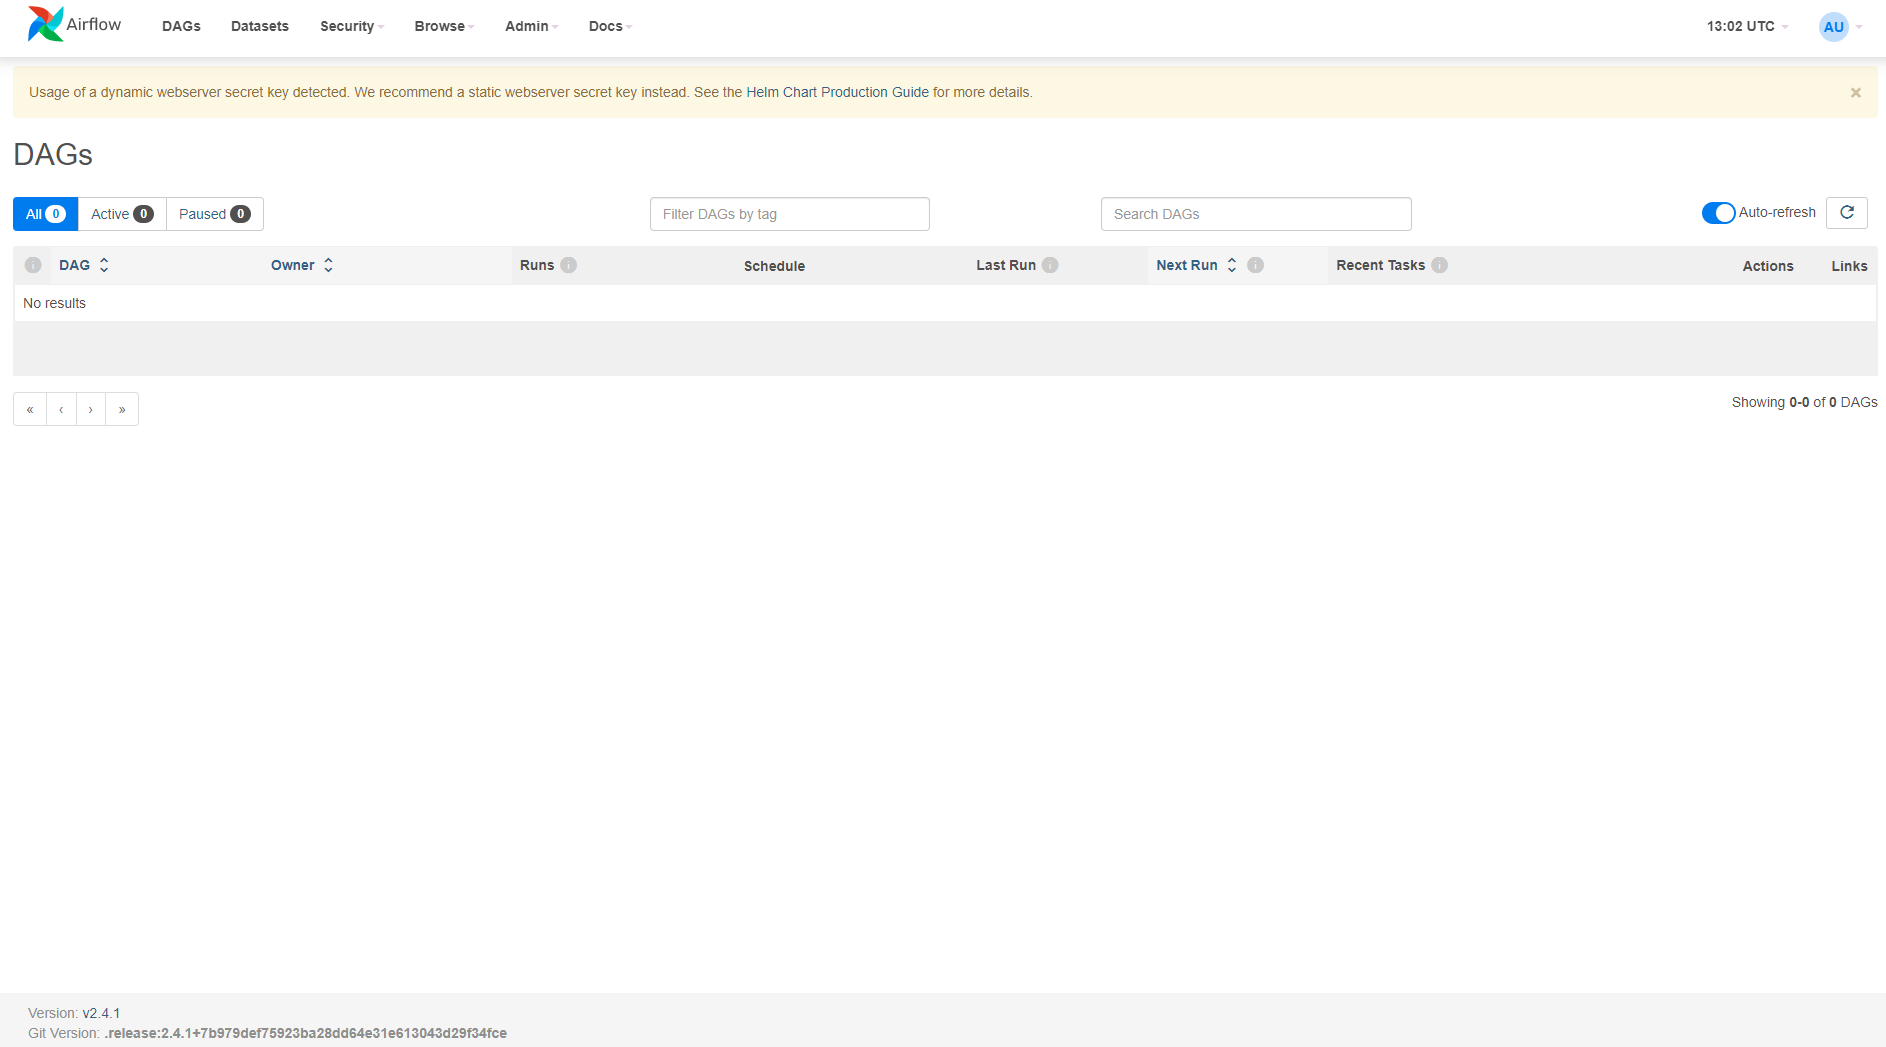
ログイン完了です。
3.サンプルワークフローのロード設定
チュートリアルを含めた、サンプルワークフローを読み込むことができるので有効化します。
values.yaml ファイルを書き出して、編集します。
helm show values apache-airflow/airflow > values.yaml
extraEnv の箇所を以下内容に変更します。
vim values.yaml
・
・ <省略>
・
extraEnv: |
 - name: AIRFLOW__CORE__LOAD_EXAMPLES
  value: 'True'
・
・ <省略>
・
変更した values.yaml を適用します。
helm upgrade --install airflow apache-airflow/airflow -n airflow -f values.yaml
Release "airflow" has been upgraded. Happy Helming!
NAME: airflow
LAST DEPLOYED: Mon Oct 17 06:00:39 2022
NAMESPACE: airflow
STATUS: deployed
REVISION: 3
TEST SUITE: None
NOTES:
Thank you for installing Apache Airflow 2.4.1!

Your release is named airflow.
You can now access your dashboard(s) by executing the following command(s) and visiting the corresponding port at localhost in your browser:

Airflow Webserver:     kubectl port-forward svc/airflow-webserver 8080:8080 --namespace airflow
Default Webserver (Airflow UI) Login credentials:
    username: admin
    password: admin
Default Postgres connection credentials:
    username: postgres
    password: postgres
    port: 5432

You can get Fernet Key value by running the following:

    echo Fernet Key: $(kubectl get secret --namespace airflow airflow-fernet-key -o jsonpath="{.data.fernet-key}" | base64 --decode)

###########################################################
#  WARNING: You should set a static webserver secret key  #
###########################################################

You are using a dynamically generated webserver secret key, which can lead to
unnecessary restarts of your Airflow components.

Information on how to set a static webserver secret key can be found here:
https://airflow.apache.org/docs/helm-chart/stable/production-guide.html#webserver-secret-key
ステータスを確認します。
helm ls -n airflow
NAME    NAMESPACE       REVISION        UPDATED                                 STATUS          CHART           APP VERSION
airflow airflow         3               2022-10-17 06:00:39.789334761 +0000 UTC deployed        airflow-1.7.0   2.4.1
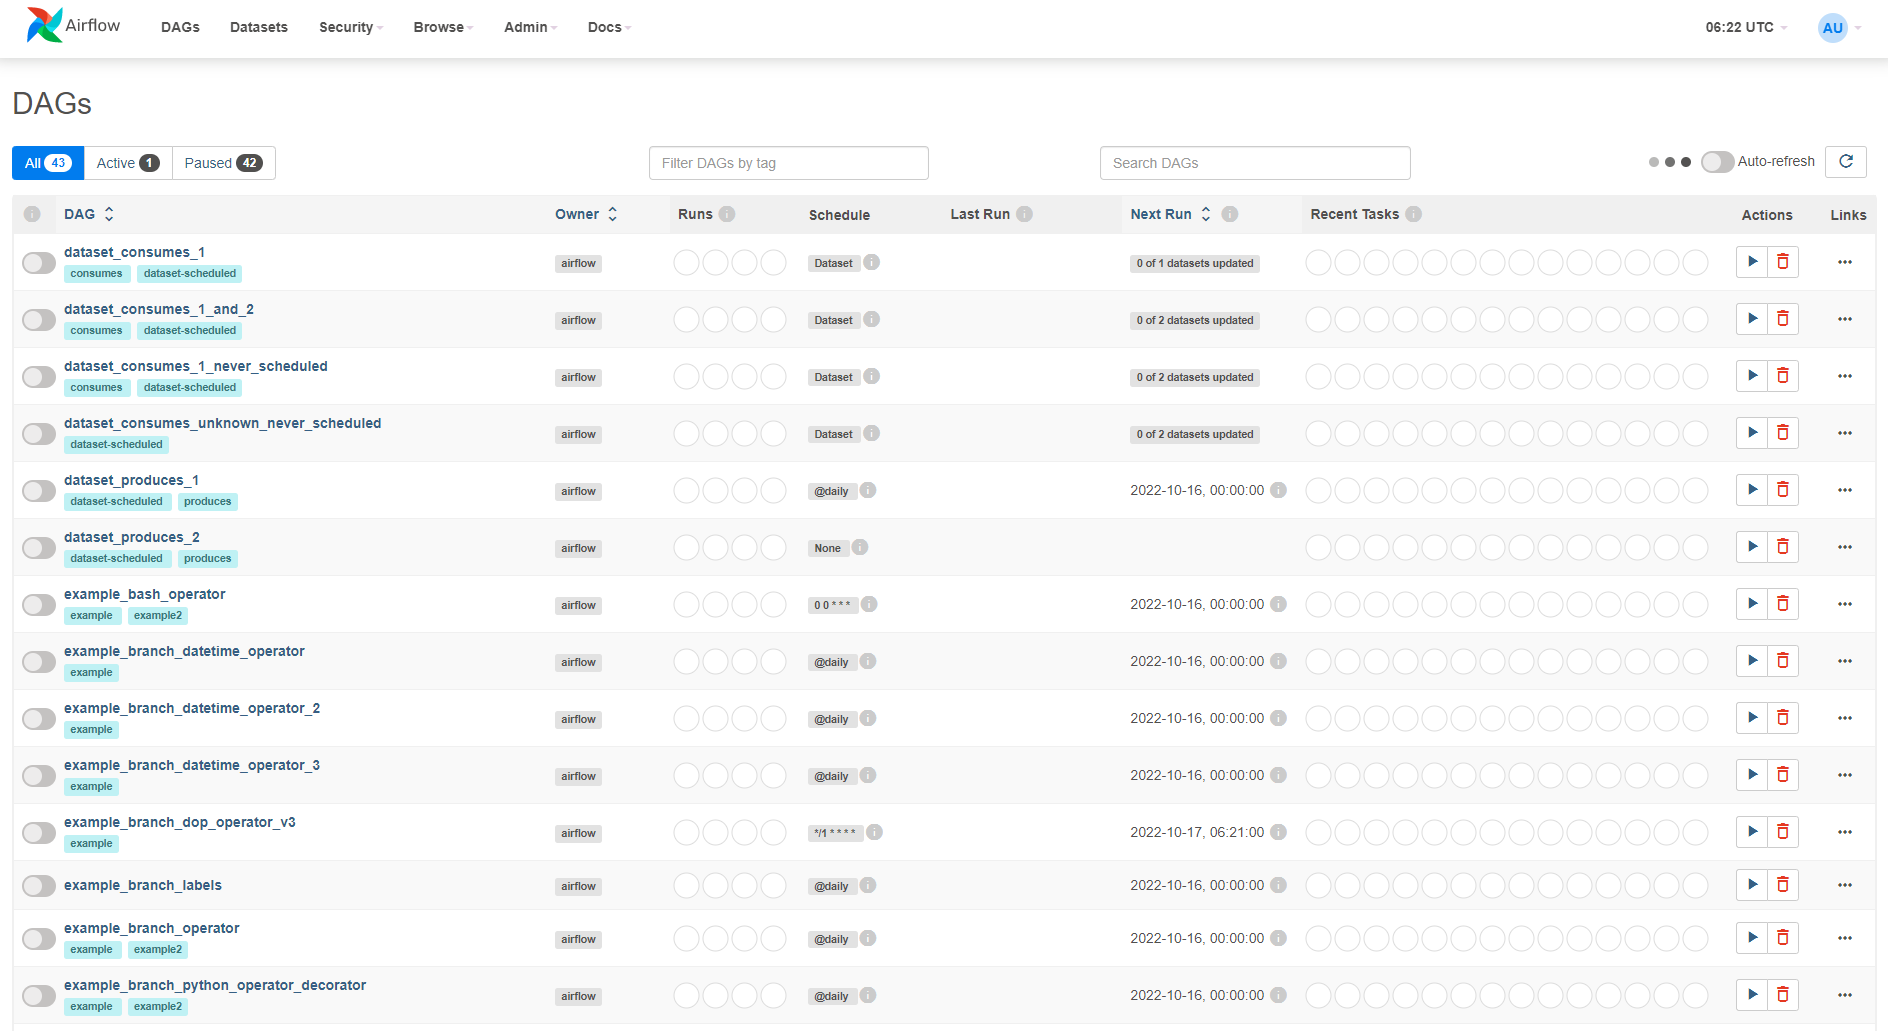
以下のようにサンプルワークフローがリスト表示されます。
Airflow Demo
読み込んだサンプルワークフローの tutorial ワークフローを実施します。
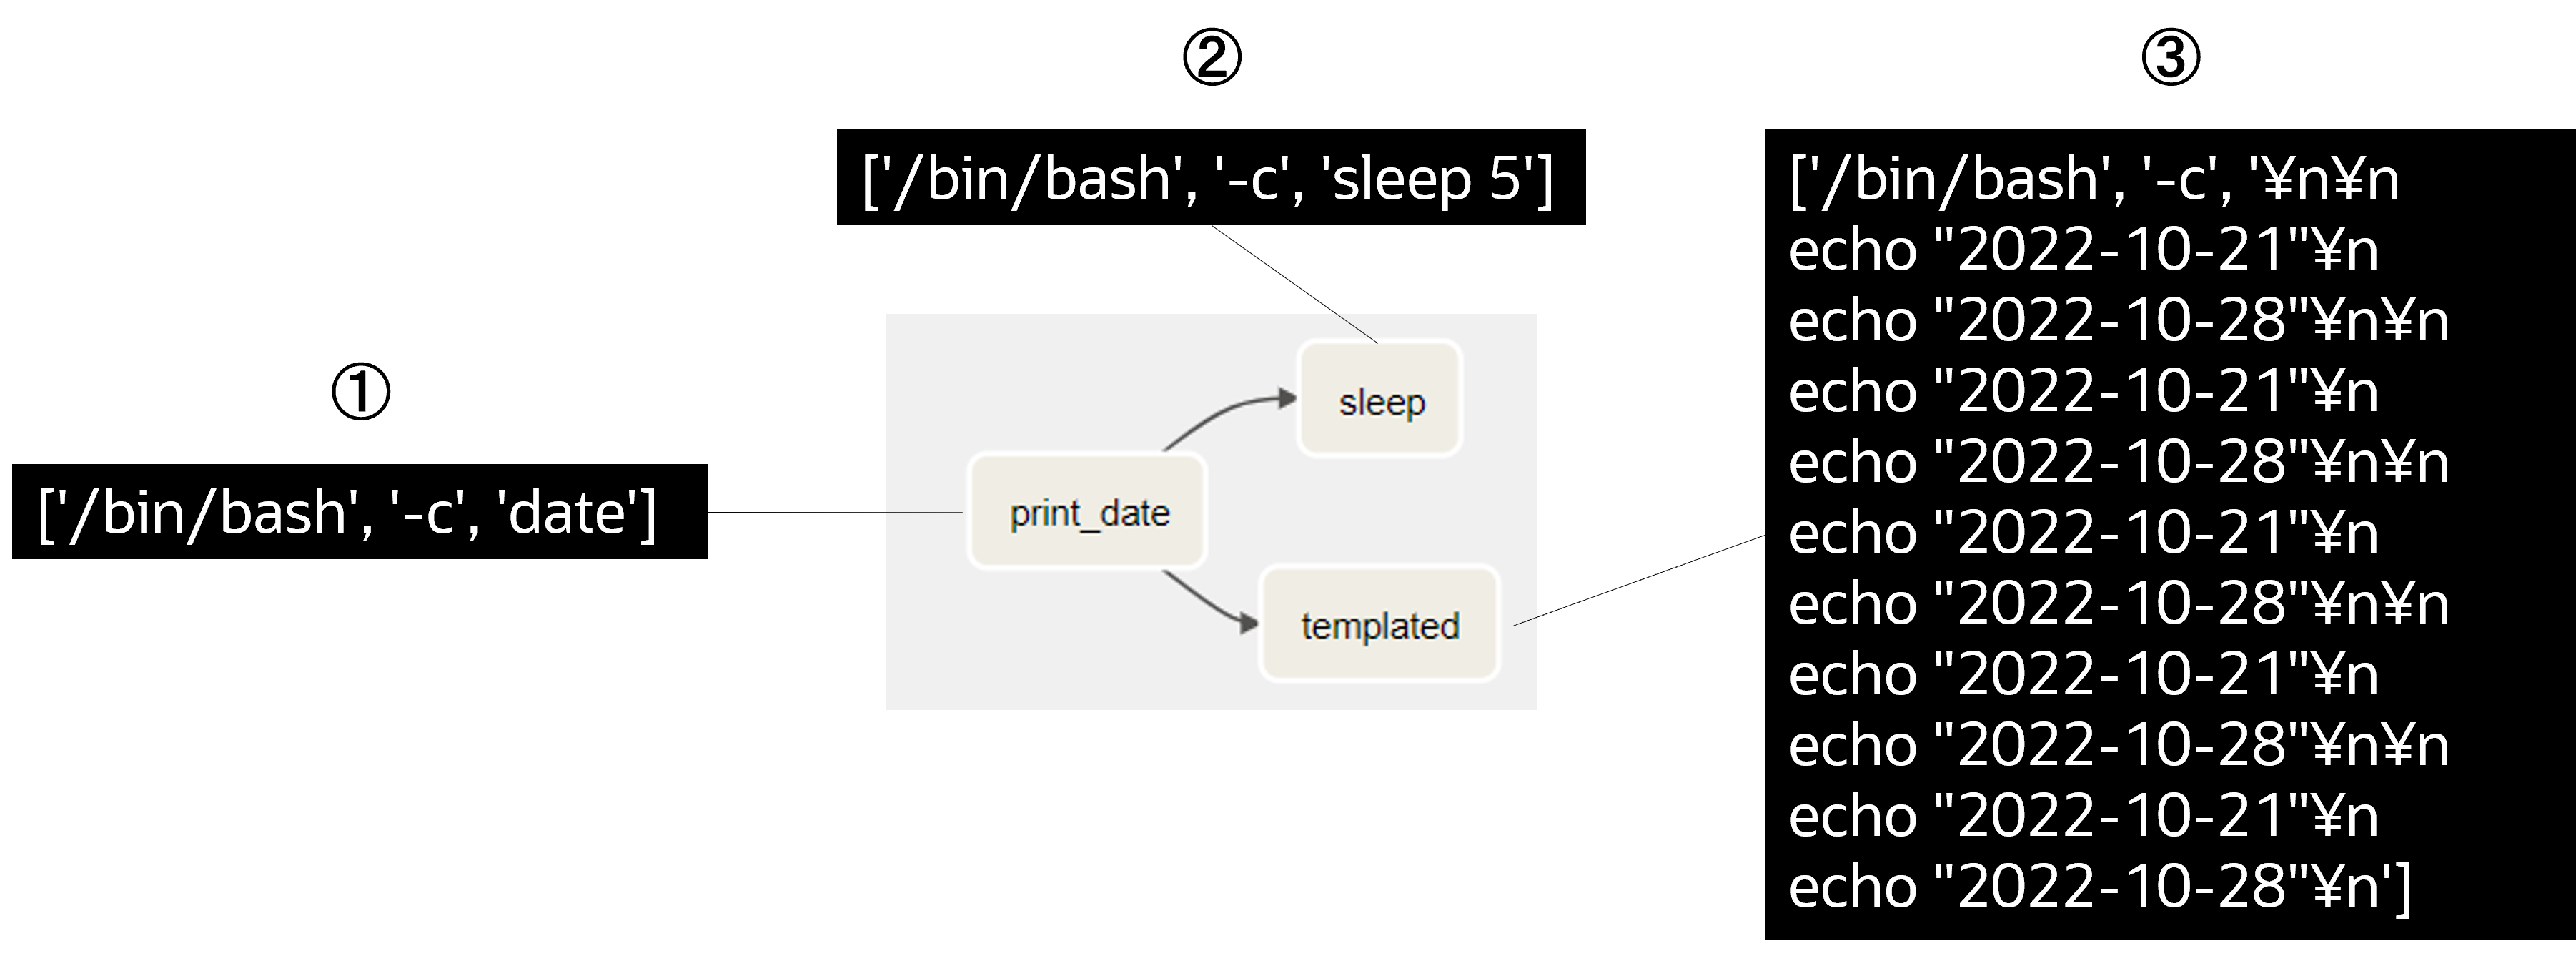
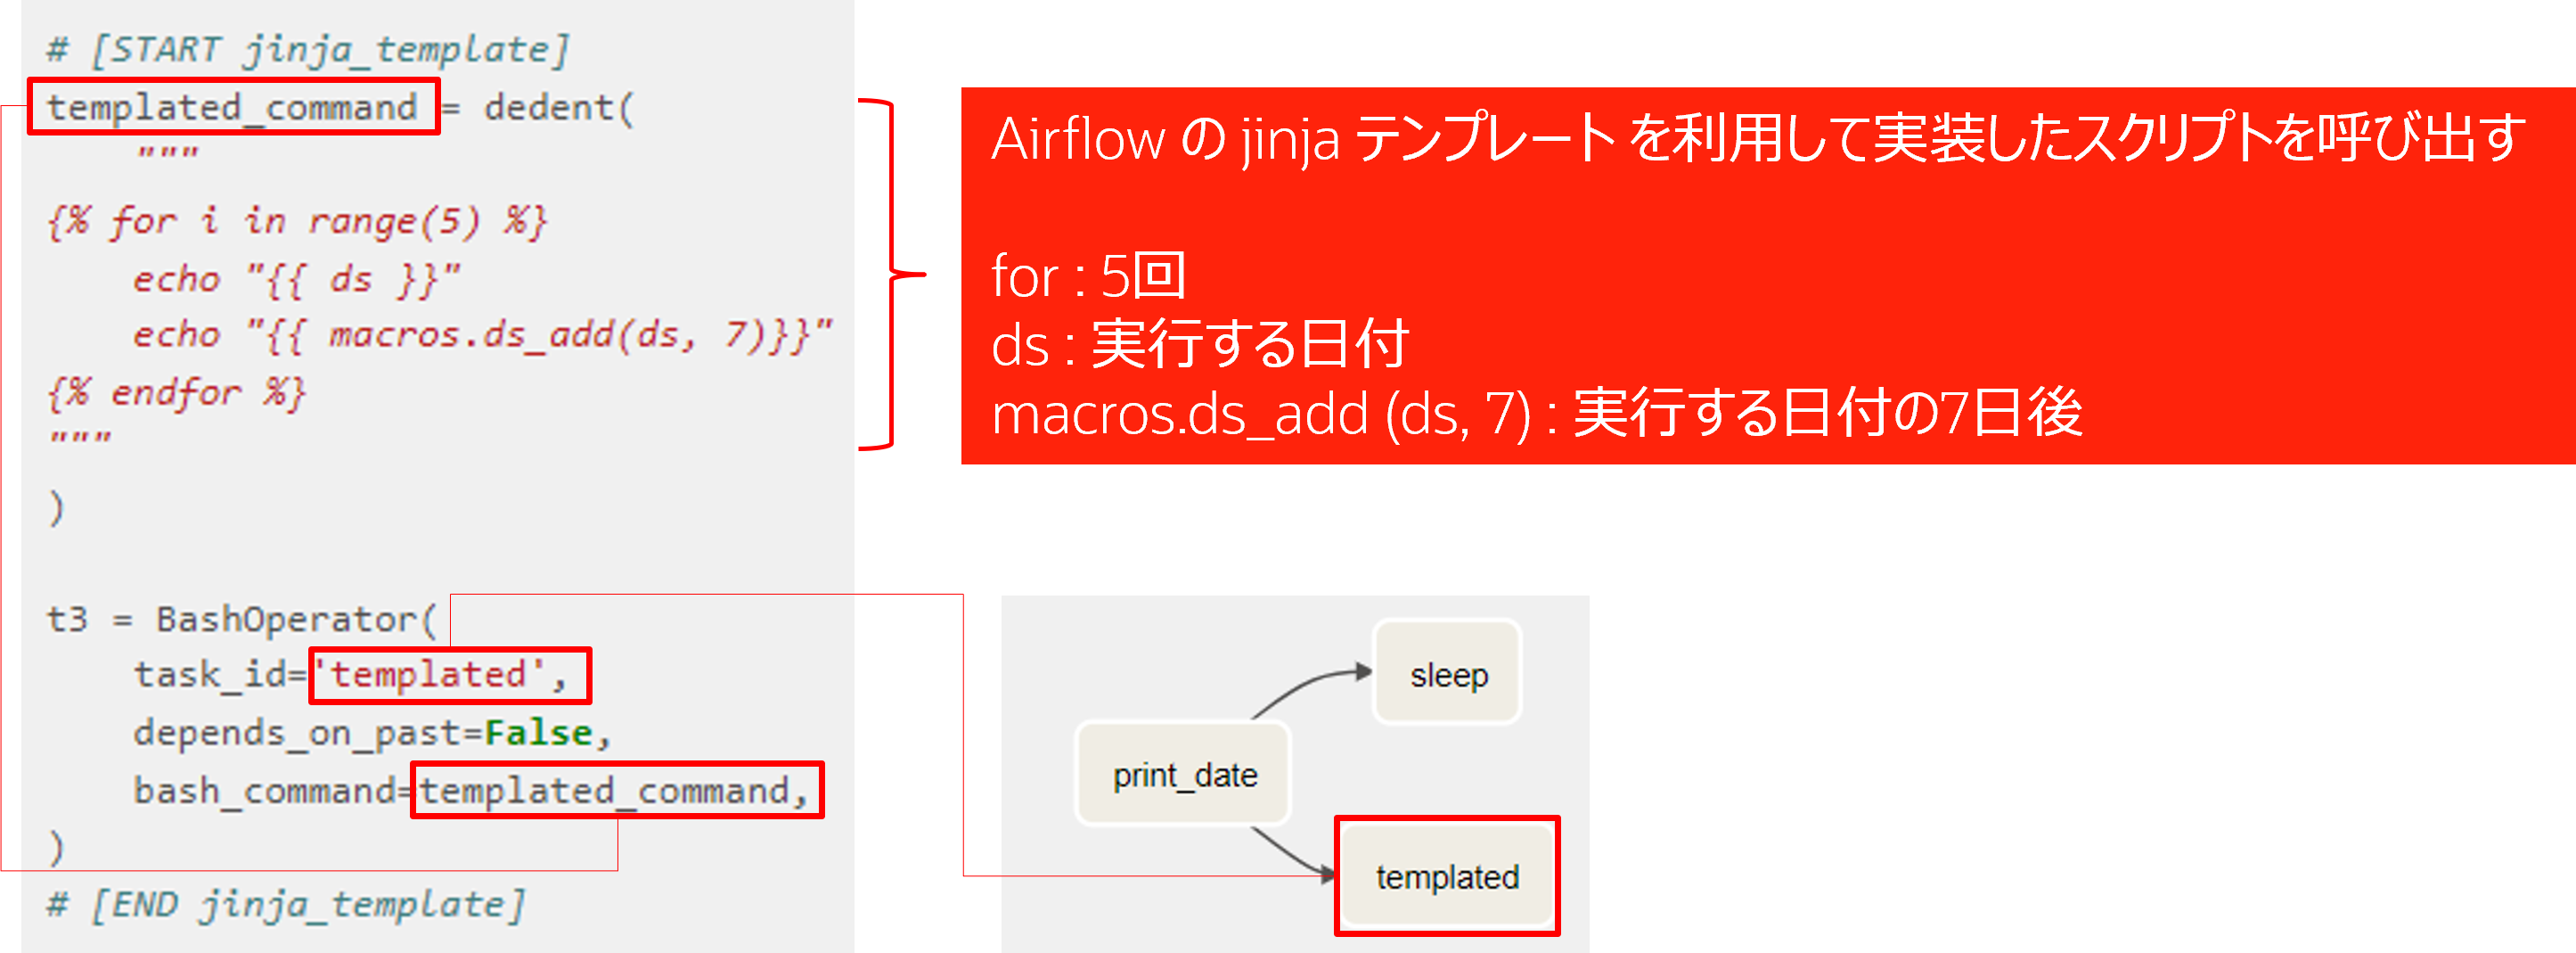
print_date タスクは、Airflow の BashOperator から date コマンドを実行、sleep タスクは5秒間 sleep 、templated は、Airflow の jinja テンプレートコードを実行するタスクです。
サンプルワークフロー tutrial を有効化して、テキストリンクをクリックします。
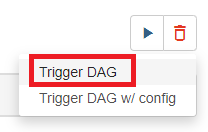
画面右上部にある実行ボタンをクリックして、Trigger Dag を選択します。
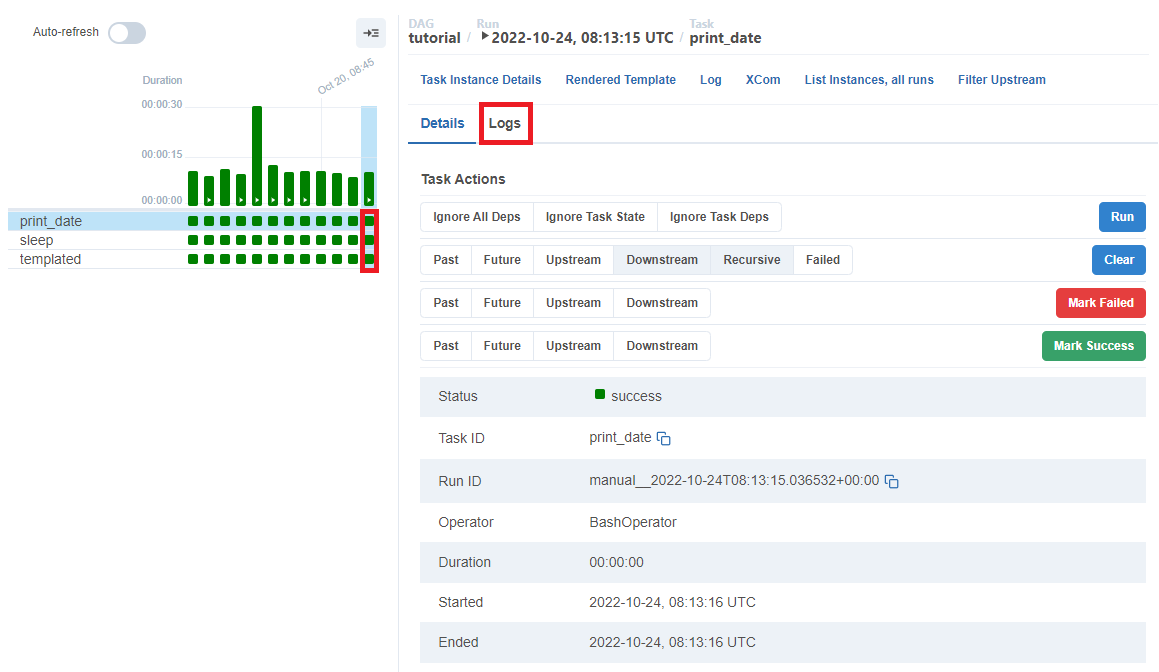
各タスクの緑四角をクリックすると右側に詳細情報が表示されます。
Logs クリックします。
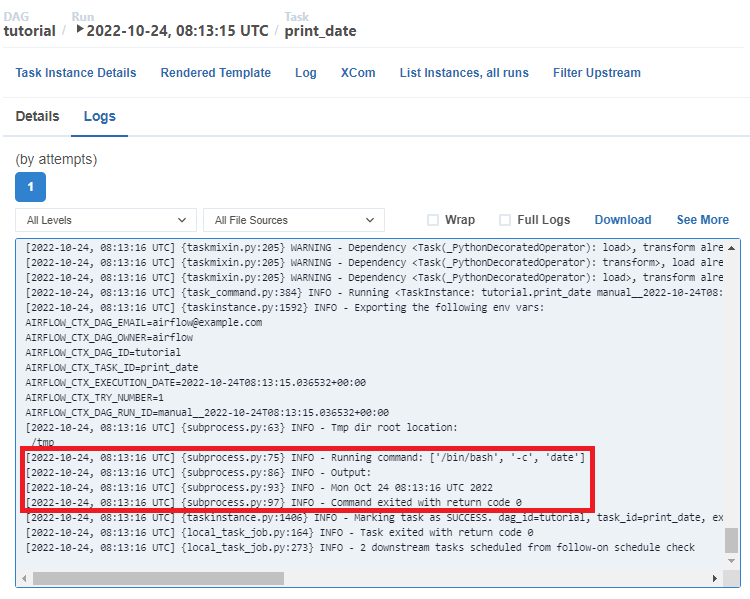
print_date タスクの date コマンド実行結果を確認できます。
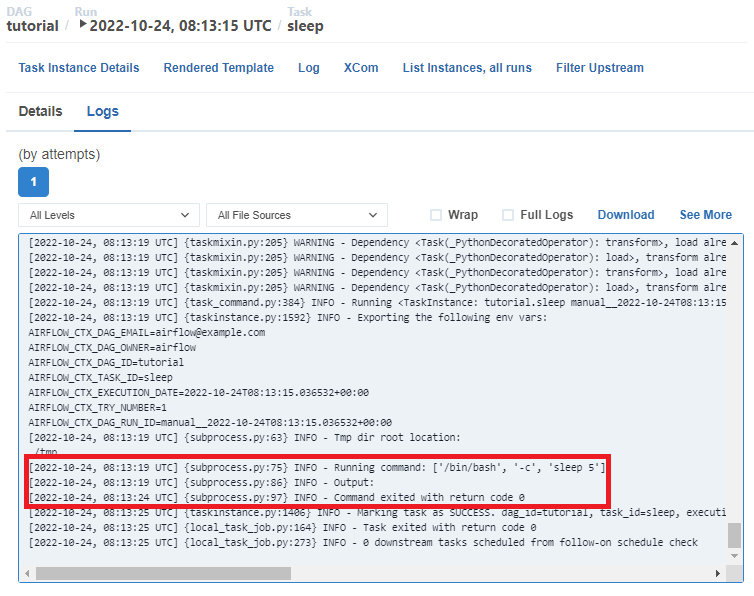
sleep タスクの結果は以下となります。
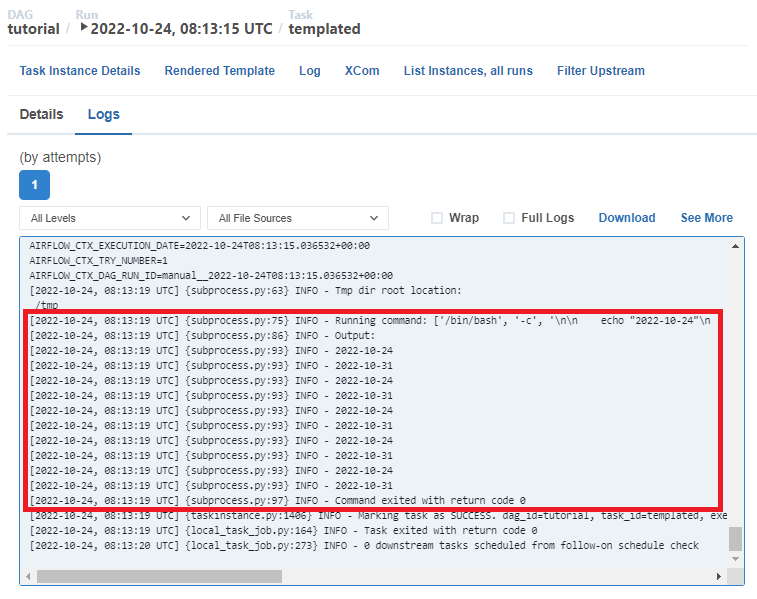
templated タスクの結果は以下となります。
上部メニューの Code ボタンをクリックして、tutorial ワークフローのソースコードが表示されるので、templated タスクの jinja テンプレートコードを確認してみます。
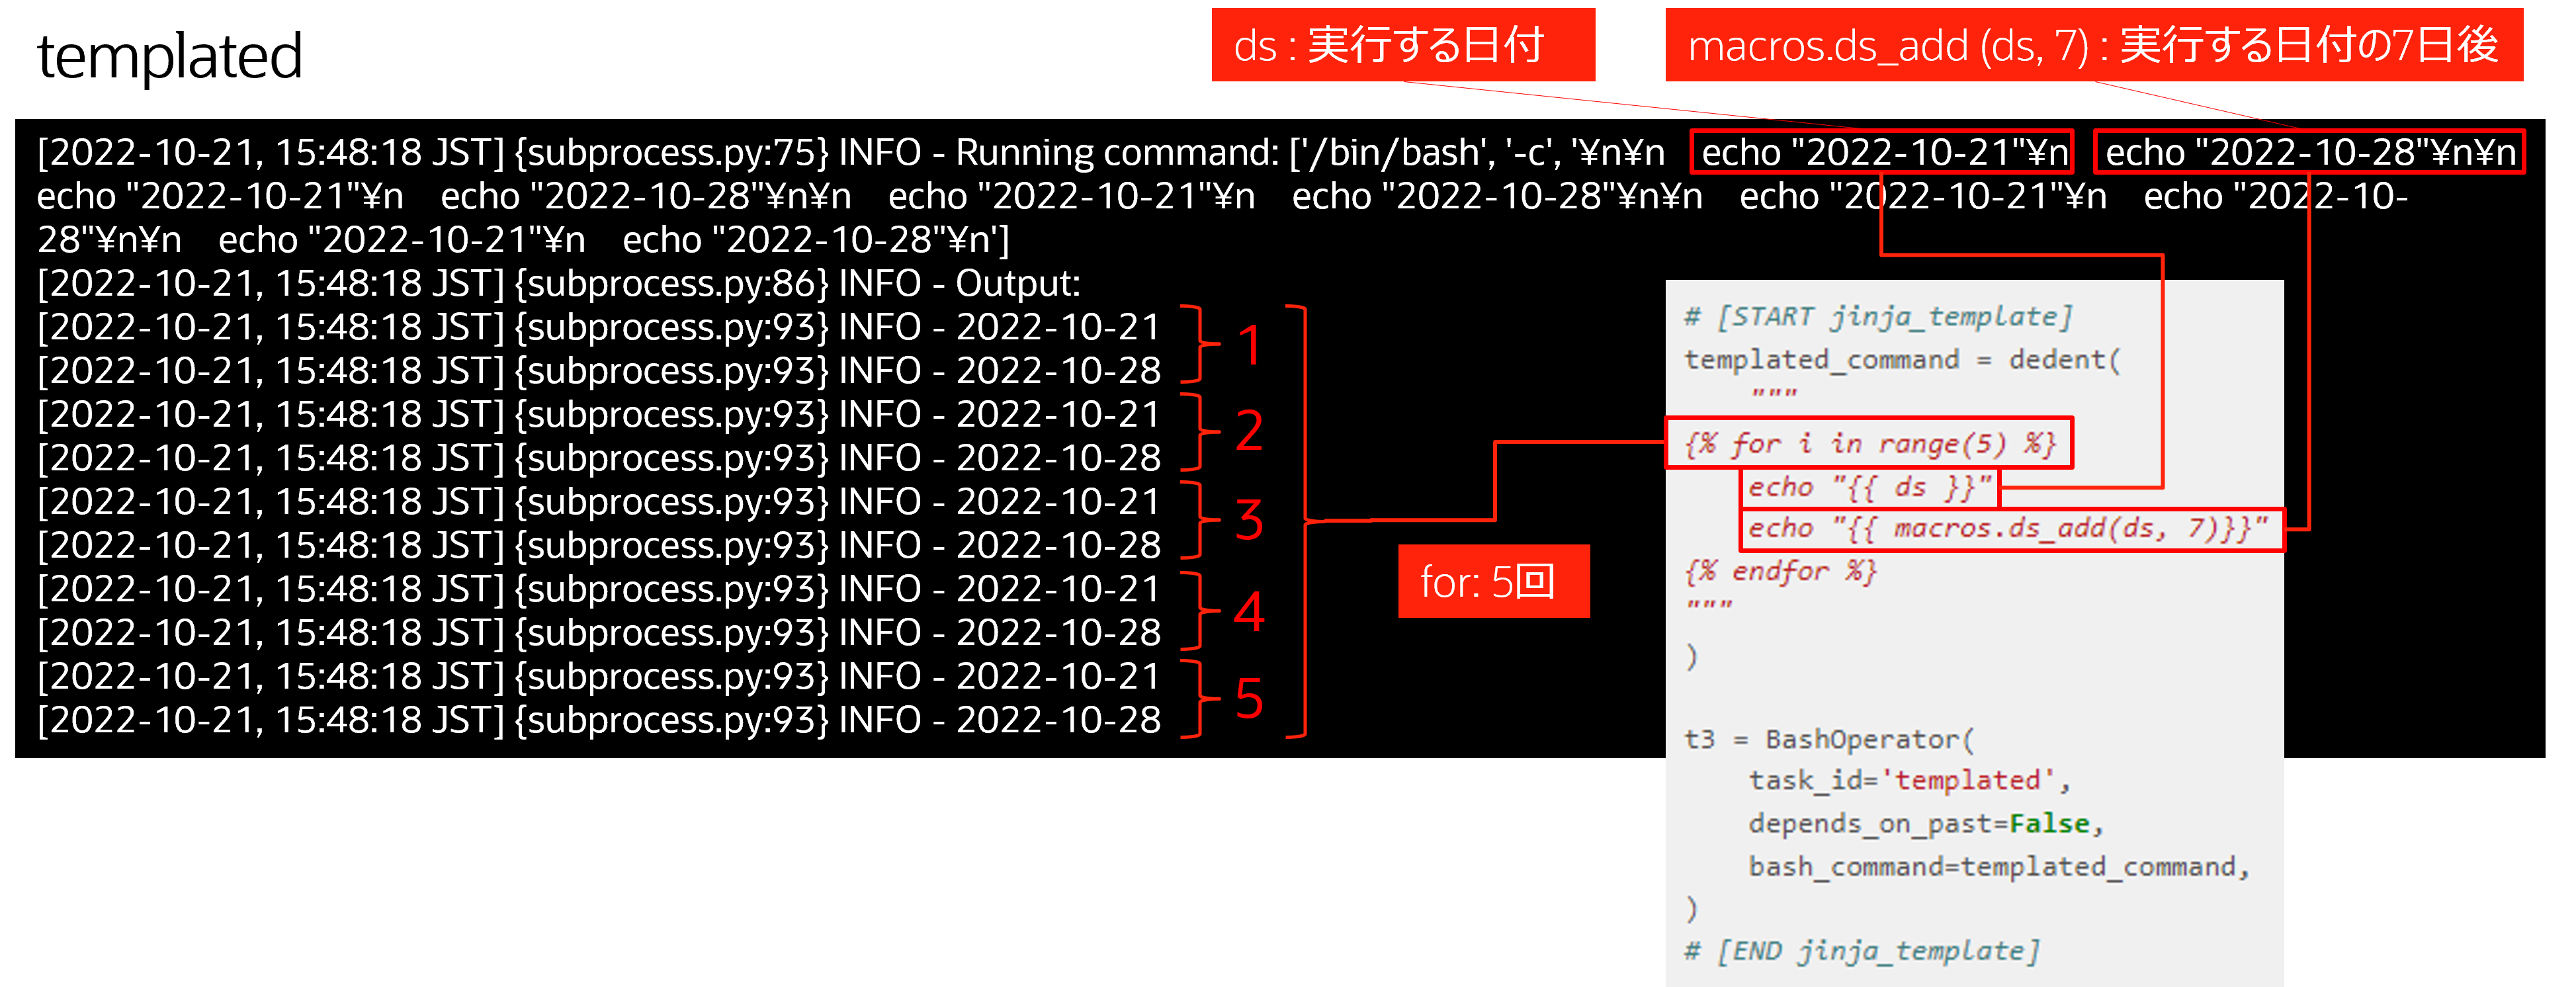
実装内容は以下となります。
実行ログと照らし合わせてみます。
