Windows ContainerアプリケーションをKubernetesクラスタ内のWindows NodeにHelmを利用してインストールできるかどうかを試してみようと思います。
1.検証概要
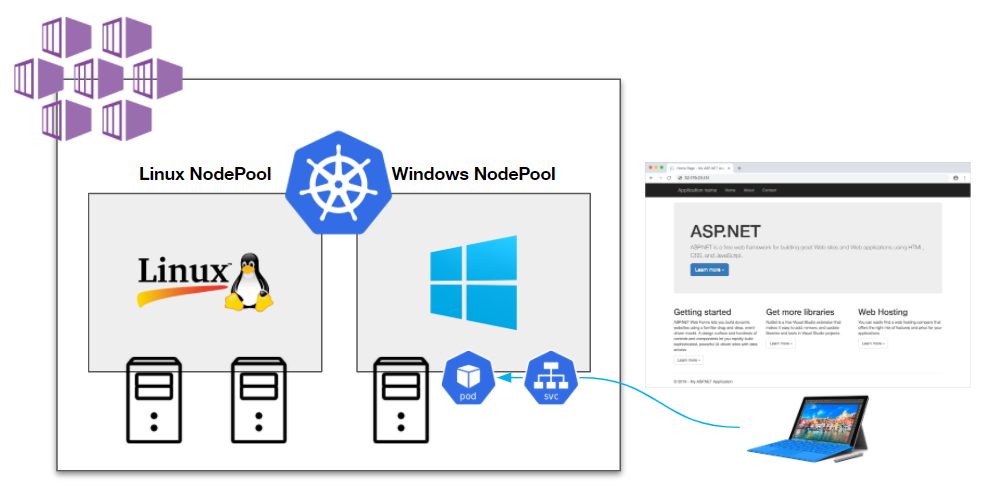
Windows ContainerをデプロイするWindows Nodeを含んだKubernetesクラスタ(AKS)とサンプルアプリケーションは、Microsoftの公式チュートリアルを利用します。Kubernetesクラスタ構築は、公式チュートリアルの通りに構築してください。
検証構成図
2.Kubernetesクラスタの確認
Cloud Shellを利用すれば、kubectl,Helmコマンドはデフォルトでインストールされています。「aksnpwin000000」というのがWindows Nodeになります。
$ kubectl get nodes
NAME                                STATUS   ROLES   AGE     VERSION
aks-nodepool1-57478667-vmss000000   Ready    agent   8m7s    v1.17.13
aks-nodepool1-57478667-vmss000001   Ready    agent   7m57s   v1.17.13
aksnpwin000000                      Ready    agent   57s     v1.17.13
3.Helm Chartの作成
「netapp」という名前でHelm Chartを作成します。まずは、雛形から作成します。
$ helm create netapp
Creating netapp
$ ls netapp
charts  Chart.yaml  templates  values.yaml
一旦、「netapp/templates」の雛形を削除します。
$ rm -rf netapp/templates/*
Helmの組込み変数を定義した以下のマニフェストを「netapp/templates」に保存します。シンプルに「Values」変数を利用したものになります。DeploymentのWindows NodeにインストールするnodeSelector指定、image指定、Serviceのtype指定を対象としています。
基となるマニフェストは公式チュートリアルを参照してください。
$ vim netapp/templates/sample-app.yaml
apiVersion: apps/v1
kind: Deployment
metadata:
  name: sample
  labels:
    app: sample
spec:
  replicas: 1
  template:
    metadata:
      name: sample
      labels:
        app: sample
    spec:
      nodeSelector:
        "beta.kubernetes.io/os": {{ .Values.netapp.nodeSelector }}
      containers:
      - name: sample
        image: {{ .Values.netapp.image }}
        resources:
          limits:
            cpu: 1
            memory: 800M
          requests:
            cpu: .1
            memory: 300M
        ports:
          - containerPort: 80
  selector:
    matchLabels:
      app: sample
---
apiVersion: v1
kind: Service
metadata:
  name: sample
spec:
  type: {{ .Values.netapp.type }}
  ports:
  - protocol: TCP
    port: 80
  selector:
    app: sample
「netapp/values.yaml」を以下の内容に変更します。
$ vim netapp/values.yaml
netapp:
  image: mcr.microsoft.com/dotnet/framework/samples:aspnetapp
  nodeSelector: windows
  type: LoadBalancer
テンプレートに問題ないかデバックします。
$ helm install netapp --debug --dry-run netapp
install.go:172: [debug] Original chart version: ""
install.go:189: [debug] CHART PATH: /home/cyberblack28/netapp

NAME: netapp
LAST DEPLOYED: Mon Nov 30 09:59:20 2020
NAMESPACE: default
STATUS: pending-install
REVISION: 1
TEST SUITE: None
USER-SUPPLIED VALUES:
{}

COMPUTED VALUES:
netapp:
  image: mcr.microsoft.com/dotnet/framework/samples:aspnetapp
  nodeSelector: windows
  type: LoadBalancer

HOOKS:
MANIFEST:
---
# Source: netapp/templates/sample-app.yaml
apiVersion: v1
kind: Service
metadata:
  name: sample
spec:
  type: LoadBalancer
  ports:
  - protocol: TCP
    port: 80
  selector:
    app: sample
---
# Source: netapp/templates/sample-app.yaml
apiVersion: apps/v1
kind: Deployment
metadata:
  name: sample
  labels:
    app: sample
spec:
  replicas: 1
  template:
    metadata:
      name: sample
      labels:
        app: sample
    spec:
      nodeSelector:
        "beta.kubernetes.io/os": windows
      containers:
      - name: sample
        image: mcr.microsoft.com/dotnet/framework/samples:aspnetapp
        resources:
          limits:
            cpu: 1
            memory: 800M
          requests:
            cpu: .1
            memory: 300M
        ports:
          - containerPort: 80
  selector:
    matchLabels:
      app: sample
テンプレートを検証します。
$ helm lint netapp
==> Linting netapp
[INFO] Chart.yaml: icon is recommended

1 chart(s) linted, 0 chart(s) failed
4.Helm Chartのパッケージ化
Chartをパッケージ化します。
$ helm package netapp
Successfully packaged chart and saved it to: /home/cyberblack28/netapp-0.1.0.tgz
今回は、実際にChartリポジトリは利用せず、ローカルからインストールを実行しますが、「index.yaml」も作成しておきます。
※特段意味はありません。
$ helm repo index .
Successfully packaged chart and saved it to: /home/cyberblack28/netapp-0.1.0.tgz
$ cat index.yaml
apiVersion: v1
entries:
  netapp:
  - apiVersion: v2
    appVersion: 1.16.0
    created: "2020-11-30T10:08:54.043250301Z"
    description: A Helm chart for Kubernetes
    digest: ee4bb4d58a868a55df3fc647a96ce143d3eb76d686108db3dd68db821e55fe89
    name: netapp
    type: application
    urls:
    - netapp-0.1.0.tgz
    version: 0.1.0
generated: "2020-11-30T10:08:54.0428493Z"
5.Helm Chartのインストール
インストールを実行します。
$ helm install netapp ./netapp
helm install netapp ./netapp
NAME: netapp
LAST DEPLOYED: Mon Nov 30 10:10:21 2020
NAMESPACE: default
STATUS: deployed
REVISION: 1
TEST SUITE: None
インストール状況を確認します。
$ kubectl get pod
NAME                      READY   STATUS    RESTARTS   AGE
sample-5bbc4b95b9-cp9zm   1/1     Running   0          84s
実際にブラウザでアクセスするEXTERNAL-IPを確認します。
$ kubectl get service
NAME         TYPE           CLUSTER-IP   EXTERNAL-IP     PORT(S)        AGE
kubernetes   ClusterIP      10.0.0.1     <none>          443/TCP        89m
sample       LoadBalancer   10.0.21.5    52.226.110.99   80:30654/TCP   2m13s
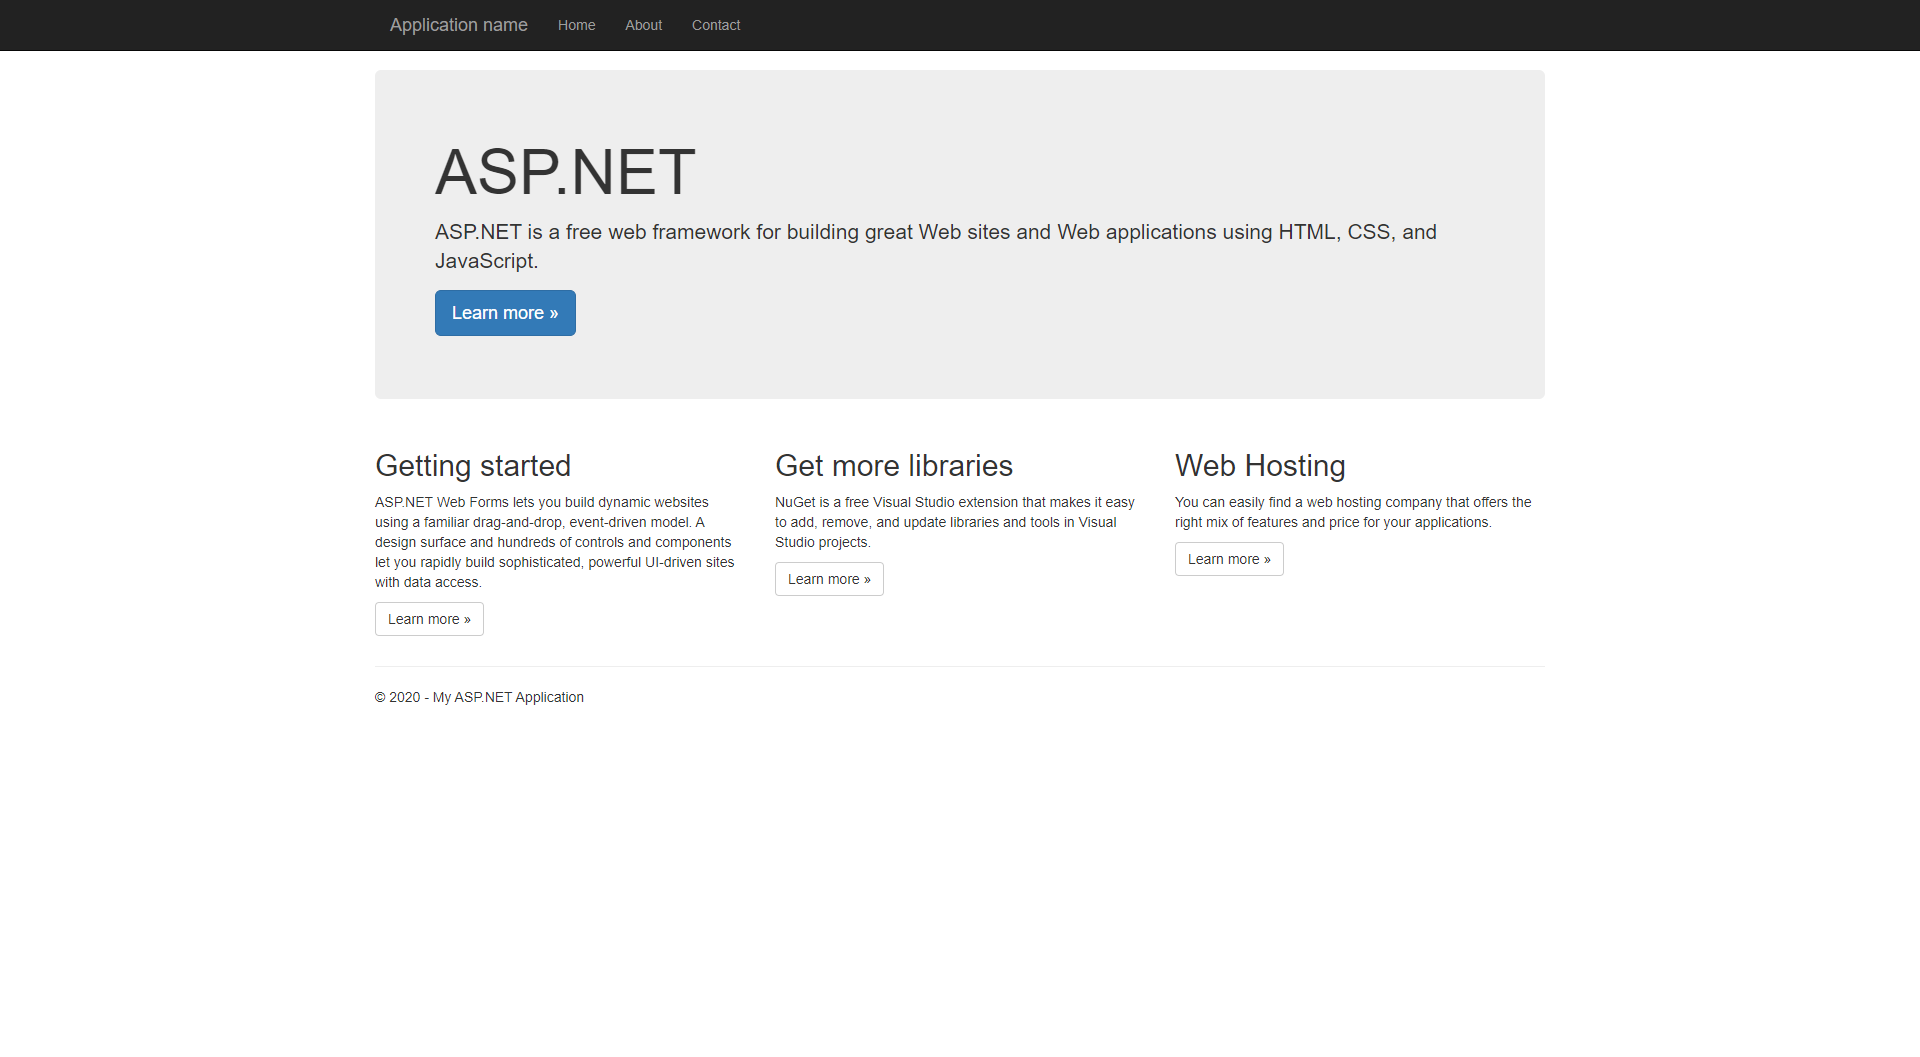
以下の画面が表示されれば成功です。
Releaseの状況を確認します。
$ helm list
NAME    NAMESPACE       REVISION        UPDATED                                 STATUS          CHART           APP VERSION
netapp  default         1               2020-11-30 10:10:21.9750582 +0000 UTC   deployed        netapp-0.1.0    1.16.0
6.Helm Chartのアンインストール
最後にアンインストールも実行します。
$ helm uninstall netapp
release "netapp" uninstalled
アンインストール状況を確認します。
$ kubectl get pod
No resources found in default namespace.
$ kubectl get service
NAME         TYPE        CLUSTER-IP   EXTERNAL-IP   PORT(S)   AGE
kubernetes   ClusterIP   10.0.0.1     <none>        443/TCP   96m
7.まとめ
Microsoft AzureのCloud Shellから、Helm Chartを作成して、Windows ContainerのASP.NETアプリケーションをインストールして、基本的にはLinux Nodeと同じようにHelmを利用してインストールとアンインストールができました。
今回はシンプルな組込み変数しか利用していませんが、今後は色々な変数も利用して検証も検討していきたいと思いました。

