はじめに
[お試し] Laravel Airlock、第三弾、今回は認可を試します。Airlock的には「Token Ability」です。
第一弾:[お試し] Laravel Airlockによる認証つきAPI
第二弾:[お試し] Laravel AirlockのAPIにSPAからアクセス
APIの用意
サンプルとして「ability1」と「ability2」の2種類のAPIを用意します。片方のトークンで、もう片方にアクセスできないことを試します。
それぞれトークン発行とability本体の2種類、合計4個のAPI。いつもどおりルーティングに直接書いていくスタイルなのでroutes/api.phpの適当なところに↓のコードを記述します。認可の設定はcreateTokenの第2引数に配列で与えるそうです。そしてabilityのAPIの方ではtokenCanで認可を識別するとのこと。 (ドキュメント)
// ability1系。2とは数字が違うだけ。
// // トークンが使えるか=認可を試すAPI
Route::middleware("auth:airlock")->get("/allow1", function () {
    $user = \Auth::user();
    // 以前のトークンは削除。複数種類のトークンを発行するので、条件指定で削除。
    $user->tokens()->where('name', 'allow1')->delete();
    // ここがキモその1。第2引数が認可のときの判断に使える文字列になります。
    $token = $user->createToken("allow1", ['server:ability1']);
    return response($token->plainTextToken);
});
// // トークンが使えるか試すAPI
Route::middleware("auth:airlock")->get("/ability1", function () {
    $user = \Auth::user();
    // ここがキモその2。許可されているかいないかはtokenCanで確認できます。
    if ($user->tokenCan("server:ability1")) {
        return response("allow ability1");
    } else {
        return response("deny ability1");
    }
});

// ability2系。1とは数字が違うだけ。
// // トークンを発行するAPI
Route::middleware("auth:airlock")->get("/allow2", function () {
    $user = \Auth::user();
    // token生成
    $user->tokens()->where('name', 'allow2')->delete();
    $token = $user->createToken("allow2", ['server:ability2']);
    return response($token->plainTextToken);
});
// // トークンが使えるか=認可を試すAPI
Route::middleware("auth:airlock")->get("/ability2", function () {
    $user = \Auth::user();
    if ($user->tokenCan("server:ability2")) {
        return response("allow ability2");
    } else {
        return response("deny ability2");
    }
});
トークンを発行するフロントエンド
ボタンを押したらトークンを発行する機能を作ります。普通のVueです。第二弾で触ったresources/js/components/ExampleComponent.vueを書きかえます。
<template>
  <div class="container">
    <div class="row justify-content-center">
      <div class="col-md-8">
        <div class="card">
          <div class="card-header">Example Component</div>

          <div class="card-body">
            <button id="btn-allow" @click="allow1" class="btn btn-primary mt-4">allow1 token</button>
            <div id="prot-allow" class="alert alert-info mt-2">{{ allow1result }}</div>

            <button id="btn-allow" @click="allow2" class="btn btn-primary mt-4">allow2 token</button>
            <div id="prot-allow" class="alert alert-info mt-2">{{ allow2result }}</div>
          </div>
        </div>
      </div>
    </div>
  </div>
</template>

<script>
<template>
  <div class="container">
    <div class="row justify-content-center">
      <div class="col-md-8">
        <div class="card">
          <div class="card-header">Example Component</div>

          <div class="card-body">
            <!-- ability1のトークン発行 -->
            <button id="btn-allow" @click="allow1" class="btn btn-primary mt-4">allow1 token</button>
            <div id="prot-allow" class="alert alert-info mt-2">{{ allow1result }}</div>

            <!-- ability2のトークン発行 -->
            <button id="btn-allow" @click="allow2" class="btn btn-primary mt-4">allow2 token</button>
            <div id="prot-allow" class="alert alert-info mt-2">{{ allow2result }}</div>
          </div>
        </div>
      </div>
    </div>
  </div>
</template>

<script>
export default {
  data: () => {
    return {
      allow1result: "before allow1",
      allow2result: "before allow2"
    };
  },
  methods: {
    async allow1() {
      try {
        // 定義したトークン発行APIにアクセス
        const res = await axios.get("/api/allow1");
        this.allow1result = res.data;
      } catch (error) {
        console.error(error);
      }
    },
    async allow2() {
      try {
        // 定義したトークン発行APIにアクセス
        const res = await axios.get("/api/allow2");
        this.allow2result = res.data;
      } catch (error) {
        console.error(error);
      }
    }
  }
};
</script>
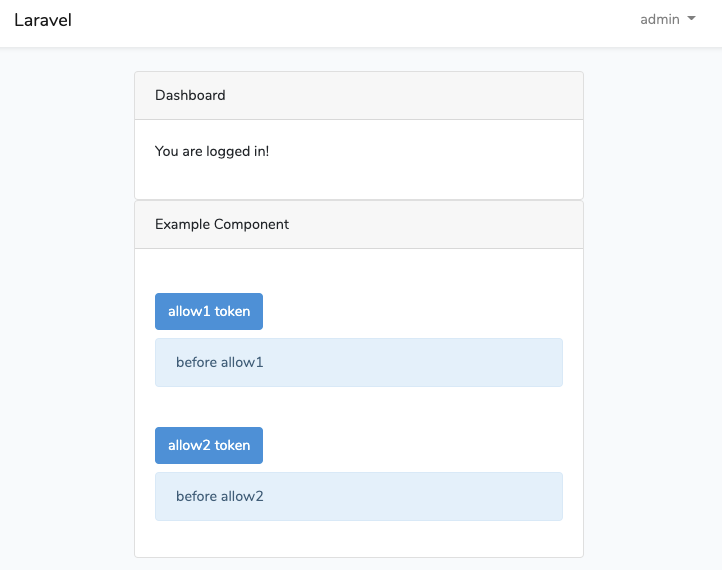
できたフロントエンドがこちら。
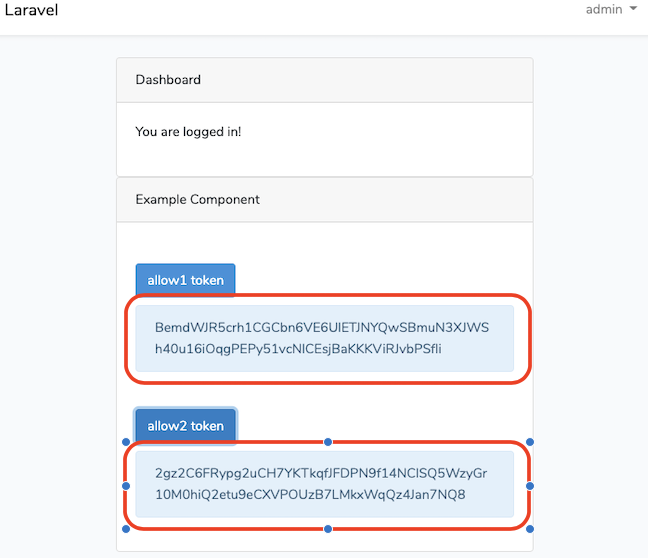
トークンを発行するとこんな感じに。
ちなみにデータベースはこんな感じになります。abilitiesに指定した文字列が登録されているのがわかります。

トークンを使ってabilityにアクセス
今回もcurlで試します。
まずability1のトークンでability1のapiにアクセスします。正常に通るはずなので「allow ability1」と返ってきます。
$ curl -X GET http://localhost:8000/api/ability1 -H "authorization: Bearer ability1のトークン"
次にability1のトークンでability2にアクセスします(コマンドは↑とほぼ同じなので略)。許可されていないので「deny ability2」と返ってきます。
最後にability2のトークンでability2にアクセスします。許可されているので「allow ability2」になるはず。
おわりに
ということでAirlockによるToken Abilitiesを使った認可でした。文字列を指定してトークンを発行、その文字列で確認するという、わかりやすいスタイルでした。
ちなみに。トークンなら区別できるけど、SPAみたいなトークンを使わないアクセスの仕方だとどうなるかというと…公式ドキュメントによるとtokenCanが常にtrueになるとのこと。 (ドキュメント)
For convenience, the tokenCan method will always return true if the incoming authenticated request was from your first-party SPA and you are using Airlock's built-in SPA authentication.