はじめに
Djangoの使い方~デプロイ編①~の続きです。
今回はデプロイ(インターネット上で実行できるようにする)をやります!
PythonAnywhere アカウントにサインアップする
PythonAnywhere はインターネット上でpythonを動かすためのサービスです。
ここから「Beginner」アカウントにサインアップしましょう(無料枠で大丈夫です)
ちなみにブログのURLは「あなたのユーザー名.pythonanywhere.com」になります
PythonAnywhere APIトークンの作成
右上にある「Account」ページへのリンクをクリックし、「API Token」タブを選択し、
「Create new API token」ボタンをクリックして下さい。
これでAPIトークンが作成されました。
PythonAnywhere でサイトを設定する
トップページに戻り「Bash」をクリックしコンソールを起動します。
PythonAnywhereバージョンのコマンドラインです。
PythonAnywhereにWebアプリケーションをデプロイするには、
コードをGitHubからプル→PythonAnywhereが認識→デプロイ
をする必要があります。これを自動でできるツールがあるのでインストールします。
$ pip3.6 install --user pythonanywhere
Collecting pythonanywhere のようなメッセージがいくつか出力され、最終的にSuccessfully installed (...) pythonanywhere- (...)という行で終わります。
次にGitHub からアプリを自動的に構成するためのヘルパーを実行します。
https://github.com//my-first-blog.gitの部分はGitHubからクローンしたときのURLと一致します。
$ pa_autoconfigure_django.py https://github.com/your-github-username/my-first-blog.git
もしこんなエラーがでたら
Use the --nuke option if you want to replace it.
$ pa_autoconfigure_django.py https://github.com/your-github-username/my-first-blog.git --nuke
を入力してみましょう。
これにより以下を自動でやってくれます
・GitHubからコードをダウンロードする
・PythonAnywhere上にvirtualenvを作成する。
・一部のデプロイメント設定で設定ファイルを更新する
・manage.py migrateコマンドを使ってPythonAnywhere上のデータベースをセットアップする
・静的ファイルの設定
・APIを通じてPythonAnywhereがあなたのWebアプリケーションを提供するように設定する
PythonAnywhereとあなたのPC上のデータベースは別物なのでcreatesuperuserで管理者アカウントを初期化します。
(ola.pythonanywhere.com) $ python manage.py createsuperuser
混乱をさけるため自分のコンピュータで使用しているのと同じものを使用します。
PythonAnywhereのコードをlsを使ってみることもできます。
(ola.pythonanywhere.com) $ ls
blog db.sqlite3 manage.py mysite requirements.txt static
(ola.pythonanywhere.com) $ ls blog/
__init__.py __pycache__ admin.py forms.py migrations models.py static
templates tests.py urls.py views.py
最後にPythonAnywhereの「Web」ページをクリックしてリンクを取得し、
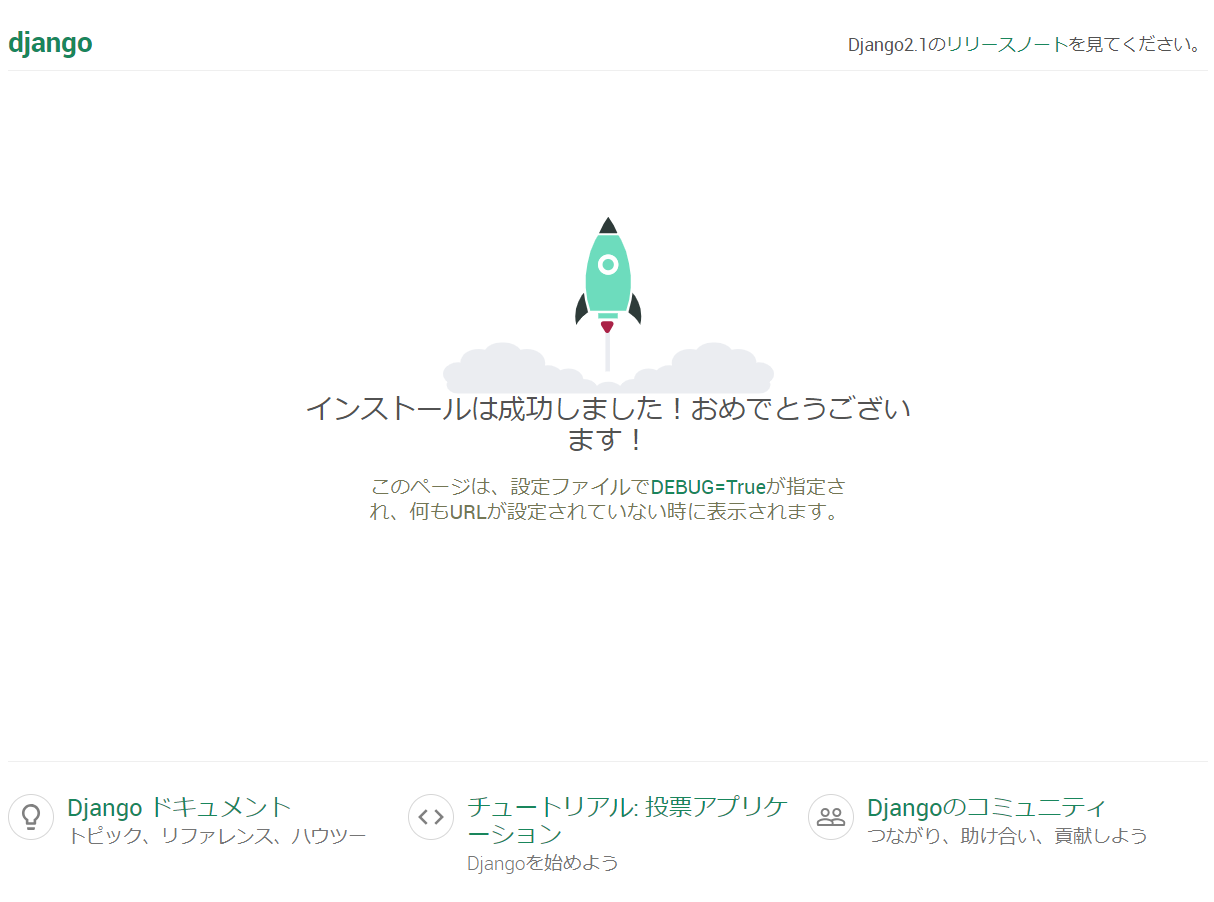
実際に動いているかみてみましょう。

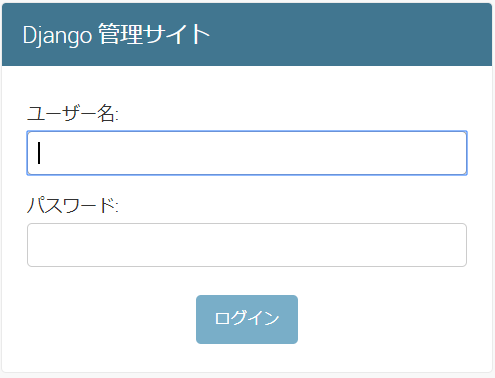
URLの最後に/admin/を追加すると、管理サイトに移動します。
これでデプロイができました!

おわりに
次はURLについてです!
次回→Djangoの使い方~デザイン編①~