やりたいこと
個人アプリを作る際に必ずと言っていいほど、毎回時間をかけるのはなんといっても環境構築。
開発環境作って、テストとrubocopを自動で回すようにして、
自動でデプロイされて欲しいのはきっとみんな同じ気持ち。
今回は、自分へのメモを含めて書き出しました。
ぜひ、皆さんのスターターキットとしてお使いください。
この記事でできるようになること
- railsの環境構築
- CircleCIによるテストの自動化
- CircleCIによるRubocopの自動化
- Dockerを用いた環境構築
- CircleCIによる自動デプロイ
環境について
- Ruby 2.6.5
- Rails 6.0.2
- Docker for mac
- PostgreSQL
- Heroku
- CircleCI
- Rubocop
目次
- 事前準備
- Dockerの環境構築
- CircleCIの環境構築
- Herokuの環境構築
- CircleCIとHerokuの連携
事前準備
RailsApplication作成
$ rails new hoge_blog -d postgresql
$ cd hoge_blog/
これで事前準備完了です。
Docker環境構築
Docker周りのファイルを置いて、
開発環境を作っていきます。
作成するのは、Dockerfileと docker-compose.ymlの2つです。
FROM ruby:2.6.3
ENV LANG C.UTF-8
RUN apt-get update -qq && apt-get install -y build-essential libpq-dev postgresql-client && apt-get install -y gnupg
RUN curl -sS https://dl.yarnpkg.com/debian/pubkey.gpg | apt-key add -
RUN curl -sL https://deb.nodesource.com/setup_10.x | bash
RUN echo "deb https://dl.yarnpkg.com/debian/ stable main" | tee /etc/apt/sources.list.d/yarn.list
RUN apt-get update && apt-get install -y yarn
WORKDIR /tmp
COPY Gemfile /tmp/Gemfile
COPY Gemfile.lock /tmp/Gemfile.lock
ENV BUNDLER_VERSION 2.0.2
RUN gem install bundler && bundle install --jobs 20 --retry 5 --no-cache
RUN bundle
RUN NODE_ENV=development yarn install
WORKDIR /hoge_blog
COPY . /hoge_blog
version: '3'
services:
  postgres:
    image: postgres:latest
    environment:
      POSTGRES_USER: postgres
      POSTGRES_PASSWORD: postgres
    ports:
      - "5432:5432"
    container_name: postgres_db
    volumes:
      - "postgres-data:/path/to/data:cached"
  test-postgres:
    image: postgres:latest
    environment:
      POSTGRES_USER: postgres
      POSTGRES_PASSWORD: postgres
      POSTGRES_DATABASE: hoge_blog_test
    ports:
      - "5434:5432"
    container_name: postgres_test_db
    volumes:
      - "postgres-test-data:/path/to/data:cached"
  pgweb:
    image: donnex/pgweb
    command: -s --bind=0.0.0.0 --listen=8080 --url postgres://postgres:postgres@postgres:5432/hoge_blog_development?sslmode=disable
    links:
      - postgres:postgres
    ports:
      - '8080:8080'
  webpacker:
    build: .
    command: ./bin/webpack-dev-server
    environment:
      NODE_ENV: development
      RAILS_ENV: development
      WEBPACKER_DEV_SERVER_HOST: 0.0.0.0
      WEBPACKER_DEV_SERVER_PUBLIC: 0.0.0.0:3035
    volumes:
      - .:/hoge_blog
      - bundle:/bundle
    ports:
      - '3035:3035'
  redis:
    image: redis:latest
    ports:
      - '6379:6379'
  web:
    build: .
    command: /bin/bash -c 'rm -rf tmp/pids/server.pid; bundle exec rails s -b 0.0.0.0'
    environment:
      RAILS_ENV: development
      DATABASE_URL: postgres://postgres:postgres@postgres:5432
      WEBPACKER_DEV_SERVER_HOST: webpacker
      WEBPACKER_DEV_SERVER_PUBLIC: webpacker:3035
      SELENIUM_DRIVER_URL: http://selenium_chrome:4444/wd/hub
    volumes:
      - .:/hoge_blog:cached
      - bundle:/bundle:cached
    ports:
      - '3000:3000'
    depends_on:
      - postgres
      - webpacker
    tty: true
    stdin_open: true
  selenium_chrome:
    image: selenium/standalone-chrome-debug
    logging:
      driver: none
volumes:
  store:
    driver: local
  bundle:
    driver: local
  postgres-data:
    driver: local
  postgres-test-data:
    driver: local
Dockerを立ち上げてみる
$ docker-compose up --build

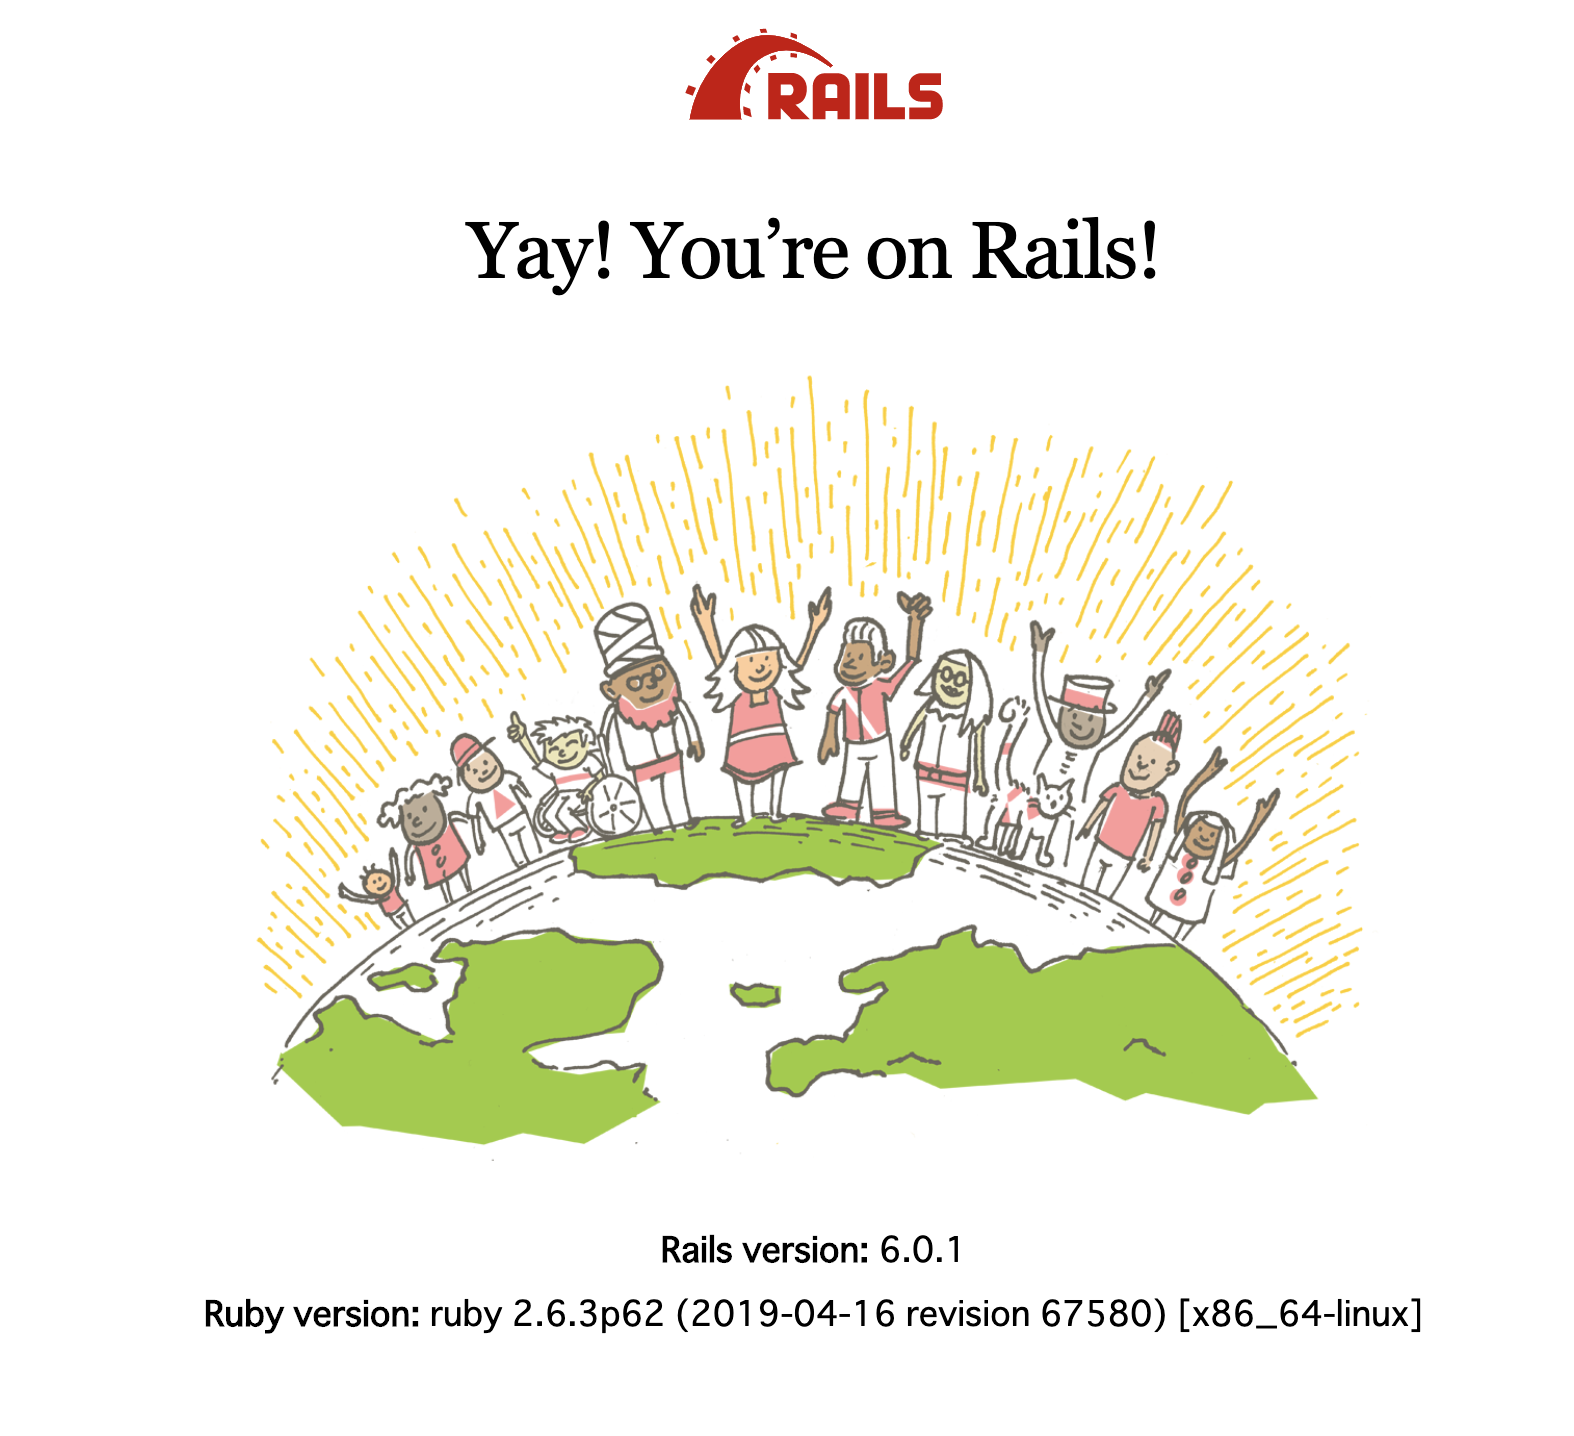
http://localhost:3000/を見ると立ち上がっている
簡単にApplicationのsetupが終わるのは感動ですね。
この画面好き。
CircleCIの環境構築
ここまででRailsの開発環境が整ったので、次は自動テストの環境を整えます。
テストの自動化として、CircleCIを使います。
- Rubocopの自動化
- Minitestの自動化
をcircleCI上で設定します。
まずは、CircleCI自体の設定から。
- CircleCIのサイトから「ADD PROJECTS」をクリックしてぽちぽちする。
$ mkdir .circleci
$ touch .circleci/config.yml
version: 2
jobs:
  build:
    docker:
      - image: circleci/ruby:2.6.3-node-browsers
        environment:
          - PG_HOST=127.0.0.1
          - PG_USER=postgres
          - RAILS_ENV=test
          - RACK_ENV=test
      - image: circleci/postgres:9.6.7
        environment:
          POSTGRES_USER: postgres
          POSTGRES_PASSWORD: postgres
          POSTGRES_DB: hoge_blog_test
    working_directory: ~/hoge_blog

    steps:
      - checkout
      - restore_cache:
          keys:
            - v1-dependencies-{{ checksum "Gemfile.lock" }}
            - v1-dependencies-

      - run:
          name: install dependencies
          command: |
            gem install bundler -v 2.0.2 && bundle install --jobs=4 --retry=3 --path vendor/bundle
            yarn install
      - save_cache:
          paths:
            - ./vendor/bundle
          key: v1-dependencies-{{ checksum "Gemfile.lock" }}

      - run:
          name: set up db
          command: |
            bundle exec rails db:create
            bundle exec rails db:schema:load
            bundle exec rails db:migrate
          environment:
            DATABASE_URL: "postgres://postgres@localhost:5432/hoge_blog_test"

      # run tests!
      - run:
          name: run tests
          command: |
            bundle exec rails test
          environment:
            DATABASE_URL: "postgres://postgres@localhost:5432/hoge_blog_test"
      - run:
          name: Rubocop
          command: bundle exec rubocop
AllCops:
  Exclude:
    - 'bin/*'
    - 'db/**/*'
    - 'vendor/**/*'
    - '**/Rakefile'
    - '**/config.ru'
    - 'node_modules/**/*'
    - '.bundle/**/*'
    - 'infra/**/*'
    - 'tmp/**/*'
    - 'docker/**/*'
  TargetRubyVersion: 2.5
  DisplayCopNames: true

Performance:
  Enabled: false

Bundler:
  Enabled: false

Naming:
  Enabled: false

Metrics/BlockNesting:
  Enabled: false

Metrics/ClassLength:
  Enabled: false

Metrics/LineLength:
  Enabled: false

Metrics/MethodLength:
  Enabled: false

Metrics/BlockLength:
  Enabled: false

Metrics/ModuleLength:
  Enabled: false

Style/AsciiComments:
  Enabled: false

Style/BlockDelimiters:
  Exclude:
    - 'spec/**/*'

Style/Documentation:
  Enabled: false

Style/BlockDelimiters:
  Enabled: false

Style/DoubleNegation:
  Enabled: false

Style/GuardClause:
  Enabled: false

Style/ClassAndModuleChildren:
  Enabled: false

Style/SpecialGlobalVars:
  Enabled: false

Style/NumericPredicate:
  Enabled: false

Style/Lambda:
  Enabled: false

Layout/AlignParameters:
  EnforcedStyle: with_fixed_indentation

Layout/MultilineMethodCallIndentation:
  EnforcedStyle: indented

Lint/AmbiguousRegexpLiteral:
  Enabled: false
Herokuの環境構築
基本的には、masterブランチにマージしたら自動でデプロイされて欲しい。
そのための設定をやっていく。
$ heroku login
$ heroku create hogeblog
$ git push heroku master
次は、CircleCIからHerokuにデプロイする仕組みを整える
CircleCI経由でkerokuにデプロイする
手元でgit heroku pushするのは良くないですよね?
ですので、CircleCI経由でherokuにデプロイするようにしました。
環境変数を設定する
.circleci/config.ymlにHerokuのAPI_KEYは書きたくないので、
circleCIのcontextを使って、環境変数を管理する
$ heroku auth:token
// heroku api key is here
CircleCIでherokuをデプロイするようにする
version: 2
jobs:
  build:
    docker:
      - image: circleci/ruby:2.6.3-node-browsers
        environment:
          - PG_HOST=127.0.0.1
          - PG_USER=postgres
          - RAILS_ENV=test
          - RACK_ENV=test
      - image: circleci/postgres:9.6.7
        environment:
          POSTGRES_USER: postgres
          POSTGRES_PASSWORD: postgres
          POSTGRES_DB: hoge_blog_test
    working_directory: ~/hoge_blog

    steps:
      - checkout

      - restore_cache:
          keys:
            - v1-dependencies-{{ checksum "Gemfile.lock" }}
            - v1-dependencies-

      - run:
          name: install dependencies
          command: |
            gem install bundler -v 2.0.2 && bundle install --jobs=4 --retry=3 --path vendor/bundle
            yarn install
      - save_cache:
          paths:
            - ./vendor/bundle
          key: v1-dependencies-{{ checksum "Gemfile.lock" }}

      - run:
          name: set up db
          command: |
            bundle exec rails db:create
            bundle exec rails db:schema:load
            bundle exec rails db:migrate
          environment:
            DATABASE_URL: "postgres://postgres@localhost:5432/hoge_blog_test"

      # run tests!
      - run:
          name: run tests
          command: |
            bundle exec rails test
          environment:
            DATABASE_URL: "postgres://postgres@localhost:5432/hoge_blog_test"
      - run:
          name: Rubocop
          command: bundle exec rubocop
  deploy_prod:
    docker:
      - image: circleci/ruby:2.6.3-node-browsers
        environment:
          - PG_HOST=127.0.0.1
          - PG_USER=postgres
          - RAILS_ENV=test
          - RACK_ENV=test
      - image: circleci/postgres:9.6.7
        environment:
          POSTGRES_USER: postgres
          POSTGRES_PASSWORD: postgres
          POSTGRES_DB: hoge_blog_test
    working_directory: ~/hoge_blog
    steps:
      - checkout
      - run:
          name: 'Install Heroku CLI'
          command: |
            if [[ $(command -v heroku) == "" ]]; then
              curl https://cli-assets.heroku.com/install.sh | sh
            else
              echo "Heroku is already installed. No operation was performed."
            fi
      - run:
          name: heroku maintenance on
          command: heroku maintenance:on --app ${HEROKU_APP_NAME_PROD}
      - run:
          name: Deploy to Heroku_Production
          command: |
            git push https://heroku:${HEROKU_API_KEY}@git.heroku.com/${HEROKU_APP_NAME_PROD}.git master
      - run:
          name: heroku maintenance off
          command: heroku maintenance:off --app ${HEROKU_APP_NAME_PROD}
workflows:
  version: 2
  build-deploy:
    jobs:
      - build:
          filters:
            branches:
              ignore:
                - develop
                - /feature-.*/
      - deploy_prod:
          context: heroku_info
          requires:
            - build
          filters:
            branches:
              only: master
終わり。
まとめ
以上で、環境構築から自動デプロイまで設定が完了しました。
これらのサービスを使うことで、本来時間をかけたい所に注力することができます。
皆さんも良かったら、使ってみてください。
参考資料
https://reasonable-code.com/github-push-heroku/
https://qiita.com/daichi41/items/972483e963b6a08933d8

