先ほどはStrapiの開発環境作成編を書いたので、
ハマったところを少しずつ書いていく。
今回はCKEditorプラグインの導入。
CKEditorを導入しようと思った背景は、
既存のスキーマ定義のtypeでRich Textがあるのですが、
記事を書くには表現力が弱すぎるという欠点があるため、
表現力が豊かなプラグインを導入する必要が出てきたから。
プラグインの導入自体は、
ローカルで下記のようにパッケージインストールすれば良いのですが、
CKEditorを使うには設定が必要になってきます。
npm install @ckeditor/strapi-plugin-ckeditor
CKEditorを使うにはCKEditorが提供しているJSやCSSファイルを呼び出す必要があるため、
middlewares.tsでセキュリティ設定を修正します。
export default [
  'strapi::logger',
  'strapi::errors',
  {
    name: 'strapi::security',
    config: {
      contentSecurityPolicy: {
        useDefaults: true,
        directives: {
          'script-src': ["'self'", 'https://cdn.ckeditor.com'],
          'connect-src': ['https://proxy-event.ckeditor.com']
        },
      },
    },
  },
  'strapi::cors',
  'strapi::poweredBy',
  'strapi::query',
  'strapi::body',
  'strapi::session',
  'strapi::favicon',
  'strapi::public',
];
script-srcに'https://cdn.ckeditor.com'、
connect-srcに'https://proxy-event.ckeditor.com'を追加します。
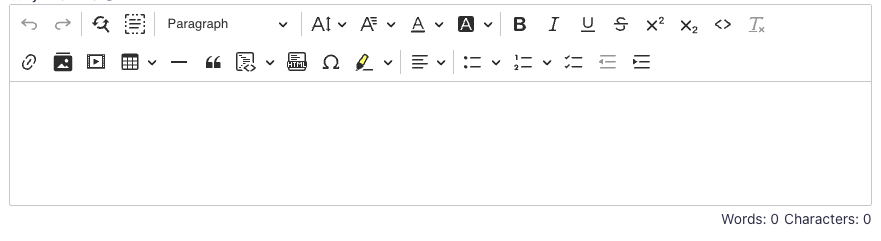
設定画完了したら、Dockerイメージを再作成しコンテナを起動!
これでCKEditorが使えるようになります。
参考資料