obniz SDK v2.1.0 がリリースされました!
https://github.com/obniz/obniz/releases/tag/v2.1.0
今回から型定義が導入されたため、TypeScript での開発が捗ります!

こんな感じで...!!
ということで早速 TypeScript を使って obniz で Lチカをします。
開発環境
- PC: MacOS High Sierra 10.13.6
- Node.js: v10.15.1
- npm: 6.9.0 (or yarn: 1.15.2)
- TypeScript: 3.5.1
Node プロジェクトの準備
-
作業ディレクトリ作成
$ mkdir work $ cd work -
Node プロジェクト作成
$ yarn init yarn init v1.15.2 # package.json の設定は適当に連打 question name (work): question version (1.0.0): question description: question entry point (index.js): question repository url: question author: question license (MIT): question private: -
Node モジュールをインストール
$ yarn add obniz $ yarn add -D typescript @types/node -
tsconfig.json を準備
tsconfig.json{ "compilerOptions": { "sourceMap": true, "outDir": "dist", "target": "es6", "module": "commonjs", "moduleResolution": "node", "lib": ["es2018", "dom"] } } -
npm scripts を準備 (規模が小さいので不要だけど)
package.json... }, + "scripts": { + "build": "tsc", + "start": "node dist/main.js" + "clean": "rm -rf dist" + } -
ソースコードを準備
$ mkdir src
$ touch src/main.ts
最終的なディレクトリツリー
.
├── node_modules
├── package.json
├── src
│   └── main.ts
├── tsconfig.json
└── yarn.lock
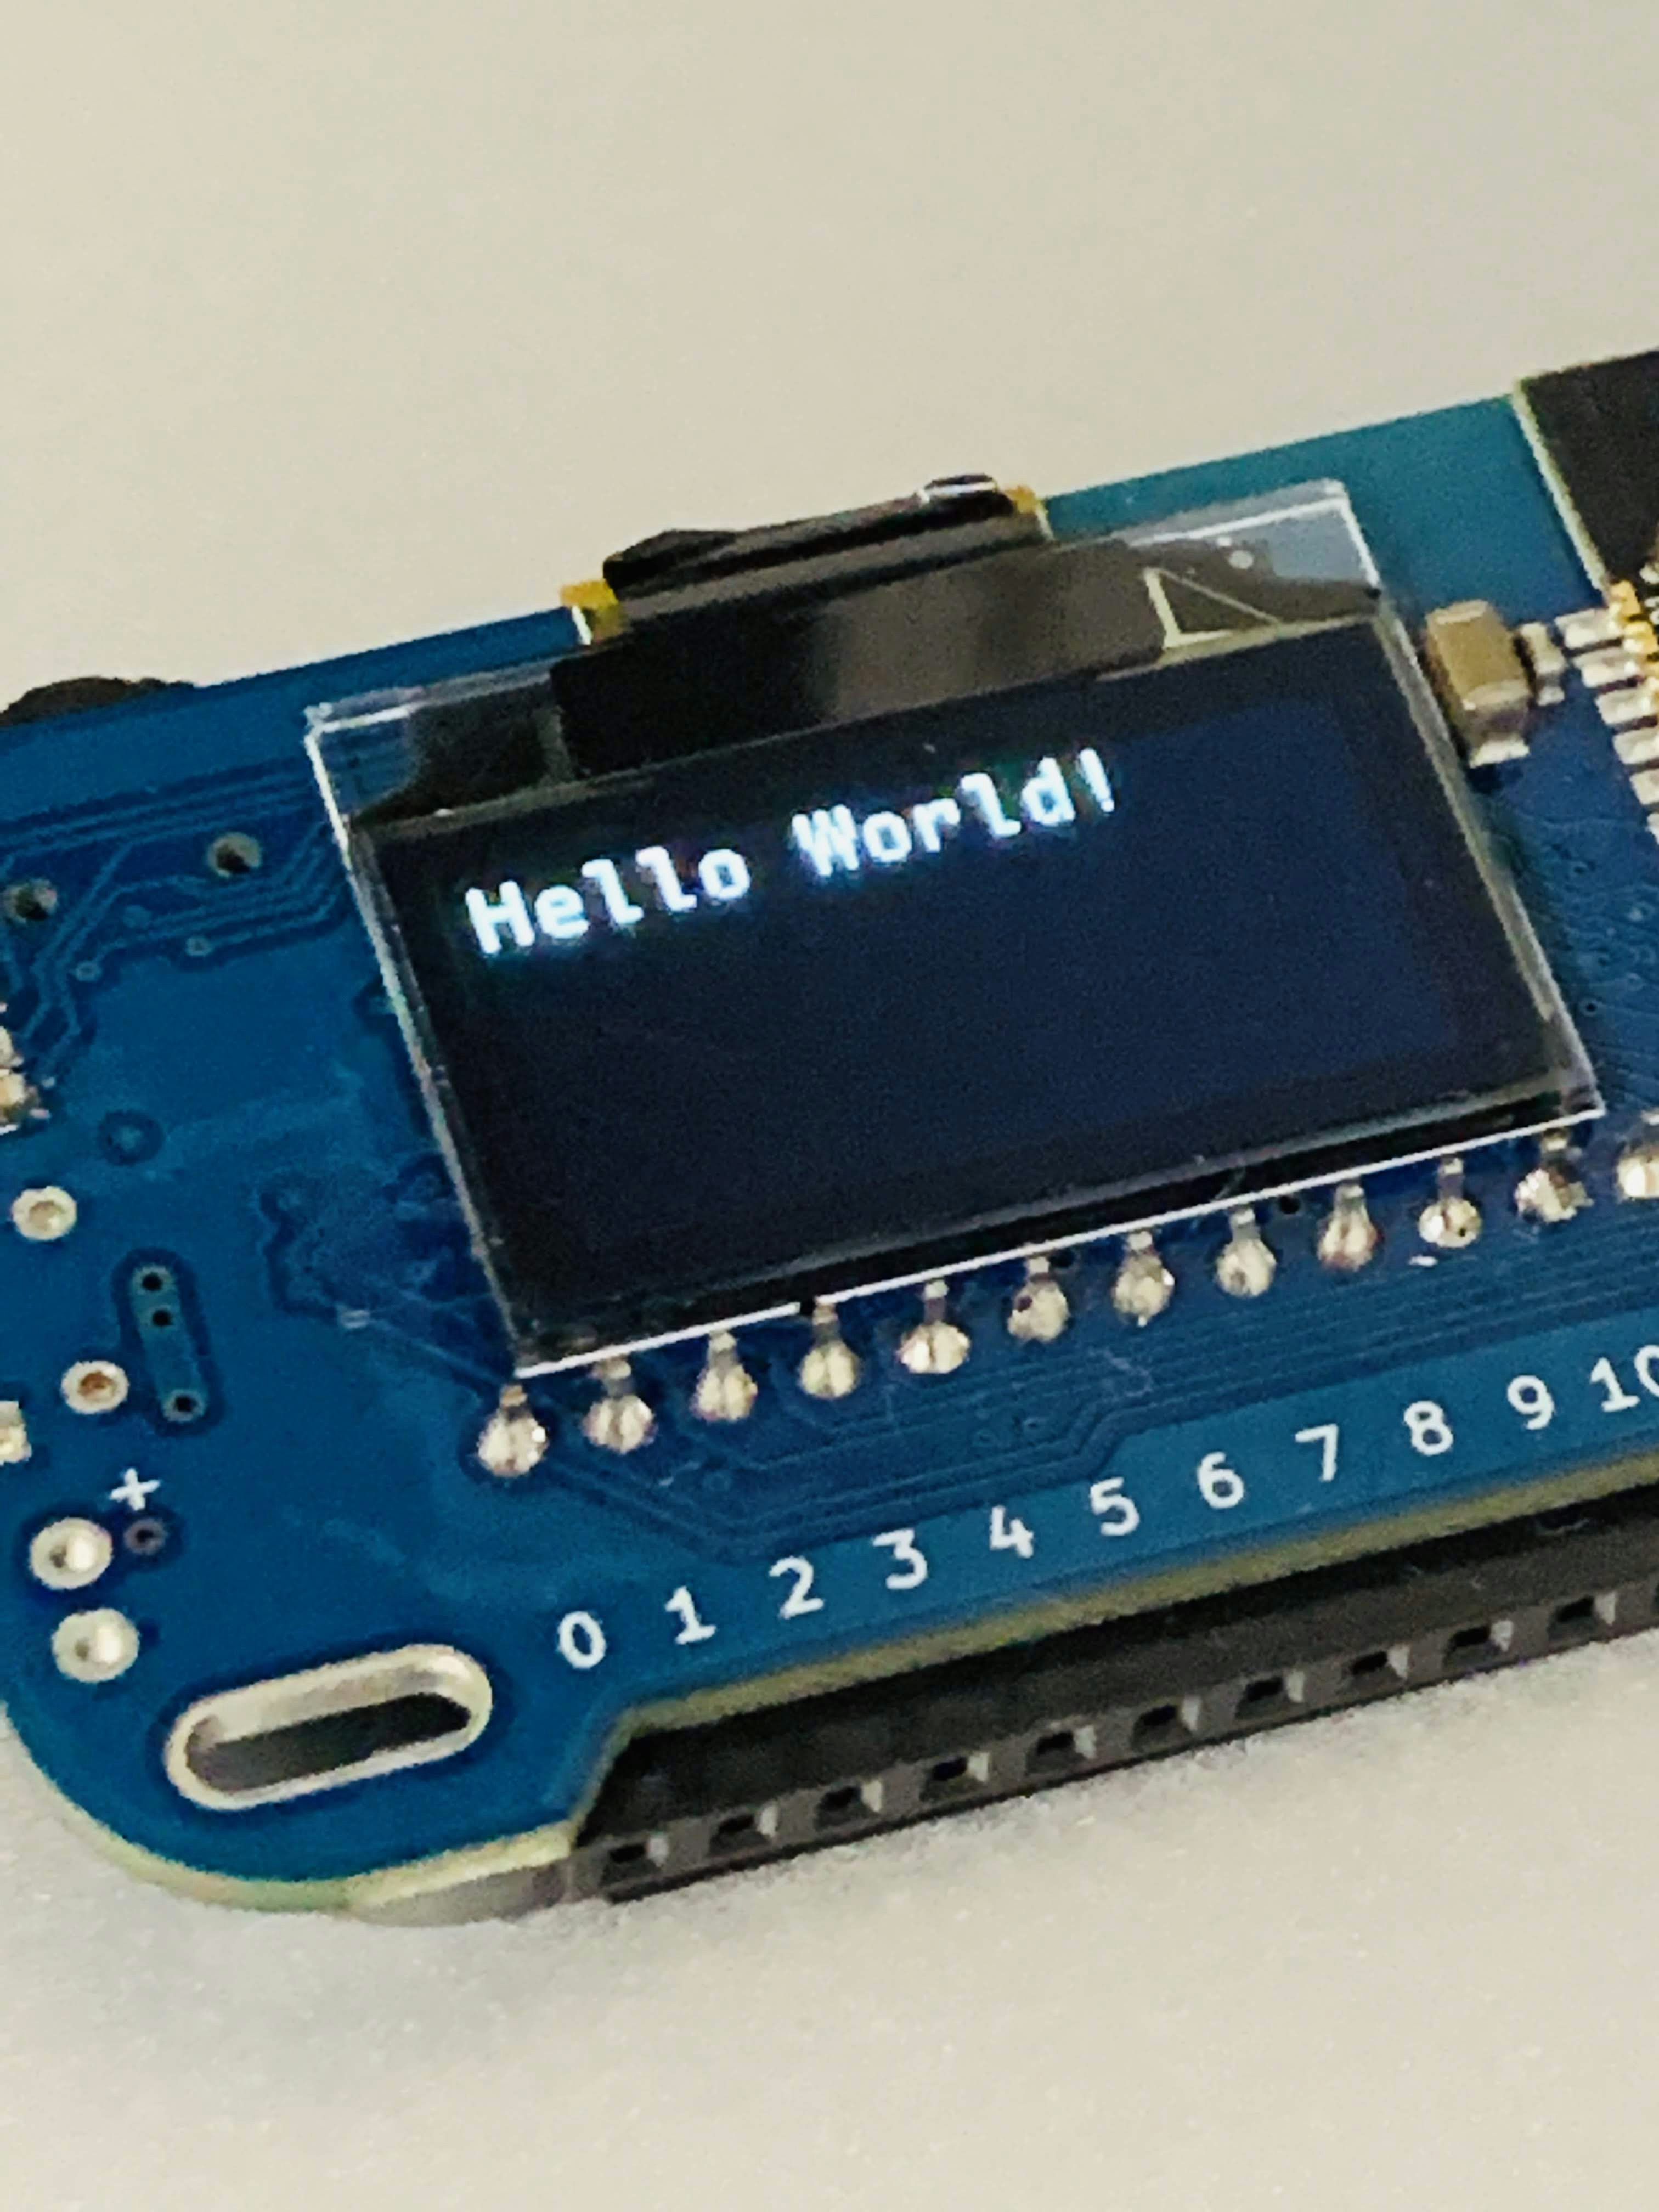
Hello World!
src/main.ts
import * as Obniz from 'obniz';

const OBNIZ_ID = '1234-5678';

const obniz = new Obniz(OBNIZ_ID);
obniz.onconnect = async () => {
  obniz.display.clear();
  obniz.display.print('Hello World!');
};
実行
$ npm run build
$ npm run start
結果

Lチカ
src/main.ts
import * as Obniz from 'obniz';

const OBNIZ_ID = '1234-5678';

const obniz = new Obniz(OBNIZ_ID);
obniz.onconnect = async () => {
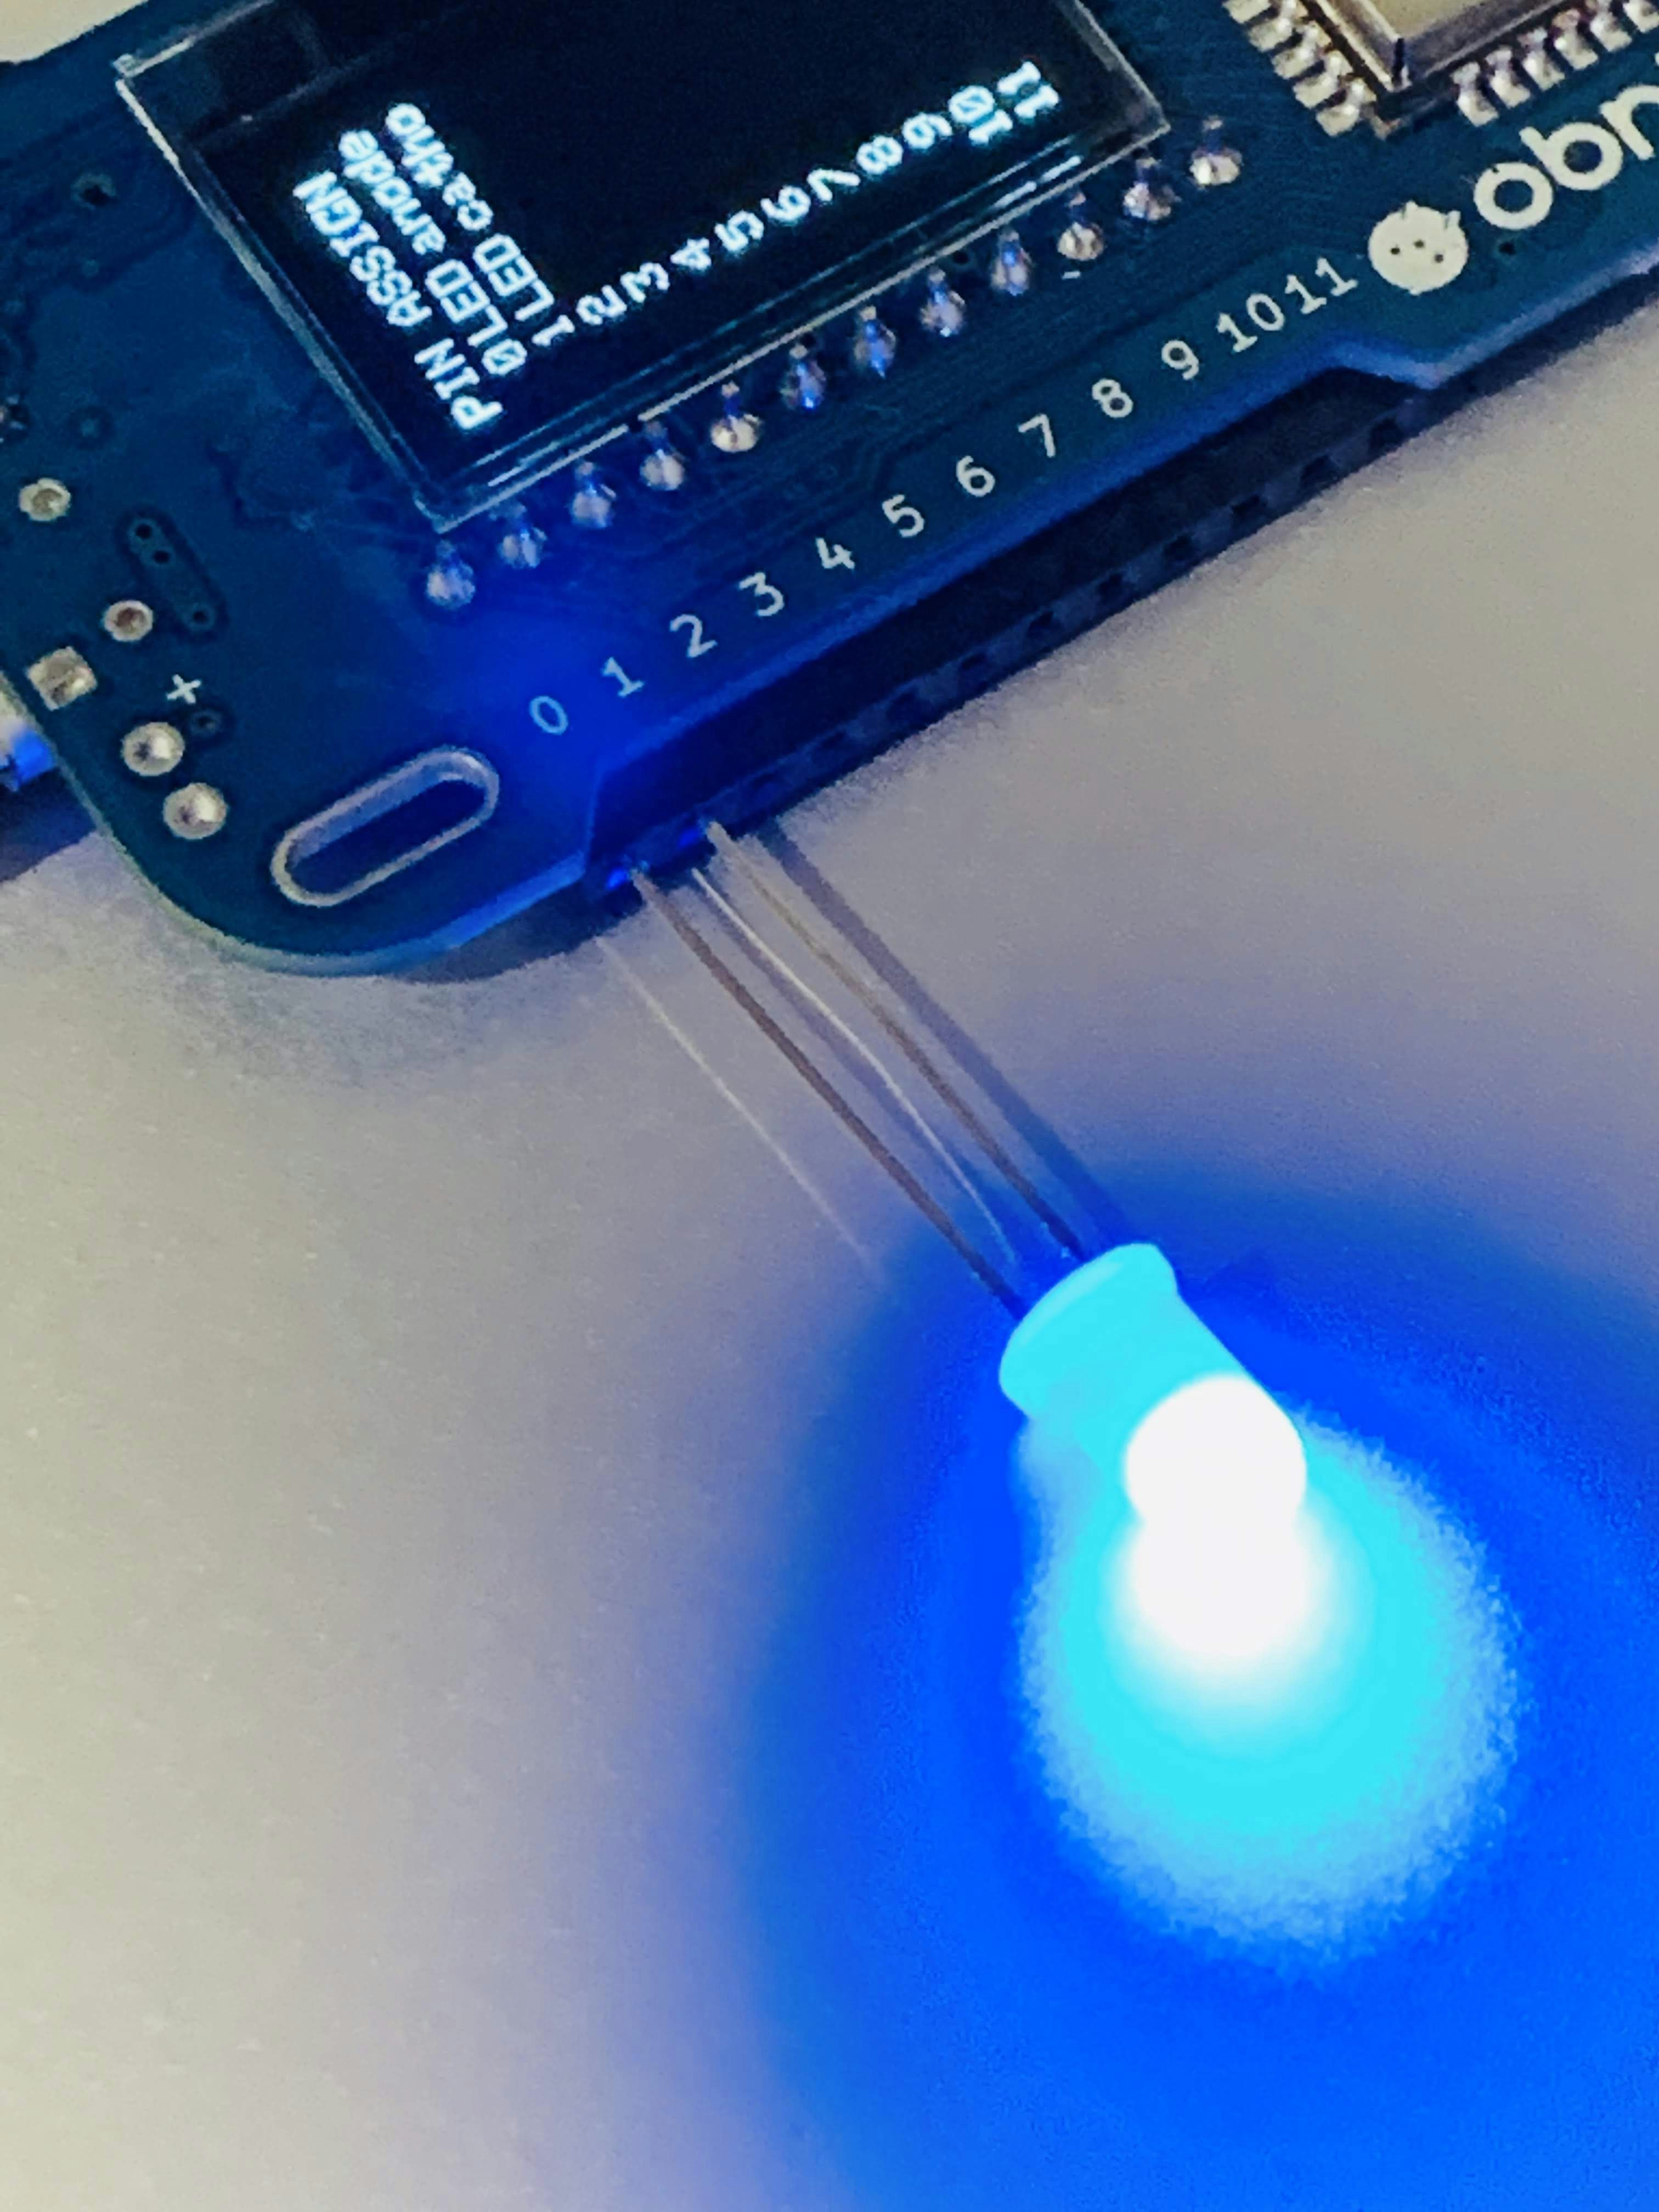
  const led = obniz.wired('LED', { anode: 0, cathode: 1 });
  led.on();

  setTimeout(() => {
    led.off();
  }, 3000);
};
実行
$ npm run build
$ npm run start
結果

最後に
本記事の内容は、
以下のリポジトリを clone すれば試せるはず...
https://github.com/chibi929/obnizxts
obniz は パーツライブラリ が豊富でサンプルコードも充実しているので簡単!
TypeScript でより開発が捗る