いろいろ注意
- (めんどくさく、なってきたので)なんとなく、動いたので、これで良しとする。
- 過去ログを見よ!!!
- いろいろ、したいが軽くなる方向で進める
- uno3のトーン関数を見るとハードウェアカウンターを上手に使っている(その辺から、解析を進めないと
結果
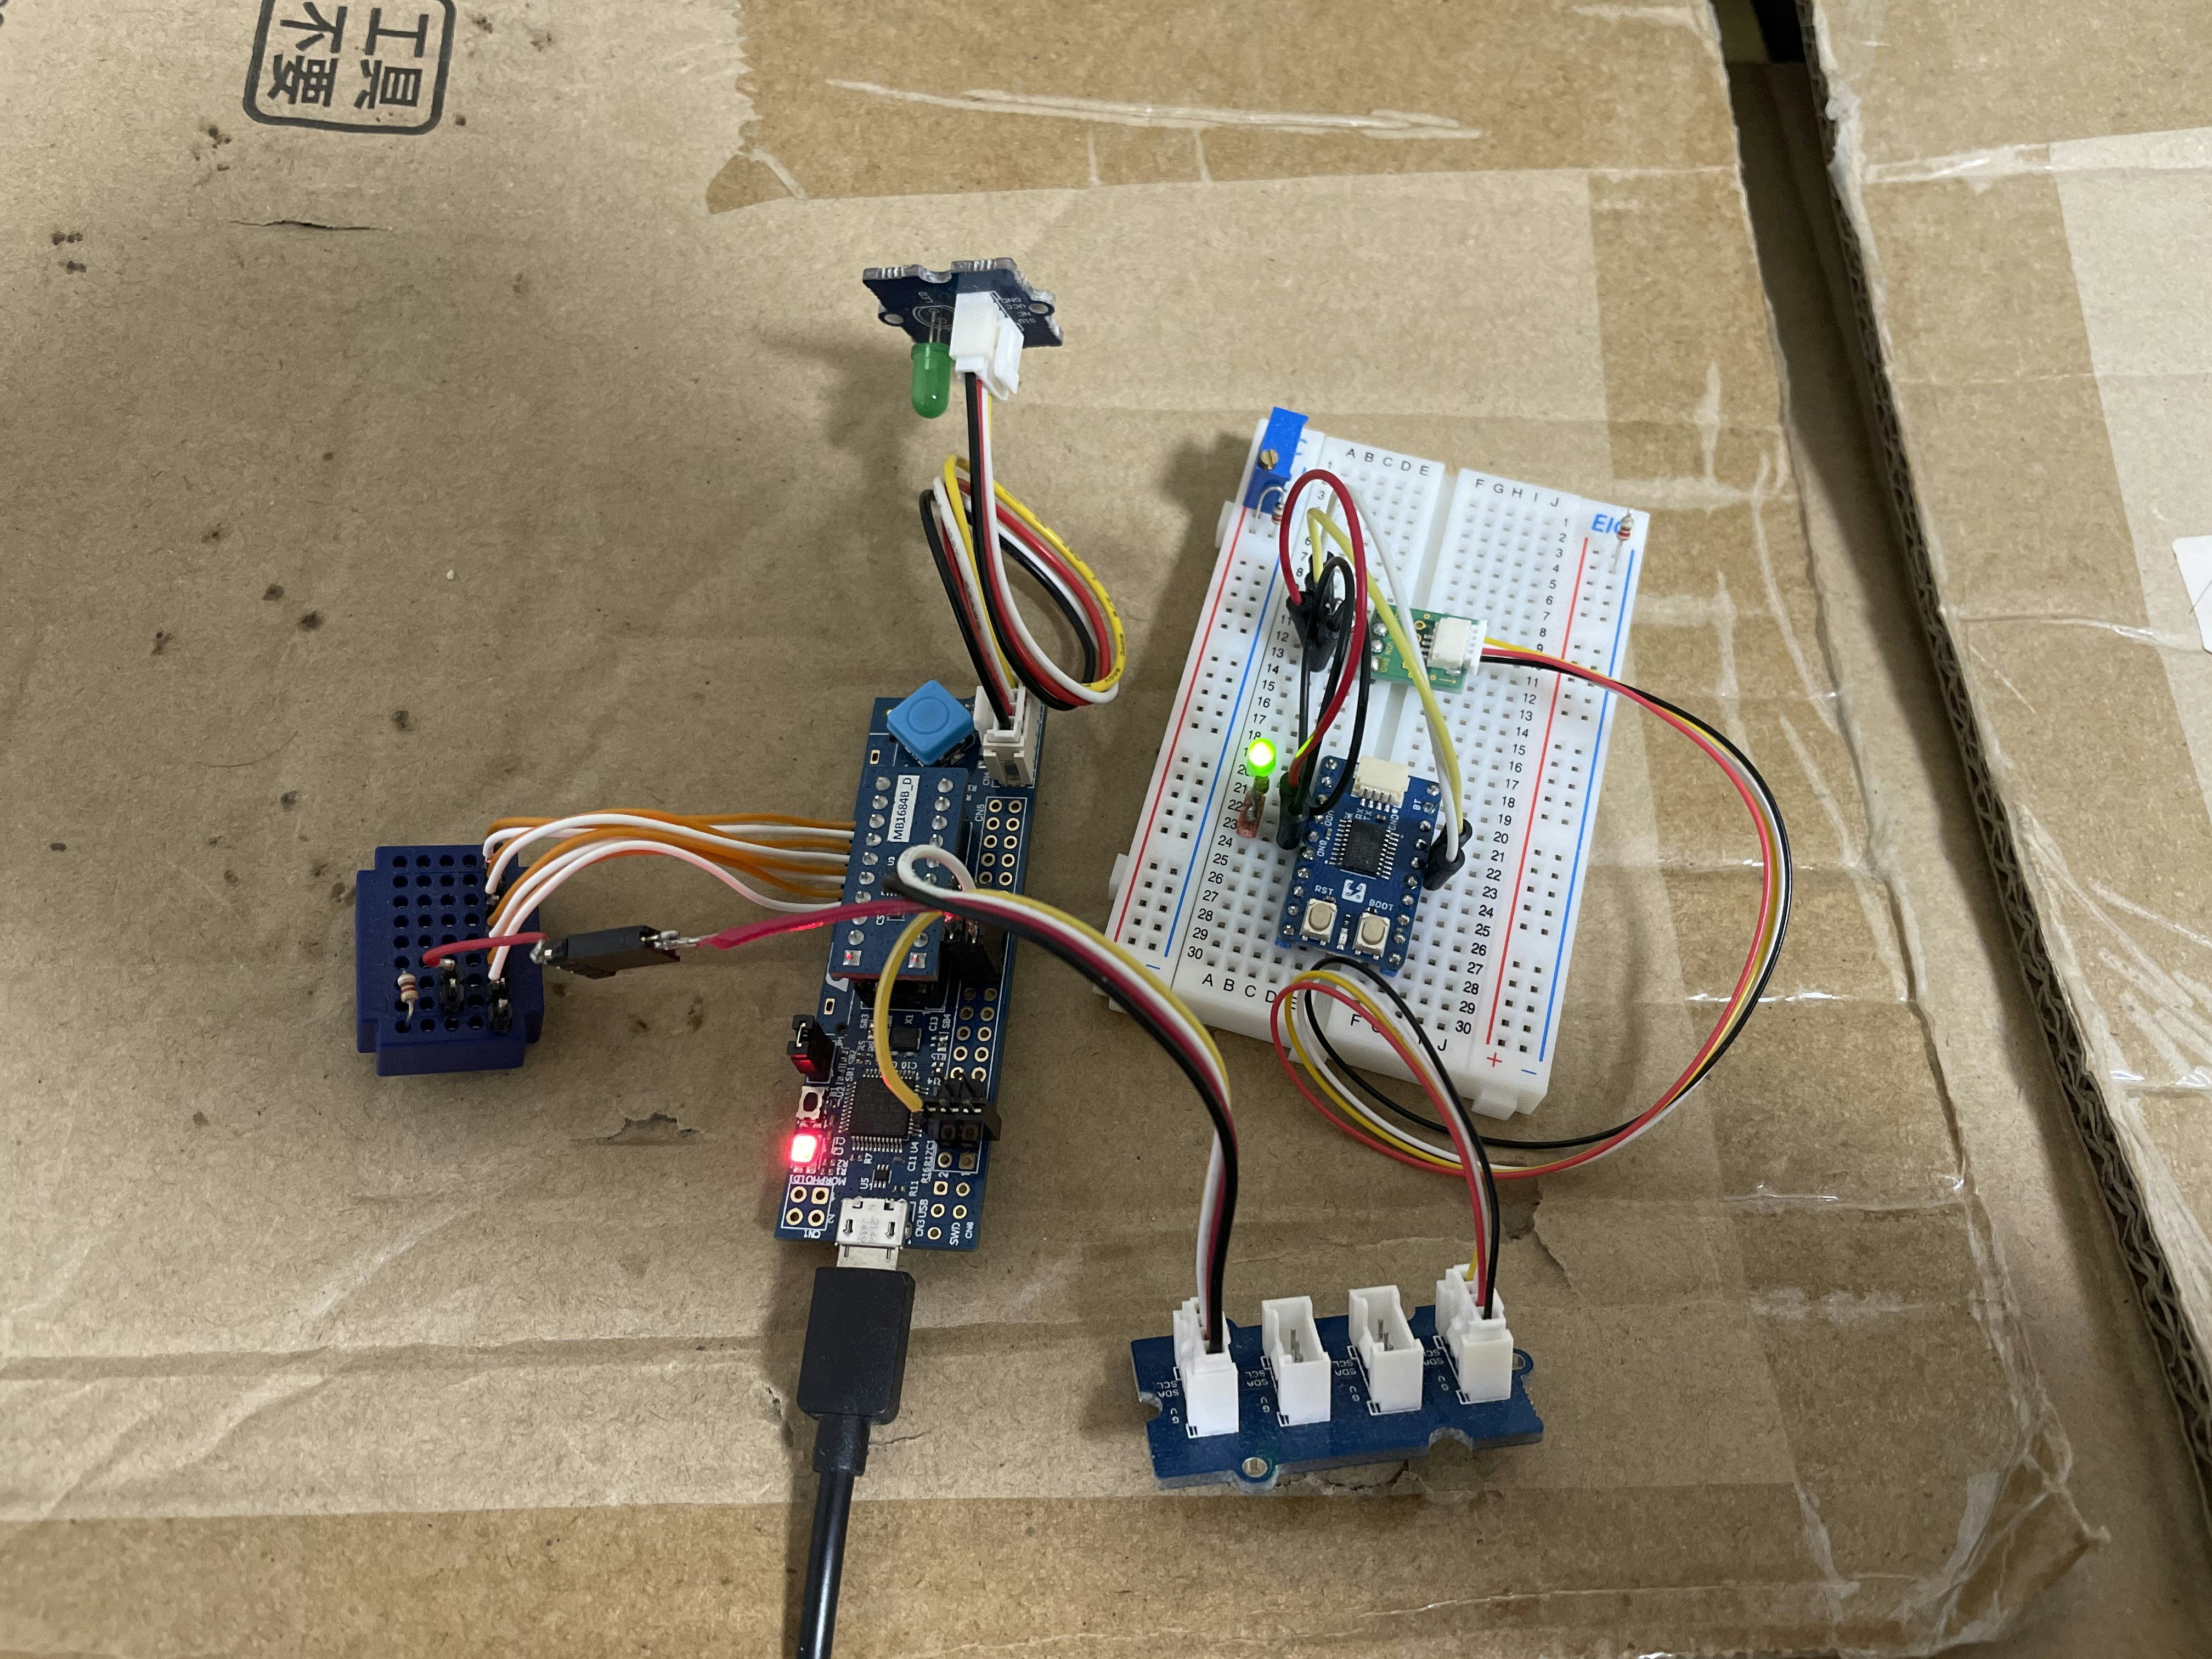

プログラム
- STM32C0116-DK
//I2C_BEEP_C011_4


//インクルド
#include <Arduino.h>
#include <Wire.h>  // I2C


//定義
volatile unsigned char buf[32+1] = {
  0,0,0,0,0,0,0,0,
  0,0,0,0,0,0,0,0,
  0,0,0,0,0,0,0,0,
  0,0,0,0,0,0,0,0,
  0};


struct {
  int frequency;
  int count_dw;
} B;

int bk_frequency;

#define DD 3    // potentiometer connected to analog pin x


//初期化
void setup() {

  //シリアルポートの初期化
  Serial.begin(9600);

  Serial.println("START"); //debug

  pinMode(DD, OUTPUT);   // sets the LED pin as output
  analogWriteFrequency(5);   //周波数
  analogWriteResolution(16);  //分解能
  //analogWrite(DD, 30000 );
  //delay(5000); //1秒待つ

  //I2Cの初期化
  Wire.begin(  0x1e  );      // I2Cスレーブアドレスの設定
  Wire.onReceive(receiveEvent);  // データが来ると呼ばれる関数

  //カウントダウンタイマーを0にする
  B.count_dw = 0;
  //B.count_dw = 5; //debug

  //周波数のバックアップを0にする
  bk_frequency = 0;

  //周波数を0にする
  B.frequency = 0;

  //周波数を0に変える
  Serial.println("CHANGE!!! frequency");
  Serial.println(B.frequency);
  //analogWriteFrequency(0);   //周波数
  analogWrite(DD, 0 );


  //while (1) {} //debug

}  //setup


//メインループ
void loop() {

  //↓カウントダウン開始

  Serial.println();
  Serial.println("START!!! count down");

  while (B.count_dw > 0) {

    //B.frequency = 440; //debug

    //周波数が変わったらの処理
    if ( B.frequency != bk_frequency ) {

      //周波数のバックアップ
      bk_frequency = B.frequency;


      //周波数を変える
      Serial.println("CHANGE!!! frequency");
      Serial.println(B.frequency);
      analogWriteFrequency(B.frequency);   //周波数
      analogWrite(DD, 30000 );


    } //endif

    //sleep(1); //1秒待つ debug

    delay(1); //1ms秒待つ
    B.count_dw = B.count_dw - 1;

    //printf("%d\n",count_dw);
    //Serial.print("#");

  } //while

  //delay(1000); //debug

  //Serial.println(); //debug
  Serial.println("END!!! count down"); //debug

  //↑カウントダウン終了


  //周波数のバックアップ
  bk_frequency = 0;
  B.frequency = 0;

  //音を止める
  //周波数を0に変える
  Serial.println("CHANGE!!! frequency");
  Serial.println(B.frequency);
  //analogWriteFrequency(0);   //周波数
  analogWrite(DD, 0 );


  //終了後の無限ループ
  Serial.println("endless loop!!!"); //dgbug
  while(B.count_dw <= 0){
        //Serial.print("@");
        delay(1); //1秒待つ
  }//while

}  //loop


//レシーブイベント(受信)
void receiveEvent(int howMany) {

  int i = 0; //カウンター
  while (0 < Wire.available() && (i < 32) ) {  // loop through all but the last

    // I2C受信データの読み込み
    buf[i++] = Wire.read();                    // receive byte as a character

  }  //while


  //バッファをコピーする
  memcpy( (char *)(&B), (char *)(&buf),  8  );

  //関数が呼ばれるとりあえずメッセージをだす
  //Serial.print("[=]"); //debug

}  //receiveEvent
- HOST STM32G030F6
//i2c_beep_g030_1
//Arduino Modulino Buzzer(STM32C011)のミニドライバー
//32BITのARM系限定
//理由 なぜなら、int が32BITで86系と同じ小っちゃい順からだから


//インクルド
#include <Arduino.h>
#include <Wire.h>
#include <string.h> //memcpy用


//定義
int frequency = 440; //周波数
int duration = 1000; //鳴らす時間


//Arduino Modulino Buzzer(STM32C011)のブザーを鳴らす
//鳴らす時間,周波数
void i2c_beep(int freq, int len_ms) {

  //鳴らす時間,周波数をバッファーに転記する 受信側も同じ32BIT,ARM系だから成り立つ
  uint8_t buf[8];
  memcpy(&buf[0], &freq, 4);
  memcpy(&buf[4], &len_ms, 4);


  //I2Cへの送信
  Wire.beginTransmission(  0x1e  ); //スタートとI2Cアドレスを送る

  for (int i = 0; i < 8; i++) { //8回ループ

    //一文字出力
    Wire.write(  buf[i]  ); //1バイトデータを送る

  }//for i

  Wire.endTransmission(); //ストップを送る

} //i2c_beep


//初期化
void setup() {

  //STM32G030F6
  //I2Cのポートの変更
  Wire.setSDA(10);  //PA10
  Wire.setSCL(9);   //PA9

  //I2Cの初期化処理
  Wire.begin(); //STM32G030F6
  delay(200); //ダミーのウエート I2Cスレーブの安定化用

} //setup


//メインループ
void loop() {

  // Play tone at specified frequency and duration
  i2c_beep(frequency, duration); //ブザーを鳴らす
  delay(1000); //1秒待つ
  // Stop the tone (0 frequency)  //ブザーを止める
  i2c_beep(0, duration);
  delay(1000); ////1秒待つ

} //loop
、
、
、
おまけ
プログラム(テスト中)
//I2C_BEEP_C011_3


//インクルド
#include <Arduino.h>
#include <Wire.h>  // I2C


//定義
volatile unsigned char buf[32+1] = {
  0,0,0,0,0,0,0,0,
  0,0,0,0,0,0,0,0,
  0,0,0,0,0,0,0,0,
  0,0,0,0,0,0,0,0,
  0};


struct {
  long frequency;
  long count_dw;
} B;

int bk_frequency;

//初期化
void setup() {

  //シリアルポートの初期化
  Serial.begin(9600);

  Serial.println("START"); //debug

  //I2Cの初期化
  Wire.begin(  0x1e  );      // I2Cスレーブアドレスの設定
  Wire.onReceive(receiveEvent);  // データが来ると呼ばれる関数

  //カウントダウンタイマーを0にする
  B.count_dw = 0;

  //周波数のバックアップを0にする
  bk_frequency = 0;

  //周波数を0にする
  B.frequency = 0;

  //周波数を0に変える
  //sddddsdsd
  Serial.println("CHANGE!!! frequency");
  Serial.println(B.frequency);

  //while (1) {} //debug

}  //setup


//メインループ
void loop() {

  //↓カウントダウン開始

  Serial.println();
  Serial.println("START!!! count down");

  while (B.count_dw > 0) {

    //B.frequency = 6; //debug

    //周波数が変わったらの処理
    if ( B.frequency != bk_frequency ) {

      //周波数のバックアップ
      bk_frequency = B.frequency;


      //周波数を変える
      //sddddsdsd change
      Serial.println("CHANGE!!! frequency");
      Serial.println(B.frequency);

    } //endif

    //sleep(1); //1秒待つ debug

    delay(200); //1秒待つ
    B.count_dw = B.count_dw - 1;

    //printf("%d\n",count_dw);
    Serial.print("#");

  } //while

  //↑カウントダウン終了

  Serial.println(); //debug

  //周波数のバックアップ
  bk_frequency = 0;
  B.frequency = 0;

  //音を止める
  //周波数を0に変える
  //sddddsdsd
  Serial.println("CHANGE!!! frequency");
  Serial.println(B.frequency);


  //終了後の無限ループ
  Serial.println("endless loop!!!"); //dgbug
  while(B.count_dw <= 0){
        //Serial.print("@");
        delay(1); //1秒待つ
  }//while

}  //loop


//レシーブイベント(受信)
void receiveEvent(int howMany) {

  int i = 0; //カウンター
  while (0 < Wire.available() && (i < 32) ) {  // loop through all but the last

    // I2C受信データの読み込み
    buf[i++] = Wire.read();                    // receive byte as a character

  }  //while


  //バッファをコピーする
  memcpy( &B, &buf,  (  sizeof(buf) < sizeof(B)  ) ? sizeof(buf) : sizeof(B)  );

  //関数が呼ばれるとりあえずメッセージをだす
  //Serial.print("[=]"); //debug

}  //receiveEvent
TART
CHANGE!!! frequency
0

START!!! count down

CHANGE!!! frequency
0
endless loop!!!

START!!! count down
#####
CHANGE!!! frequency
0
endless loop!!!

START!!! count down
CHANGE!!! frequency
6
#####
CHANGE!!! frequency
0
endless loop!!!

START!!! count down
#####
CHANGE!!! frequency
0
endless loop!!!

START!!! count down
CHANGE!!! frequency
6
#####
CHANGE!!! frequency
0
endless loop!!!