目的
とある知り合いが、「なんでDjangoの書籍とか研修はsqlite3が前提なんじゃ!既存のDBをそのまま使ってDjangoでWebアプリ作りたいんじゃ!とりあえずsqliteで練習して後から本番DBに差し替えられないのか!?」とかぬかしおったので検証。結論を言ってしまうと、とりあえず実現できました。
本記事では検証用に簡単なWebアプリを作っていますが、Djangoの詳しい使い方についてはちゃんと触れていませんのでご了承ください。
検証環境
- Django 2.2.4
$ pip install django
- PostgreSQL 9.6.12
Webページ(https://www.postgresql.jp/download) 等からダウンロードし、インストールします。
Djangoで簡単なWebアプリを開発する
今回は、とりあえず商品一覧を表示するだけの簡単なアプリケーションを作成してみます。
特に検索機能等はつけず、純粋に全件表示するだけです。
Djangoプロジェクトの作成
プロジェクト用のファイルを展開するために適当なフォルダを検討し、コンソール等で以下のコマンドを叩きます。
# Djangoプロジェクトを作成
> django-admin startproject my_project

# プロジェクトフォルダに移動
> cd my_project

# テストサーバを起動してみる
> python manage.py runserver
ブラウザを立ち上げて、http://127.0.0.1:8000にアクセスしてみます。
テストページが表示されれば、プロジェクトの作成は完了です。
サーバを停止させたい時は、Ctrl+Cを押します。
アプリケーションを作成する
Djangoではプロジェクト内に複数の「アプリケーション」を登録することができ、それら一つ一つが単体のWebアプリを構成します。つまり、ここからさらに「アプリケーション」とやらを作る必要があります。
以下コマンドで、アプリケーションを作ることができます。今回はwebshoppingという名前で登録します。
> python manage.py startapp webshopping
自動的にアプリケーションと同名のフォルダが出来上がり、様々なファイルが展開されます。
my_project
  |-- manage.py
  |-- db.sqlite3
  |-- my_project
  |     |-- __pycache__
  |     |-- settings.py
  |     |-- urls.py
  |    (略)
  |-- webshopping
        |-- migrations
        |-- apps.py
        |-- models.py
        |-- views.py
       (略)
次に、アプリケーションの登録を行います。
my_project/settings.pyに既に記述があるので、追記するイメージです。
INSTALLED_APPS = [
    'django.contrib.admin',
    'django.contrib.auth',
    'django.contrib.contenttypes',
    'django.contrib.sessions',
    'django.contrib.messages',
    'django.contrib.staticfiles',
    'webshopping.apps.WebshoppingConfig' #追記
]
Webページの準備
Webページは、以下の場所にtemplatesフォルダを作り、その中に配置することになっているので
templatesフォルダとhtmlを一枚作ります。
my_project
  |-- manage.py
  |-- db.sqlite3
  |-- my_project
  |     |-- __pycache__
  |     |-- settings.py
  |     |-- urls.py
  |    (略)
  |-- webshopping
        |-- migrations
        |-- apps.py
        |-- models.py
        |-- views.py
        |-- templates  <--作成
               |-- itemlist.html  <--作成
       (略)
htmlファイルの中身はこんな感じにします。
<!DOCTYPE html>
<html>
    <body>
        <h1>商品一覧</h1>
        <table border=1>
            <tr>
               <th>商品名</th>
               <th>価格</th>
            </tr>
        </table>
    </body>
</html>
Python関数(View)とWebページのマッピング
このWebページと、Python関数(View)とマッピングします。
このマッピングは、webshopping/views.pyで定義します。
from django.shortcuts import render

# 以下の関数を追加
def itemlist(request):
    return render(request, 'itemlist.html')
URLとViewのマッピング
次に、特定のURLへリクエストが来たときにこの関数が動くようにマッピングを調整します。
このマッピングはmy_project/urls.pyで定義します。
from django.contrib import admin
from django.urls import path
from webshopping import views #追加

urlpatterns = [
    path('admin/', admin.site.urls),
    path('itemlist/', views.itemlist) #追加(itemlist/にリクエストが来たらviews.itemlist関数を動かす)
]
確認
とりあえず色々そろったので、確認してみます。
サーバを起動してから、http://127.0.0.1:8000/itemlistへアクセスしてみます。
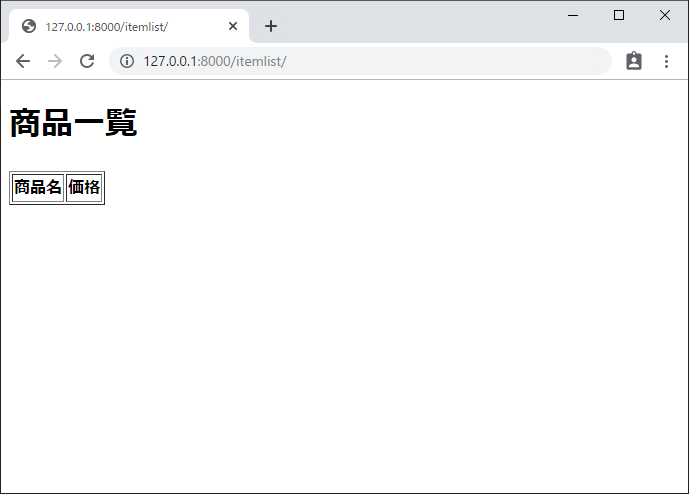
大丈夫そうです。
Modelクラスを準備する
DjangoではSQLをほぼ書かずにDBを構築することができます。
「顧客」「商品」「社員」等ひとかたまりのデータ群をModelクラスとして定義し、
クラスに書かれている内容を元に勝手に構築やデータの取得、書き込みを行ってくれます。
ではModelを書いていきます。Modelはwebshopping/models.pyに追記していきます。
from django.db import models

# 以下のクラスを追記
class Item(models.Model):
    #クラスが持つ(あるいはDBのテーブルが持つ)べきデータを定義する
    item_name = models.CharField(primary_key=True, max_length=20) #商品名(文字データなのでCharField)
    price = models.IntegerField() #価格(数字データなのでIntegerField)
データベースと同期する
コンソールを立上げ、以下のコマンドを実行することで簡単にデータベースのテーブルを構築できます。
> python manage.py makemigrations webshopping
> python manage.py migrate webshopping
適当なデータを突っ込む
これでテーブルはできていますが、中身が何もないのであまりおもしろくありません。
コンソールを使って、データを突っ込んでいきましょう。
> python manage.py shell

IN [1]: from webshopping import models
IN [2]: models.Item('重すぎるノートPC', 80000).save()
IN [3]: models.Item('軽すぎるノートPC', 120000).save()
IN [4]; exit()
これで2件の商品が登録された状態です。
View関数でDBから値を取得するように調整する
webshopping/views.pyを調整していきます。
from django.shortcuts import render
from webshopping import models #追加

def itemlist(request):
    #追加
    context = {
        'item_list': models.Item.objects.all() #DBから情報を取得する
    }
    #変更
    return render(request, 'itemlist.html', context=context)
View関数から渡された値を利用するようにHTMLを調整する
webshopping/templates/itemlist.htmlを調整していきます。
<!DOCTYPE html>
<html>
    <body>
        <h1>商品一覧</h1>
        <table border=1>
            <tr>
               <th>商品名</th>
               <th>価格</th>
            </tr>

            <!--以下を追加-->
            {% for item in item_list %}
            <tr>
                <td>{{ item.item_name }}</td>
                <td>{{ item.price }}</td>
             </tr>
            {% endfor %}
        </table>
    </body>
</html>
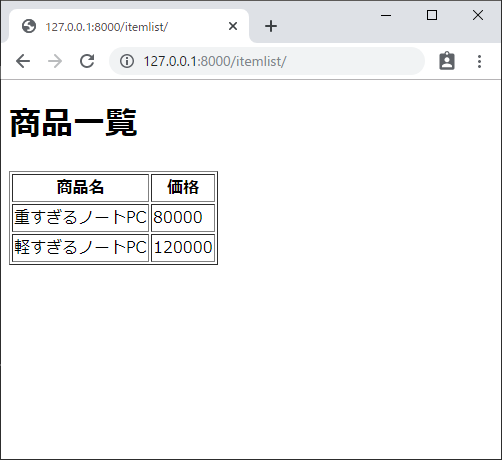
確認
サーバを起動して確認してみます。

大丈夫そうです!!
PostgreSQLのデータベースを用意する
いよいよPostgreSQLに切り替えて行きます。
PostgreSQLのインストールとデータベースの作成
PostgreSQLをインストールし、適当なユーザ名とパスワードを設定しておきます。
この時点では、データベースのみ作りテーブルは作りません。
> psql -U postgres -W
ユーザpostgresのパスワード: ***********

postgres=# create database webshopping;
CREATE DATABASE
Django側の設定をいじる
実は参照先DBの設定は、my_project/settings.pyにあります。
DATABASESと書いてあるところを探し、以下のように書き換えます。
(元の設定はコメントアウトしておくことをオススメします。
# (略)
DATABASES = {
    'default': {
        'ENGINE': 'django.db.backends.postgresql_psycopg2',
        'NAME': 'webshopping', #1つ上の項目で作成したデータベースの名前
        'USER': 'postgres', #DBにログインするユーザ名
        'PASSWORD': 'P@ssw0rd', #DBにログインするパスワード
        'HOST': 'localhost',
        'PORT': '',
    }
}
# (略)
設定をDBと同期する
再度設定をDBと同期させます。
> python manage.py migrate webshopping
データを流し込む
再度データを流し込んでいきます。実際に移行する場合は、ここで一旦CSVやSQLファイルに吐き出しておいてからインポートする流れになるでしょう。
> python manage.py shell

IN [1]: from webshopping import models
IN [2]: models.Item('重すぎるノートPC', 80000).save()
IN [3]: models.Item('軽すぎるノートPC', 120000).save()
IN [4]; exit()
PostgreSQL側のデータを確認
一応、PostgreSQLにログインしてデータが入っているか確認します。
> psql -U postgres -W
ユーザpostgresのパスワード: ***********

postgres=# \c webshopping
webshopping=# \d
                     リレーションの一覧
 スキーマ |           名前           |     型     |  所有者
----------+--------------------------+------------+----------
 public   | django_migrations        | テーブル   | postgres
 public   | django_migrations_id_seq | シーケンス | postgres
 public   | webshopping_item         | テーブル   | postgres
(3 行)

webshopping=# select * from webshopping_item;
    item_name     | price
------------------+--------
 重すぎるノートPC |  80000
 軽すぎるノートPC | 120000
(2 行)
うまくいっているようです。
Webページで確認
最後に、サーバを立上げ直してWebで確認してみます。
問題なさそうです!!
結論
- ModelsはDB製品が変わったとしても特に大きな影響は無し
- 別件で日付も検証したが、sqlite3のdatetime型とpsqlのdate型ならpythonのdatetime.date型で特に問題なさそう
- 製品が変わってもほぼコードいじらなくていい、なんならSQLもほぼ書かなくていいDjangoバンザイ!