今回の課題
今回は、内部に data binding を用いた custom view について考えてみようと思います。
追記:2021-10-23 custom view 内部に databinding は使うべきじゃないというのが現状の結論。view binding 使いましょう。ということで、この記事は黒歴史ストックですねw
ソース
※ ライブラリ的コードなどはシグニチャで動作が理解できると思うので割愛。
◆ MainActivity.kt
main_activity.xml の内容を表示するだけの Activity です。
class MainActivity : AppCompatActivity() {
    override fun onCreate(savedInstanceState: Bundle?) {
        super.onCreate(savedInstanceState)
        setContentView(R.layout.main_activity)
    }
}
◆ main_activity.xml
NameView を表示するだけのレイアウトです。
name 要素に John Smith が入っています。
<?xml version="1.0" encoding="utf-8"?>
<com.example.myapplication.NameView
    xmlns:android="http://schemas.android.com/apk/res/android"
    xmlns:app="http://schemas.android.com/apk/res-auto"
    xmlns:tools="http://schemas.android.com/tools"
    android:layout_width="wrap_content"
    android:layout_height="wrap_content"
    android:layout_gravity="center"
    app:name="John Smith"
    tools:context=".MainActivity" />
◆ NameView
name 文字列を表示するだけの custom view です。
内部で data dinging を用いて、動的に name_view.xml を inflate しています。
class NameView : FrameLayout {
    constructor(context: Context) : super(context) { init() }
    constructor(context: Context, attrs: AttributeSet?) : super(context, attrs) { init(attrs) }
    constructor(context: Context, attrs: AttributeSet?, defStyleAttr: Int) : super(context, attrs, defStyleAttr) { init(attrs) }
    constructor(context: Context, attrs: AttributeSet?, defStyleAttr: Int, defStyleRes: Int) : super(context, attrs, defStyleAttr, defStyleRes) { init(attrs) }

    // View として単一のライフサイクルなので普通に POJO を直接使う。
    private val layoutModel: NameViewLayoutModelImpl = NameViewLayoutModelImpl()

    var name: String by StringMutableLiveDataDelegate(layoutModel.name)

    private fun init(attrs: AttributeSet? = null) {
        // name という attribute を受け付ける。
        attrs?.let {
            name = getStringAttr(attrs, R.styleable.NameView, R.styleable.NameView_name, "")
        }

        // data binding を用いる
        NameViewBinding.inflate(LayoutInflater.from(context), this,  true).let {binding ->
            binding.layoutModel = layoutModel

            // View として単一のライフサイクルなので常に resume 扱いにする。
            binding.lifecycleOwner = AlwaysResumedLifecycleOwner()
        }
    }
}

private class NameViewLayoutModelImpl : NameViewLayoutModel {
    override val name: MutableLiveData<String> = MutableLiveData("")
}
◆ name_view.xml
<?xml version="1.0" encoding="utf-8"?>
<layout xmlns:android="http://schemas.android.com/apk/res/android"
    xmlns:app="http://schemas.android.com/apk/res-auto"
    xmlns:tools="http://schemas.android.com/tools">
    <data>
        <variable
            name="layoutModel"
            type="com.example.myapplication.NameViewLayoutModel" />
    </data>
    <TextView
        android:layout_width="wrap_content"
        android:layout_height="wrap_content"
        android:text="@{layoutModel.name}"
        app:layout_constraintBottom_toBottomOf="parent"
        app:layout_constraintLeft_toLeftOf="parent"
        app:layout_constraintRight_toRightOf="parent"
        app:layout_constraintTop_toTopOf="parent"
        tools:text="【ここに layoutModel.name の値が表示されます】'" />
</layout>
結果
◆ 実機での表示
意図通りの画面が表示されています。

◆ レイアウトエディタ上での表示
☆ name_view.xml
tools:text の値が表示されています。
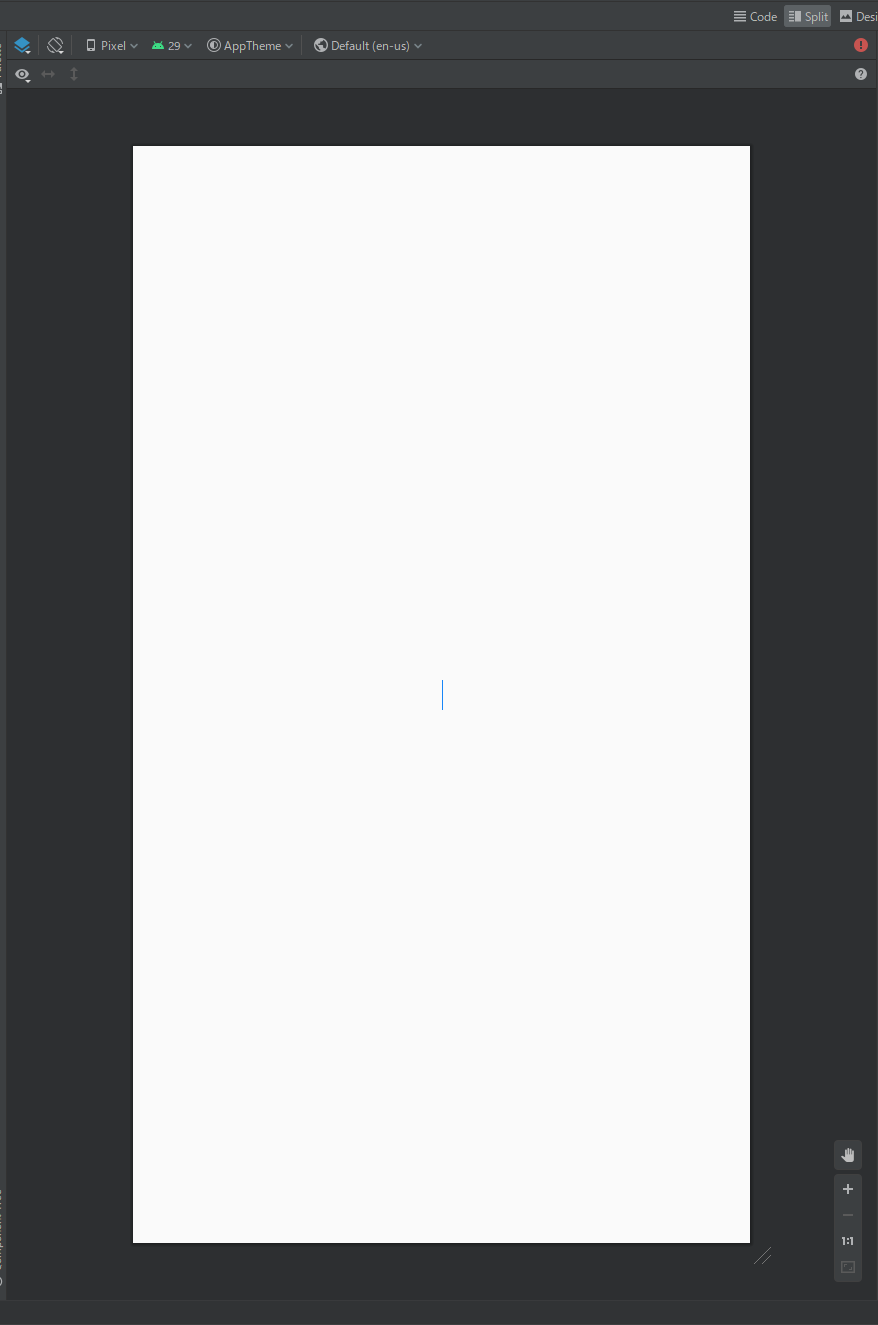
☆ name_view.xml
何も表示されていません。(´・ω・`)
ワークアラウンド
custom view で data binding を用いた場合、アプリでは動作しても、レイアウトエディタ上では data binding による振る舞いが反映しないようです。
◆ ソース
とりあえず、そういうものだと割り切って、ワークアラウンドしてみたものが以下のソース。
class NameView : FrameLayout {
    constructor(context: Context) : super(context) { init() }
    constructor(context: Context, attrs: AttributeSet?) : super(context, attrs) { init(attrs) }
    constructor(context: Context, attrs: AttributeSet?, defStyleAttr: Int) : super(context, attrs, defStyleAttr) { init(attrs) }
    constructor(context: Context, attrs: AttributeSet?, defStyleAttr: Int, defStyleRes: Int) : super(context, attrs, defStyleAttr, defStyleRes) { init(attrs) }

    private val layoutModel: NameViewLayoutModelImpl = NameViewLayoutModelImpl()

    var name: String by StringMutableLiveDataDelegate(layoutModel.name)

    private fun init(attrs: AttributeSet? = null) =
        when {
            isInEditMode -> initInEditMode()
            else -> initInNormalMode(attrs)
        }

    // 通常時
    private fun initInNormalMode(attrs: AttributeSet?) {
        attrs?.let {
            name = getStringAttr(attrs, R.styleable.NameView, R.styleable.NameView_name, "")
        }
        NameViewBinding.inflate(LayoutInflater.from(context), this, true).let { binding ->
            binding.layoutModel = layoutModel
            binding.lifecycleOwner = AlwaysResumedLifecycleOwner()
        }
    }

    // edit mode の場合には、AppCompatTextView を差し込んで、NameView の FQCN を表示する。
    private fun initInEditMode() {
        val textView = AppCompatTextView(context)
        textView.text = this::class.java.name
        addView(textView)
    }
}

private class NameViewLayoutModelImpl : NameViewLayoutModel {
    override val name: MutableLiveData<String> = MutableLiveData("")
}
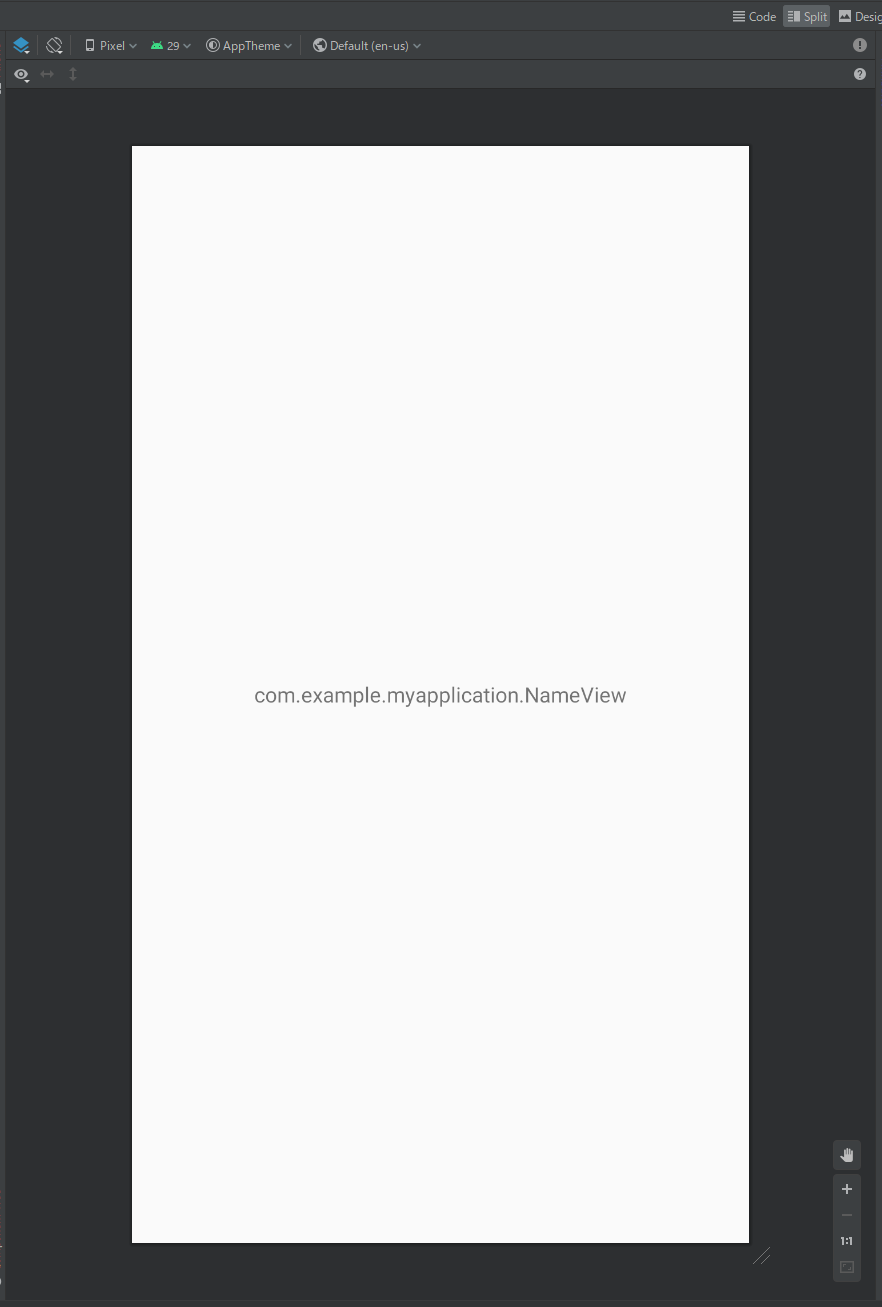
以下は、レイアウトエディタ上で main_activity.xml を表示したもの:

何も表示されないよりはマシといったところでしょうか、、、。
◆ 考察
レイアウトエディタ上で見た目が確認できないとどの程度困るのかなのですが、元々 RecyclerView や Fragment を差し込むようなケースではレイアウトエディタ上で目視確認できないことが多いので、あまり困らないような気もします。とは言っても TextView のような汎用的なものであればレイアウトエディタ上で確認できないのは致命的な気もします。
しかし、レイアウトエディタ上で確認できないことが致命的となるような custom view は、data binding を利用しなくても開発に支障の出ない規模に収まりそうな気もします。
そこら辺は、追って検証していきたいところです。
まとめ
- custom view 内部で data binding を用いた場合、アプリとしては動作する。しかし、Android Studio のレイアウトエディタ上では確認できないっぽい。
- Android Studio のレイアウトエディタ上で確認できないと割り切る場合、edit mode の場合のみ FQCN や edit mode 専用のレイアウトを表示させるというワークアラウンドで多少はマシになるかも。
- 現状でも RecyclerView や Fragment を差し込むような複雑な View はレイアウトエディタ上で目視確認できないことが多いので、レイアウトエディタ上で見れなくても実はあまり困らないかもw
- いい方法があれば教えてくださいmm
Links
第1回: Custom View 探求記(TextView 継承編 その1)
第2回: Custom View 探求記(TextView 継承編 その2)
第3回: Custom View 探求記(TextView 継承編 その3)
第4回: Custom View 探求記(TextView 継承編 その4)
第5回: Custom View 探求記(DataBindingを使うべきか使わぬべきかそれが問題だ編 その1)← いまココ!

