0
1

Delete article

Deleted articles cannot be recovered.

Draft of this article would be also deleted.

Are you sure you want to delete this article?

More than 3 years have passed since last update.

SonarQubeをDockerで立ち上げた時の話

Last updated at Posted at 2021-08-27

SonarQubeで何かできるか、どこまでの精度なのかを調査する前段階として導入までの手順をまとめます。

参考にした記事
https://qiita.com/takao-takass/items/5d54768ad0d315d3dad4

Dockerのコンテナを使えば楽々導入できました。
詰まったのはポート設定くらいでした。

実施環境

  • Windows10 Pro

    Windows10 へDockerインストールについては コチラ を参照。

SonarQubeコンテナ作成

  1. コマンドプロンプトを開いて、dockerSonarQubeページ に載ってるコマンドを実行します。
    docker pull sonarqube

  2. Docker Run
    SonarQubeのポートは9000なので、ポートフォワーディングで9000に接続します。
    (特に設定しないと、任意のポートが割り振られたので、要検証・・・)
    docker run -itd --name sonar -p 9000:9000 sonarqube

SonarQubeのページにアクセスする

ブラウザを起動して下記にアクセスします。
http://localhost:9000
もしくは、
http://{hostネーム or IPアドレス}:9000
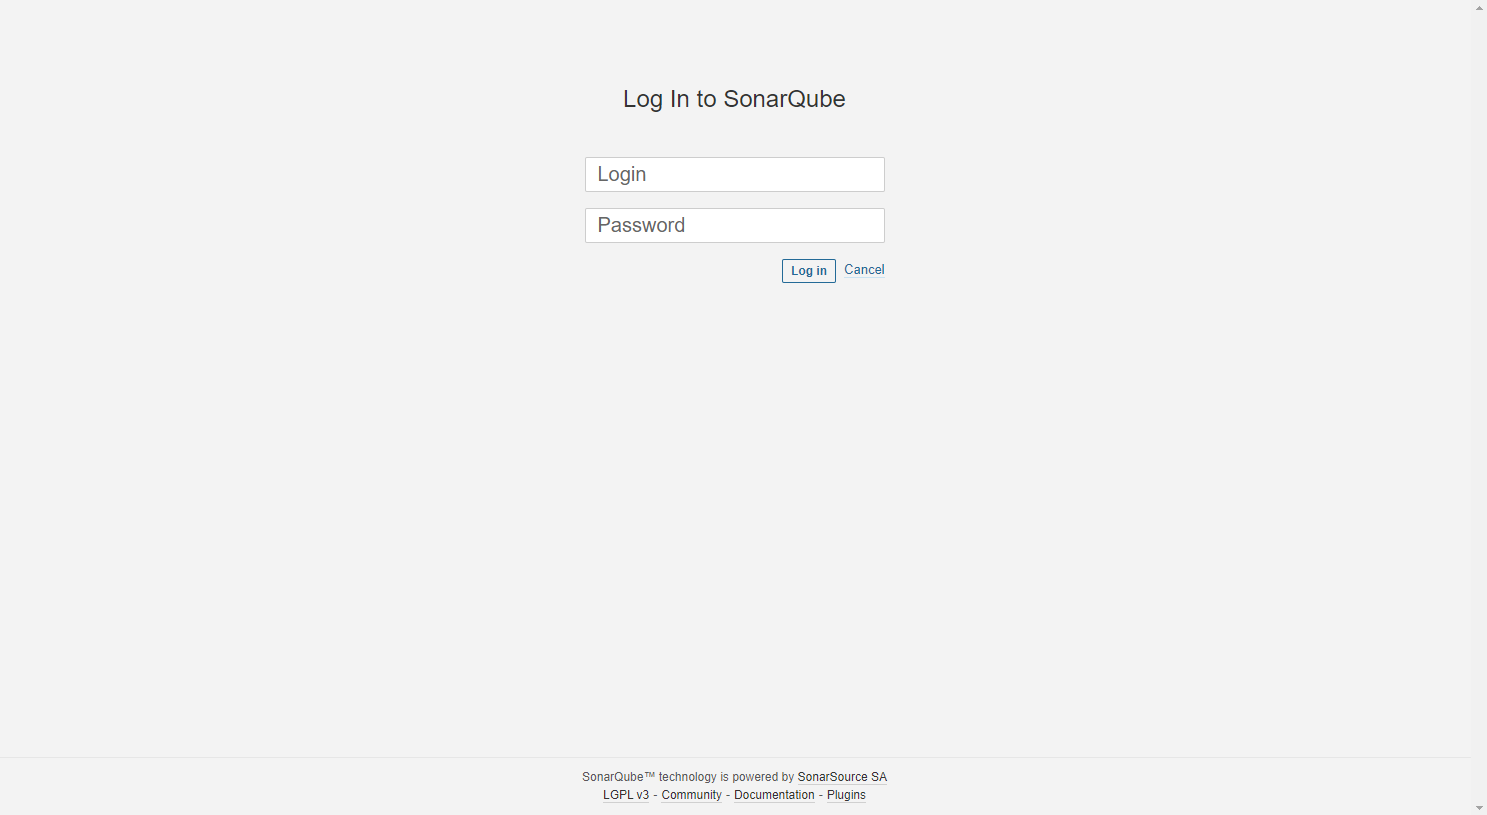
わー!開けました!

関連記事

0
1
0

Register as a new user and use Qiita more conveniently

  1. You get articles that match your needs
  2. You can efficiently read back useful information
  3. You can use dark theme
What you can do with signing up
0
1

Delete article

Deleted articles cannot be recovered.

Draft of this article would be also deleted.

Are you sure you want to delete this article?