こんにちわ。22日目担当の@bearcanionです。
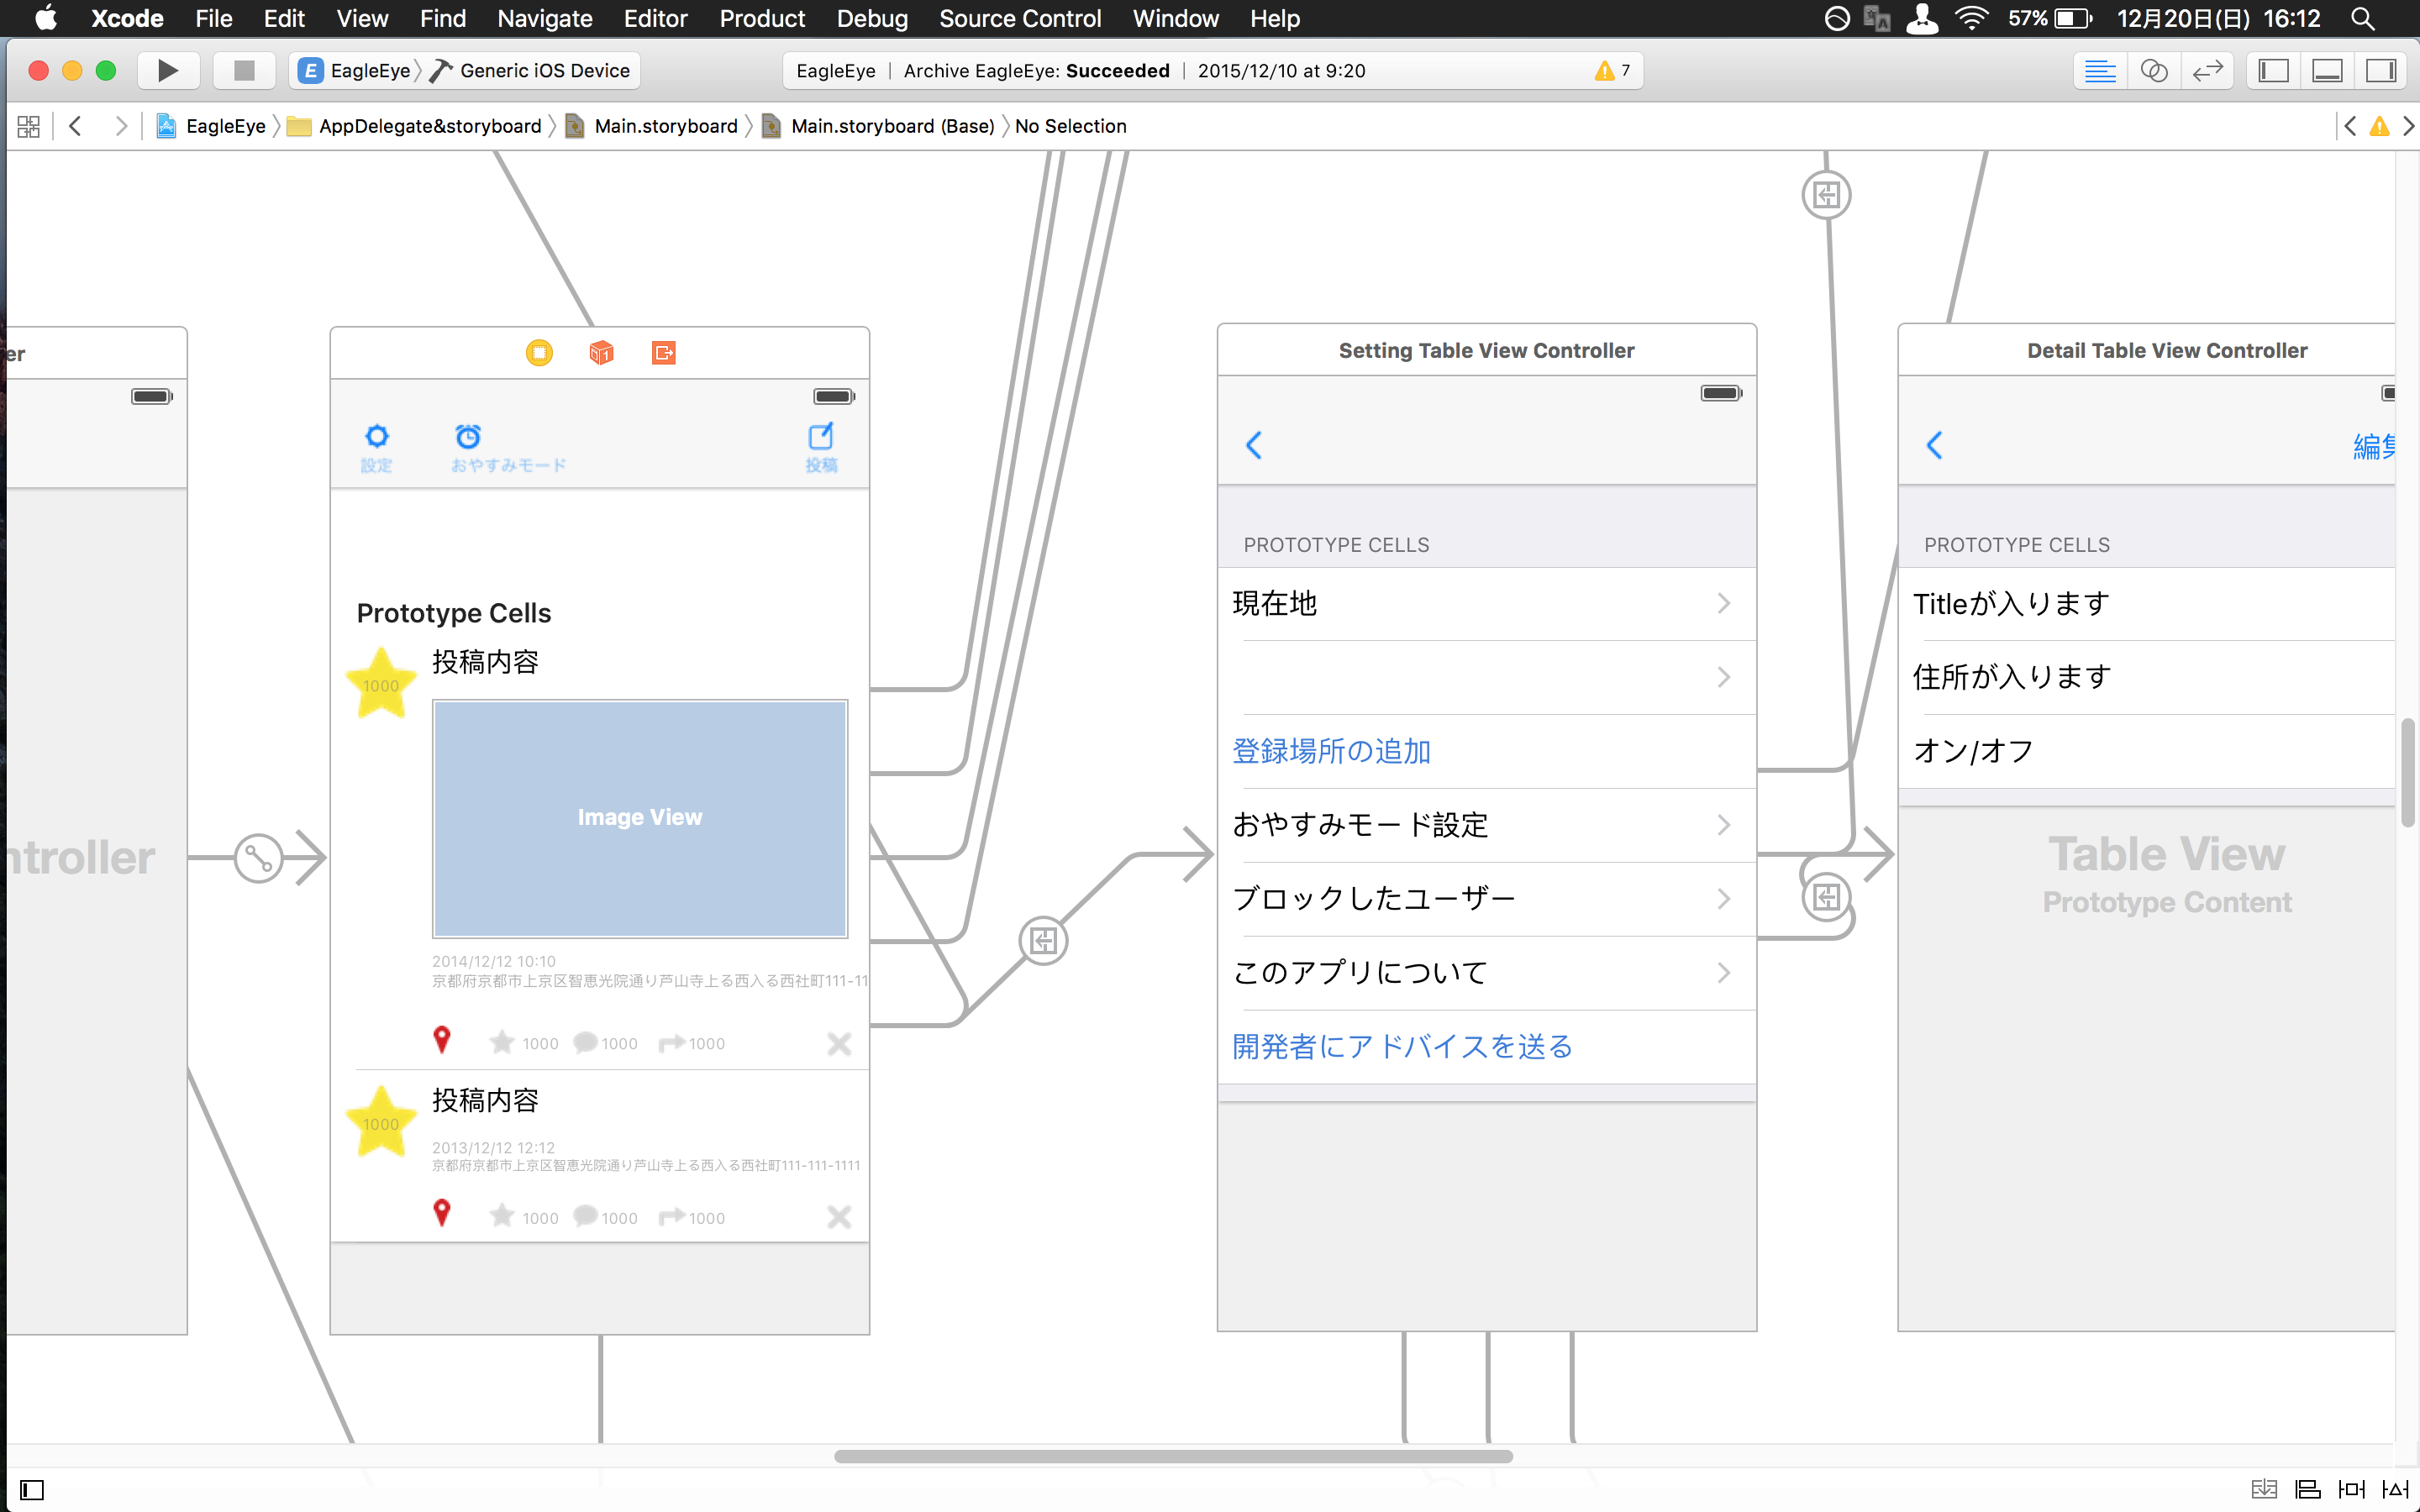
僕はアプリ開発を始めてからMVCの概念を特に気にせず、全ての部品をストーリボードに乗せ、コードを全てViewControllerファイルに書いていました。
1番大きいViewControllerファイル

1387行の中に処理も部品レイアウトも画面遷移も全て書いてある状態!
大変わかりにくくなっております!!!
通常の開発ではMVC(モデル・ビュー・コントローラー)に分けて書くのが一般的です!
ですが、いきなり初心者にMVCを駆使して書けって言っても敷居が高すぎます。
なので今回はホントに簡単にxibファイルを使ってストーリーボードから部品を取り除きMVCで言うところのViewとControllerに分ける方法をご紹介します。
まずViewTestプロジェクトを作り、その中にControllerとViewというグループを作ります。
Controllerフォルダの中にViewController.swiftを入れてください。
そしてCustomView.swiftとCustomView.xibを作っていきます。
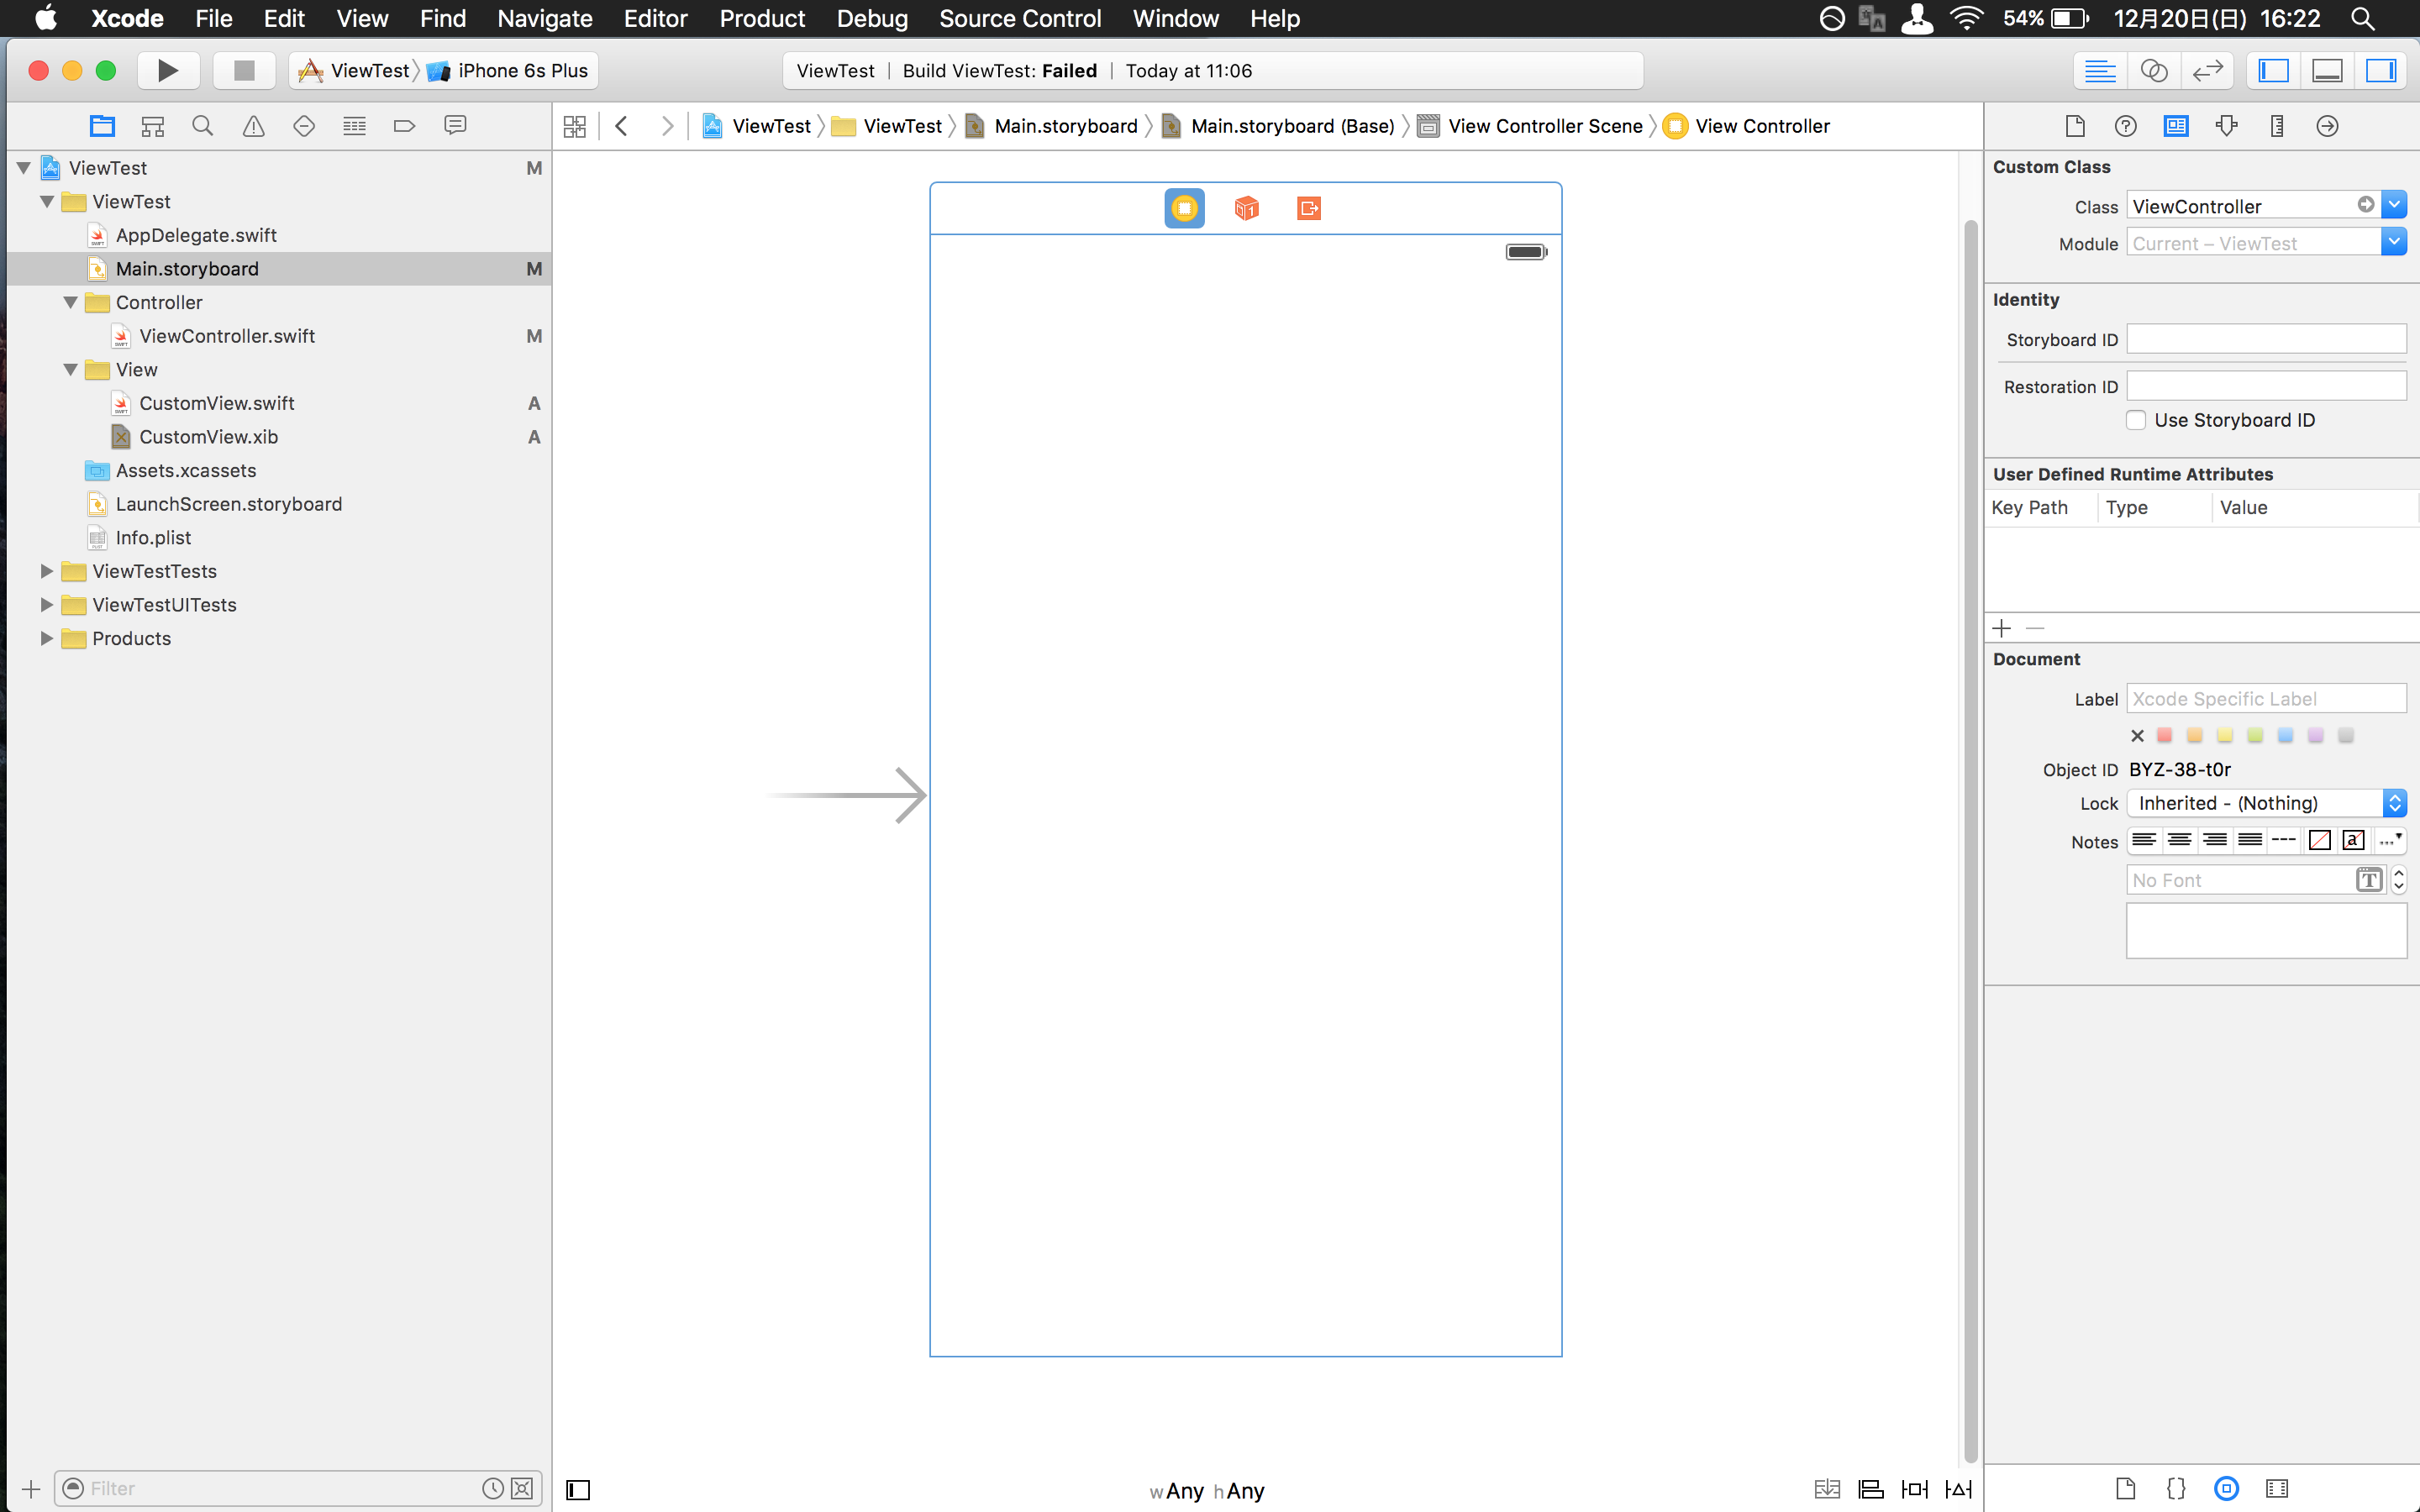
まずはCustomView.swiftからです。
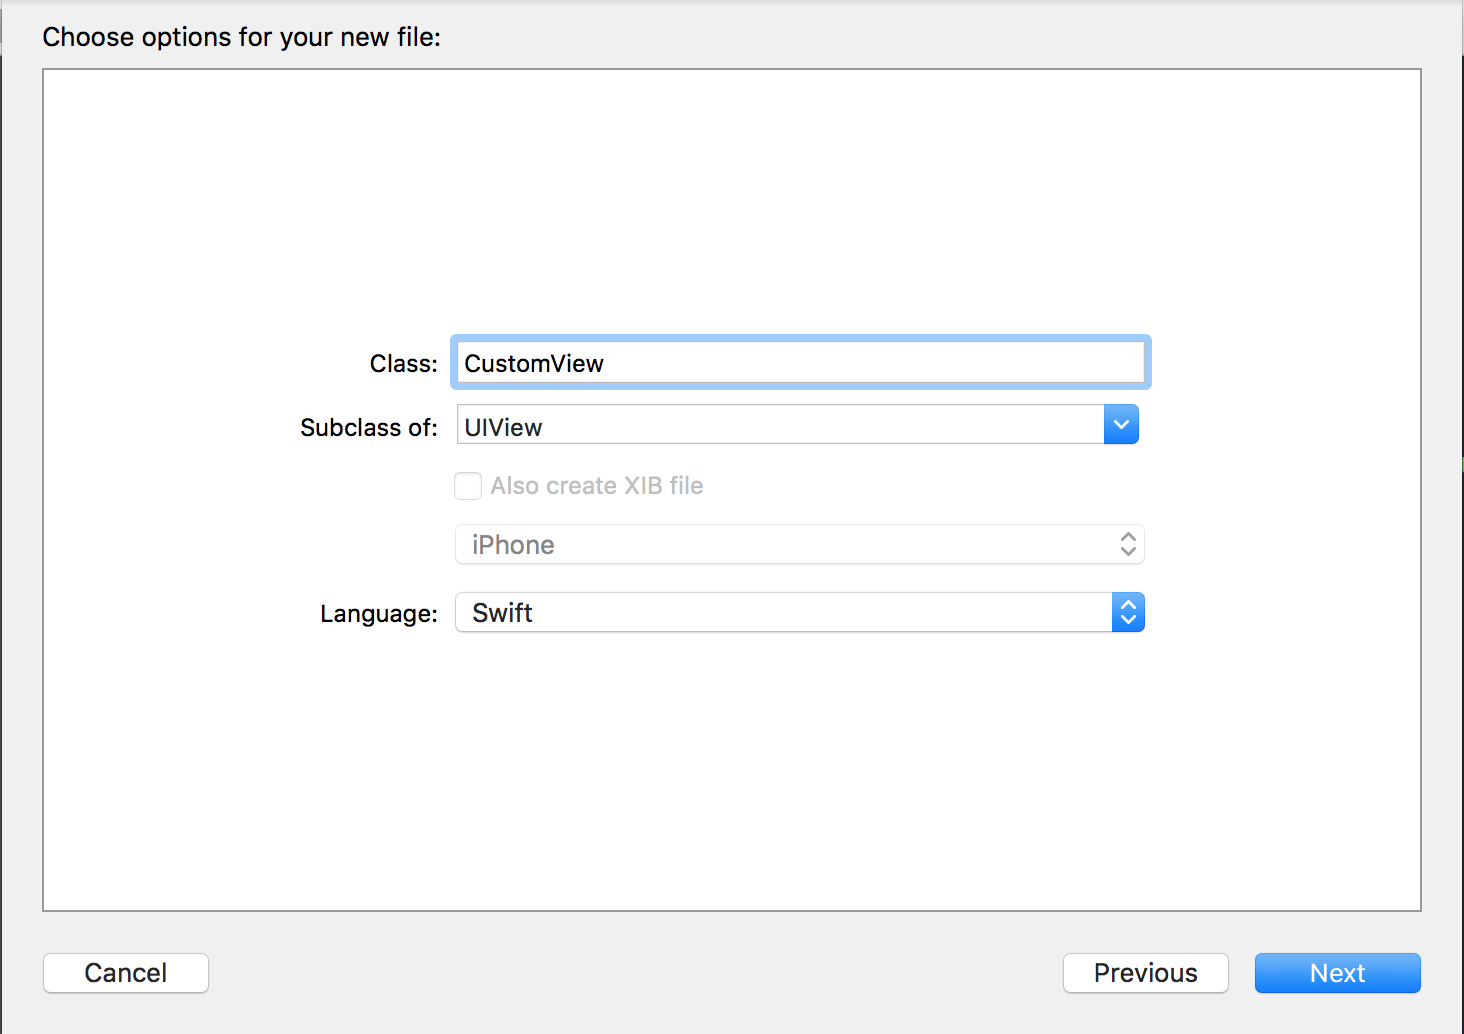
Cocoa Touch Classを選択し、
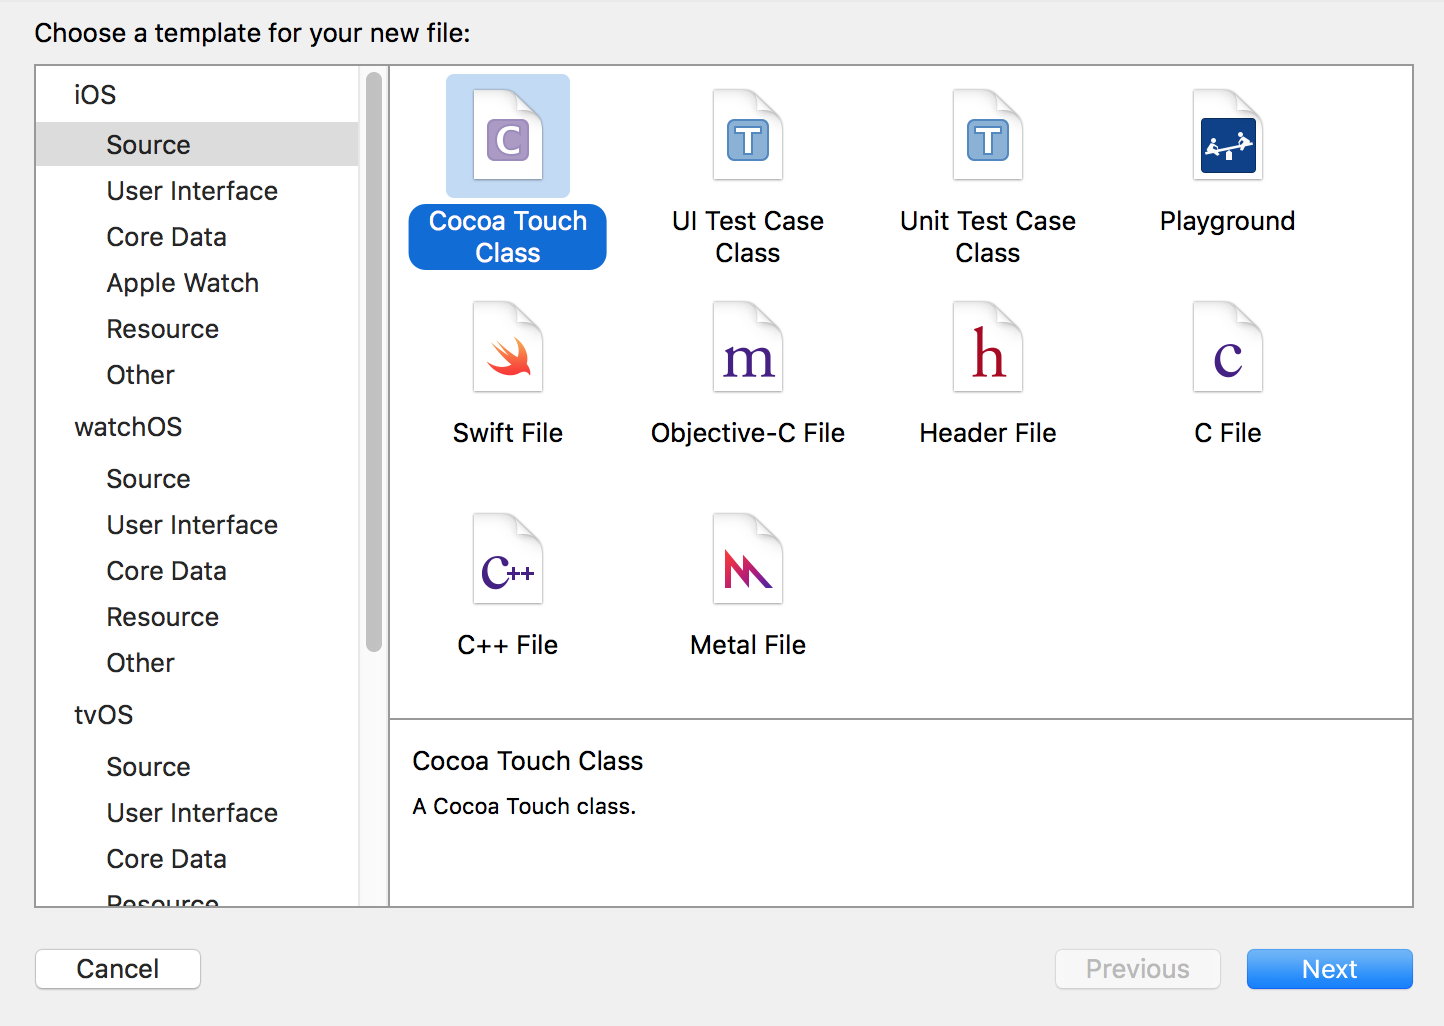
UIViewを継承したCustomView.swiftを作ります。
次はCustomView.xibです。
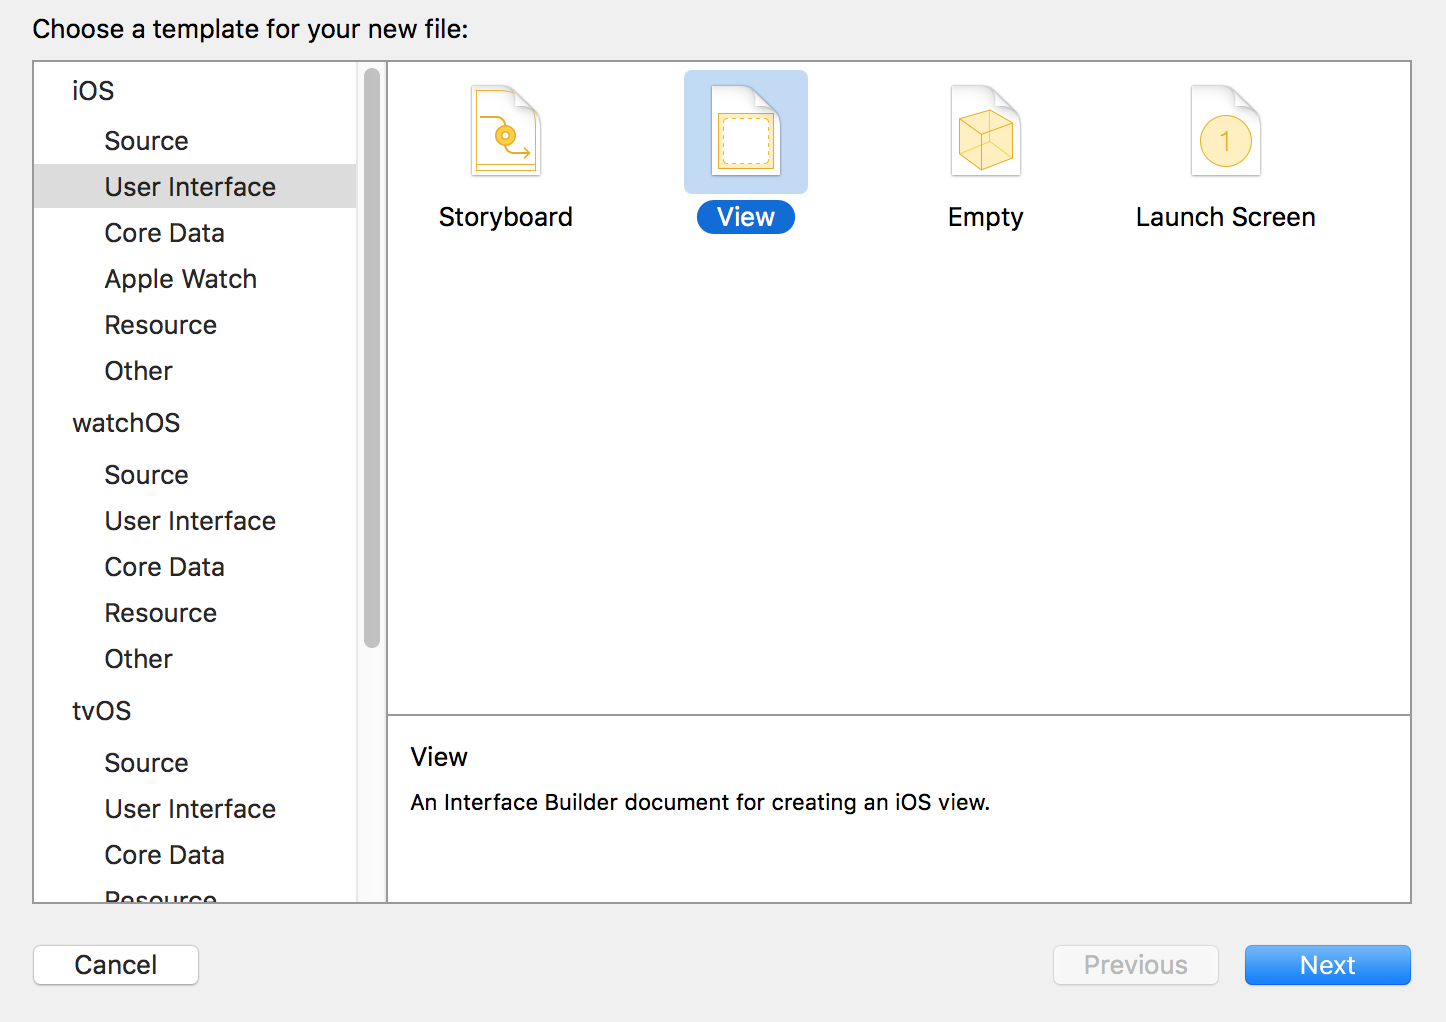
User InterfaceからViewを選択し、
名前をCustomView.xibで作ります。
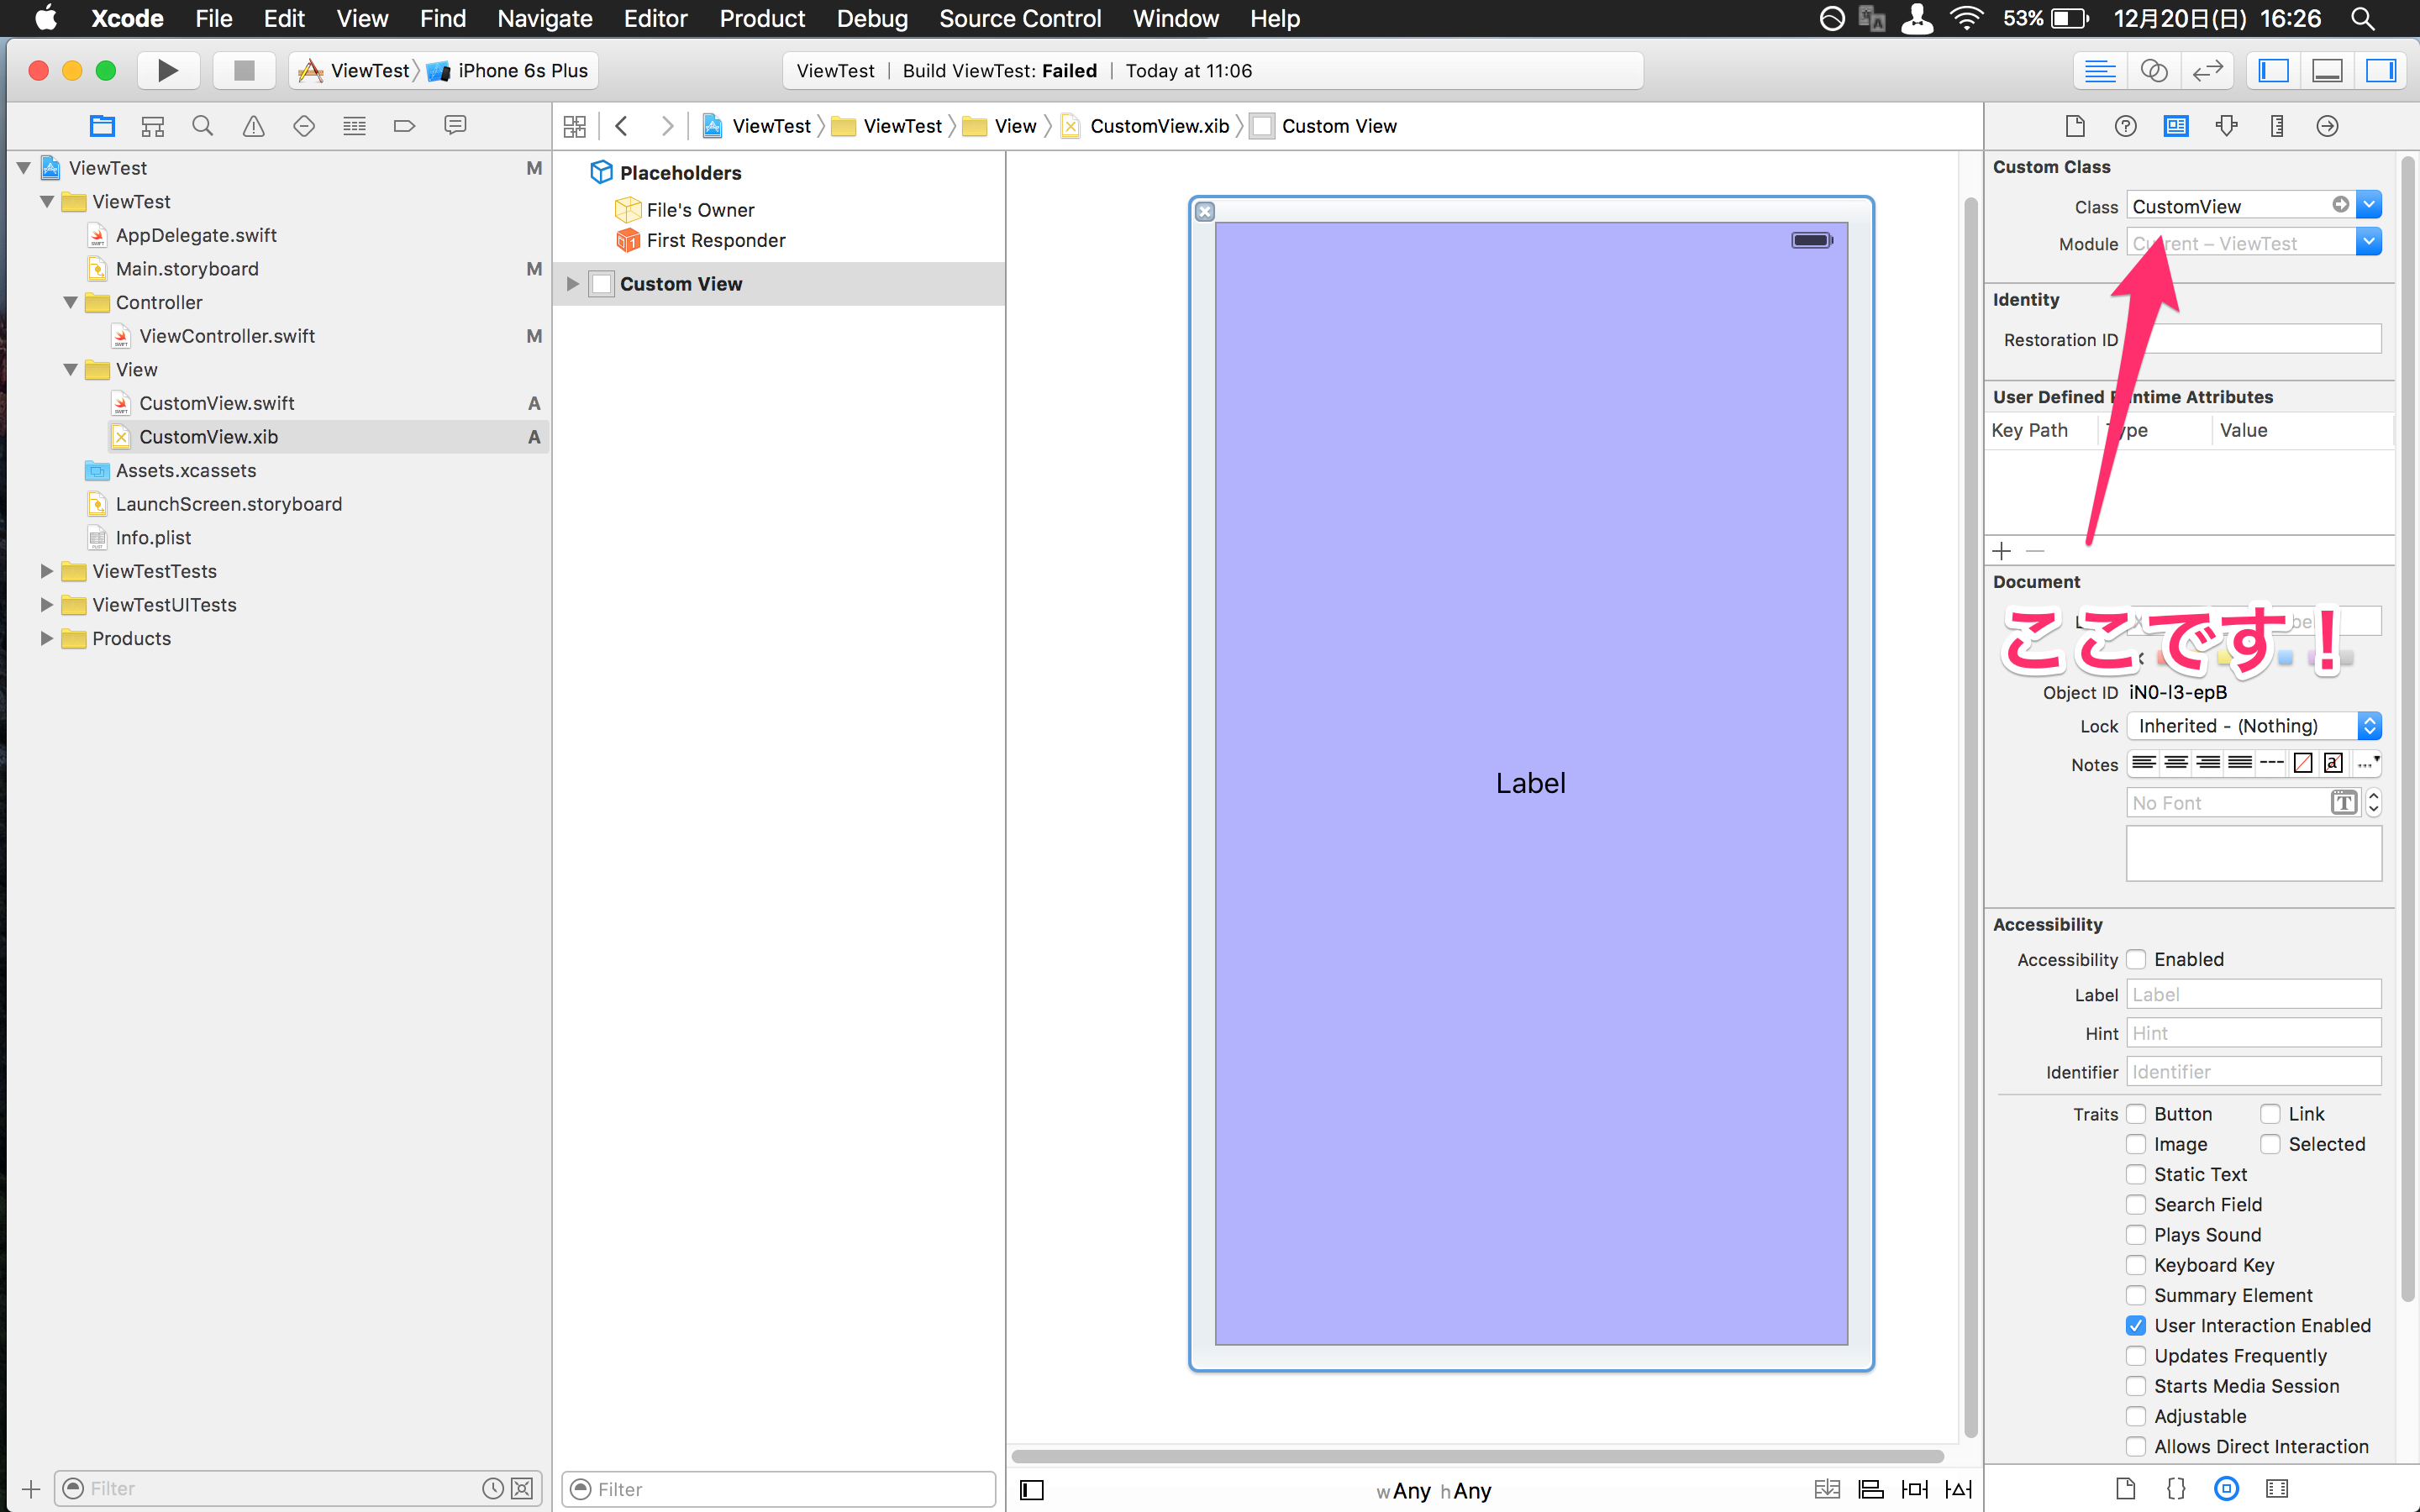
CustomView.xibを選択してください。
インスペクターのCustom ClassにCustomViewを指定します。
そしてUILabel をViewの上に乗せます。
Viewの色もわかりやすく変えておきましょう!
CustomView.swiftを選択してください。
先ほどのUILabelをアウトレット接続しておきます。
さらにこのファイルに対応するxibファイルはどれなのかをコードで指定します。
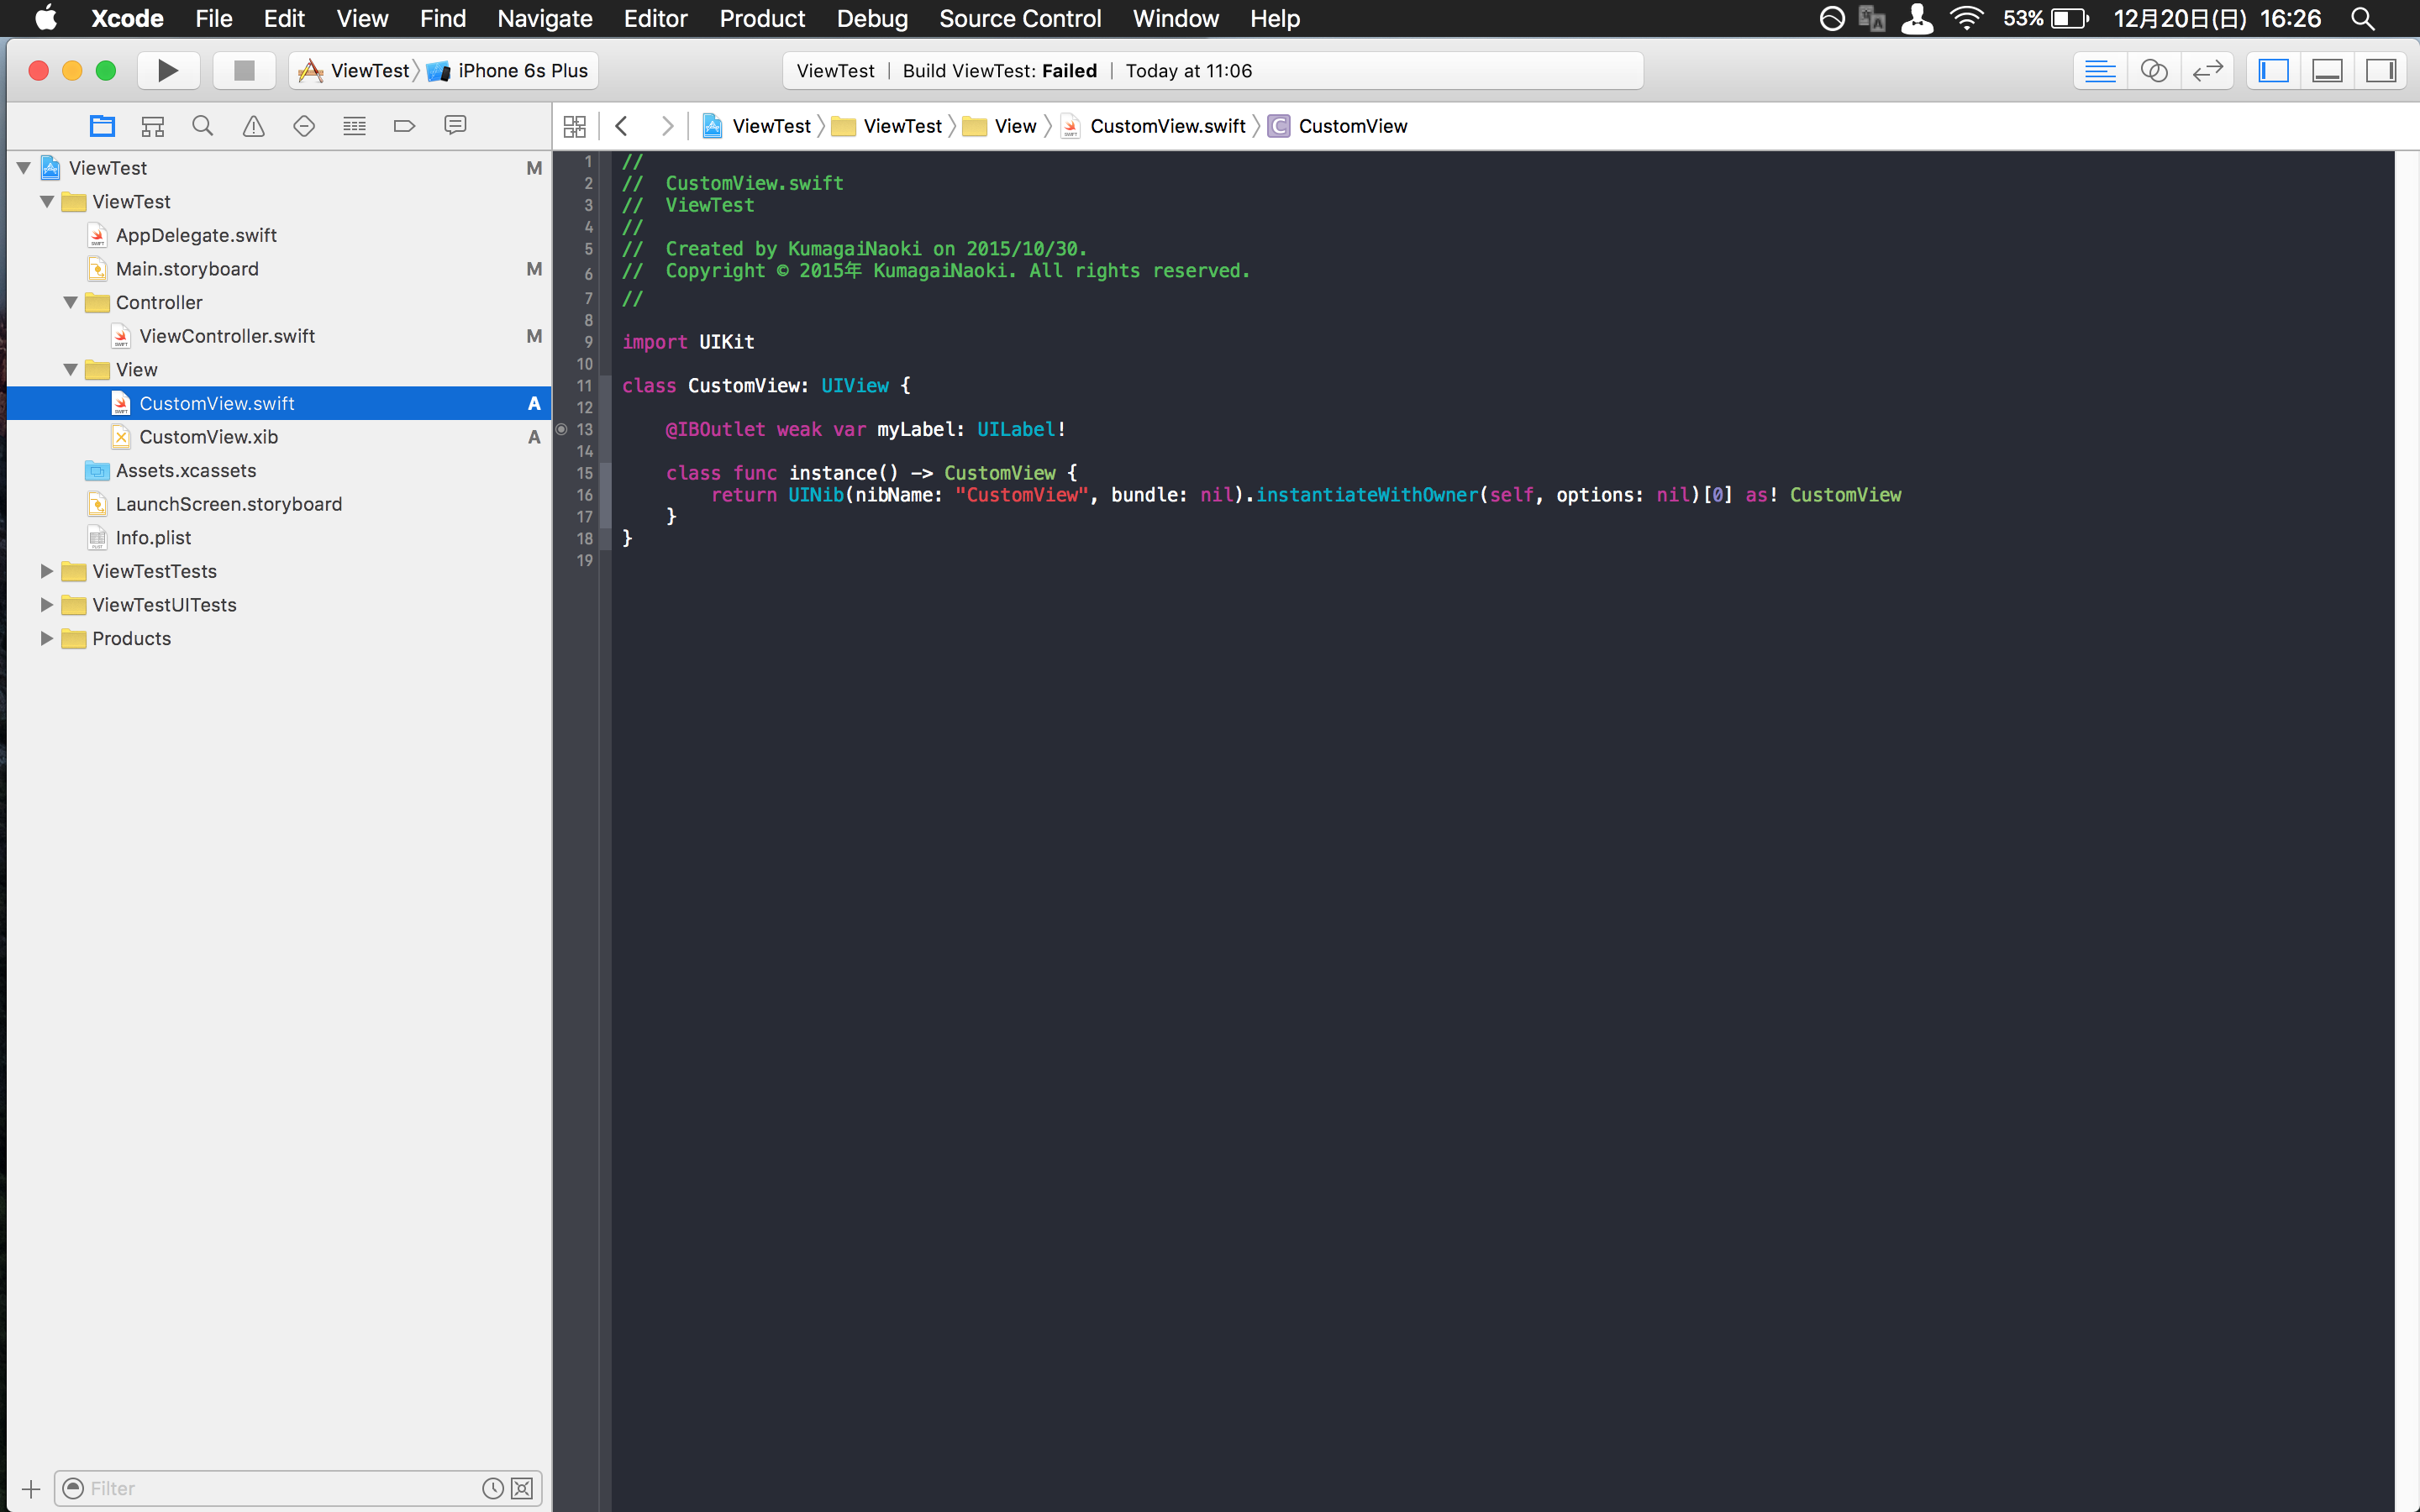
コードはこちら
class func instance() -> CustomView {
        return UINib(nibName: "CustomView", bundle: nil).instantiateWithOwner(self, options: nil)[0] as! CustomView
    }
そして最後にViewControllerのviewDidAppearメソッドにコードを書いていきます。
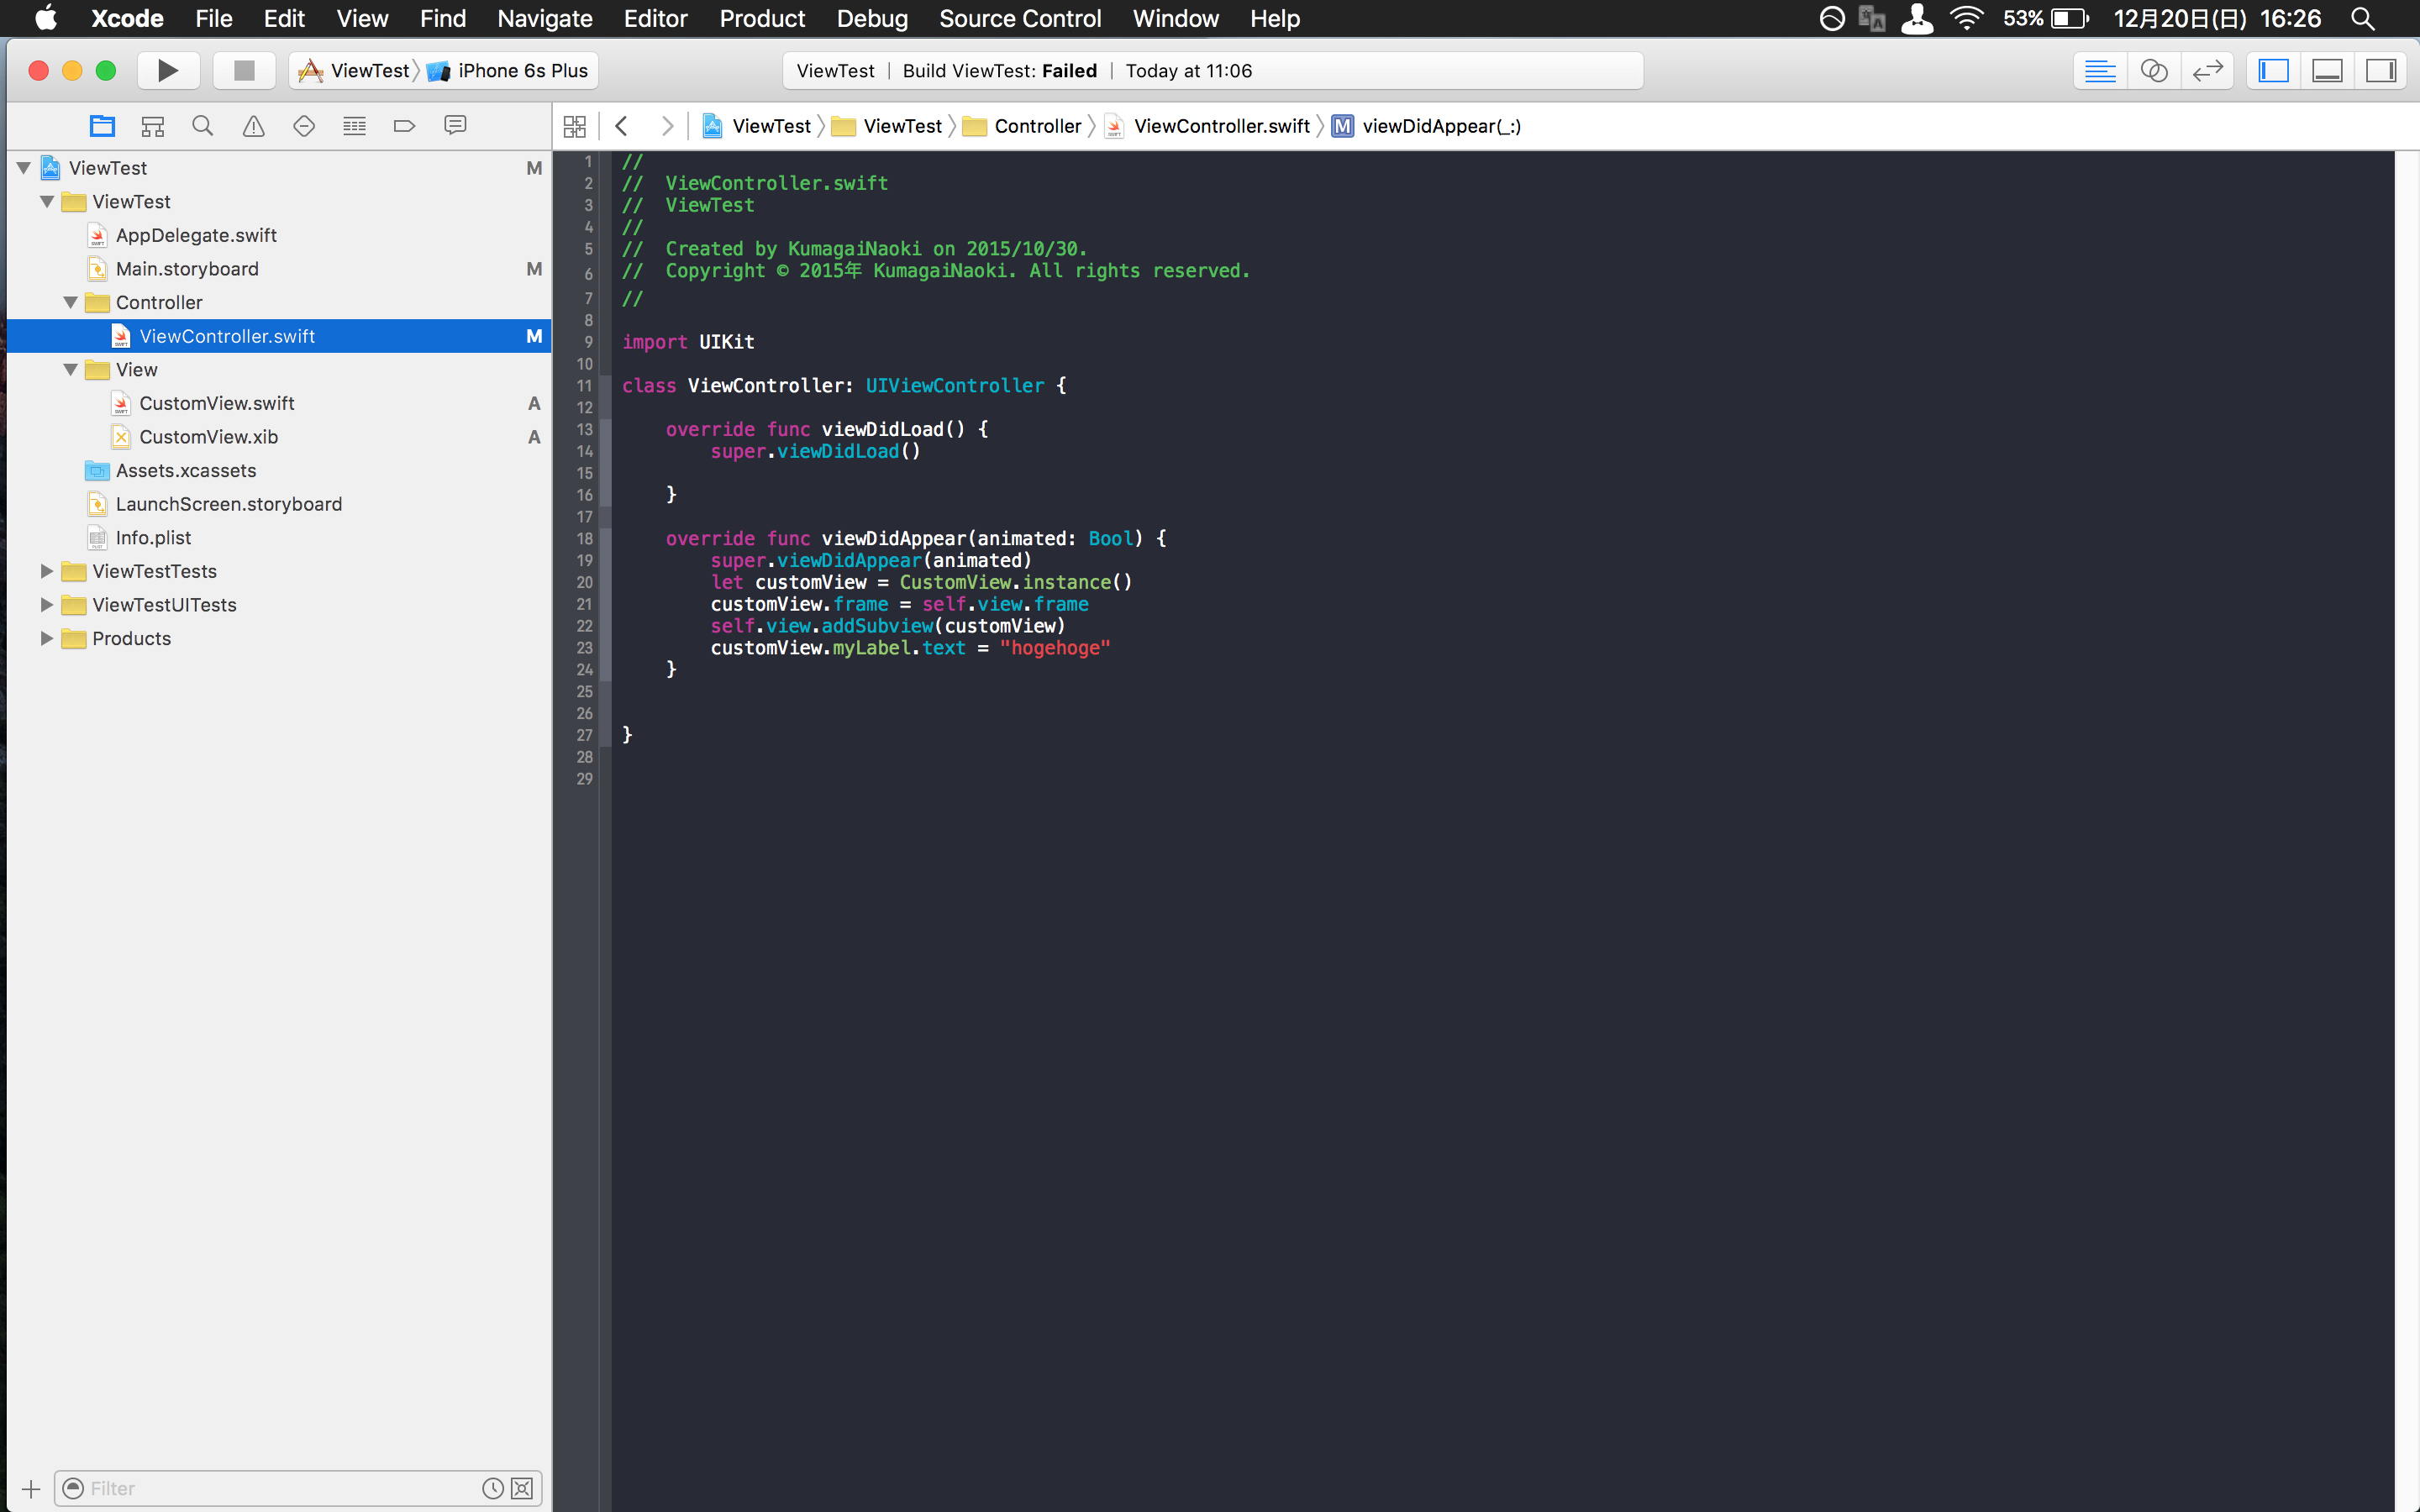
コードはこちら
override func viewDidAppear(animated: Bool) {
        super.viewDidAppear(animated)
        let customView = CustomView.instance()
        customView.frame = self.view.frame
        self.view.addSubview(customView)
        customView.myLabel.text = "hogehoge"
    }
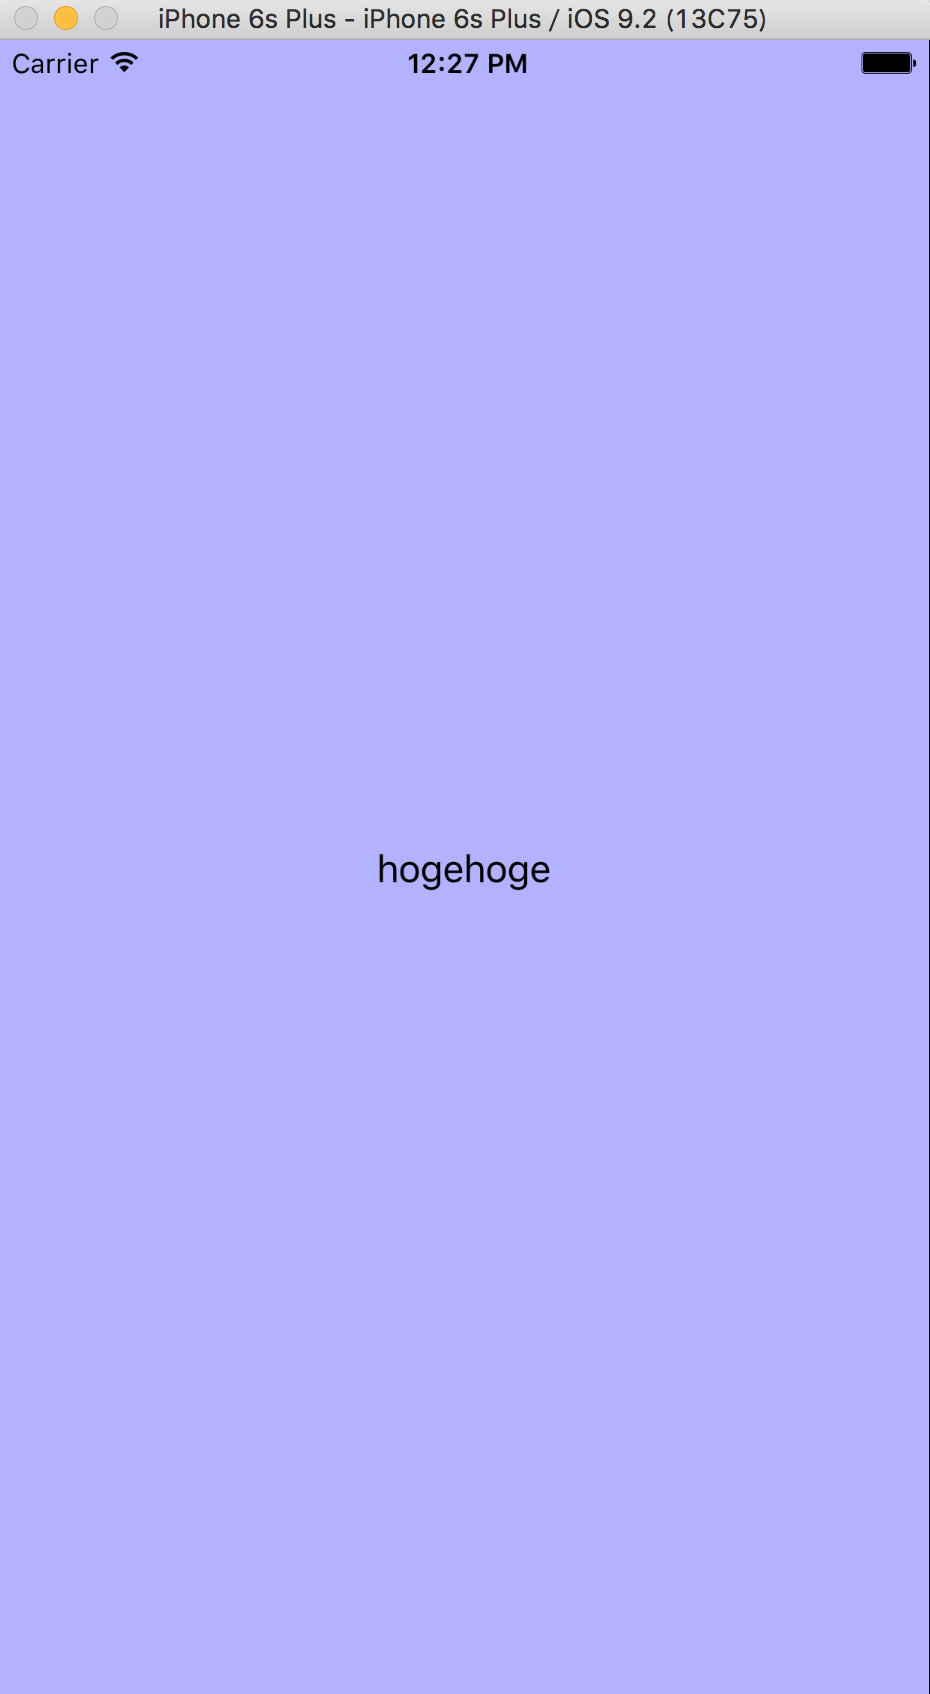
hogehogeでましたでしょうか??
こうすることでストーリーボードはスッキリしました!
今は難しい処理をしているわけではないですが、
データベースからデータを取ってきたり
データベースに保存したりするときに
MVCでいうモデルという概念も活用し、
処理の部分の切り分けもするとViewControllerがスッキリすると思います。
モデルにしておくと使いまわせるという利点もあります!
僕も全然MVCについてはまだまだ疑問なこともたくさんあるし、
結構難しいので一歩一歩進んで行きましょう!
