ReactもVR向けのライブラリを提供しているとのことで、早速さわってみました。
参照:https://facebook.github.io/react-360/docs/setup.html
環境:Mac
インストールとセットアップ
npm install -g react-360-cli
react-360 init Hello360
cd Hello360
npm start
コンソール上では、各種JSファイルのバンドルがされているようです。
Looking for JS files in
   /Users/.../Hello360

React packager ready.

Loading dependency graph, done.
Bundling `client.js`  [development, non-minified]  100.0% (136/136), done.
Bundling `index.js`  [development, non-minified]  ░░░░░░░░░░░░░░░░  0.0% (0/1)::1 - - [22/Sep/2018:19:22:22 +0000] "GET /favicon.ico HTTP/1.1" 404 24 "http://localhost:8081/index.html" "Mozilla/5.0 (Macintosh; Intel Mac OS X 10_13_1) AppleWebKit/537.36 (KHTML, like Gecko) Chrome/68.0.3440.106 Safari/537.36"
Bundling `index.js`  [development, non-minified]  100.0% (515/515), done.
デモ
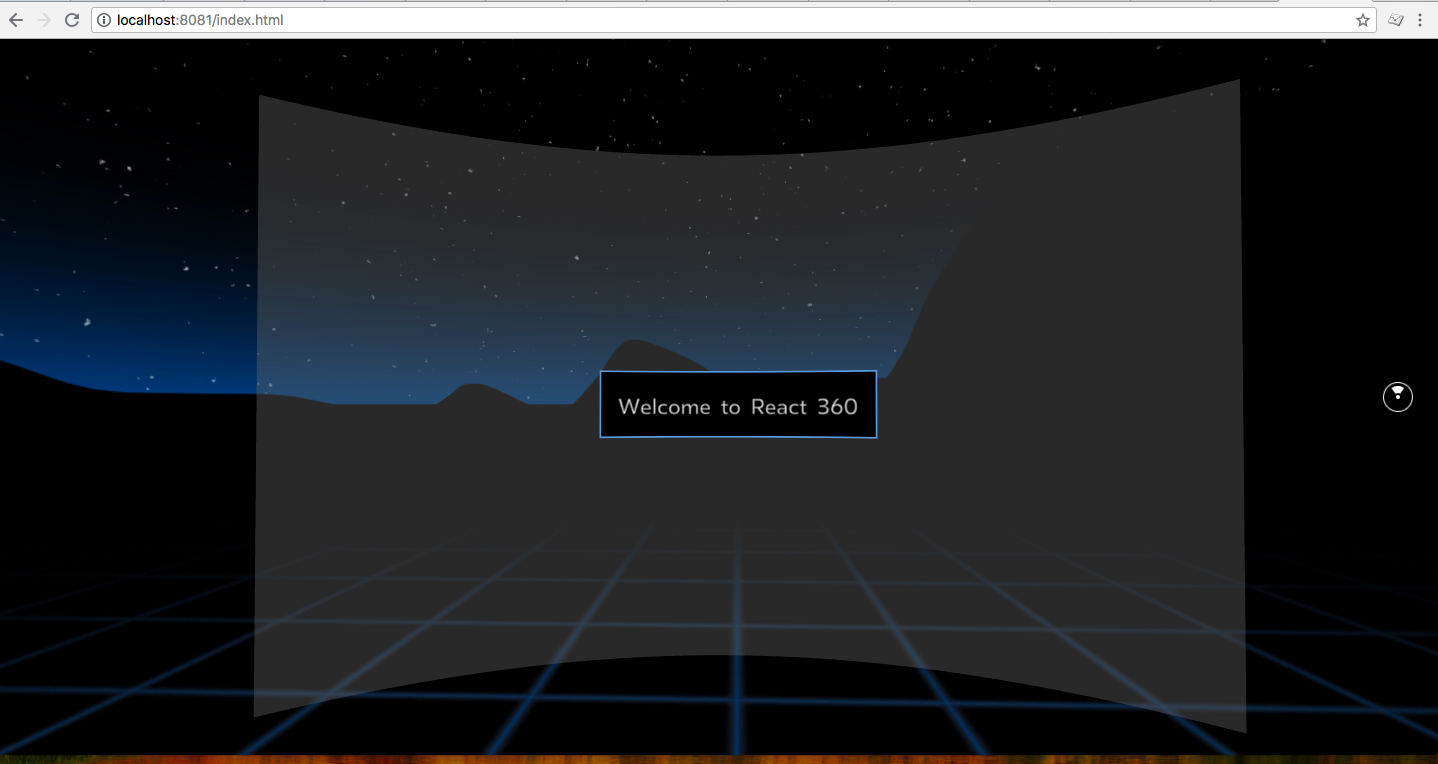
待つこと数分。。。こんな画面が出てきました
画像
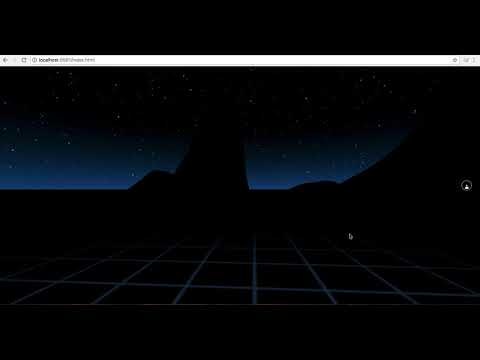
動画 http://www.youtube.com/watch?v=d_83Yn_xYxg
コード解説
関連するファイルは下記です
$ pwd
/Users/.../Hello360

$ tree -I 'node_modules'
.
├── __tests__
│   └── index-test.js
├── client.js
├── index.html
├── index.js
├── package-lock.json
├── package.json
├── rn-cli.config.js
└── static_assets
    └── 360_world.jpg

2 directories, 8 files
その中で、client.js, index.js, index.html 今回のデモに関連しそうなので深掘りします。
index.html
index.html はブラウザのアクセスポイントです。
index.html
    <!-- Attachment point for your app -->
    <div id="container"></div>
    <script src="./client.bundle?platform=vr"></script>
    <script>
      // Initialize the React 360 application
      React360.init(
        'index.bundle?platform=vr&dev=true',
        document.getElementById('container'),
        {
          assetRoot: 'static_assets/',
        }
      );
    </script>
client.js と index.jsは下記フォーマットで読み込まれてそうです。
client.bundle?platform=vr
index.bundle?platform=vr&dev=true
React360.initは下記のように動いています
React360.init(
  'index.bundle?platform=vr&dev=true', //  読み込む対象のバンドルされたファイル
  document.getElementById('container'), // 対象のDOM
  {assetRoot: 'static_assets/'}, // オプション
);
client.js
client.js にはReact360.init関数の定義がされています
client.js
// This file contains the boilerplate to execute your React app.
// If you want to modify your application's content, start in "index.js"

import {ReactInstance} from 'react-360-web';

function init(bundle, parent, options = {}) {
  const r360 = new ReactInstance(bundle, parent, {
    // Add custom options here
    fullScreen: true,
    ...options,
  });

  // Render your app content to the default cylinder surface
  r360.renderToSurface(
    r360.createRoot('Hello360', { /* initial props */ }),
    r360.getDefaultSurface()
  );

  // Load the initial environment
  r360.compositor.setBackground(r360.getAssetURL('360_world.jpg'));
}

window.React360 = {init};
index.js
index.js には”Welcome to React 360”のコンテンツが定義されています。
index.js
import React from 'react';
import {
  AppRegistry,
  StyleSheet,
  Text,
  View,
} from 'react-360';

export default class Hello360 extends React.Component {
  render() {
    return (
      <View style={styles.panel}>
        <View style={styles.greetingBox}>
          <Text style={styles.greeting}>
            Welcome to React 360
          </Text>
        </View>
      </View>
    );
  }
};

const styles = StyleSheet.create({
  panel: {
    // Fill the entire surface
    width: 1000,
    height: 600,
    backgroundColor: 'rgba(255, 255, 255, 0.4)',
    justifyContent: 'center',
    alignItems: 'center',
  },
  greetingBox: {
    padding: 20,
    backgroundColor: '#000000',
    borderColor: '#639dda',
    borderWidth: 2,
  },
  greeting: {
    fontSize: 30,
  },
});

AppRegistry.registerComponent('Hello360', () => Hello360);
Hello360クラスにてReact VRのView, Text を使ってコンテンツを定義して、
AppRegistry.registerComponent関数にて実際にHello360を実際にブラウザ上にマウントしています。
client.jsとindex.jsにて'Hello360'が出てきますが、これは同一のものです。
まとめ
今回はReactVRにてHelloWorld的な導入のものを動かしてみました。
ブラウザ上で、VRのような体験が気軽にできたので驚いています。