はじめに
筆者の環境ではユーザー名はpi、すべての作業はホームディレクトリ(/home/pi/)で実行しています
Unicorn HAT HDの取り付け
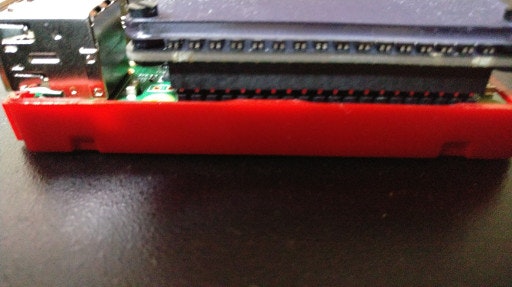
初歩的な事柄ゆえか、言及している記事があまり見つからなかったので、あえて書きますが

HATとGPIOピンはここまできっちり差し込みましょう
ライブラリのインストール
公式Githubリポジトリ( https://github.com/pimoroni/unicorn-hat-hd )より、
用意されたインストールスクリプトを実行します
$ curl https://get.pimoroni.com/unicornhathd | bash
手動インストールしたい場合は、公式GithubリポジトリのREADMEを参照してください
サンプルコードをコピー
https://github.com/pimoroni/unicorn-hat-hd/blob/master/examples/show-png.py より
サンプルコードは、ホームディレクトリ以下Pimoroni/unicornhathd/examples/にあります
$ cp Pimoroni/unicornhathd/examples/show-png.py show-png.py
show-png.pyを適当な場所にコピーします
lofi.pngを作成
表示したい16x16のpng画像を探し出しましょう
今回はこちらの方のドット絵を利用させていただきます
画像のurlを指定してダウンロード
任意のPATH、任意のファイル名で保存したい場合は、「-O」オプションを用いる
wget -O 出力先PATH http://ファイルのURL
$ wget -O lofi.png https://cdn-ak.f.st-hatena.com/images/fotolife/E/Erl/20090712/20090712185229.png
実行
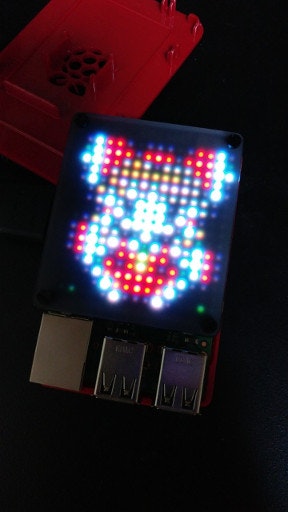
$ python show-png.py
