前提
- 開発PCはMacです
- AndroidStudio インストール済であること
Tensorflow をクローンする
任意の場所にクローンする
git clone https://github.com/tensorflow/tensorflow
ビルド前に設定を変更する
tensorflow/examples/android/build.gradle の編集
build.gradle
buildscript {
    repositories {
        google()
        jcenter()
    }
build.gradle
// set to 'bazel', 'cmake', 'makefile', 'none'
def nativeBuildSystem = 'none'
使用カメラの設定
エミュレータで使用するカメラをPCカメラにする必要があるので、設定をする
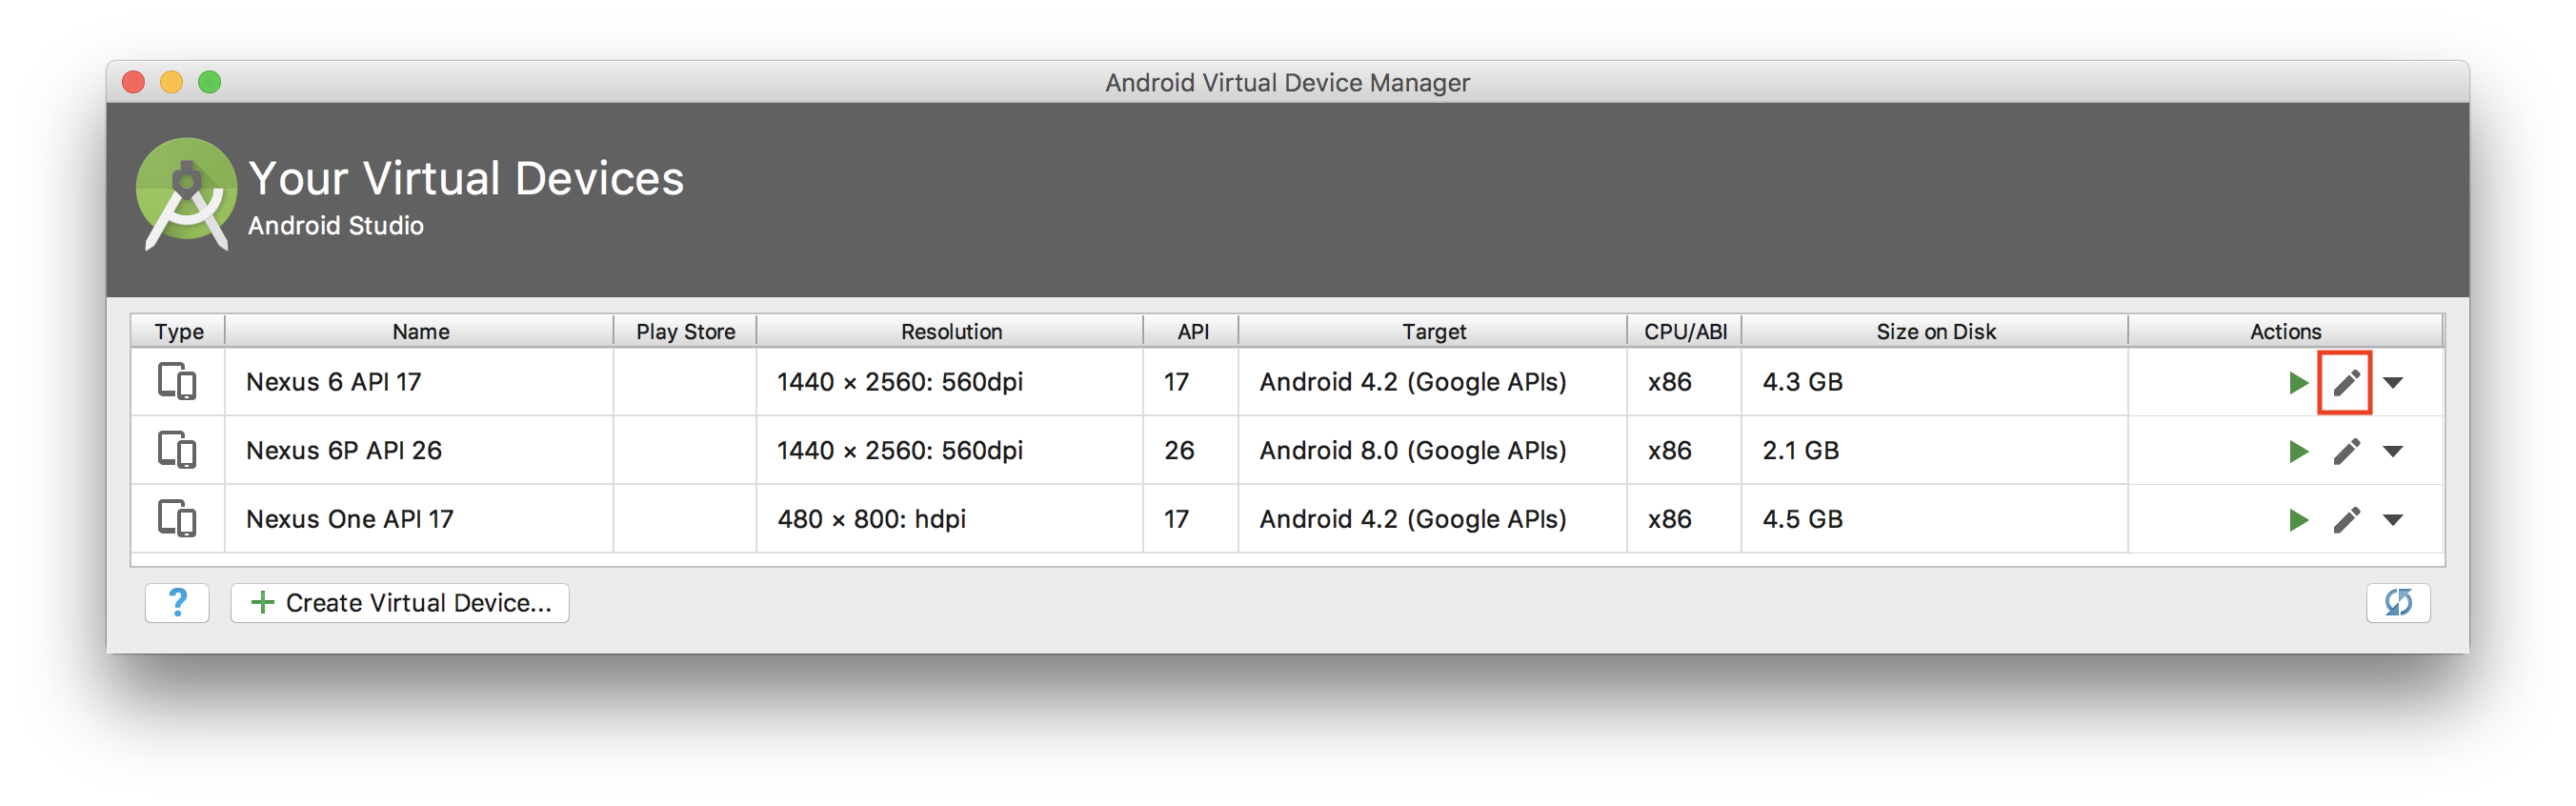
AndroidStudio のAVDマネージャーを開く

編集ボタンを押下
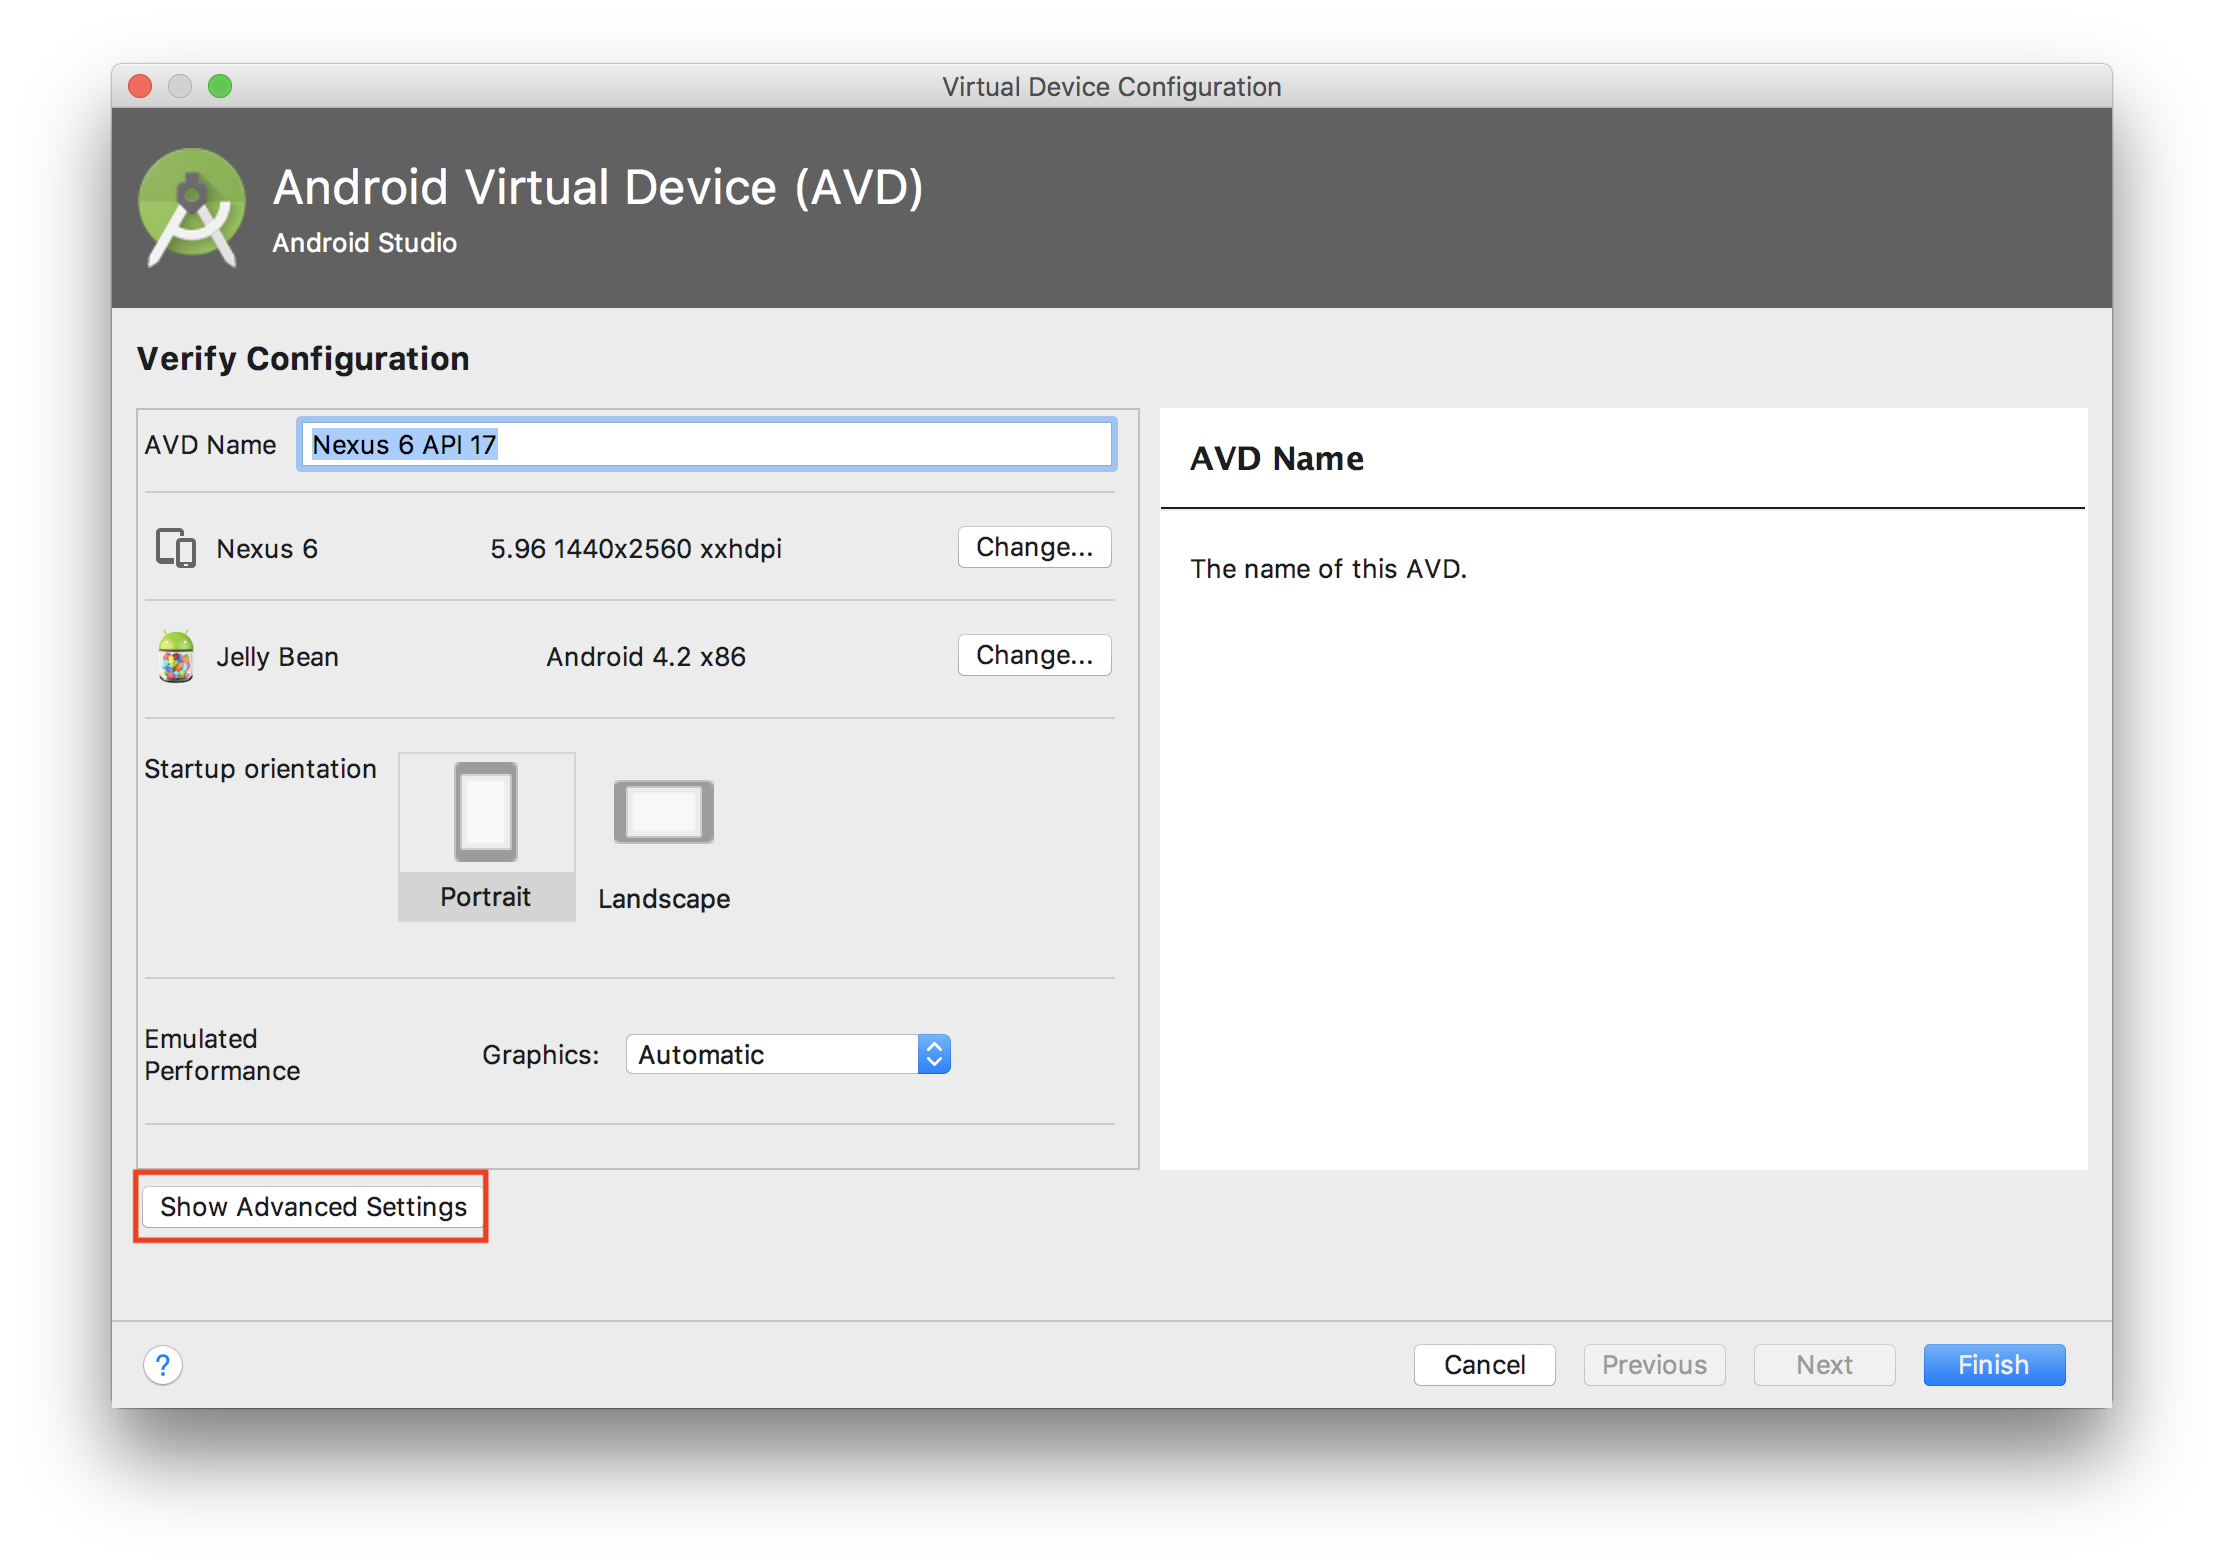
Show Advanced Settings を押下
Camera を Webcam0に変更
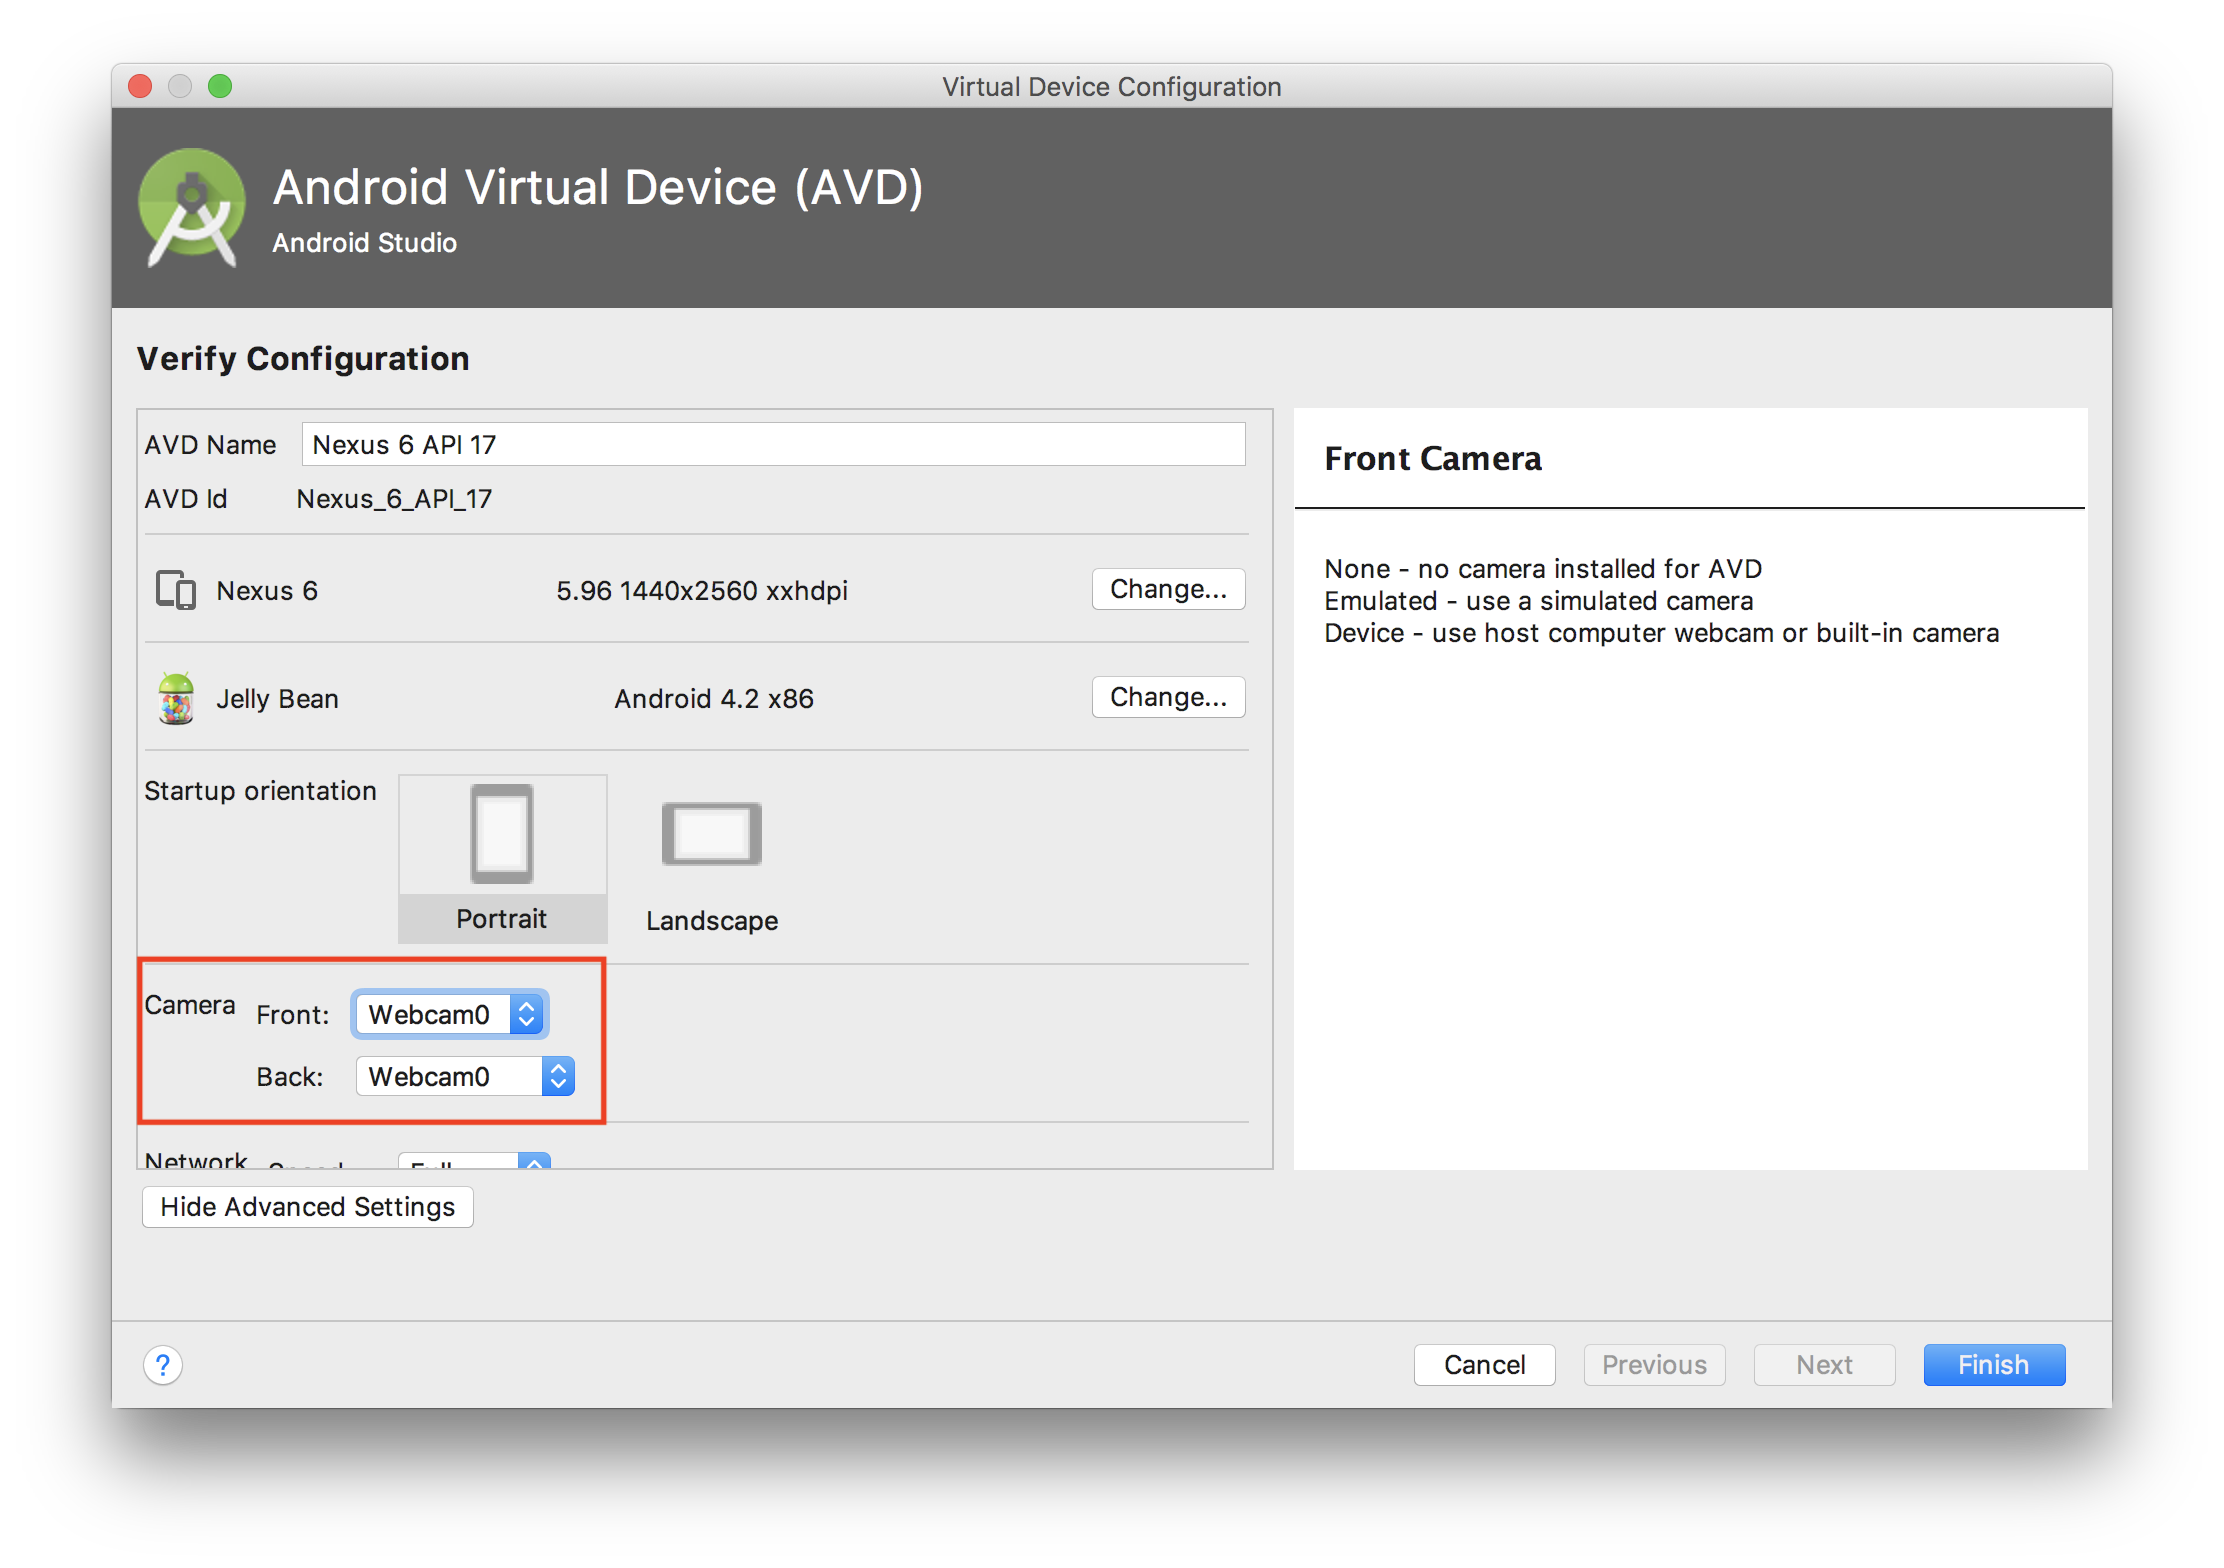
これでエミュレータのカメラがPCカメラで起動するようになります。
プロジェクトを開く
tensorflow/examples/android をAndroidStudioでオープンし、ビルドが終わるのを待ちます。
※ツールのバージョンが古いすぎる等何度か怒られましたが、基本的には指示に従ってアップデートをするだけでビルド成功するようになりました。
エミュレータを起動→エミュレータ内部のカメラを起動します。
しばらくすると、青い部分が出現して、画面に映っているものの名前を表示してくれます。
財布を写してみました。
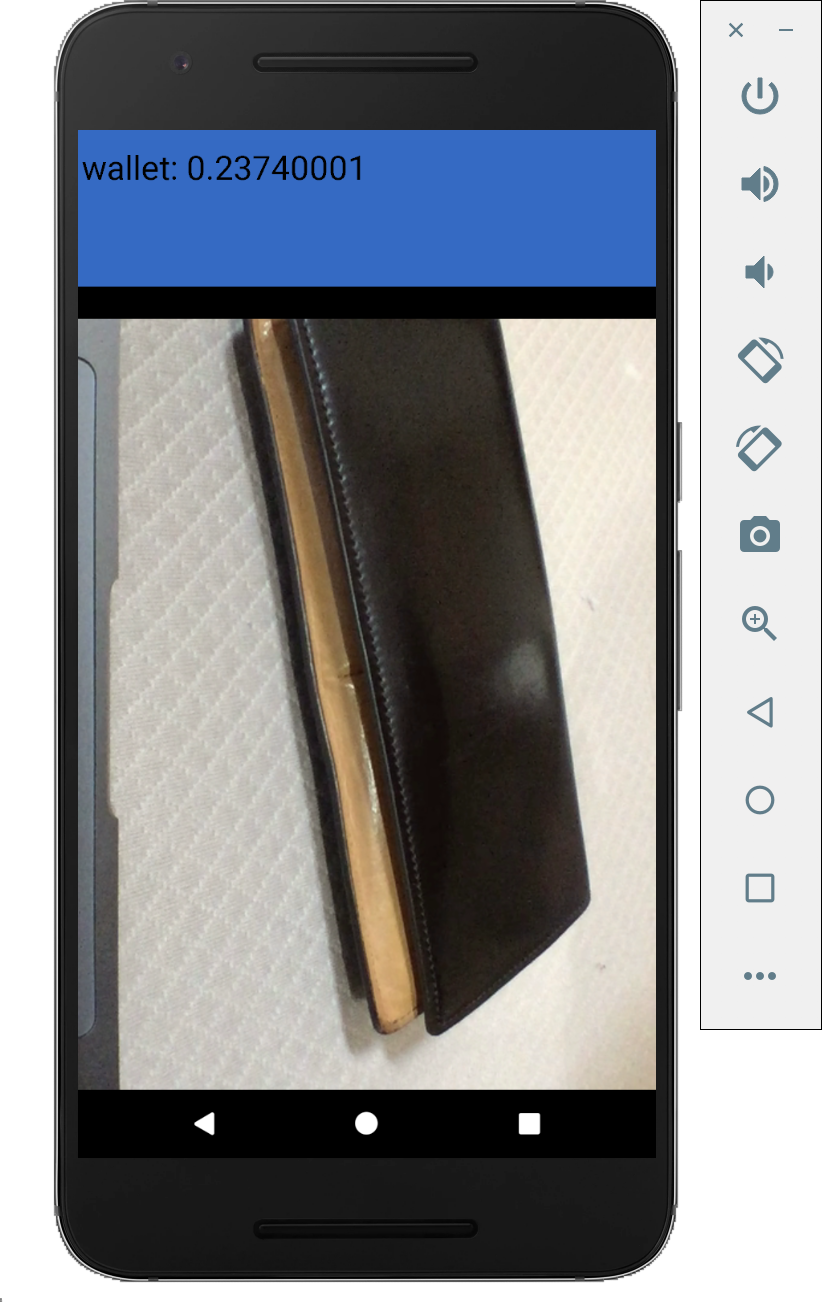
wallet: 0.23740001と表示されています。
数字はリアルタイムでどんどん変化していくので、色々映してみると楽しいです!
今回はとりあえずデモの起動までを行いました。