Angular+Firebase+Algoliaでサイト内全文検索機能搭載方法
全文検索。どうやらFirestoreならAlgoliaというバックエンドサービスを利用するのがデフォのようだ。グーグルの公式ドキュメントにも「Solution: Algolia」と。ドキュメントが少なく有意なサイトは有料だったりとかなり苦労したので備忘録。
※ FirestoreではSQLの'LIKE'句のようなものがないのよ~
Prerequisites
- 環境
Angular CLI: 7.1.4
Node: 10.15.3
OS: win32 x64
Angular: 7.1.4
-
コードはTypescript
-
すでにFirestoreを利用した動的サイトがある(オンラインフォーラムのようなもの)
導入の仕方
Algolia設定
Algoliaにアカウントを登録する。https://www.algolia.com
Indexを作成する。
ダッシュボードの左メニューから「indeices」を選択 → 「Create Index」→ Index名は任意
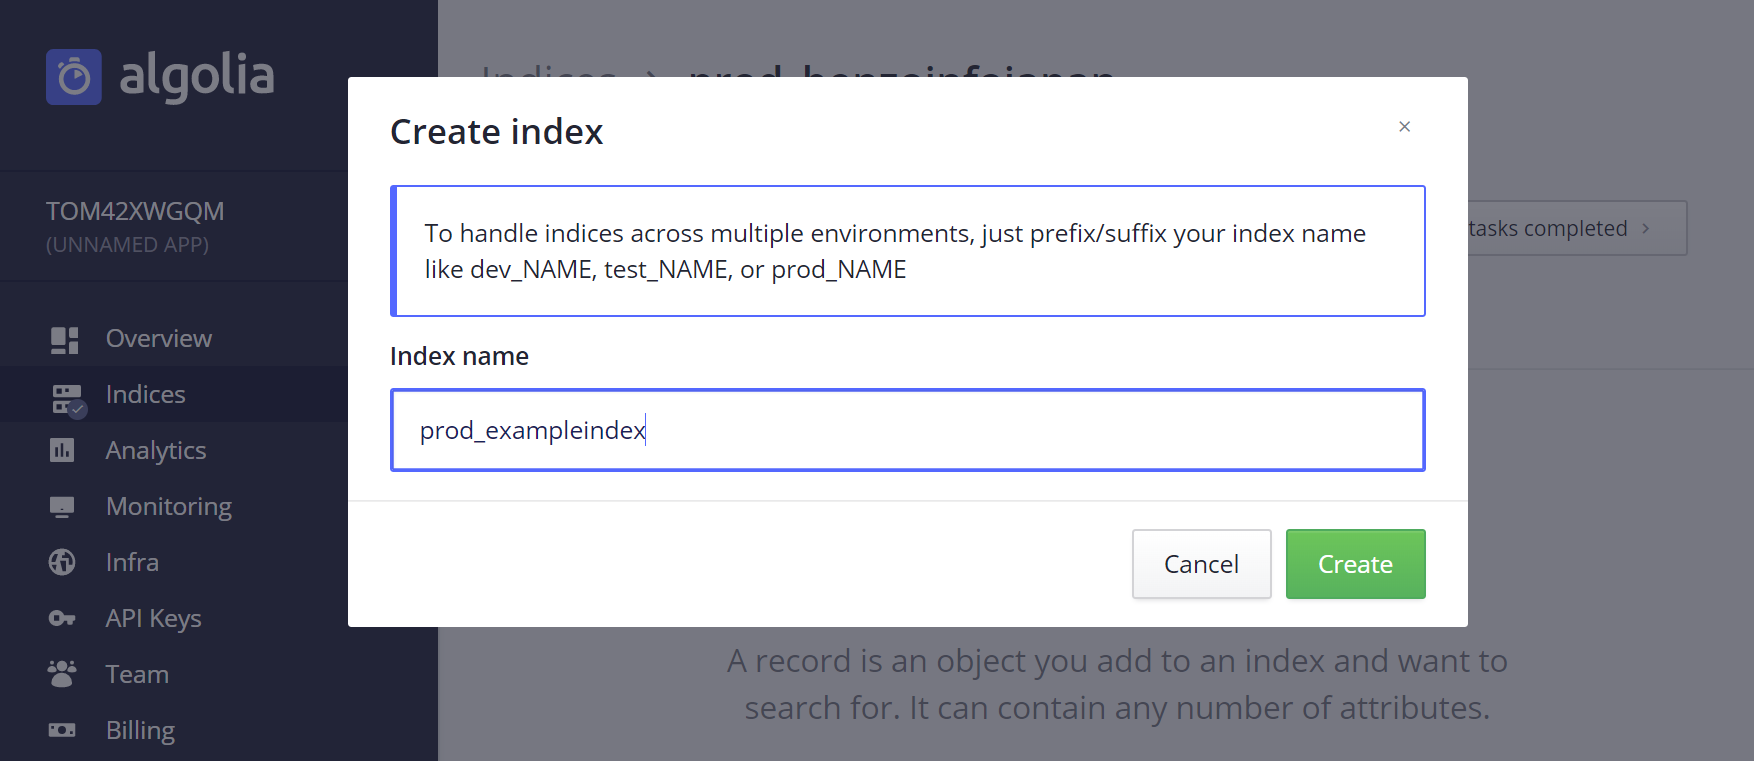
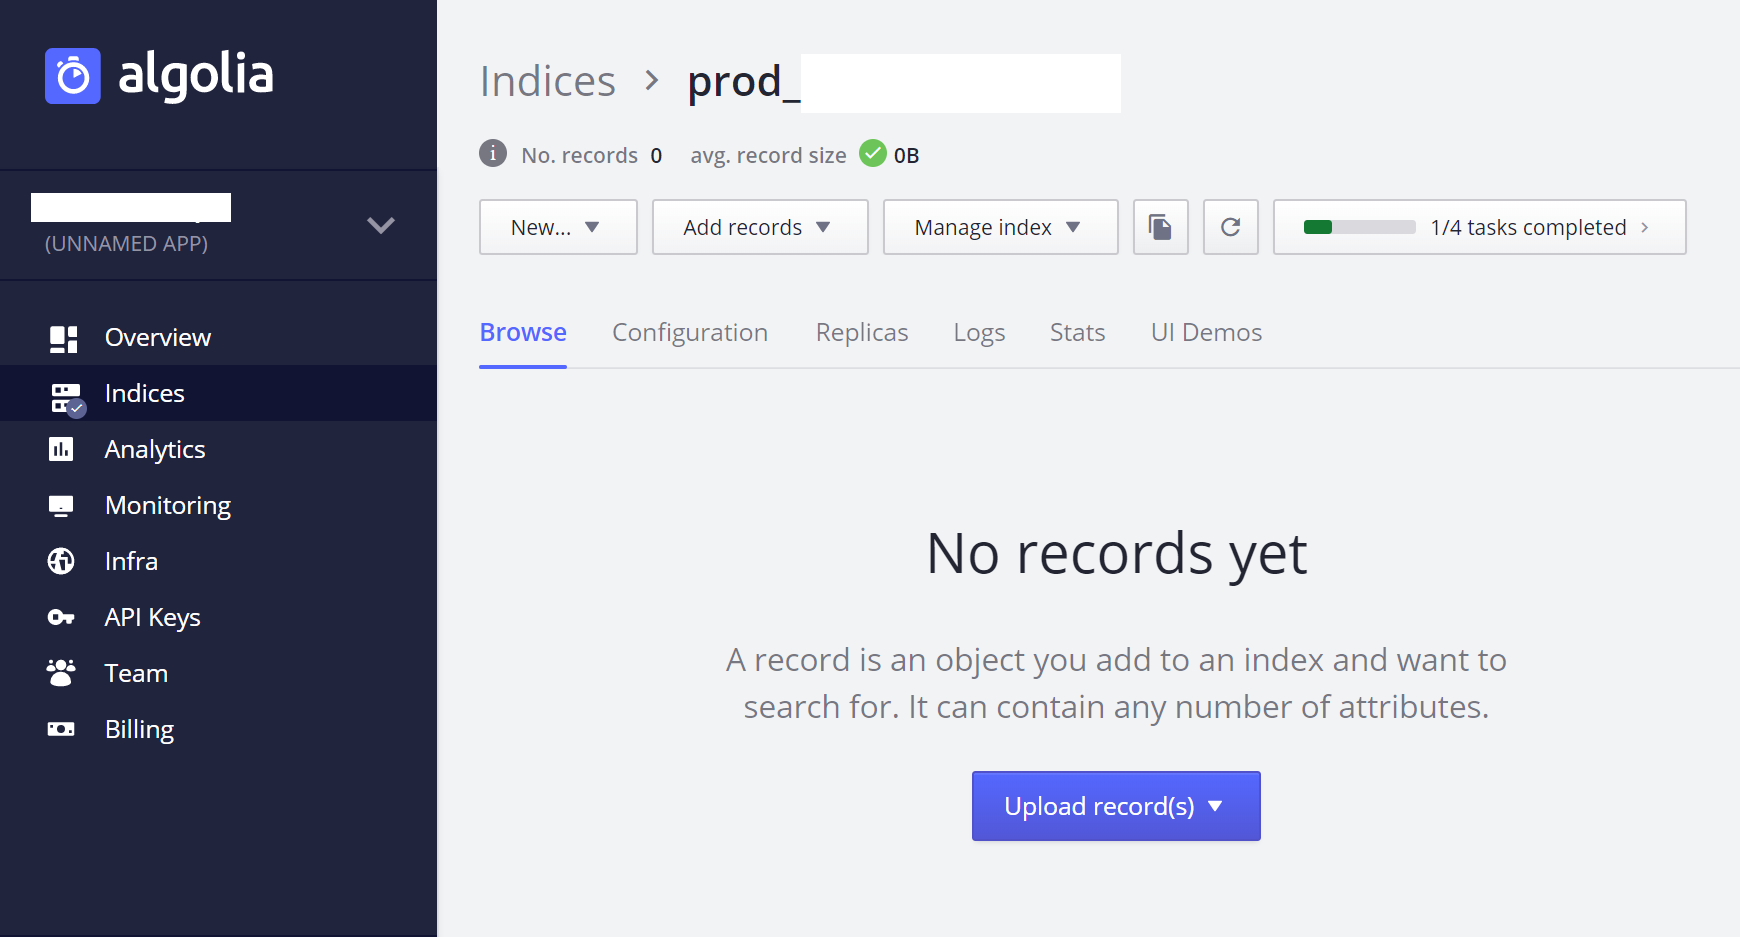
インデックスが作成された。まだカラのままでよい
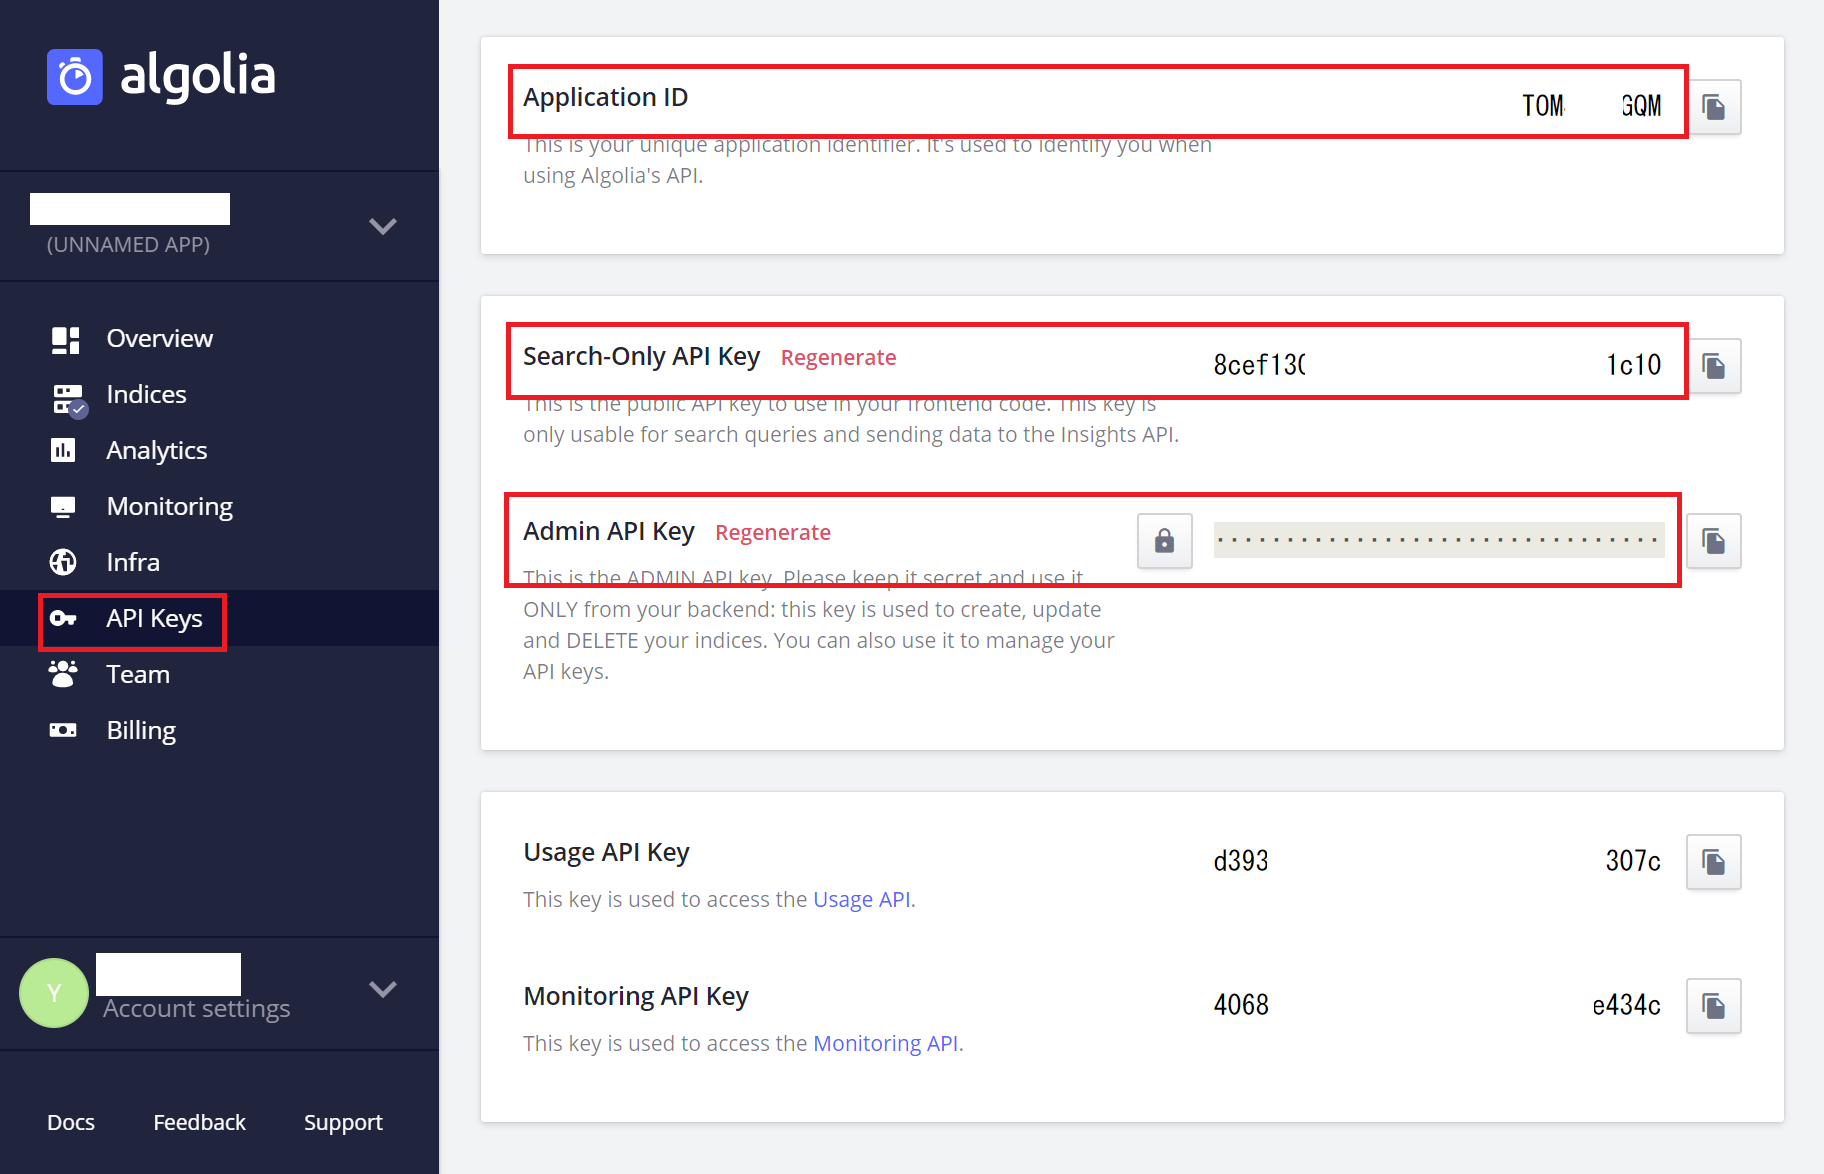
AlgoliaのAPIキーを取得
ダッシュボードの左メニューの「API Keys」にすべて表示されている。使用するのはいかのとおり。
- Application ID
- Admin API Key
- Search-Only API Key
angular-instantsearchをインストール・設定方法
インストール方法
以下のコマンドでパッケージをインストールして、
C:\projectroot\npm install angular-instantsearch --save
app.module.tsファイルに以下を追記
import { NgAisModule } from 'angular-instantsearch';

@NgModule({
  declarations: [...],
  imports: [NgAisModule.forRoot(), ...], // .forRoot()をくっつける
  bootstrap: [...]
})
angular.jsonファイルに以下を追記
{
  "styles": [
    "node_modules/angular-instantsearch/bundles/instantsearch.min.css",
    "node_modules/angular-instantsearch/bundles/instantsearch-theme-algolia.min.css"
  ]
}
polyfills.tsファイルの末尾に以下を追記
(window as any).process = {
  env: { DEBUG: undefined },
};
#### デモってみる? どんな感じに使えるのか試すことができる。 ##### 適当なテスト用コンポーネントを作成
C:\projectroot\ng g c component/search-ui
app.route.tsファイルに以下追記
import { SearchUiComponent } from './component/search-ui/search-ui.component';


export const AppRoutes: Routes = [
    ・・・
    {path: "algoliasearch", component: SearchUiComponent}
];
コードを張り付けてみる
search-ui.component.htmlに以下のコードを。
<h1>My first search app</h1>
<ais-instantsearch
  [config]="{
    apiKey: '6be0576ff61c053d5f9a3225e2a90f76',
    appId: 'latency',
    indexName: 'instant_search',
    routing: true
  }"
>
  <ais-hits></ais-hits>
</ais-instantsearch>
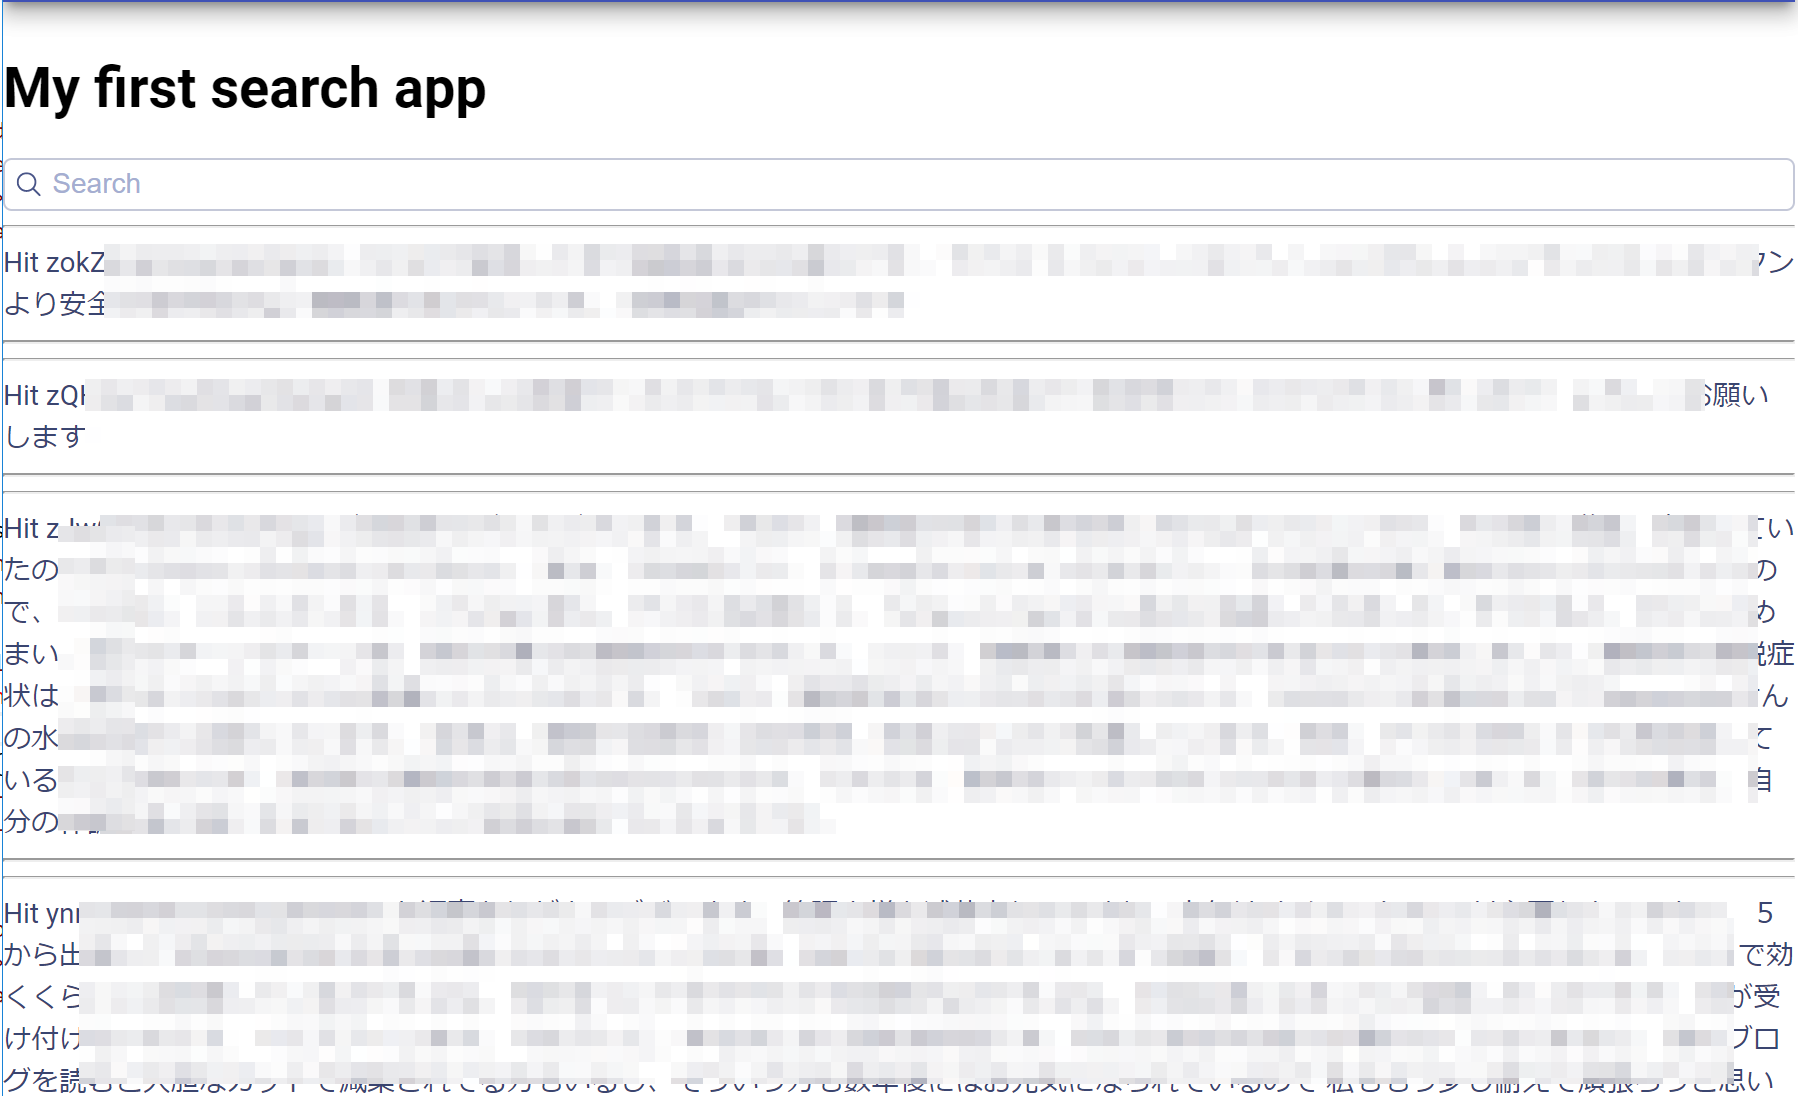
ここで使っているapikey、appId、indexNameはデモ用。そのまんま使う。ng searve -oで起動して、http://localhost:4200/algoliasearch
をブラウズしてみると画面はこのようにデータの一覧が↓
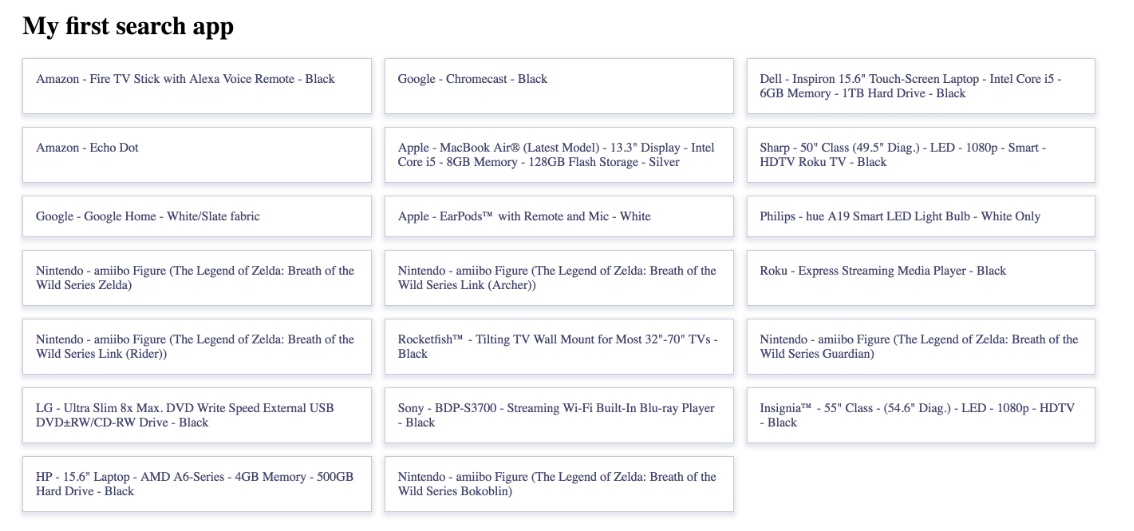
<ais-hits></ais-hits>の部分が一覧を表示している。
リザルト表示のカスタマイズ
<ais-hits></ais-hits>の部分を以下のようにする
<ais-hits>
  <ng-template let-hits="hits">
    <div *ngFor="let hit of hits">
      Hit {{hit.objectID}}:
      <ais-highlight attribute="name" [hit]="hit">
      </ais-highlight>
    </div>
  </ng-template>
</ais-hits>
サーチボックスをつくる
このタグを挿入→ <ais-search-box></ais-search-box>
コード全体
<h1>My first search app</h1>
<ais-instantsearch
  [config]="{
    apiKey: '6be0576ff61c053d5f9a3225e2a90f76',
    appId: 'latency',
    indexName: 'instant_search',
    routing: true
  }"
>
<ais-search-box></ais-search-box>
<ais-hits>
  <ng-template let-hits="hits">
    <div *ngFor="let hit of hits">
      Hit {{hit.objectID}}:
      <ais-highlight attribute="name" [hit]="hit">
      </ais-highlight>
    </div>
  </ng-template>
</ais-hits>
</ais-instantsearch>
こうなる。

search-ui.component.tsはいっさいいじっていない。
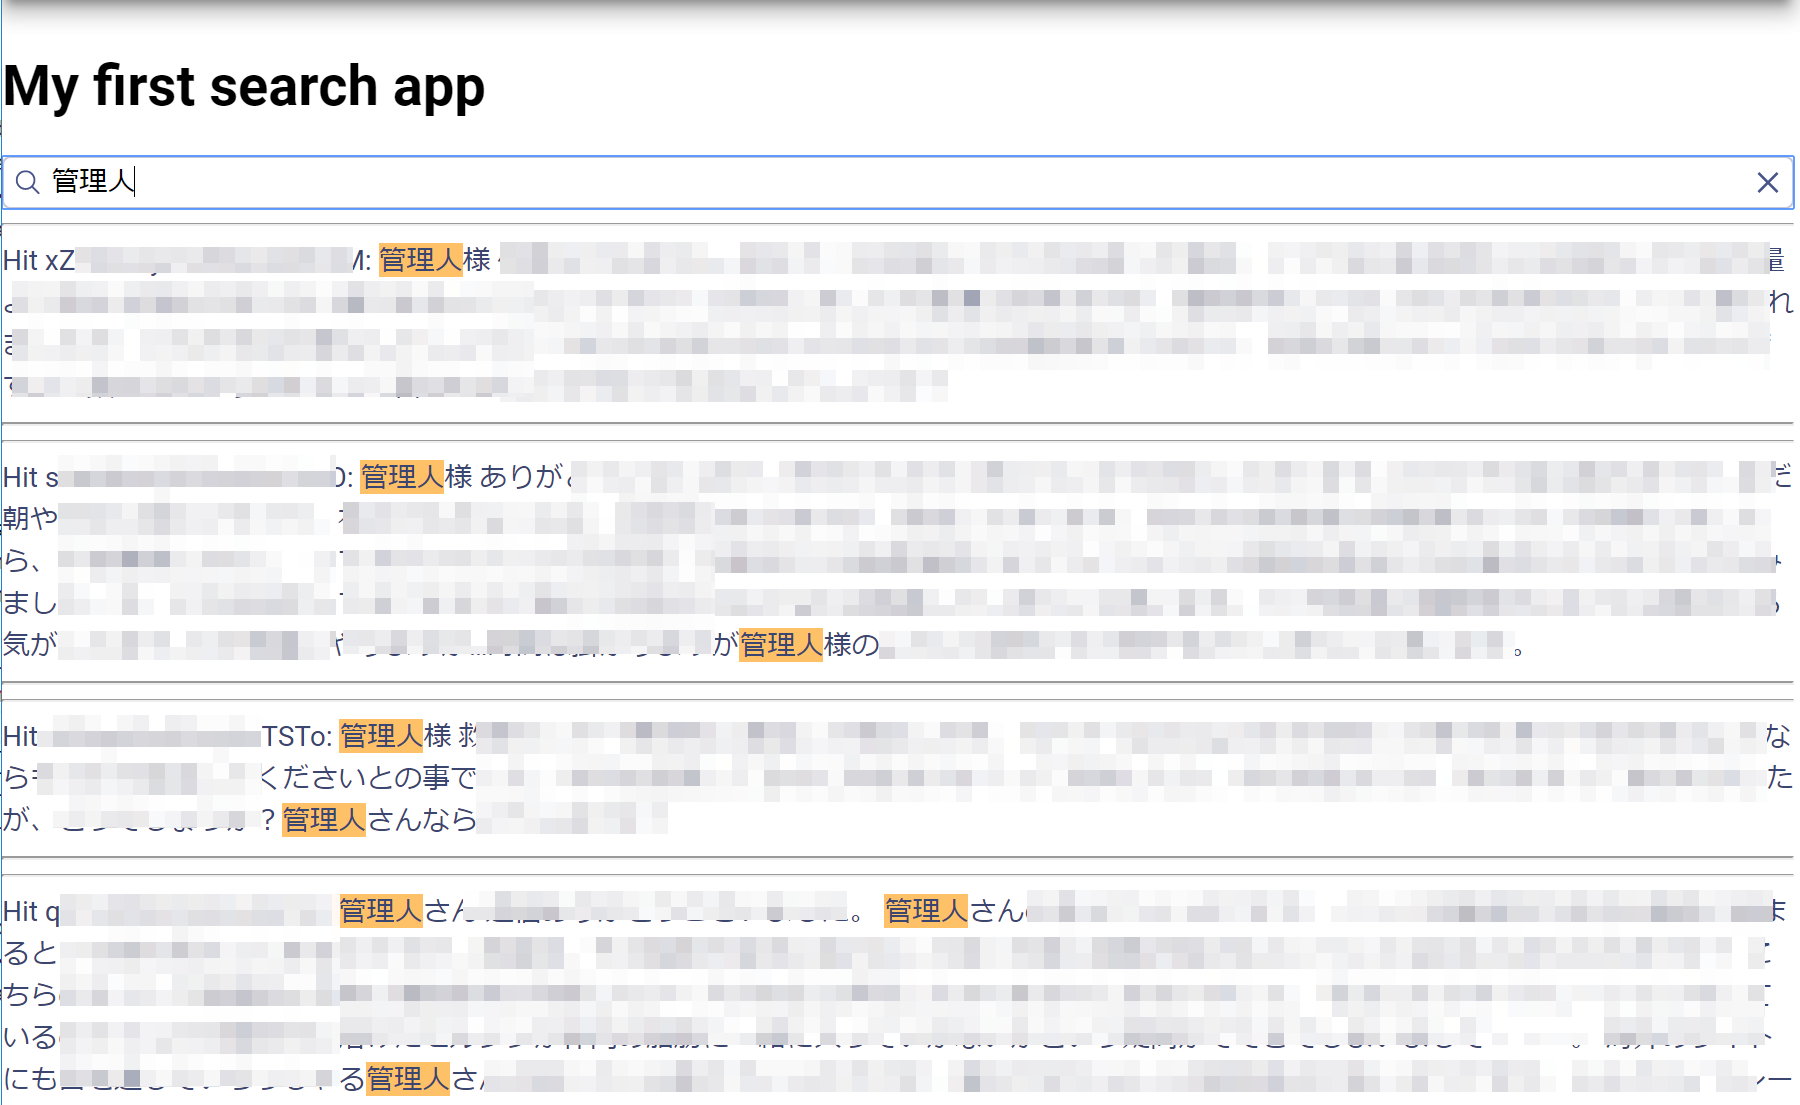
検索してみる
適当に検索してみる。リアルタイム検索になってまあまあ感動する。
apikey、appId、indexNameを自分用のに変更するだけで同じようになるのだな、とわかる。これはかなり簡単そう!
Firestoreデータのインポート
既存のデータをFirestoreからAlgoliaへJSON形式でエクスポートインポートしなければならない。
nodeスクリプトでやる方法
すでにあるFirestoreのデータをAlgoliaにバルクインポートする。
別プロジェクトフォルダを作成し、npm initして各モジュールをインストール
$ npm install algoliasearch --save
$ npm install dotenv --save
$ npm install firebase --save
.envファイルを作成して以下のように(Admin API Keyは絶対に漏らさないように!)
ALGOLIA_APP_ID=<algolia-app-id>
ALGOLIA_API_KEY=<algolia-api-key> // Admin API Keyのこと
ALGOLIA_INDEX_NAME='<Algoliaインデックス名>'
FIREBASE_DATABASE_URL=https://<my-firebase-database>.firebaseio.com
FIREBASE_PROJECT_ID='<FirebaseプロジェクトID>'
FIRESTORE_COLLECTION_NAME='<コレクション名>'
index.jsを作成して、以下のコードをペースト
const algoliasearch = require('algoliasearch');
const dotenv = require('dotenv');
const firebase = require('firebase');
const firestore = require('firebase/firestore');

// load values from the .env file in this directory into process.env
dotenv.config();

// initializes the firebase database.
firebase.initializeApp({
    projectId: process.env.FIREBASE_PROJECT_ID,
    databaseURL: process.env.FIREBASE_DATABASE_URL
  })
const db = firebase.firestore();

// configure algolia
const algolia = algoliasearch(
  process.env.ALGOLIA_APP_ID,
  process.env.ALGOLIA_API_KEY
);
const index = algolia.initIndex(process.env.ALGOLIA_INDEX_NAME);

// Get all contacts from Firebase
let docRef = db.collection(process.env.FIRESTORE_COLLECTION_NAME);
const records = [];
docRef.get()
    .then((snapshot) => {
        snapshot.forEach((doc) => {
            // get the key and data from the snapshot
            const childKey = doc.id;
            const childData = doc.data();
            // We set the Algolia objectID as the Firebase .key
            childData.objectID = childKey;
            // Add object for indexing
            records.push(childData);
            console.log(doc.id, '=>', doc.data());
        });
        // Add or update new objects
        index.saveObjects(records).then(() => {
            console.log('Documents imported into Algolia');
            process.exit(0);
        })
        .catch(error => {
            console.error('Error when importing documents into Algolia', error);
            process.exit(1);
        });
    })
    .catch((err) => {
        console.error('Error getting documents', error);
    });
したら、node index.jsコマンドで実行。
これでうまくいくはずだが、、よくわからないがAlgoliaインデックスにデータを放り込みに行くところでエラー。

       timeouts: [Object],
       url: '/1/indexes/prod_commentsfaqs/batch',
       statusCode: 400 } ],
  statusCode: 400 }
???
調査してトラブルシュートするより以下の代替方法が早いと思った。
手動でやる方法
まずAngularで適当なテスト用コンポーネントを作成。先ほど作ったテスト用search-uiを使うのでもなんでもいい。
search-ui.component.tsファイルに以下のコードを書いてFirestoreのコレクションからデータを引っ張りJSONで表示。
//search-ui.component.ts
import { Component, OnInit} from '@angular/core';
import { AngularFirestore, AngularFirestoreCollection } from '@angular/fire/firestore';
import { Post } from '../../class/post';

@Component({
  selector: 'app-search-ui',
  templateUrl: './search-ui.component.html',
  styleUrls: ['./search-ui.component.css']
})
export class SearchUiComponent implements OnInit {
  posts: Post[];
  postsCollection: AngularFirestoreCollection<Post>;
  postsJSON: string;

  constructor(private db: AngularFirestore) {}

  ngOnInit() {
    this.getPosts();
  }

  getPosts() {
    this.postsCollection = this.db.collection('posts');
    this.postsCollection.valueChanges().subscribe(data => {
     this.posts = data;
     const exportJSON = JSON.stringify(this.posts);
      this.postsJSON = exportJSON;
    });
  }

}
HTMLのほうは以下のように。
<!--search-ui.component.html-->
<h2>FirestoreのPostコレクションのエクスポート</h2>
{{postsJSON}}
http://localhost:4200/algoliasearchのページにデータがJSON表示される。
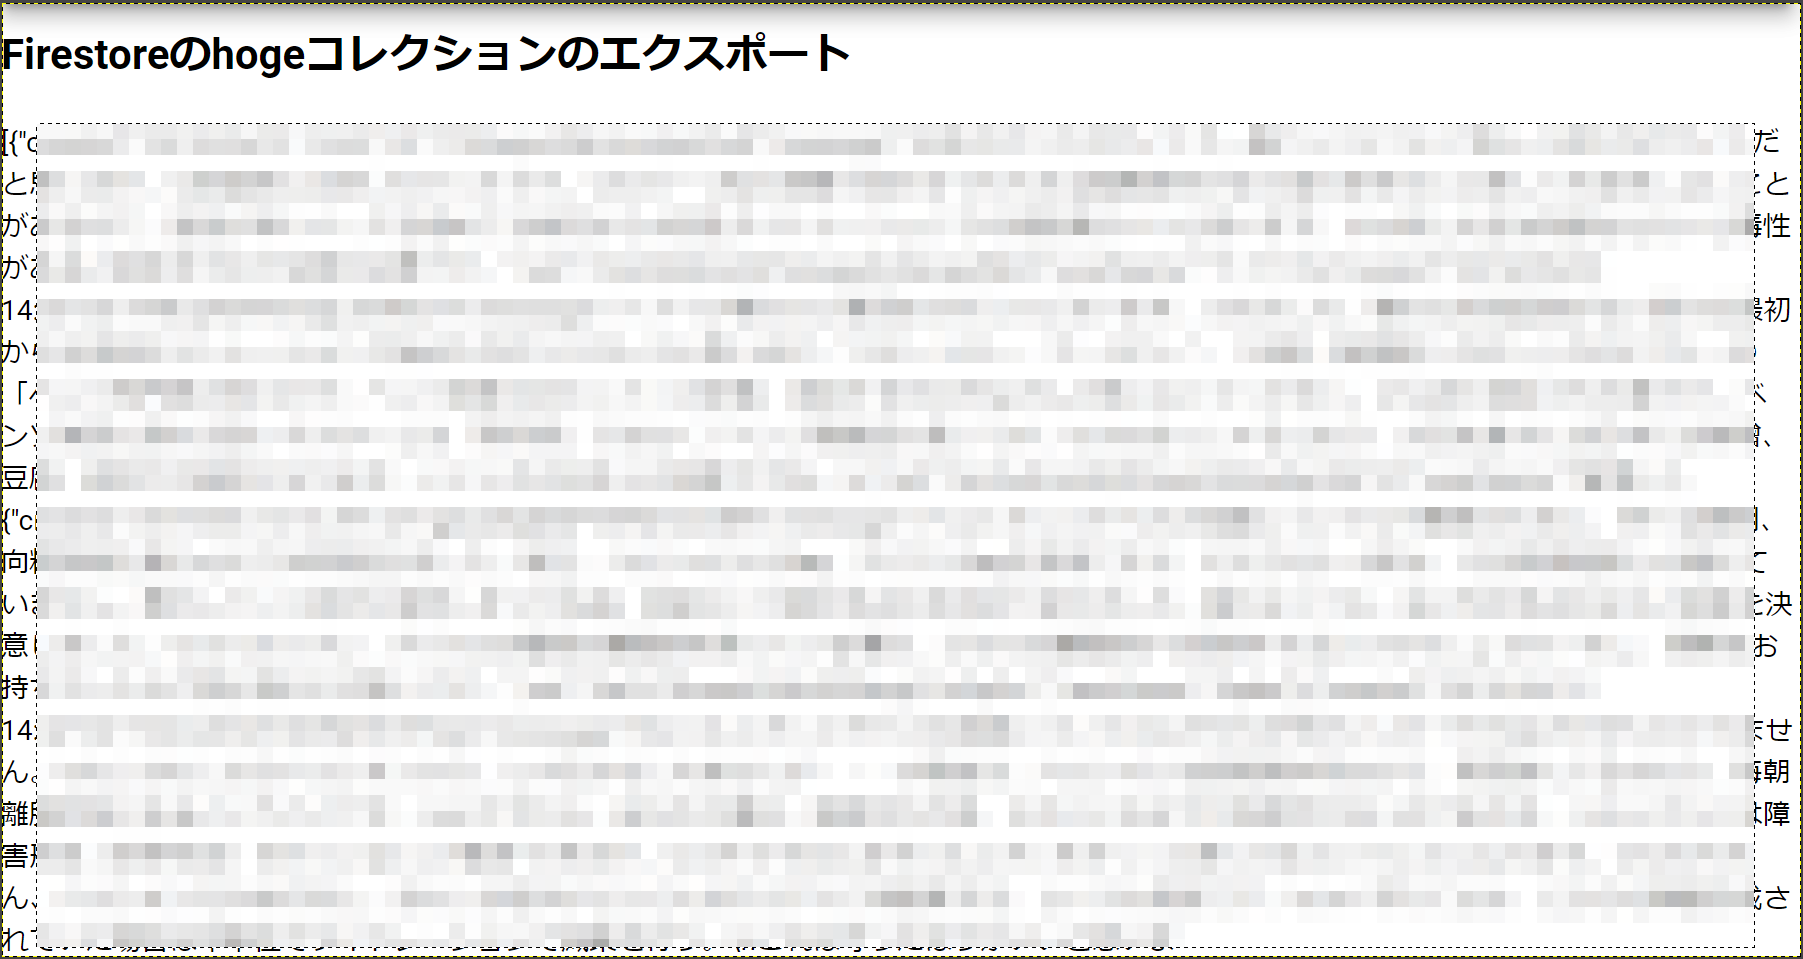
このままだと汚いのでJSONきれい ~JSON整形ツール~で整える(別にやらなくてもいいけど)
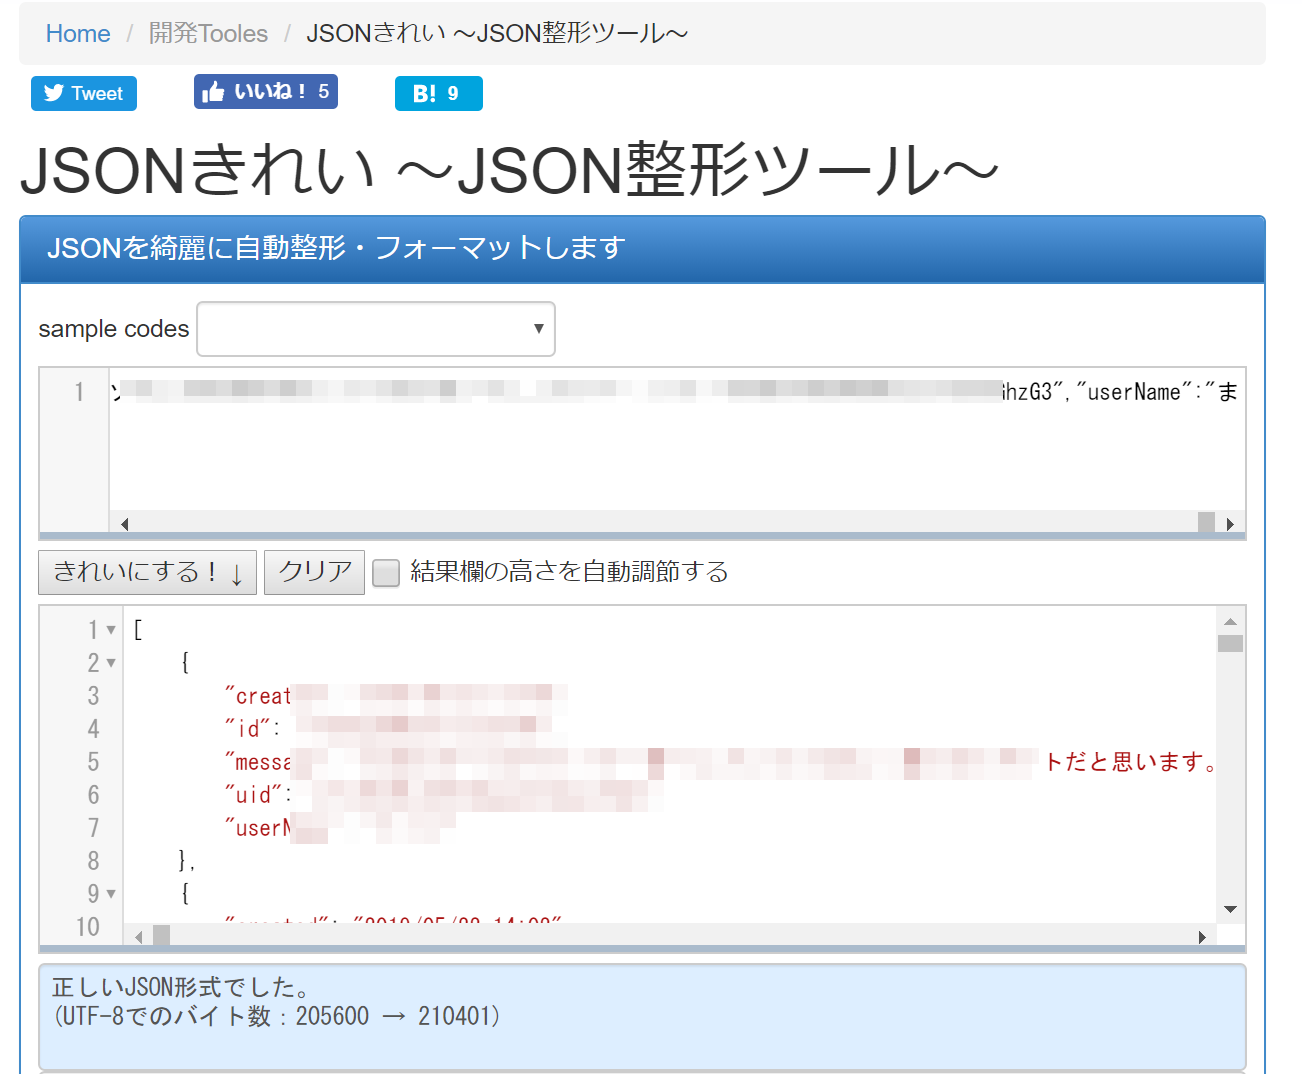
綺麗になったJSONをNotepad++などに張り付け、"id"を"objectID"に全置換する。それをJSONファイルとして保存。
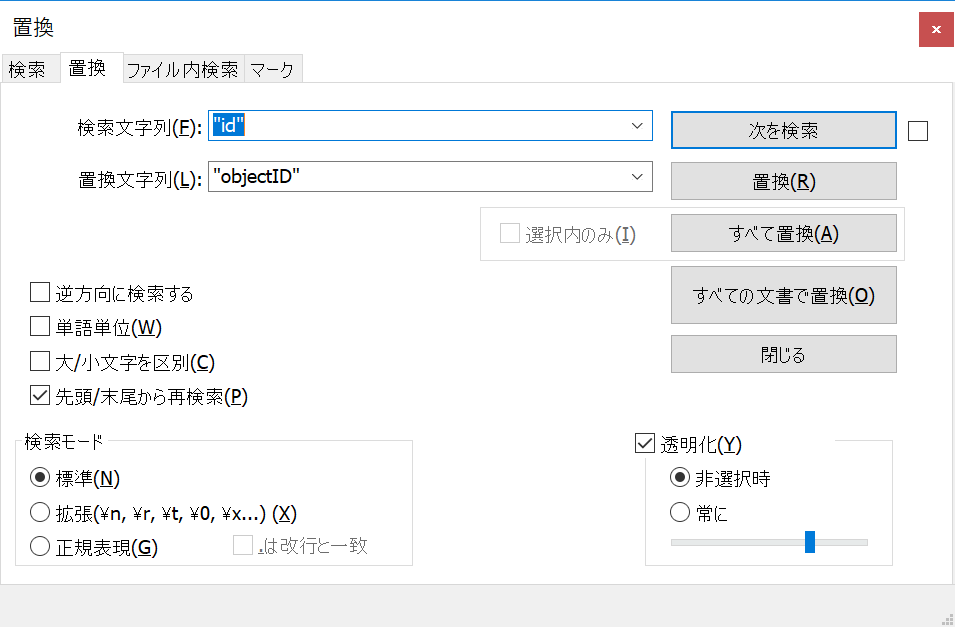
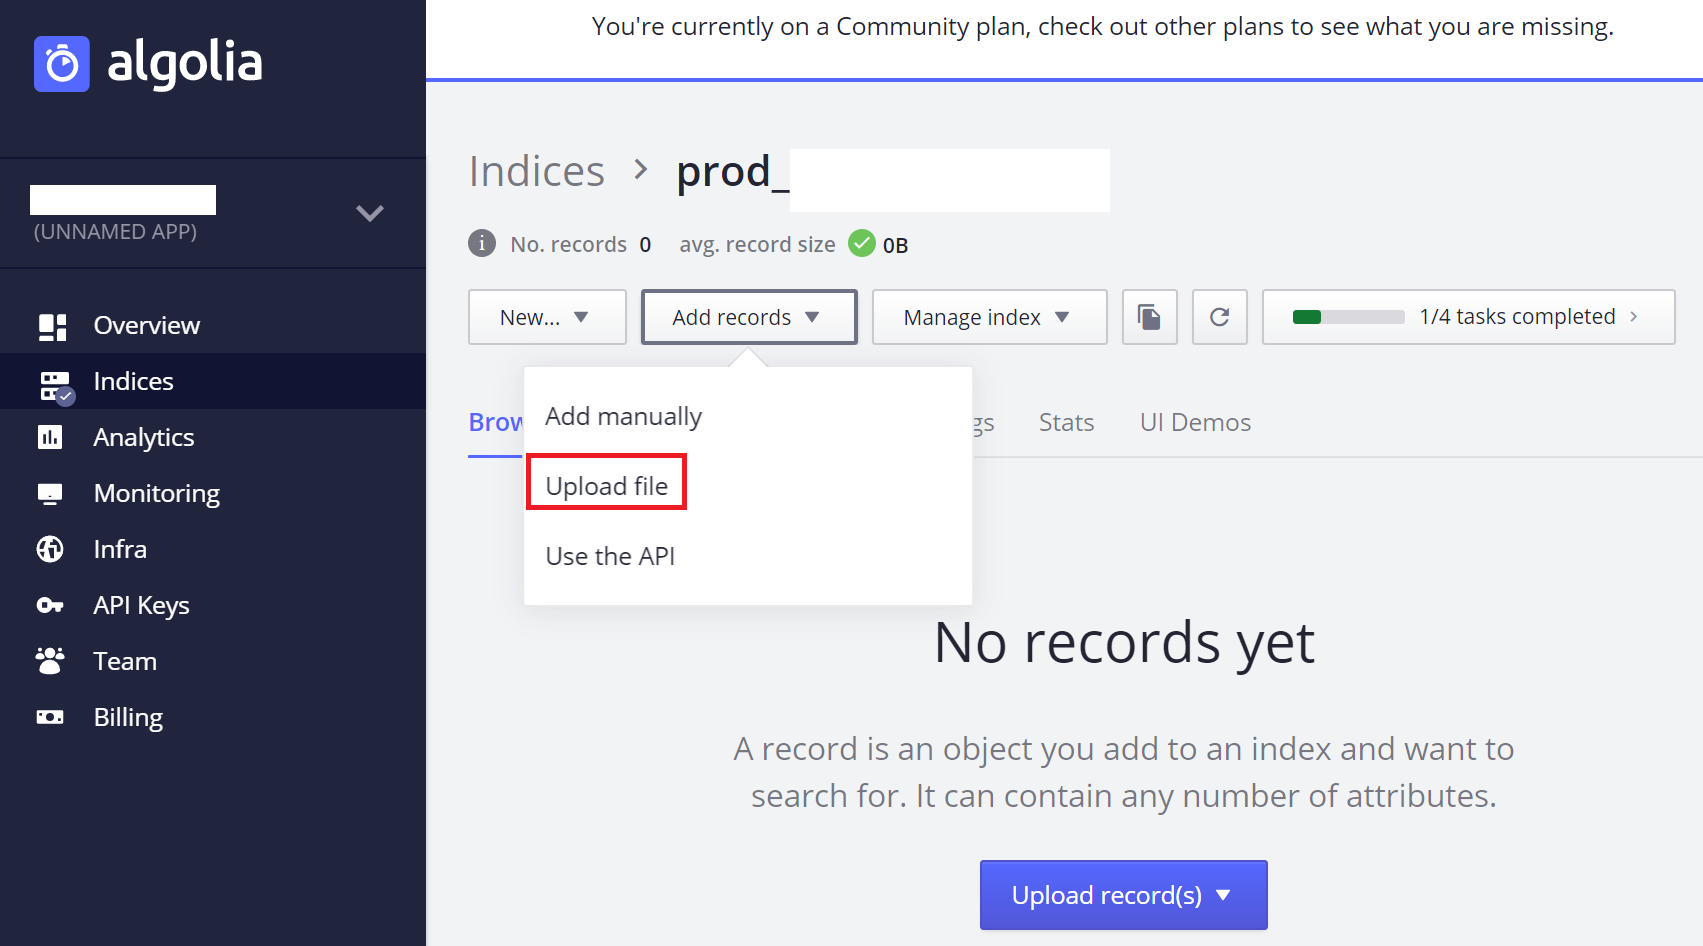
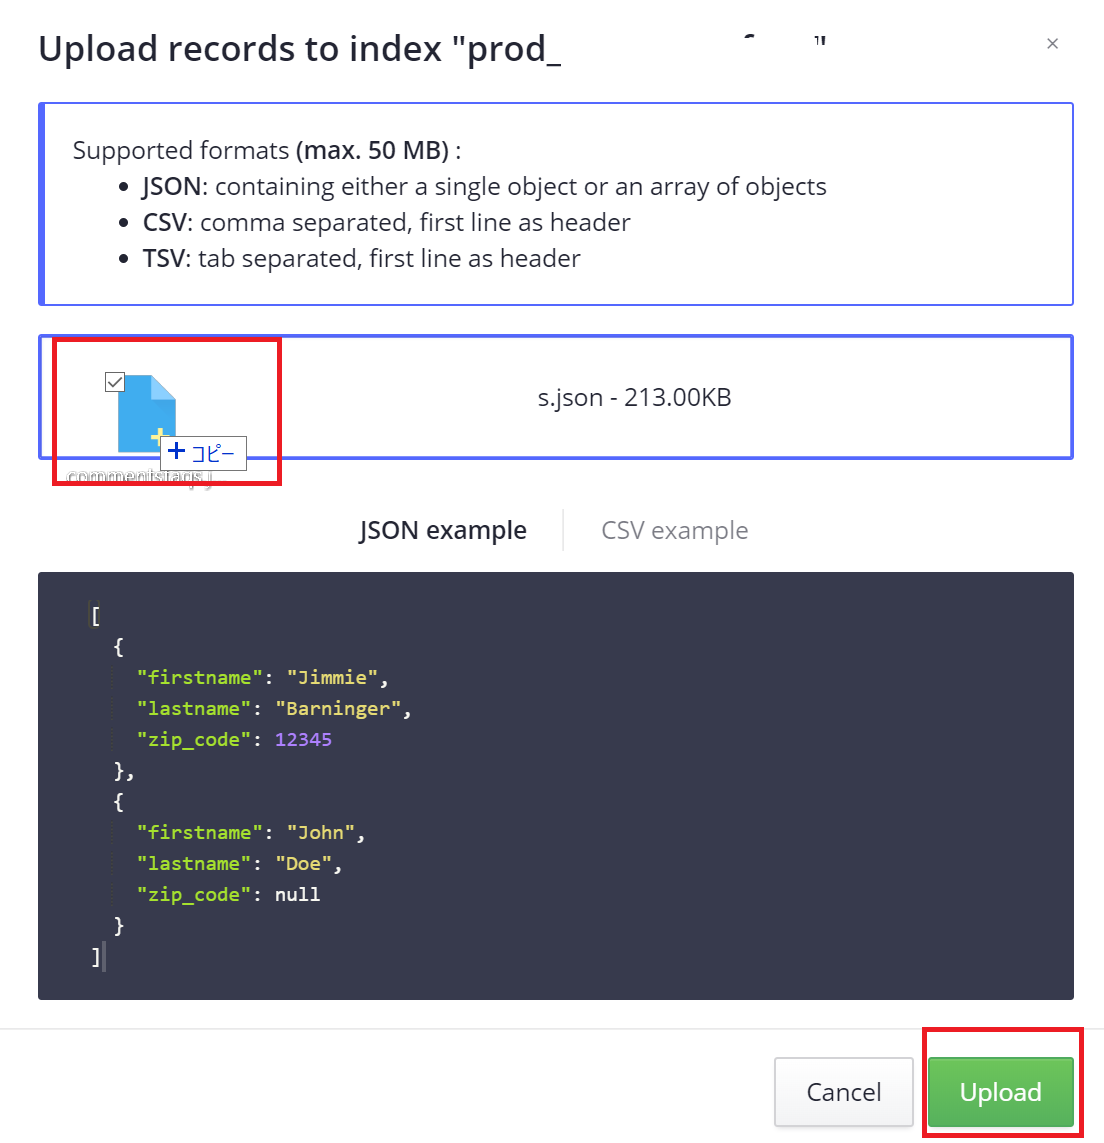
AlgoliaコンソールでJSONファイルを手動でアップロード。
完了。
失敗したスクリプトをいじって直接JSONをローカルに吐き出させてもいいと思うし好きなやり方で。
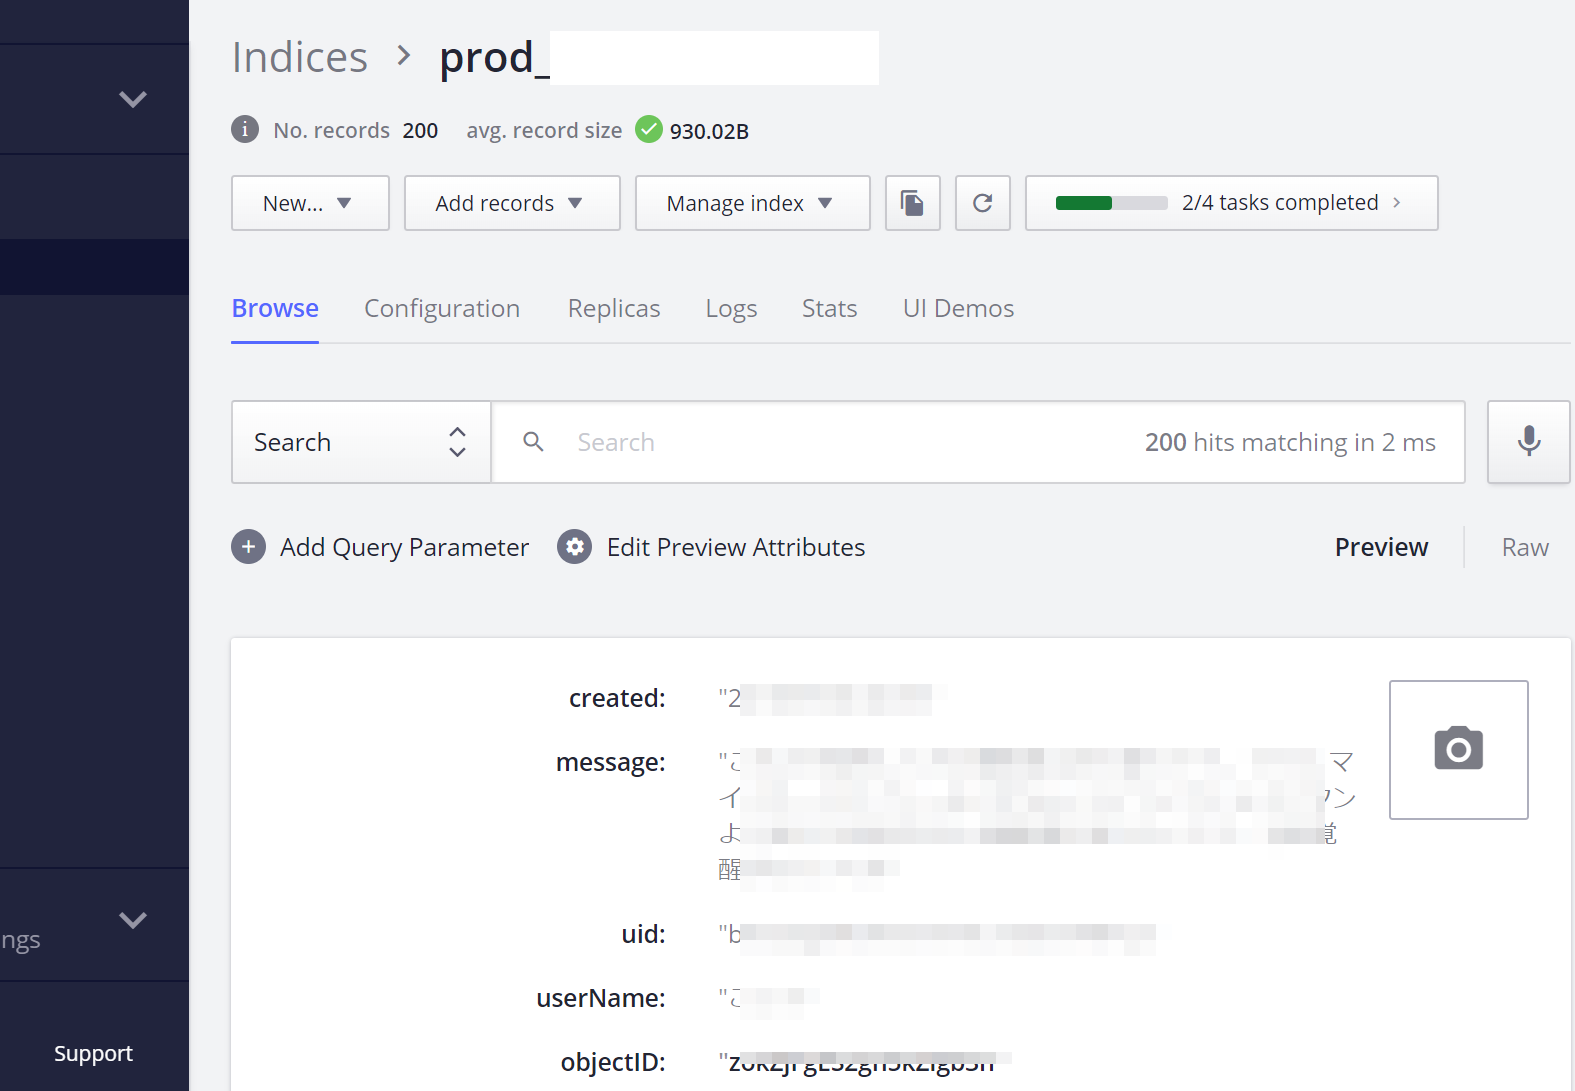
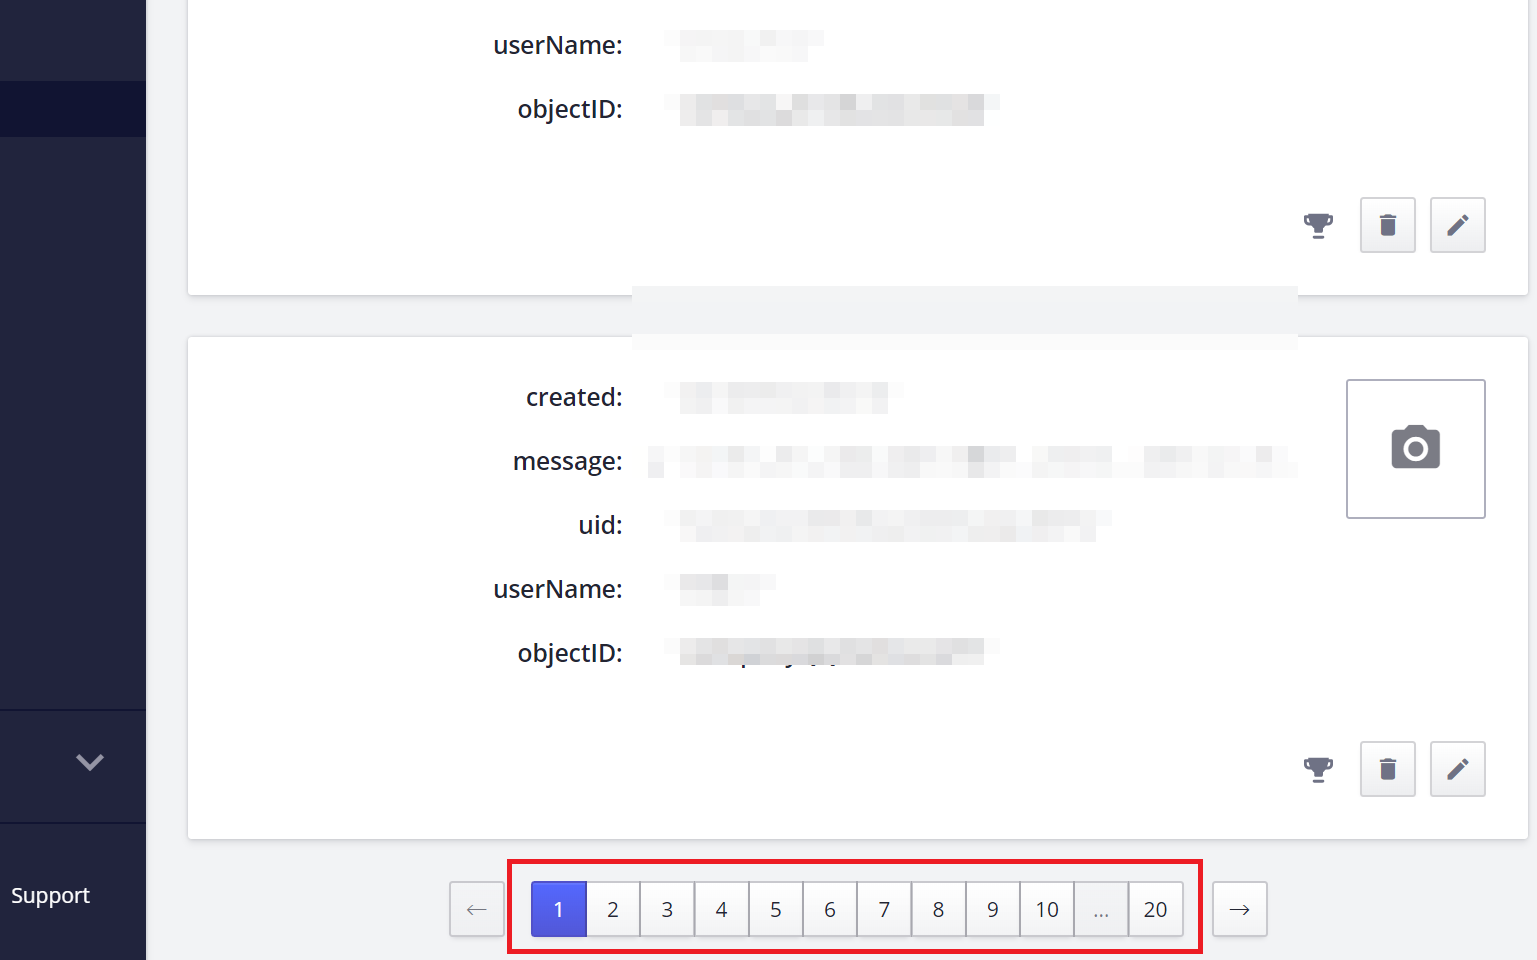
2百件ほどのデータがあったのでこんな感じに2百件分のインデックスが登録された(コンソール1ページに10件表示されている)
ライブコードの変更とアトリビュート追加
ではデモで使ったコードをそのまま利用して本番アプリで確認。やることはデモ用APIキーを自分用のものに変更し、アトリビュートを変更する。
コードを変更
HTMLにあったデモ用コード。Alogliaキーを自分用に変えるだけ。[config]="{...}"のところ。べた書きでもいいけど、Angularのenvironment/environment.tsを使おうか。
<デモ用コード>
//search-ui.component.html
<h1>My first search app</h1>
<ais-instantsearch
  [config]="{
    apiKey: '6be0576ff61c053d5f9a3225e2a90f76',
    appId: 'latency',
    indexName: 'instant_search',
    routing: true
  }"
>
<ais-search-box></ais-search-box>
<ais-hits>
  <ng-template let-hits="hits">
    <div *ngFor="let hit of hits">
      Hit {{hit.objectID}}:
      <ais-highlight attribute="message" [hit]="hit">
      </ais-highlight>
    </div>
  </ng-template>
</ais-hits>
</ais-instantsearch>
…では、environment.tsとenvironment.prod.tsに以下のようにalgolia:{...}の部分を追記。。
//environment.tsとenvironment.prod.ts
export const environment = {
  production: false,
  firebase : {
    apiKey: "",
    authDomain: "",
    databaseURL: "",
    projectId: "",
    storageBucket: "",
    messagingSenderId: ""
  },
  algolia: {            // <==追記
    appId: '<App ID>',
    apiKey: '<Admin Key>',
    indexName: '<インデックス名>'
  }
};
search-ui.component.tsに以下を追記。
import { environment } from 'src/environments/environment'; //<==追記

export class SearchUiComponent implements OnInit {

  searchConfig = {              //<==追記
    ...environment.algolia
  };

…以下略
したらHTMLの方はAloglia keyの部分をこう省略できる。[config]="searchConfig"
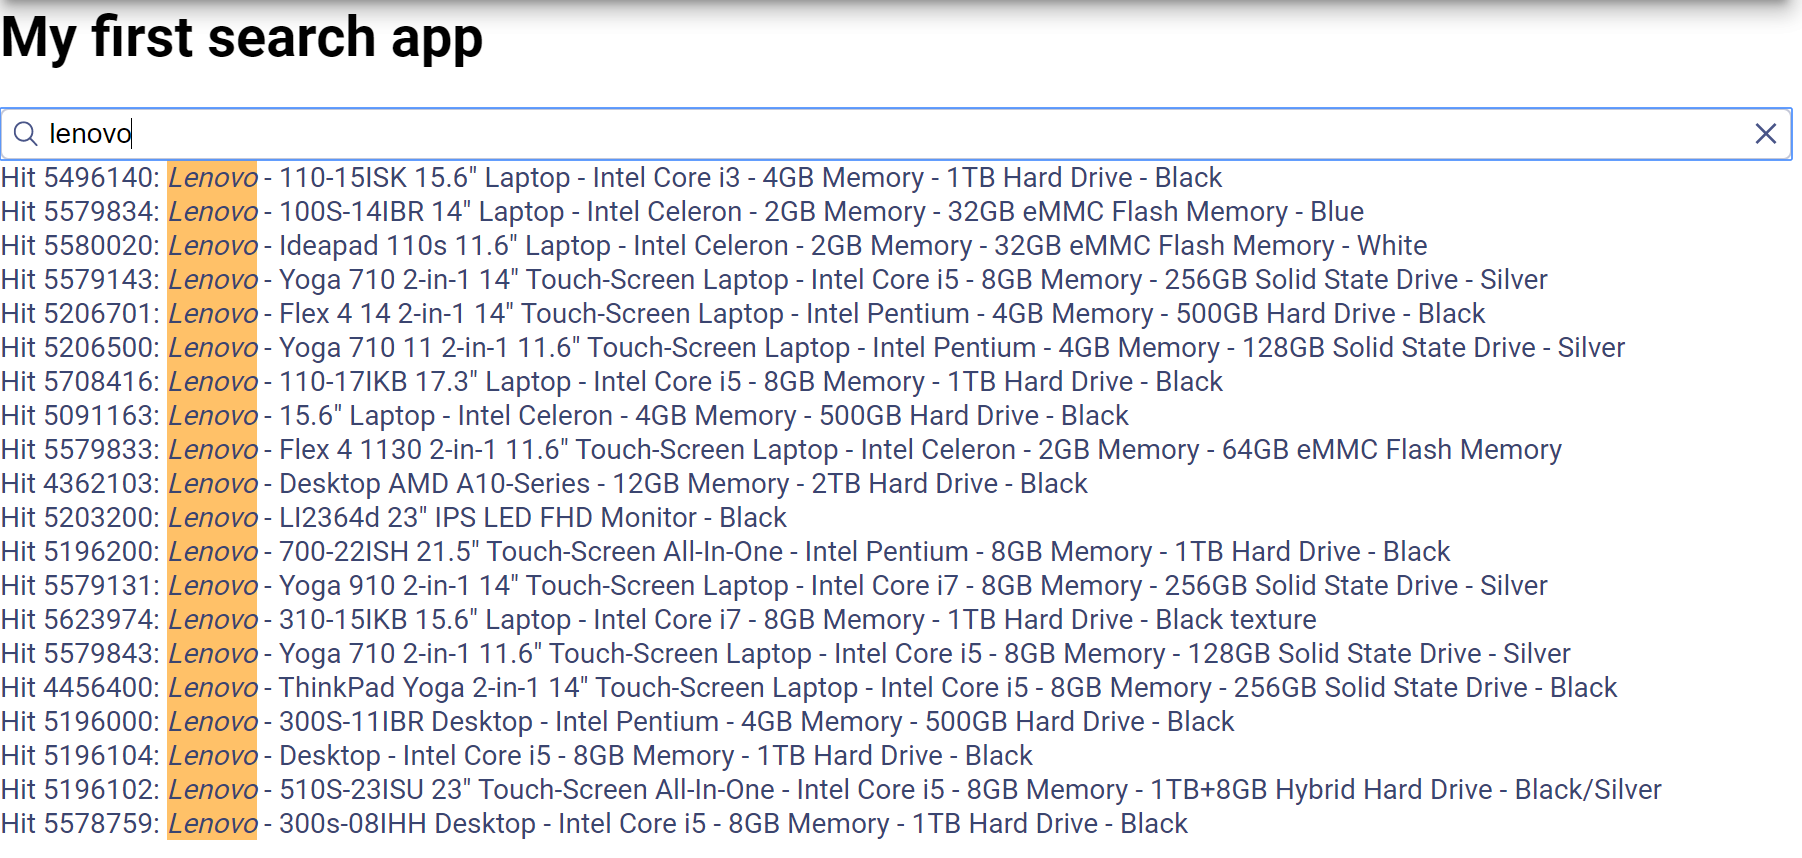
それからデモではattribute="name"となってるがわたしがインポートしたデータは属性nameのレコードはない。userNameとmessageがあるのでそれに変更する。(見やすくするため<hr>も入れた)
<!--search-ui.component.html-->
<h1>My first search app</h1>
<ais-instantsearch [config]="searchConfig">
<ais-search-box></ais-search-box>
<ais-hits>
  <ng-template let-hits="hits">
    <div *ngFor="let hit of hits">
    <hr>
      Hit {{hit.objectID}}:
      <ais-highlight attribute="userName" [hit]="hit"></ais-highlight>
      <ais-highlight attribute="message" [hit]="hit"></ais-highlight>
     <hr>
      </ais-highlight>
    </div>
  </ng-template>
</ais-hits>
</ais-instantsearch>
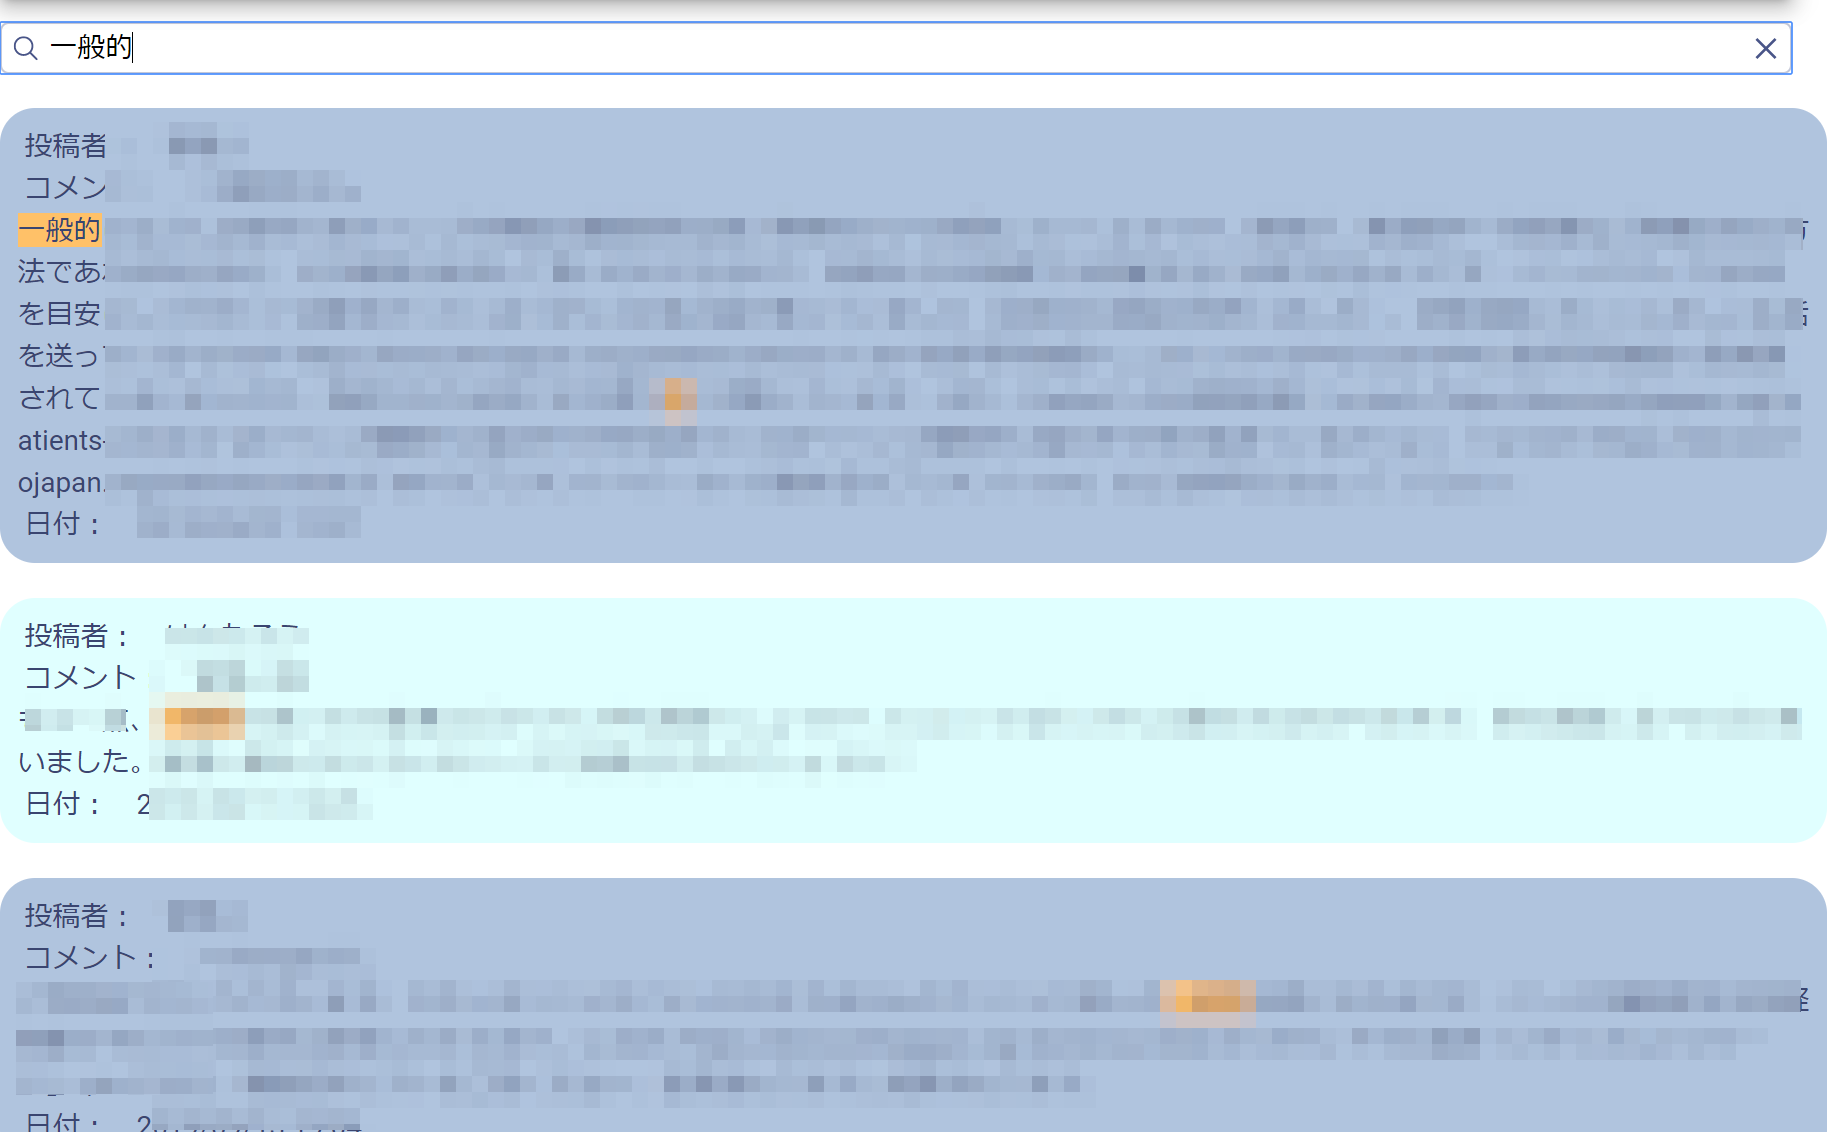
そうするとこんな感じだ。
- 初期ページ
- 検索すると、
カスタマイズ
いろいろあるので少しだけ。
最初の初期ページでなにも表示させておきたくない場合、booleanフラグを設定すればよいのではないか。HTMLの<ais-search-box>タグには(change)="関数名($event)"を追記できる。関数はもちろん.tsファイルに書く。例えば、
<!--search-ui.component.html-->
<ais-instantsearch [config]="searchConfig">
<ais-search-box placeholder="フォーラム内検索" (change)="searchChanged($event)"></ais-search-box>
<ais-hits *ngIf="showResults">
  <ng-template let-hits="hits">
    <div *ngFor="let hit of hits">
      <hr>
      Hit {{hit.objectID}}:
      <ais-highlight attribute="name" [hit]="hit"></ais-highlight>
      <ais-highlight attribute="message" [hit]="hit"></ais-highlight>
      <hr>
    </div>
  </ng-template>
</ais-hits>
</ais-instantsearch>
//search-ui.component.ts
import { Component, OnInit } from '@angular/core';
import { environment } from 'src/environments/environment';

@Component({
  selector: 'app-search-ui',
  templateUrl: './search-ui.component.html',
  styleUrls: ['./search-ui.component.css']
})
export class SearchUiComponent implements OnInit {

  searchConfig = {
    ...environment.algolia
  };

  showResults: boolean = false; //<==フラッグ

  constructor() {}

  ngOnInit() {
  }

  async searchChanged(query) { //<==関数
    if (query.length) {
     this.showResults = true;
    } else {
     this.showResults = false;
    }
  }
}
showResultsがTrueの場合のみ表示するようにする。AngularのngIfを使って<ais-hits *ngIf="showResults">とすればshowResultsの初期値はfalseなのでなにも表示されない。
showResultsがTrueになるには検索ボックスになにか文字入力しなければならない。
placeholder=でプレイスホルダーを設定できる。
あとはいろいろCSSで見栄えをば。
Firebase Functionの設定
既存データはAlgoliaに載せれたので、Firestoreデータの追加や削除にシンクロさせる。Firebase Functionを使う。
事前準備
まずFirebaseプロジェクトを無料のSparkプランから従量課金制のBlazeプランへ変更する。
利用パッケージのインストール
C:\projectroot>npm install firebase-functions@latest firebase-admin@latest --save
C:\projectroot>npm install -g firebase-tools
firebase initを実行
まずログイン
C:\projectroot>firebase login
Already logged in as xxxxxxx@gmail.com


   ╭───────────────────────────────────────────╮
   │                                           │
   │      Update available 6.5.0 → 6.5.3       │
   │   Run npm i -g firebase-tools to update   │
   │                                           │
   ╰───────────────────────────────────────────╯
ではfirebase initコマンドをば、
C:\projectroot>firebase init

     ######## #### ########  ######## ########     ###     ######  ########
     ##        ##  ##     ## ##       ##     ##  ##   ##  ##       ##
     ######    ##  ########  ######   ########  #########  ######  ######
     ##        ##  ##    ##  ##       ##     ## ##     ##       ## ##
     ##       #### ##     ## ######## ########  ##     ##  ######  ########

You're about to initialize a Firebase project in this directory:

  C:\projectroot

? Are you ready to proceed? (Y/n)
Yといれてエンターで次のように
? Are you ready to proceed? Yes
? Which Firebase CLI features do you want to set up for this folder? Press Space to select features, then Enter to confirm your choi
ces. (Press <space> to select)
>( ) Database: Deploy Firebase Realtime Database Rules
 ( ) Firestore: Deploy rules and create indexes for Firestore
 ( ) Functions: Configure and deploy Cloud Functions
 ( ) Hosting: Configure and deploy Firebase Hosting sites
 ( ) Storage: Deploy Cloud Storage security rules
Functionsを選ぶ。Angularで作成したWebサイトをHostingにアップするならHostingも選んでおく。
 ( ) Database: Deploy Firebase Realtime Database Rules
 ( ) Firestore: Deploy rules and create indexes for Firestore
 (*) Functions: Configure and deploy Cloud Functions
>(*) Hosting: Configure and deploy Firebase Hosting sites
 ( ) Storage: Deploy Cloud Storage security rules
Firebase上に存在するどのプロジェクトと紐づけるのか聞いてくるので該当プロジェクトを選択。
=== Project Setup

First, let's associate this project directory with a Firebase project.
You can create multiple project aliases by running firebase use --add,
but for now we'll just set up a default project.

? Select a default Firebase project for this directory:
  [don't setup a default project]
  codegrid-practice (CodeGrid-practice)
> project-xxxx (Projecthogehoge)
  student-app-xxxx (student-app)
  [create a new project]
JavaScriptとTypeScriptのどっちか選べと。TypeScriptに。TypeScriptの場合のドキュメントが少ないので苦労のひとつとなる。
=== Functions Setup

A functions directory will be created in your project with a Node.js
package pre-configured. Functions can be deployed with firebase deploy.

? What language would you like to use to write Cloud Functions?
  JavaScript
> TypeScript
最後の2つの質問はよく意味わからない。どっちもYesで。
? Do you want to use TSLint to catch probable bugs and enforce style? Yes
+  Wrote functions/package.json
+  Wrote functions/tslint.json
+  Wrote functions/tsconfig.json
+  Wrote functions/src/index.ts
+  Wrote functions/.gitignore
? Do you want to install dependencies with npm now? Yes
おっと、Hostingの設定にも行ってしまった。 Angularを使ってるのでもちろん下記のように答える。`dist`, `dist/index.html`
=== Hosting Setup

Your public directory is the folder (relative to your project directory) that
will contain Hosting assets to be uploaded with firebase deploy. If you
have a build process for your assets, use your build's output directory.

? What do you want to use as your public directory? dist
? Configure as a single-page app (rewrite all urls to /index.html)? Yes
+  Wrote dist/index.html
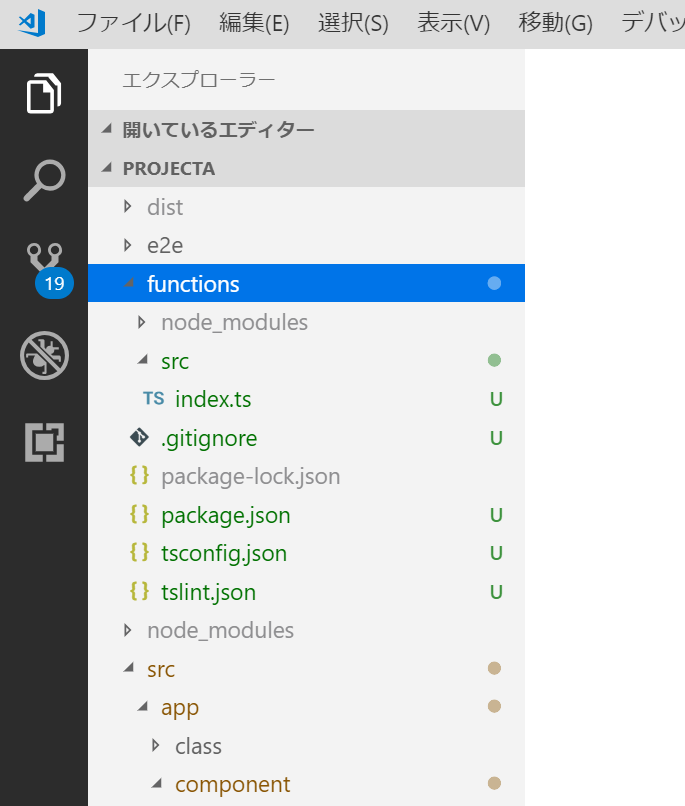
functionsフォルダができる。この配下のindex.tsファイルにFunctionとなる関数を書いていくことになる。複数作りたかったらindex.tsに複数書いていく(index.tsにexport hogehoge {…処理…} がいくつも存在することになる)
functionsのスクリプトをデプロイ
まずそのfunctionsフォルダにcdで移ってから、次のコマンドでnpmパッケージをいろいろインストールする。
4つ目のalgoliasearchgがAlgolia用のもの。
C:\projectroot>cd functions
C:\projectroot\functions>npm install --save request
C:\projectroot\functions>npm install @types/request-promise
C:\projectroot\functions>npm install request-promise --save

C:\projectroot\functions>npm install algoliasearch --save
Algolia APIキーの環境変数設定
コードにベタ書きでもいいけど以下のコマンドで環境変数を設定できる。
C:\projectroot>firebase functions:config:set algolia.app_id=<Application ID>
C:\projectroot>firebase functions:config:set algolia.api_key=<Admin API Key>
Functionsの作成
- まずfunctionsフォルダの
tsconfig.jsonに以下を追記する。
"suppressImplicitAnyIndexErrors": true
{
  "compilerOptions": {
    "module": "commonjs",
    "noImplicitReturns": true,
    "noUnusedLocals": true,
    "outDir": "lib",
    "sourceMap": true,
    "strict": true,
    "target": "es2017",
    "suppressImplicitAnyIndexErrors": true
  },
  "compileOnSave": true,
  "include": [
    "src"
  ]
}
- index.tsのコードは以下の通り。
import * as functions from 'firebase-functions';
import * as admin from 'firebase-admin';

// firebase の初期化
admin.initializeApp(functions.config().firebase)

// algoliaのキー関連
const algoliasearch = require('algoliasearch')
const ALGOLIA_ID = functions.config().algolia.app_id
const ALGOLIA_ADMIN_KEY = functions.config().algolia.api_key
const algolia = algoliasearch(ALGOLIA_ID, ALGOLIA_ADMIN_KEY);

const index = algolia.initIndex('<Algoliaインデックス名>');

// algolia全文検索API利用関数// コレクションに新規レコードが追加されると起動
exports.onPostCreated = functions.firestore.document('posts/{id}').onCreate((snap, context) => {
  // 新規レコードの情報をIndex用オブジェクトに格納
  const objectID = snap.id
  const data = snap.data();
    // AlgoliaへIndex
  return index.addObject({
    objectID,
    ...data
  })
})

// algolia全文検索API利用関数// コレクションのレコードが削除されると起動
exports.onPostDeleted = functions.firestore.document('posts/{id}').onDelete((snap, context) => {
  // Index用オブジェクトを削除
  index.deleteObject(snap.id)
})

// algolia全文検索API利用関数// コレクションのレコードが更新されると起動
exports.onPostUpdated = functions.firestore.document('posts/{id}').onUpdate((change, context) => {
  // 更新レコードの情報をIndex用オブジェクトに格納
  const objectID = change.after.id
  const newData = change.after.data();
    // AlgoliaへIndex
  return index.saveObject({
    objectID,
    ...newData
  })
})
Functionは追加・削除・変更用の3つ。
Firebase公式ドキュメント「全文検索」はJavaScriptの表記の場合なので気を付けて。
- 以下のコマンドでfunctionをアップロード
C:\projectroot>firebase deploy --only functions
- Firebase Functionsに関数できた。3つあるのがわかる。
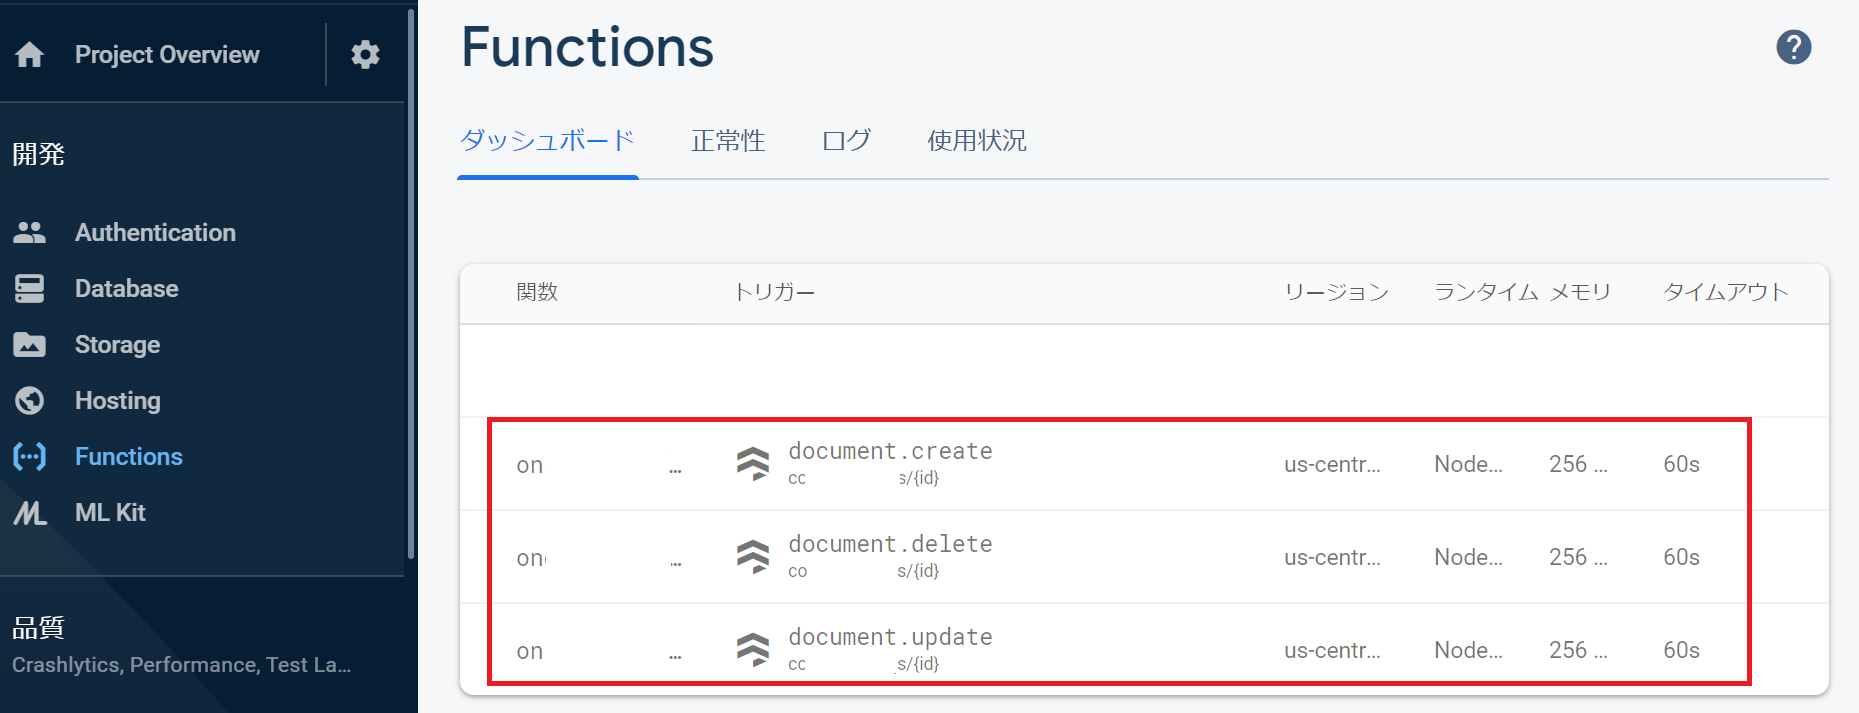
これでFirestoreのコレクションにデータが追加・削除・変更されると自動的にAlgoliaインデックスも追加・削除・変更されることになる。
以上。
参考: [Welcome to Angular InstantSearch](https://community.algolia.com/angular-instantsearch/getting-started.html) [Algolia Fulltext Search Cloud Functions](https://fireship.io/lessons/algolia-cloud-functions/) [Angular Full Text Search With Algolia Backend - Part 2](https://angularfirebase.com/lessons/angular-full-text-search-with-algolia-backend-part-2/#Cloud-Function-Indexing-a-Document) [firebaseとAlgoliaを連携させて全文検索を導入する手順メモ](https://qrunch.net/@oSsAl6sFdZnihjYb/entries/ldKT8e2KxwlUDnDz)