VSCode Remote Containersで.NET Core + MySQL + Elasticsearchの開発環境構築 の続きです。
今回はAWSのEC2インスタンス上にWebアプリを配置後、nginxでリバースプロキシするところまでをご紹介しようと思います。
はじめに
ネットワーク構築とEC2インスタンスの作成が済んでいることが前提となります。
その部分に関しては以下書籍で勉強しましたので合わせてご紹介します。
Amazon Web Services 基礎からのネットワーク&サーバー
環境
- Amazon Linux 2 AMI (HVM), SSD Volume Type
- t2.micro
ソースコード
1. EC2インスタンスにnginxのインストール
まずはnginxをインストールしましょう。
EC2インスタンスにSSHして、以下コマンドを実行します。
$ sudo yum -y update
$ sudo amazon-linux-extras install nginx1
$ sudo service nginx start
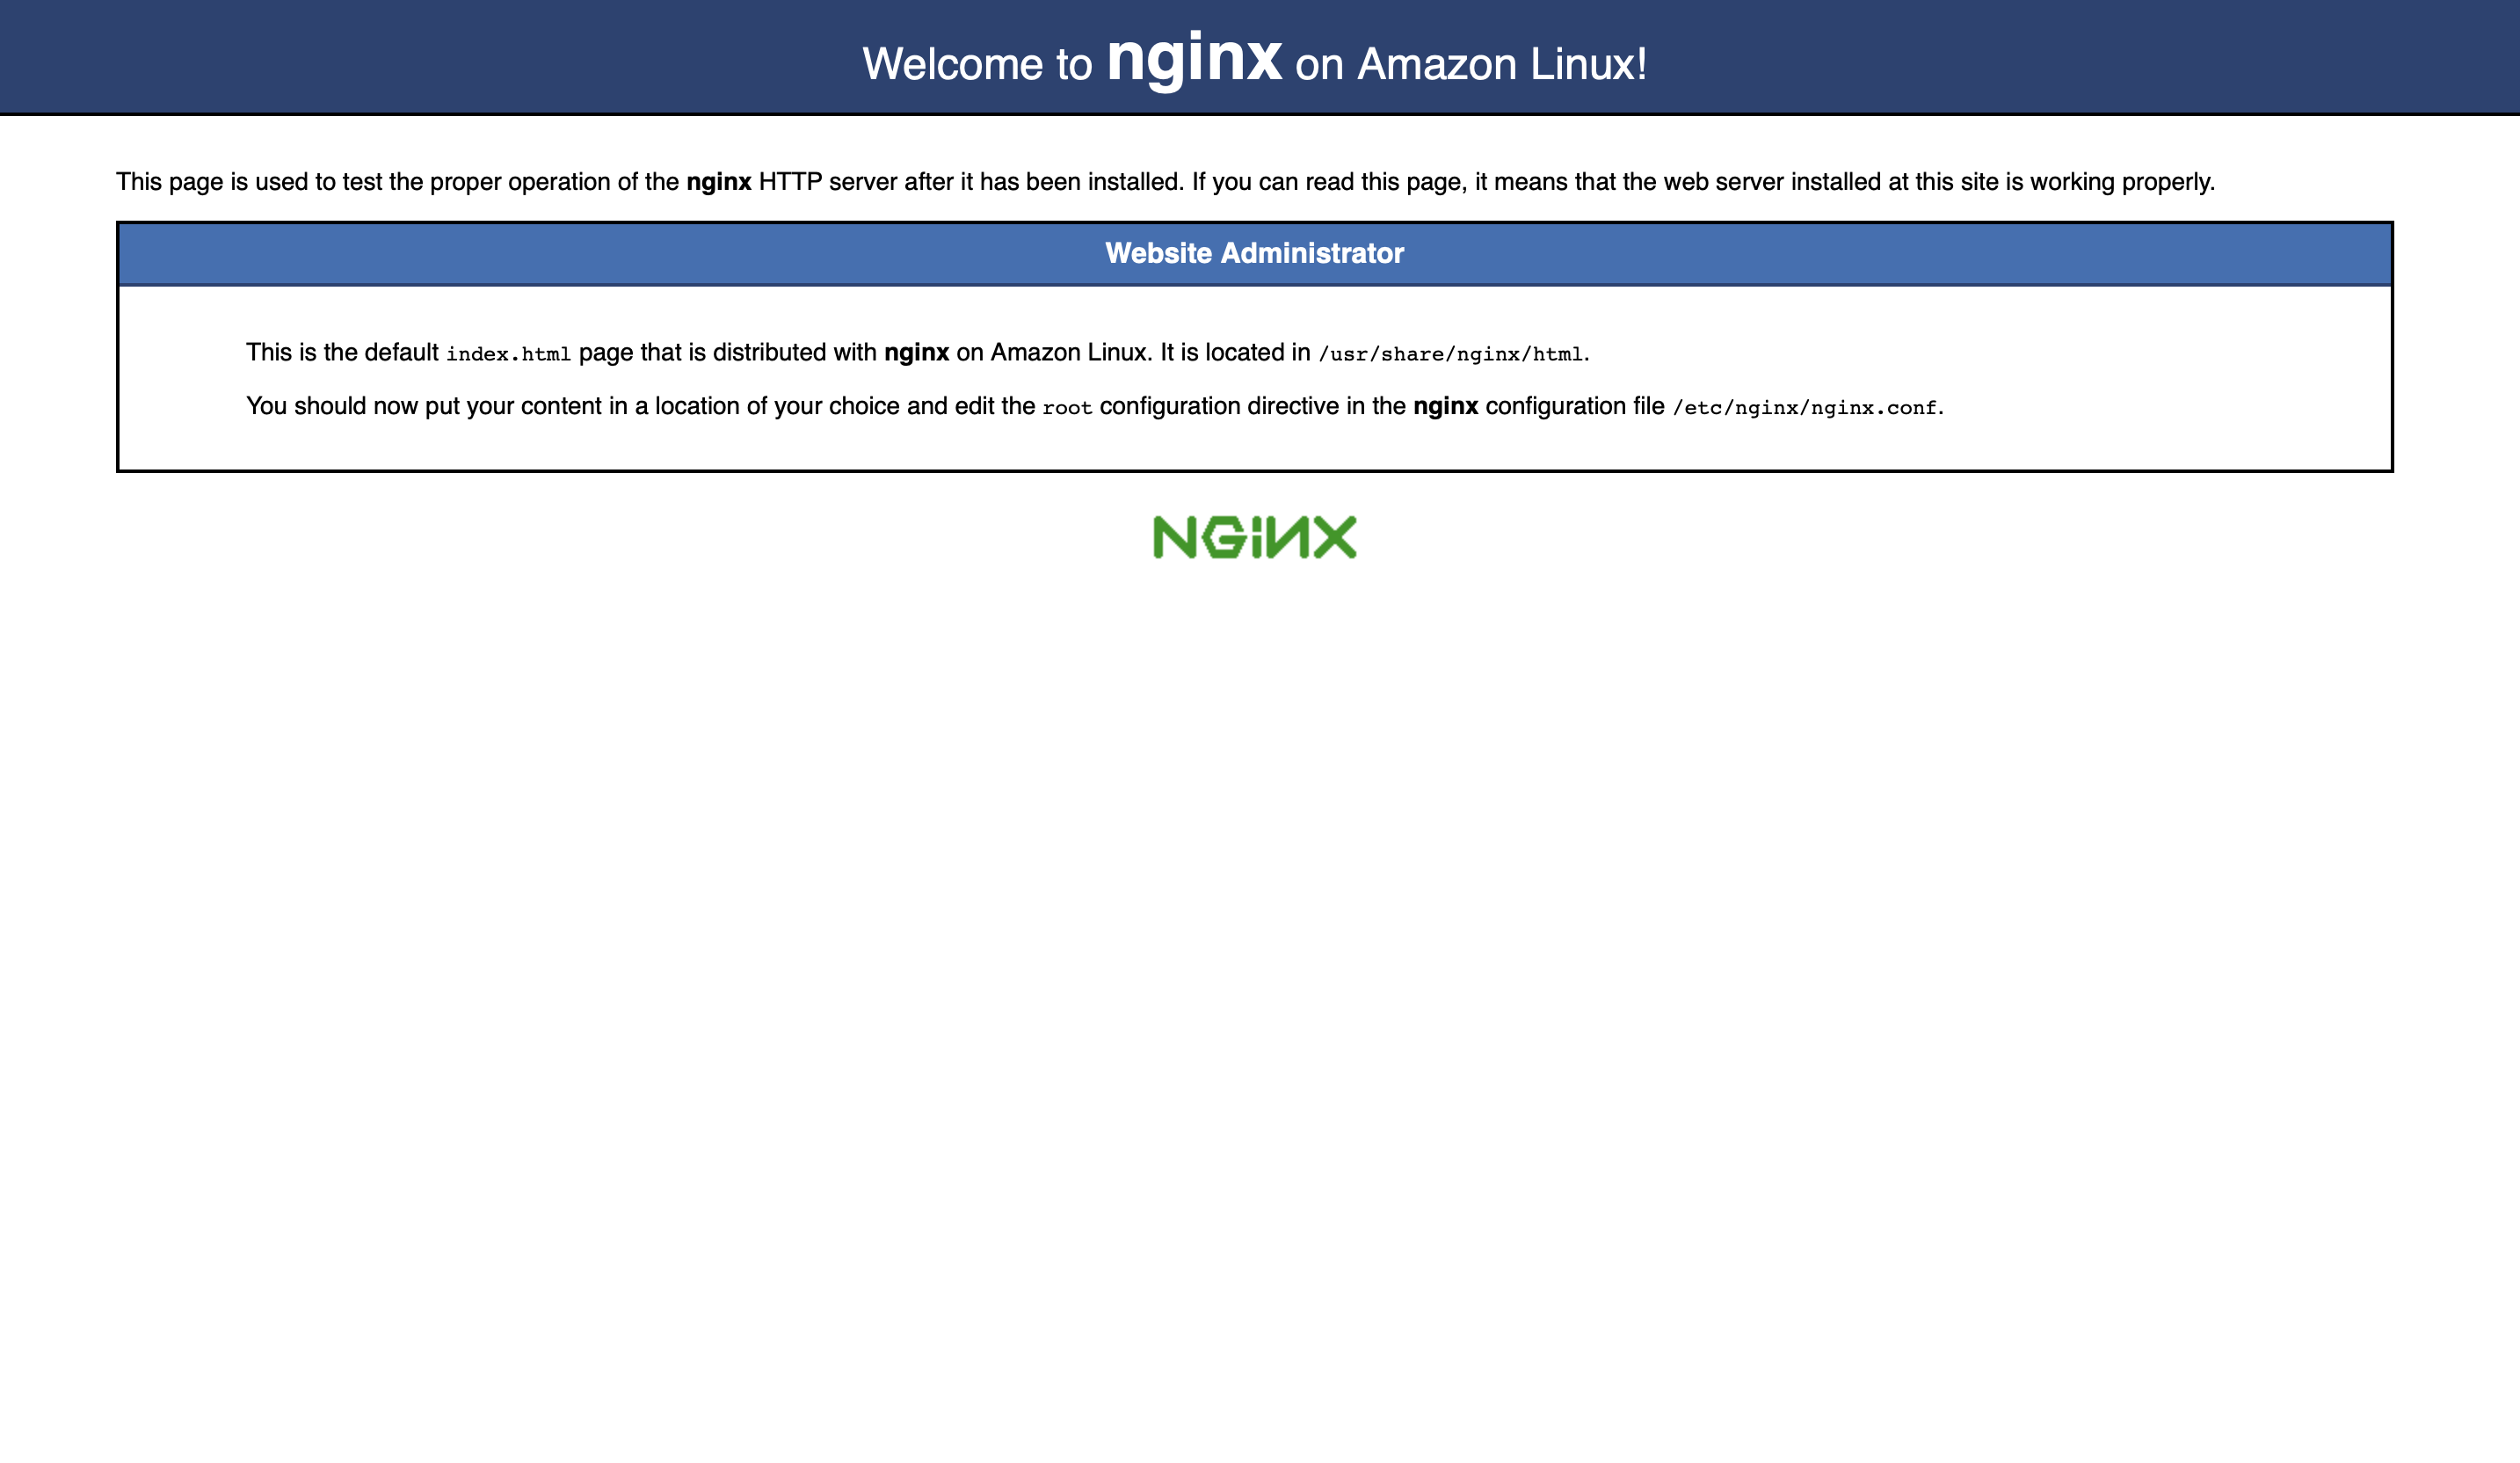
以上を実施した後、ローカルマシンのブラウザにてhttp://サーバIPに接続し、以下のような画面が表示されれば成功です。
$ sudo amazon-linux-extras install nginx1
このコマンドについてですが、EC2インスタンス上でnginxをインストールしようとするとこのコマンドを使ってねという案内が表示されました。
amazon-linux-extrasについてはこちらで紹介されています。
2. nginxにリバースプロキシ設定
次にnginxにリバースプロキシの設定をしていきます。
nginxのコンフィグファイルを編集するため、EC2インスタンスにSSHして、以下コマンドを実行します。
$ sudo vim /etc/nginx/nginx.conf
コンフィグファイルの内容を以下のように編集します。
server {
      # ここから
      location / {
          proxy_pass http://localhost:5000/;
      }
      # ここまで追加
  }
以下コマンドでコンフィグファイルの内容が正しいか確認します。
$ sudo nginx -t

# これが出力されればOK
nginx: the configuration file /etc/nginx/nginx.conf syntax is ok
nginx: configuration file /etc/nginx/nginx.conf test is successful
編集完了後、設定を反映させるためnginxを再起動します。
$ sudo service nginx restart
もう一度、ローカルマシンのブラウザにてhttp://サーバIPに接続してみましょう。
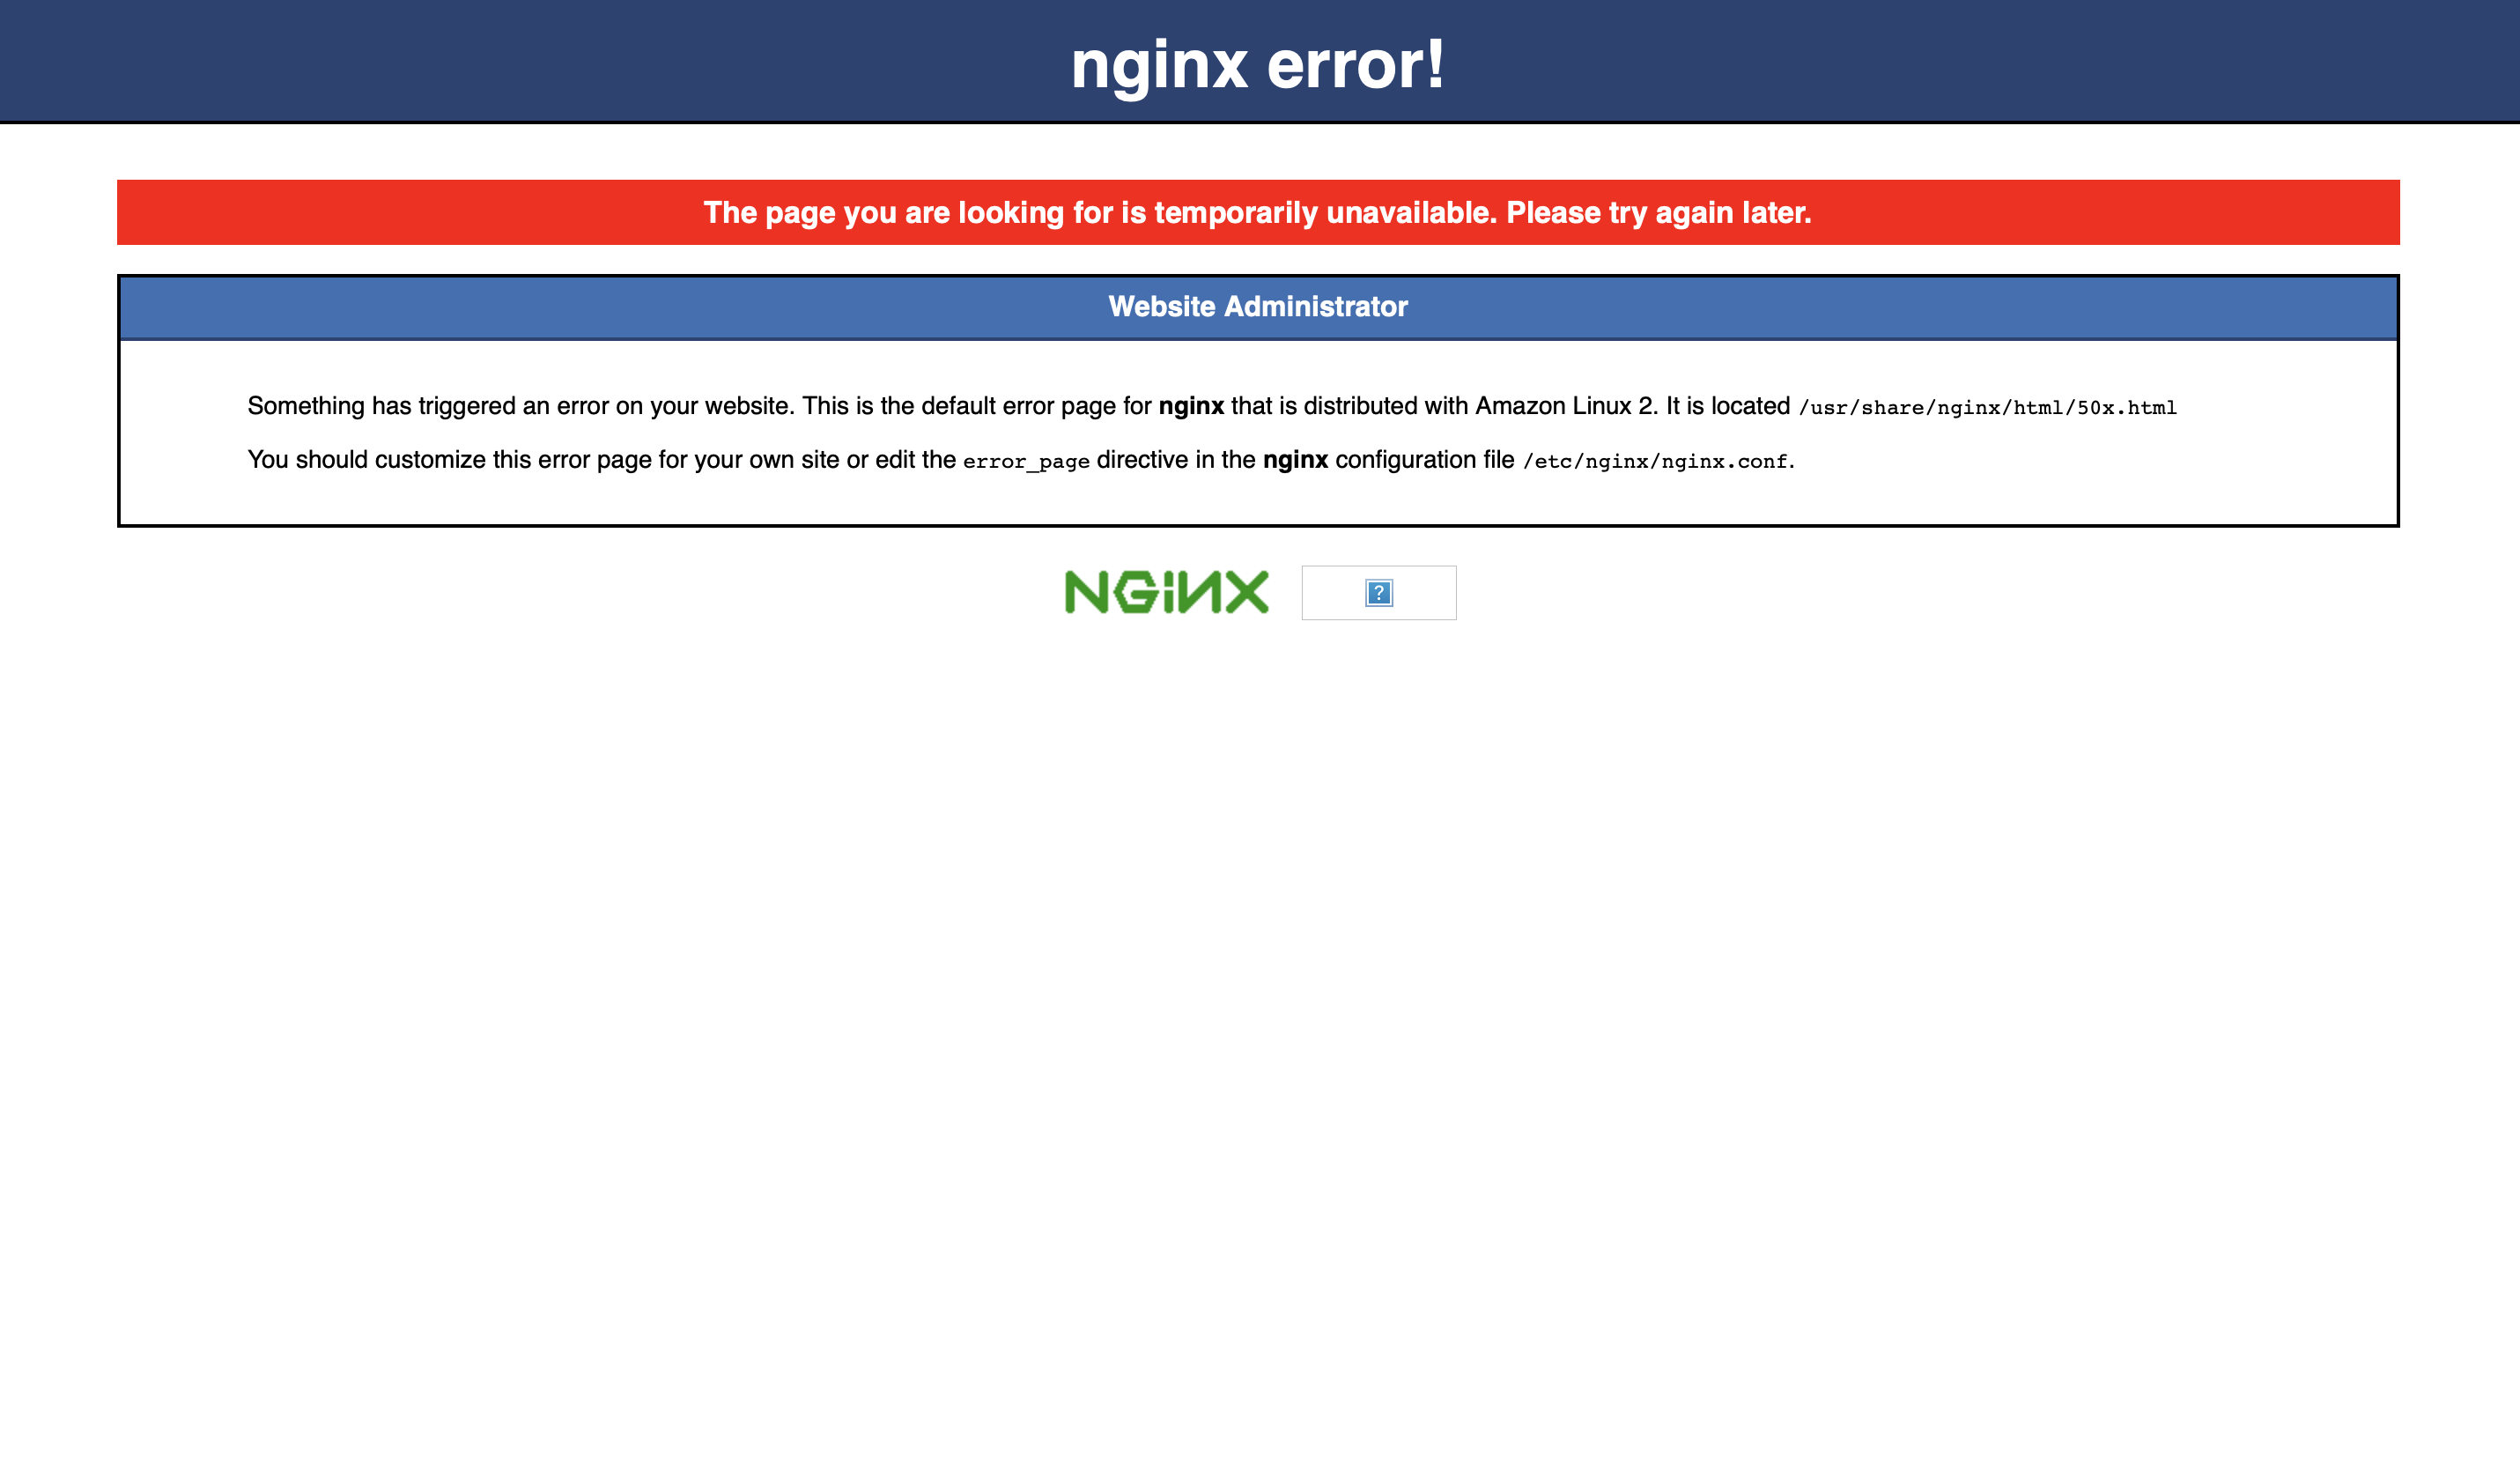
現状ではポート5000にてアプリケーションを起動していないため、以下のような画面が表示されればOKです。
3. EC2インスタンスに.NET Core Runtimeのインストール
続いて、.NET Coreアプリケーション実行のために、.NET Core Runtimeをインストールしていきます。
EC2インスタンスにSSHして、以下コマンドを実行します。
$ sudo rpm -Uvh https://packages.microsoft.com/config/centos/7/packages-microsoft-prod.rpm
$ sudo yum install -y aspnetcore-runtime-3.1
runtimeが正常にインストールされたかを確認します。
$ dotnet -h

# これが出力されればOK
  It was not possible to find any installed .NET Core SDKs
  Did you mean to run .NET Core SDK commands? Install a .NET Core SDK from:
      https://aka.ms/dotnet-download

Usage: dotnet [host-options] [path-to-application]

path-to-application:
  The path to an application .dll file to execute.

host-options:
  --additionalprobingpath <path>  Path containing probing policy and assemblies to probe for.
  --depsfile <path>               Path to <application>.deps.json file.
  --runtimeconfig <path>          Path to <application>.runtimeconfig.json file.
  --fx-version <version>          Version of the installed Shared Framework to use to run the application.
  --roll-forward <value>          Roll forward to framework version (LatestPatch, Minor, LatestMinor, Major, LatestMajor, Disable)
  --additional-deps <path>        Path to additional deps.json file.
  --list-runtimes                 Display the installed runtimes
  --list-sdks                     Display the installed SDKs

Common Options:
  -h|--help                           Displays this help.
  --info                              Display .NET Core information.
4. EC2インスタンスに.NET Coreアプリケーションをデプロイ
続いては.NET Coreアプリケーションのデプロイまでを一気にやっていきます。
まずは、アプリケーションをデプロイするディレクトリを作成しましょう。
EC2インスタンスにSSHして、以下コマンドを実行します。
$ sudo mkdir -p /var/www/asp-net-app
$ sudo chown ec2-user /var/www/asp-net-app
次に、アプリケーションを発行します。
ローカルマシンで以下コマンドを実行してください。
$ cd アプリケーションのルートディレクトリ/app/Web
$ dotnet publish -c Release

# これが表示されればOK
Microsoft (R) Build Engine version 16.7.0+7fb82e5b2 for .NET
Copyright (C) Microsoft Corporation. All rights reserved.

  Determining projects to restore...
  All projects are up-to-date for restore.
  Lib -> アプリケーションのルートディレクトリ/app/Lib/bin/Release/netcoreapp3.1/Lib.dll
  Web -> アプリケーションのルートディレクトリ/app/Web/bin/Release/netcoreapp3.1/Web.dll
  Web -> アプリケーションのルートディレクトリ/app/Web/bin/Release/netcoreapp3.1/Web.Views.dll
  Web -> アプリケーションのルートディレクトリ/app/Web/bin/Release/netcoreapp3.1/publish/
続いて、発行されたアプリケーションをデプロイしましょう。
以下コマンドをローカルマシンにて実行します。
$ scp -i "pemファイル" -r アプリケーションのルートディレクトリ/app/Web/bin/Release/netcoreapp3.1/publish/* ec2-user@サーバアドレス:/var/www/asp-net-app

# ファイルの転送状況が表示されていればOK
ここまででアプリケーションのデプロイが完了しました。
確認のため、EC2インスタンスにSSHして以下を実行してみましょう。
$ dotnet /var/www/asp-net-app/Web.dll
次に、ローカルマシンのブラウザでhttp://サーバIP/health/checkを表示してみます。
以下のようなレスポンスが返却されればサーバ上でアプリケーションの実行に成功しています。
5. サービスにアプリケーションを追加
以上の手順でEC2上にて.NET Coreアプリケーションを実行することに成功しましたが、このままだと実行ユーザがSSHでログインしたユーザになっているので、ログアウトするとアプリが停止してしまいます。
そんなWebアプリケーションは聞いたことがないので、nginxにアプリケーションの管理を任せ、ログアウト後も実行を継続させましょう。
まずは追加するサービスの構成ファイルを作成します。
以下コマンドを実行しましょう。
$ sudo vim /etc/systemd/system/kestrel-asp-net-app.service
[Unit]
Description=Service file for book app.

[Service]
WorkingDirectory=/var/www/asp-net-app
ExecStart=/usr/bin/dotnet /var/www/asp-net-app/Web.dll
Restart=always
RestartSec=10
SyslogIdentifier=dotnet-example
User=nginx
Environment=ASPNETCORE_ENVIRONMENT=Production

[Install]
WantedBy=multi-user.target
次に、作成したサービスをsystemctlに登録します。
以下コマンドを実行しましょう。
$ sudo systemctl enable kestrel-asp-net-app.service
$ sudo systemctl start kestrel-asp-net-app.service
以下コマンドで正常に起動しているかの確認ができます。
反映まで数秒かかる場合がありますので、焦らずに確認していきましょう。
$ systemctl status kestrel-asp-net-app.service

# これが表示されればOK
kestrel-asp-net-app.service - Service file for book app.
   Loaded: loaded (/etc/systemd/system/kestrel-asp-net-app.service; enabled; vendor preset: disabled)
   Active: active (running) since 日 2020-10-25 19:14:25 UTC; 11h ago
 Main PID: 9868 (dotnet)
   CGroup: /system.slice/kestrel-asp-net-app.service
           └─9868 /usr/bin/dotnet /var/www/asp-net-app/publish/Web.dll
以上でサービスへの登録が完了し、ログアウト後もサービスを続けることが可能になりました。
確認のため、SSH接続を終了し、ローカルマシンにてhttp://サーバIP/health/checkにアクセスしてみましょう。
{message:"ok"}が表示されれば正常にアプリケーションが動作しています。


