nvidia-docker2とは
コンテナでGPUを簡単に利用できるnvidia-docker2を利用してディープラーニング環境を構築します。nvidia-dockerを使うことによって、GPUのドライバとCUDA/cuDNNの関係を疎結合にすることができます。コンテナ化により環境構築が楽になるだけでなく、同一ホスト上で複数のCUDA/cuDNNのバージョンのコンテナを動かす事ができるため、CUDA/cuDNNを使っているポータビリティが向上します。

2017年11月にリリースされたnvidia-docker2ですが、公式ガイドによると、nvidia-dockerとnvidia-docker2の違いは以下のとおりです。
- Docker CLIをラップする必要がなくなった。別のデーモンは必要ありません。これによりnvidia-dockerコマンドではなく、標準のdockerコマンドが使えるようになった。
- Dockerエコシステム(Swarmkit、Composeなど)をシームレスに統合できるようになった。
- GPUアイソレーションは、コンテナ環境変数NVIDIA_VISIBLE_DEVICES(NV_GPUではなく)で実現されるようになった。
- 公式のCUDAイメージだけでなく任意のDockerイメージに対してGPUサポートを有効にすることができるようになった。
- HTTP監視機能が削除された。例えば、DCGMなど他のツールを使用することが推奨されている。
- パッケージリポジトリが、UbuntuとCentOSで利用できるようになった。
- libnvidia-containerに基づく新しい実装が使用されるようになった。
GPUサーバーの起ち上げ
IBM Cloudでは、ベアメタル(物理サーバー)、仮想サーバーどちらでもGPUが利用可能です。2018年5月現在、IBM Cloudで利用できるGPU一覧は以下のとおりです。東京DCでは、Tesla K80, Tesla M60, Tesla P100が利用可能です。最新情報はこちらを確認ください。

ここではGPUはNvidia Tesla P100を利用します。サーバー・タイプは、時間課金の仮想サーバーとします。IBM Cloudのアカウントを作成し、IBM Cloud IaaSのカスタマー・ポータル(https://control.softlayer.com) からオーダーします。スペックは以下としました。
セキュリティ・グループを使って不要なポートは閉じておきます。5分ほどで起ち上がるのでSSHクライアントからログインします。GPUの型番を確認します。
OSにログインして、パッケージを最新化します。
$ sudo apt update
取得した最新パッケージの中に、インストール済みのパッケージの最新版があれば、それをインストールします。
$ sudo apt upgrade
DKMS (Dynamic Kernel Module Support)をインストールします。
$ apt install dkms
CUDA Toolkitのインストール
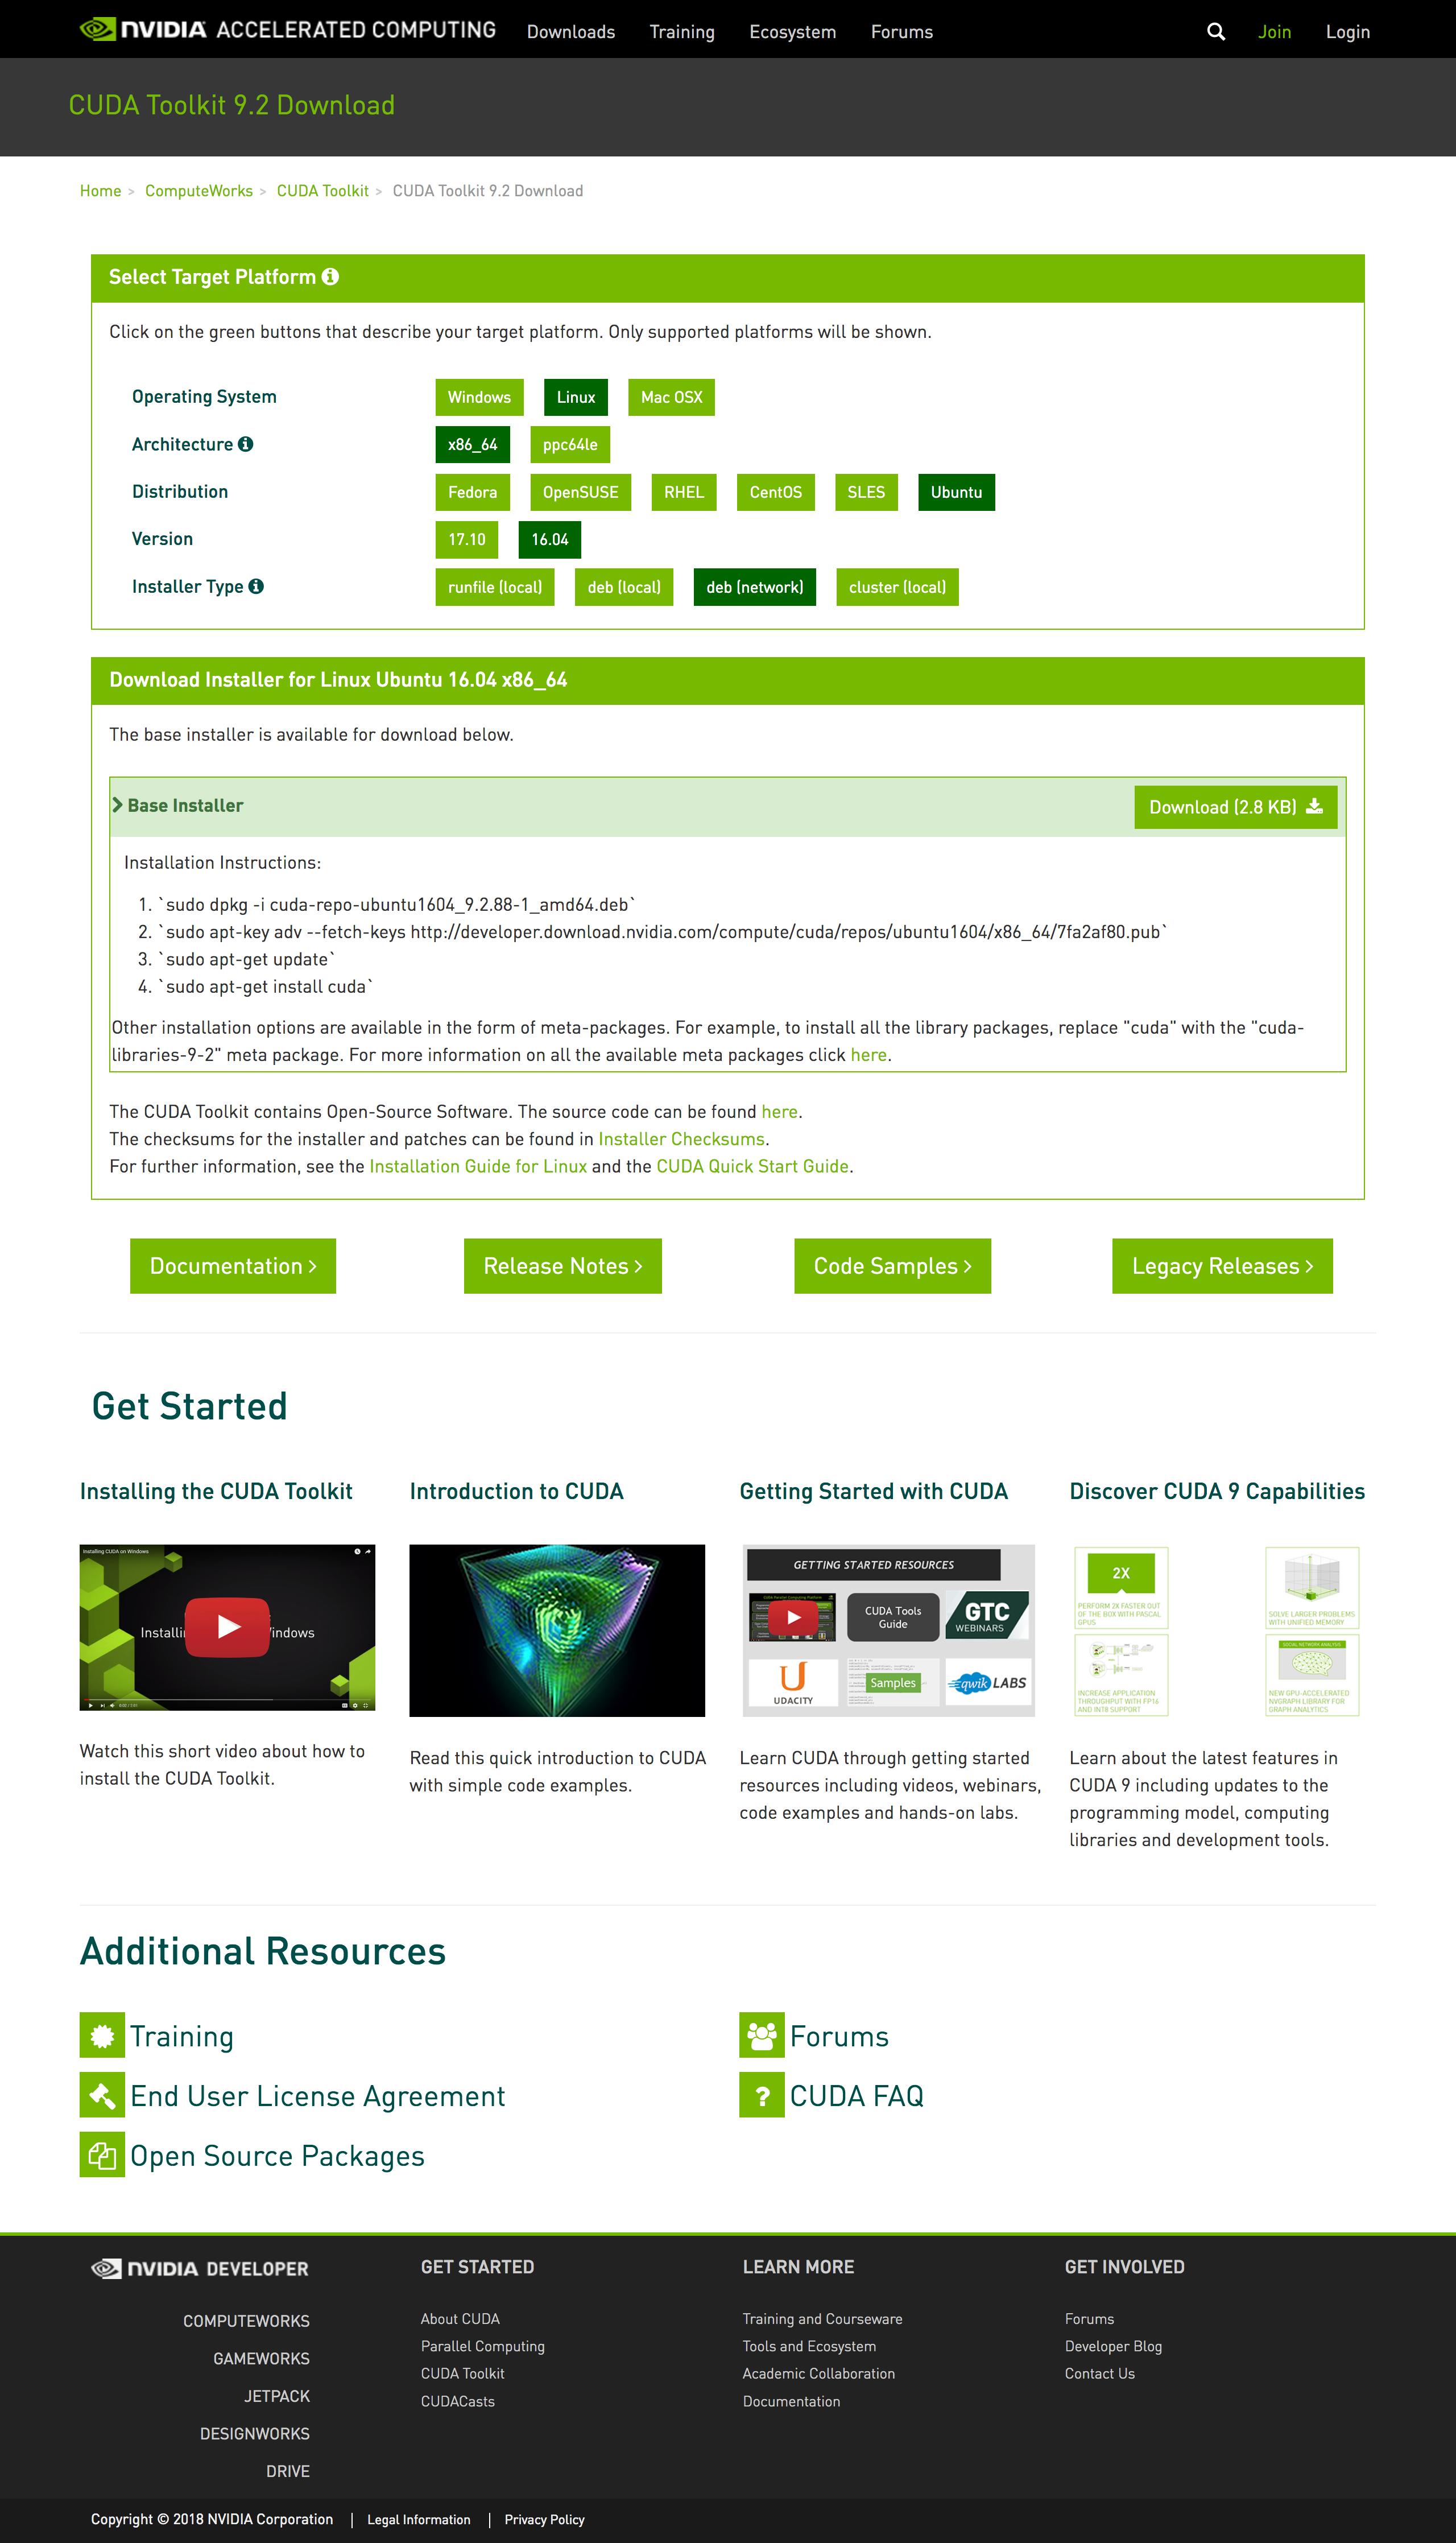
公式ガイドを参考にCUDA Toolkitをインストールします。ダウンロードはこちらから。ここではwgetコマンドでモジュールをダウンロードします。
$ sudo wget https://developer.download.nvidia.com/compute/cuda/repos/ubuntu1604/x86_64/cuda-repo-ubuntu1604_9.2.88-1_amd64.deb
$ sudo dpkg -i cuda-repo-ubuntu1604_9.2.88-1_amd64.deb
$ sudo apt-key adv --fetch-keys http://developer.download.nvidia.com/compute/cuda/repos/ubuntu1604/x86_64/7fa2af80.pub
$ sudo apt-get update
$ sudo apt-get install cuda
nvidia-smiコマンドCUDA ToolkitがインストールされGPUが正しく動作していることを確認します。Tesla P100が2基あることが分かります。
$ nvidia-smi
Wed May 23 04:41:15 2018
+-----------------------------------------------------------------------------+
| NVIDIA-SMI 396.26                 Driver Version: 396.26                    |
|-------------------------------+----------------------+----------------------+
| GPU  Name        Persistence-M| Bus-Id        Disp.A | Volatile Uncorr. ECC |
| Fan  Temp  Perf  Pwr:Usage/Cap|         Memory-Usage | GPU-Util  Compute M. |
|===============================+======================+======================|
|   0  Tesla P100-PCIE...  Off  | 00000000:00:07.0 Off |                    0 |
| N/A   29C    P0    30W / 250W |      0MiB / 16280MiB |      0%      Default |
+-------------------------------+----------------------+----------------------+
|   1  Tesla P100-PCIE...  Off  | 00000000:00:08.0 Off |                    0 |
| N/A   33C    P0    27W / 250W |      0MiB / 16280MiB |      0%      Default |
+-------------------------------+----------------------+----------------------+

+-----------------------------------------------------------------------------+
| Processes:                                                       GPU Memory |
|  GPU       PID   Type   Process name                             Usage      |
|=============================================================================|
|  No running processes found                                                 |
+-----------------------------------------------------------------------------+
Dockerのインストール
次に、公式ガイドにしたがいDockerをインストールします。
DockerのオフィシャルのGPG keyを追加します。
$ curl -fsSL https://download.docker.com/linux/ubuntu/gpg | sudo apt-key add -
Dockerの指紋鍵9DC8 5822 9FC7 DD38 854A E2D8 8D81 803C 0EBF CD88を確認します
$ apt-key list
Key fingerprint = 9DC8 5822 9FC7 DD38 854A  E2D8 8D81 803C 0EBF CD88
uid                  Docker Release (CE deb) <docker@docker.com>
sub   4096R/F273FCD8 2017-02-22
下8桁0EBF CD88を適用します。
$sudo apt-key fingerprint 0EBFCD88
pub   4096R/0EBFCD88 2017-02-22
      Key fingerprint = 9DC8 5822 9FC7 DD38 854A  E2D8 8D81 803C 0EBF CD88
uid                  Docker Release (CE deb) <docker@docker.com>
sub   4096R/F273FCD8 2017-02-22
レポジトリを追加します。
$ sudo add-apt-repository "deb [arch=amd64] https://download.docker.com/linux/ubuntu $(lsb_release -cs) stable"
パッケージを更新します。
$ sudo apt-get update
Dockerをインストールします。
$ sudo apt-get install docker-ce
Dockerの稼働確認をします。
$ sudo docker run hello-world
正常にインストールされると以下が出力されます。
Hello from Docker!
This message shows that your installation appears to be working correctly.

To generate this message, Docker took the following steps:
 1. The Docker client contacted the Docker daemon.
 2. The Docker daemon pulled the "hello-world" image from the Docker Hub.
    (amd64)
 3. The Docker daemon created a new container from that image which runs the
    executable that produces the output you are currently reading.
 4. The Docker daemon streamed that output to the Docker client, which sent it
    to your terminal.

To try something more ambitious, you can run an Ubuntu container with:
 $ docker run -it ubuntu bash

Share images, automate workflows, and more with a free Docker ID:
 https://hub.docker.com/

For more examples and ideas, visit:
 https://docs.docker.com/engine/userguide/
nvidia-docker2のインストール
パッケージ・リポジトリを追加します。
$ curl -s -L https://nvidia.github.io/nvidia-docker/gpgkey | sudo apt-key add -
$ distribution=$(. /etc/os-release;echo $ID$VERSION_ID)
$ curl -s -L https://nvidia.github.io/nvidia-docker/$distribution/nvidia-docker.list | sudo tee /etc/apt/sources.list.d/nvidia-docker.list
$ sudo apt-get update
nvidia-docker2をインストールし、Dockerデーモンの設定をリロードします。
$ sudo apt-get install -y nvidia-docker2
$ sudo pkill -SIGHUP dockerd
最新の公式CUDAイメージでnvidia-smiをテストします。
$ docker run --runtime=nvidia --rm nvidia/cuda nvidia-smi
Unable to find image 'nvidia/cuda:latest' locally
latest: Pulling from nvidia/cuda
297061f60c36: Pull complete
e9ccef17b516: Pull complete
dbc33716854d: Pull complete
8fe36b178d25: Pull complete
686596545a94: Pull complete
aa76f513fc89: Pull complete
c92f47f1bcde: Pull complete
172daef71cc3: Pull complete
e282ce84267d: Pull complete
91cebab434dc: Pull complete
Digest: sha256:6eb90fe2efe0579956bb5dc4fe6b909e9f91a3f0482d9068d2886cf27185a2f6
Status: Downloaded newer image for nvidia/cuda:latest
Wed May 23 05:37:39 2018
+-----------------------------------------------------------------------------+
| NVIDIA-SMI 396.26                 Driver Version: 396.26                    |
|-------------------------------+----------------------+----------------------+
| GPU  Name        Persistence-M| Bus-Id        Disp.A | Volatile Uncorr. ECC |
| Fan  Temp  Perf  Pwr:Usage/Cap|         Memory-Usage | GPU-Util  Compute M. |
|===============================+======================+======================|
|   0  Tesla P100-PCIE...  Off  | 00000000:00:07.0 Off |                    0 |
| N/A   30C    P0    30W / 250W |      0MiB / 16280MiB |      0%      Default |
+-------------------------------+----------------------+----------------------+
|   1  Tesla P100-PCIE...  Off  | 00000000:00:08.0 Off |                    0 |
| N/A   34C    P0    28W / 250W |      0MiB / 16280MiB |      0%      Default |
+-------------------------------+----------------------+----------------------+

+-----------------------------------------------------------------------------+
| Processes:                                                       GPU Memory |
|  GPU       PID   Type   Process name                             Usage      |
|=============================================================================|
|  No running processes found                                                 |
+-----------------------------------------------------------------------------+
コンテナ上で実行したnvidia-smiコマンドの結果が正しく返ってきていればOKです。
TensorFlowコンテナの起動
公式ガイドを参考にTensorFlowコンテナを起動します。
# nvidia-docker run -it -p 8888:8888 tensorflow/tensorflow:latest-gpu
Unable to find image 'tensorflow/tensorflow:latest-gpu' locally
latest-gpu: Pulling from tensorflow/tensorflow
d3938036b19c: Pull complete
a9b30c108bda: Pull complete
67de21feec18: Pull complete
817da545be2b: Pull complete
d967c497ce23: Pull complete
5ddeb439bad8: Pull complete
c6496427ad3b: Pull complete
360fde1360ca: Pull complete
1c3227e49e63: Pull complete
ec2edd14d4b6: Pull complete
96c7a24a6f0c: Pull complete
dee49a23eeb6: Pull complete
3c5ca73fbac5: Pull complete
50f4e1802dc1: Pull complete
316fabb600d5: Pull complete
62c1e601d7a6: Pull complete
Digest: sha256:d31c50ce2d31a21cb5396be59fcab4f8dba405dda2fcaf0f747a407ca277c9f0
Status: Downloaded newer image for tensorflow/tensorflow:latest-gpu
[I 05:40:20.101 NotebookApp] Writing notebook server cookie secret to /root/.local/share/jupyter/runtime/notebook_cookie_secret
[W 05:40:20.120 NotebookApp] WARNING: The notebook server is listening on all IP addresses and not using encryption. This is not recommended.
[I 05:40:20.129 NotebookApp] Serving notebooks from local directory: /notebooks
[I 05:40:20.129 NotebookApp] 0 active kernels
[I 05:40:20.130 NotebookApp] The Jupyter Notebook is running at:
[I 05:40:20.130 NotebookApp] http://[all ip addresses on your system]:8888/?token=65e0bfb73c00abd288d55f29b5b17210ab2bb6aca7bf6c9e
[I 05:40:20.130 NotebookApp] Use Control-C to stop this server and shut down all kernels (twice to skip confirmation).
[C 05:40:20.130 NotebookApp]

    Copy/paste this URL into your browser when you connect for the first time,
    to login with a token:
        http://localhost:8888/?token=65e0bfb73c00abd288d55f29b5b17210ab2bb6aca7bf6c9e
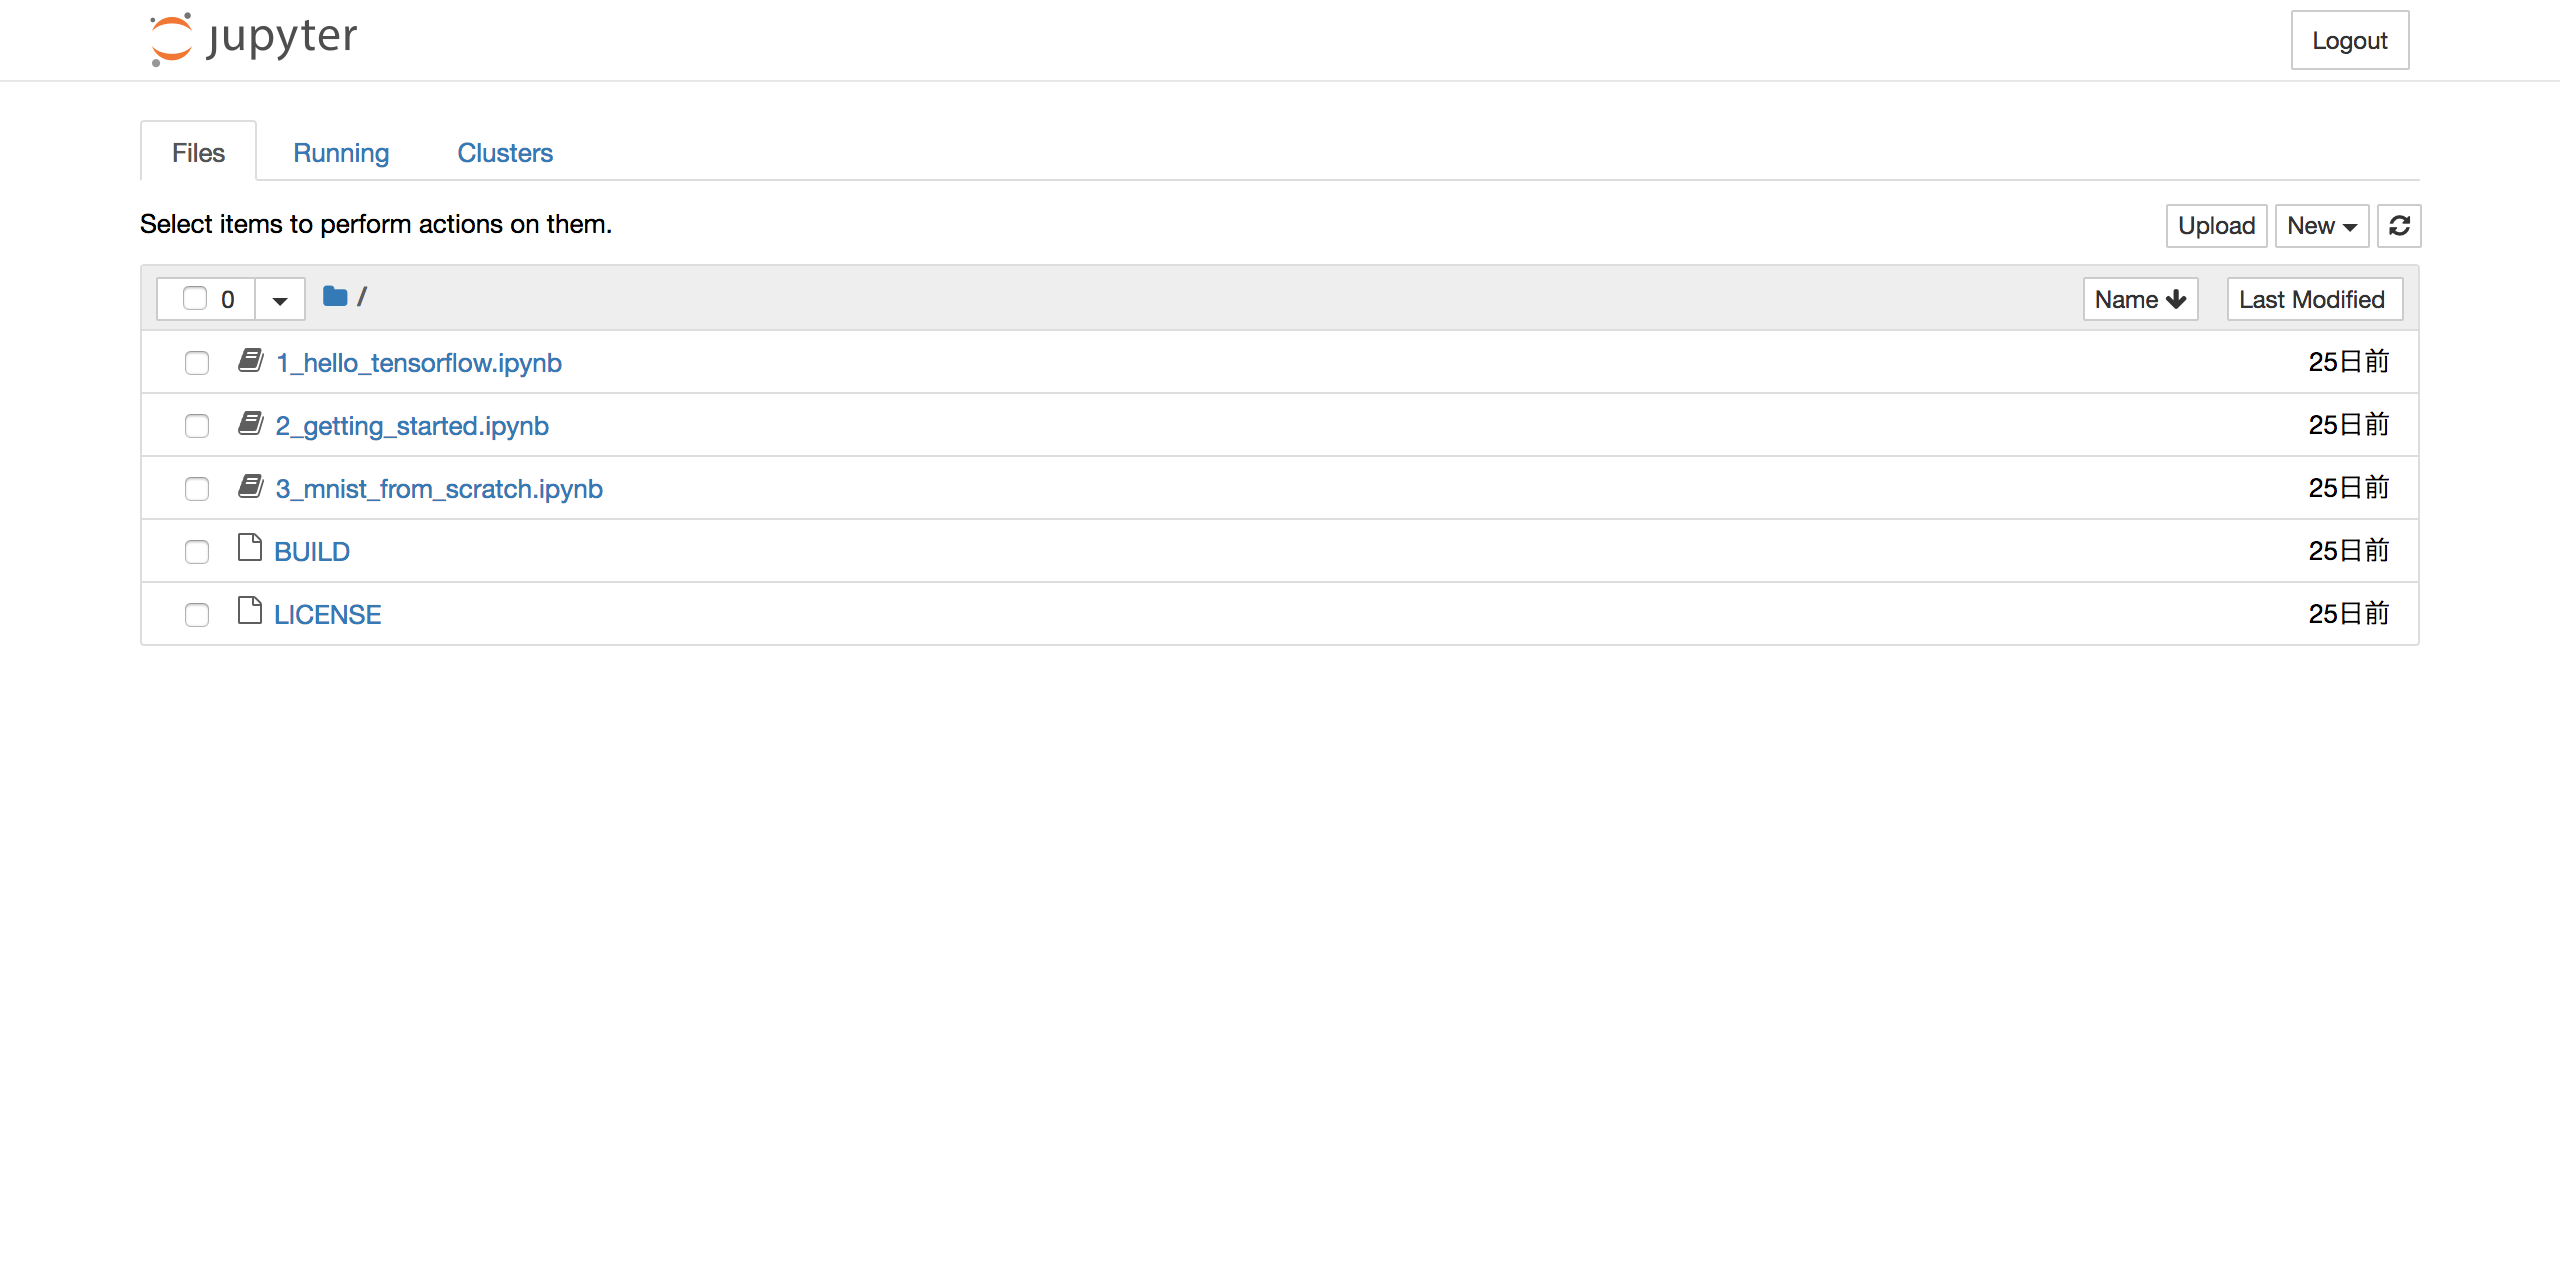
ブラウザから上記URL(http://XXX.XXX.XXX.XXX:8888/tree
)アクセスするとJupyter Notebookが起動していることがわかります。インターネット経由でアクセスする場合は、パブリックIPアドレスを利用してセキュリティ・グループで該当ポートを開放してください。
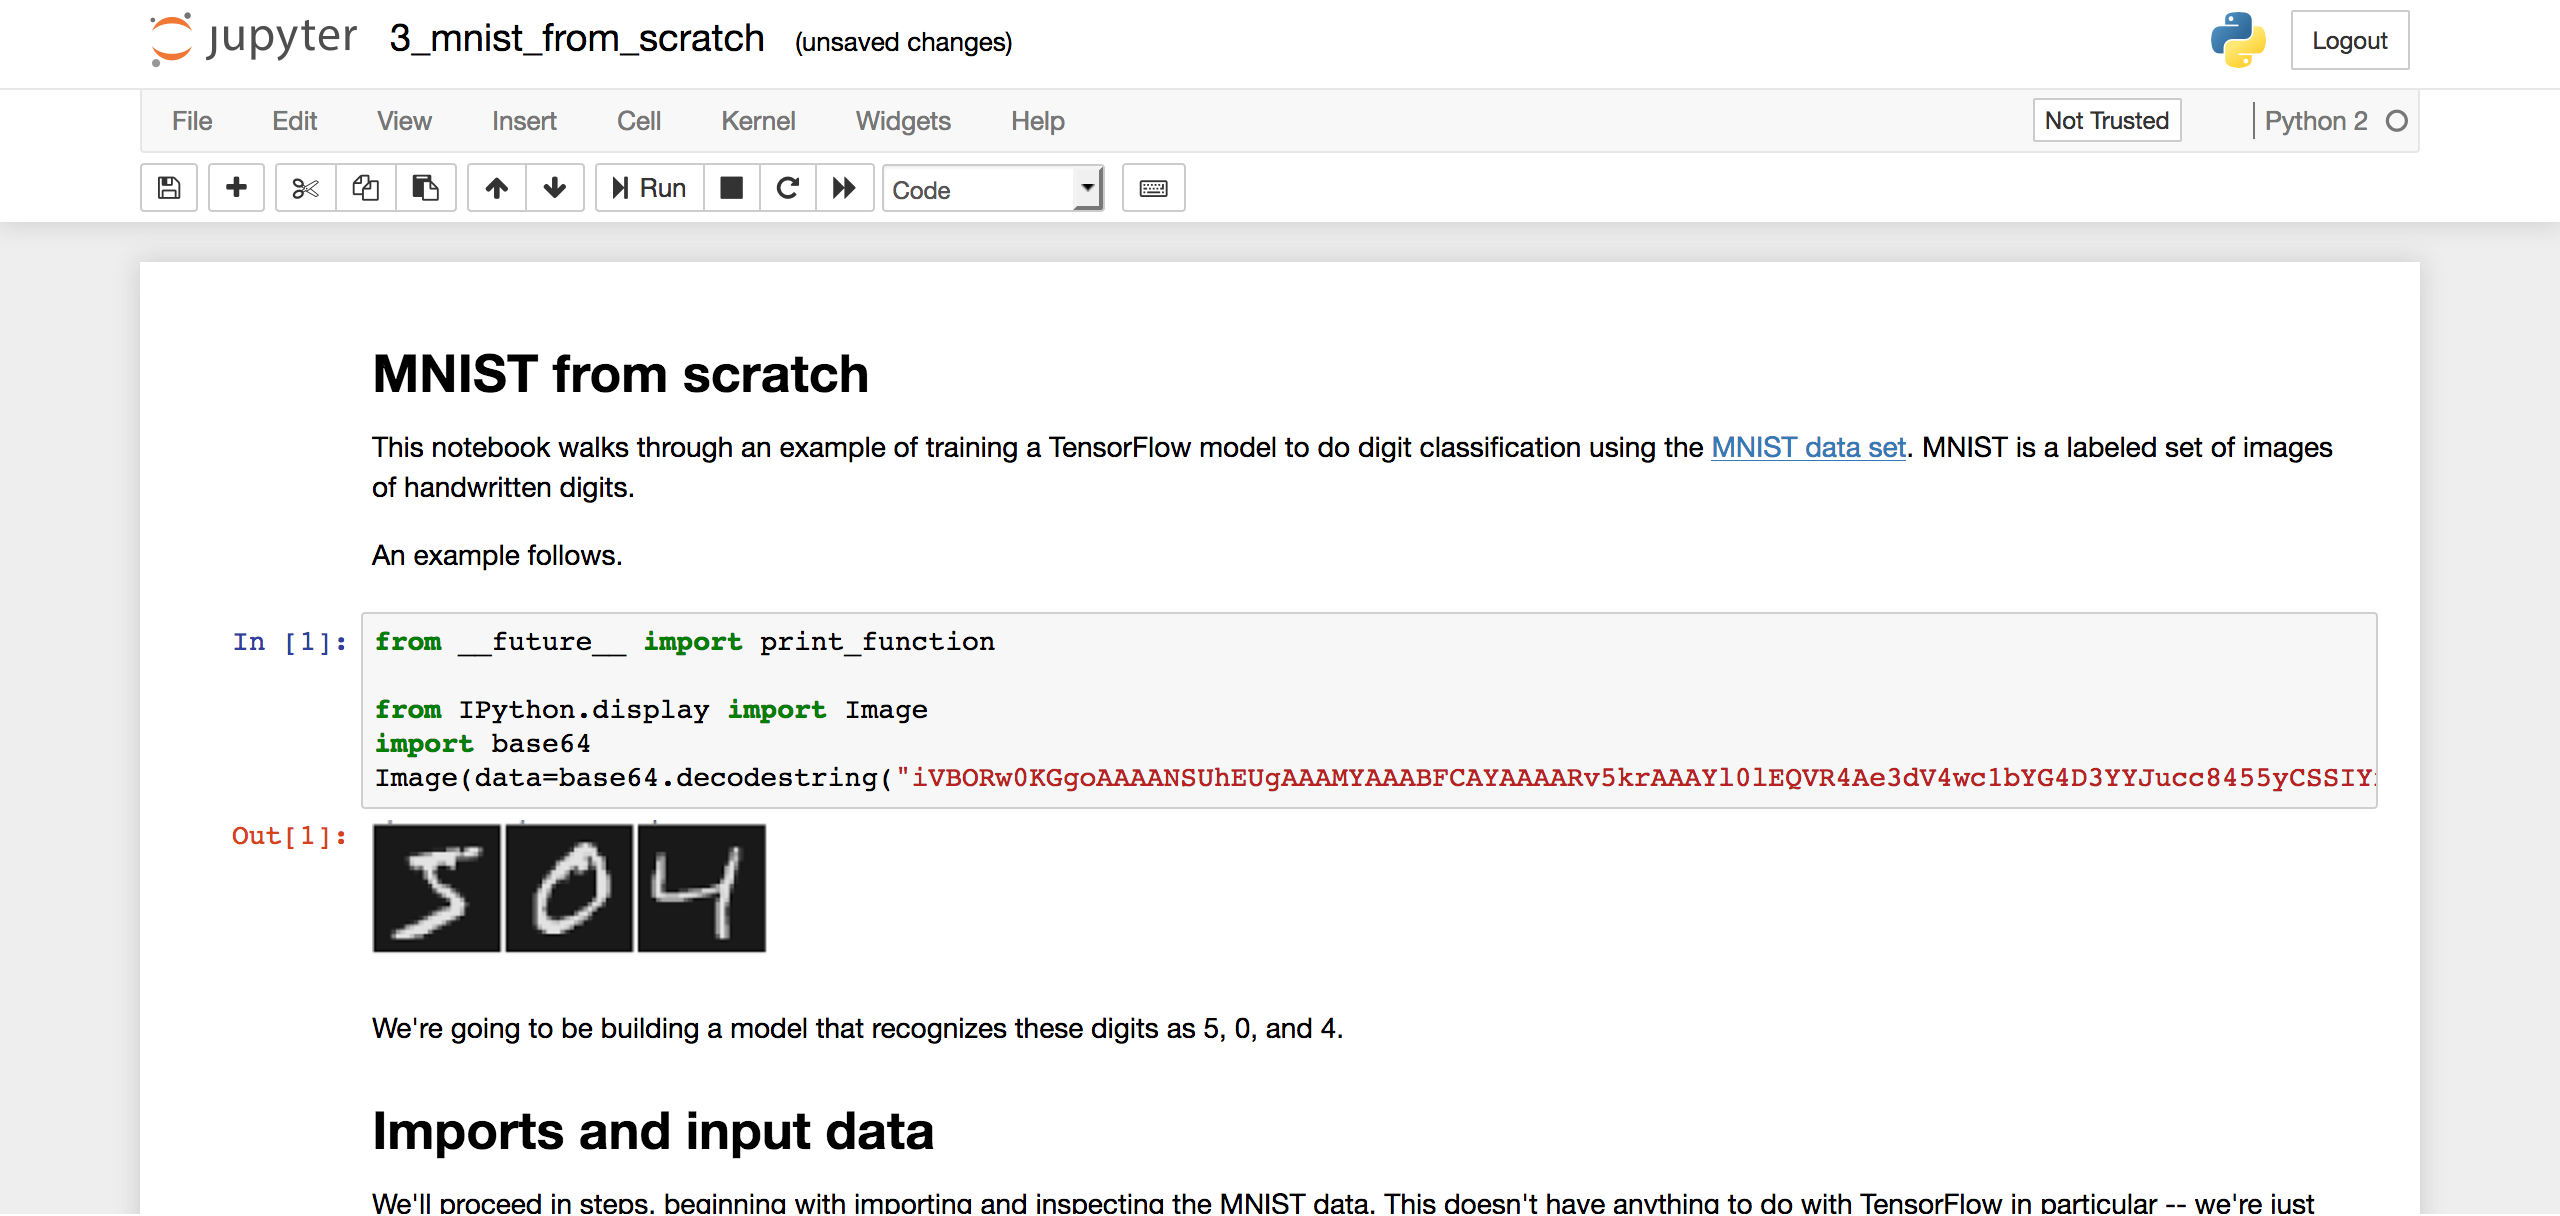
サンプルのMNISTが正常に実行できれば環境構築は完了!
以上


