はじめに
2019年年始の(勝手にやってる)宿題の一貫でRaspiにAVSを入れるってのをやってみることにしました。
前回はRaspberry Pi2にRaspbianをインストールするを行いました。
今回は、そのRasbianをインストールしたところにAlexa Voice Service(AVS)をインストールしてみます。
参考サイト
https://github.com/alexa/avs-device-sdk/wiki/Raspberry-Pi-Quick-Start-Guide-with-Script
https://developer.amazon.com/ja/docs/alexa-voice-service/input-avs-credentials.html
https://developer.amazon.com/ja/docs/alexa-voice-service/build-the-avs-device-sdk.html
https://developer.amazon.com/ja/docs/alexa-voice-service/get-a-refresh-token.html
https://developer.amazon.com/ja/docs/alexa-voice-service/talk-with-alexa.html
https://developer.amazon.com/ja/docs/alexa-voice-service/set-device-location.html
https://qiita.com/Dimeiza/items/182c4847d7c1ead7df54
前提条件
Raspberry Pi 2 modelB
macOS High Sierra バージョン10.13.6
microSD 16GB
Rasbian Stretch with desktop
WiFiに接続済み
AVSのインストール
それでは、RaspiにAVSをインストールしていきます。
内容は公式サイトに書いてる内容を実行していきます。
1. インストールスクリプトと設定ファイルのダウンロード
まずはインストールスクリプトや設定ファイルをダウンロードします。
wget https://raw.githubusercontent.com/alexa/avs-device-sdk/master/tools/Install/setup.sh \
wget https://raw.githubusercontent.com/alexa/avs-device-sdk/master/tools/Install/genConfig.sh \
wget https://raw.githubusercontent.com/alexa/avs-device-sdk/master/tools/Install/pi.sh
成功したらこんな感じになります。

2. config.jsonの配置
AVSの設定編で取得したconfig.jsonを配置するときがやってきました。
今回の場合だと、「/home/pi/」配下にconfig.jsonを配置してください。
3. セットアップスクリプトの実行
先程ダウンロードしたセットアップスクリプトとconfig.jsonを使って、実行を行います。
最後に設定する数字はデバイスのシリアル番号となります。「-s」以降を設定しない場合は、
自動的にデバイスのシリアル番号は「123456」となります。
デバイスのシリアル番号は、任意で一意の英数字文字列(最大64文字)で形成します。
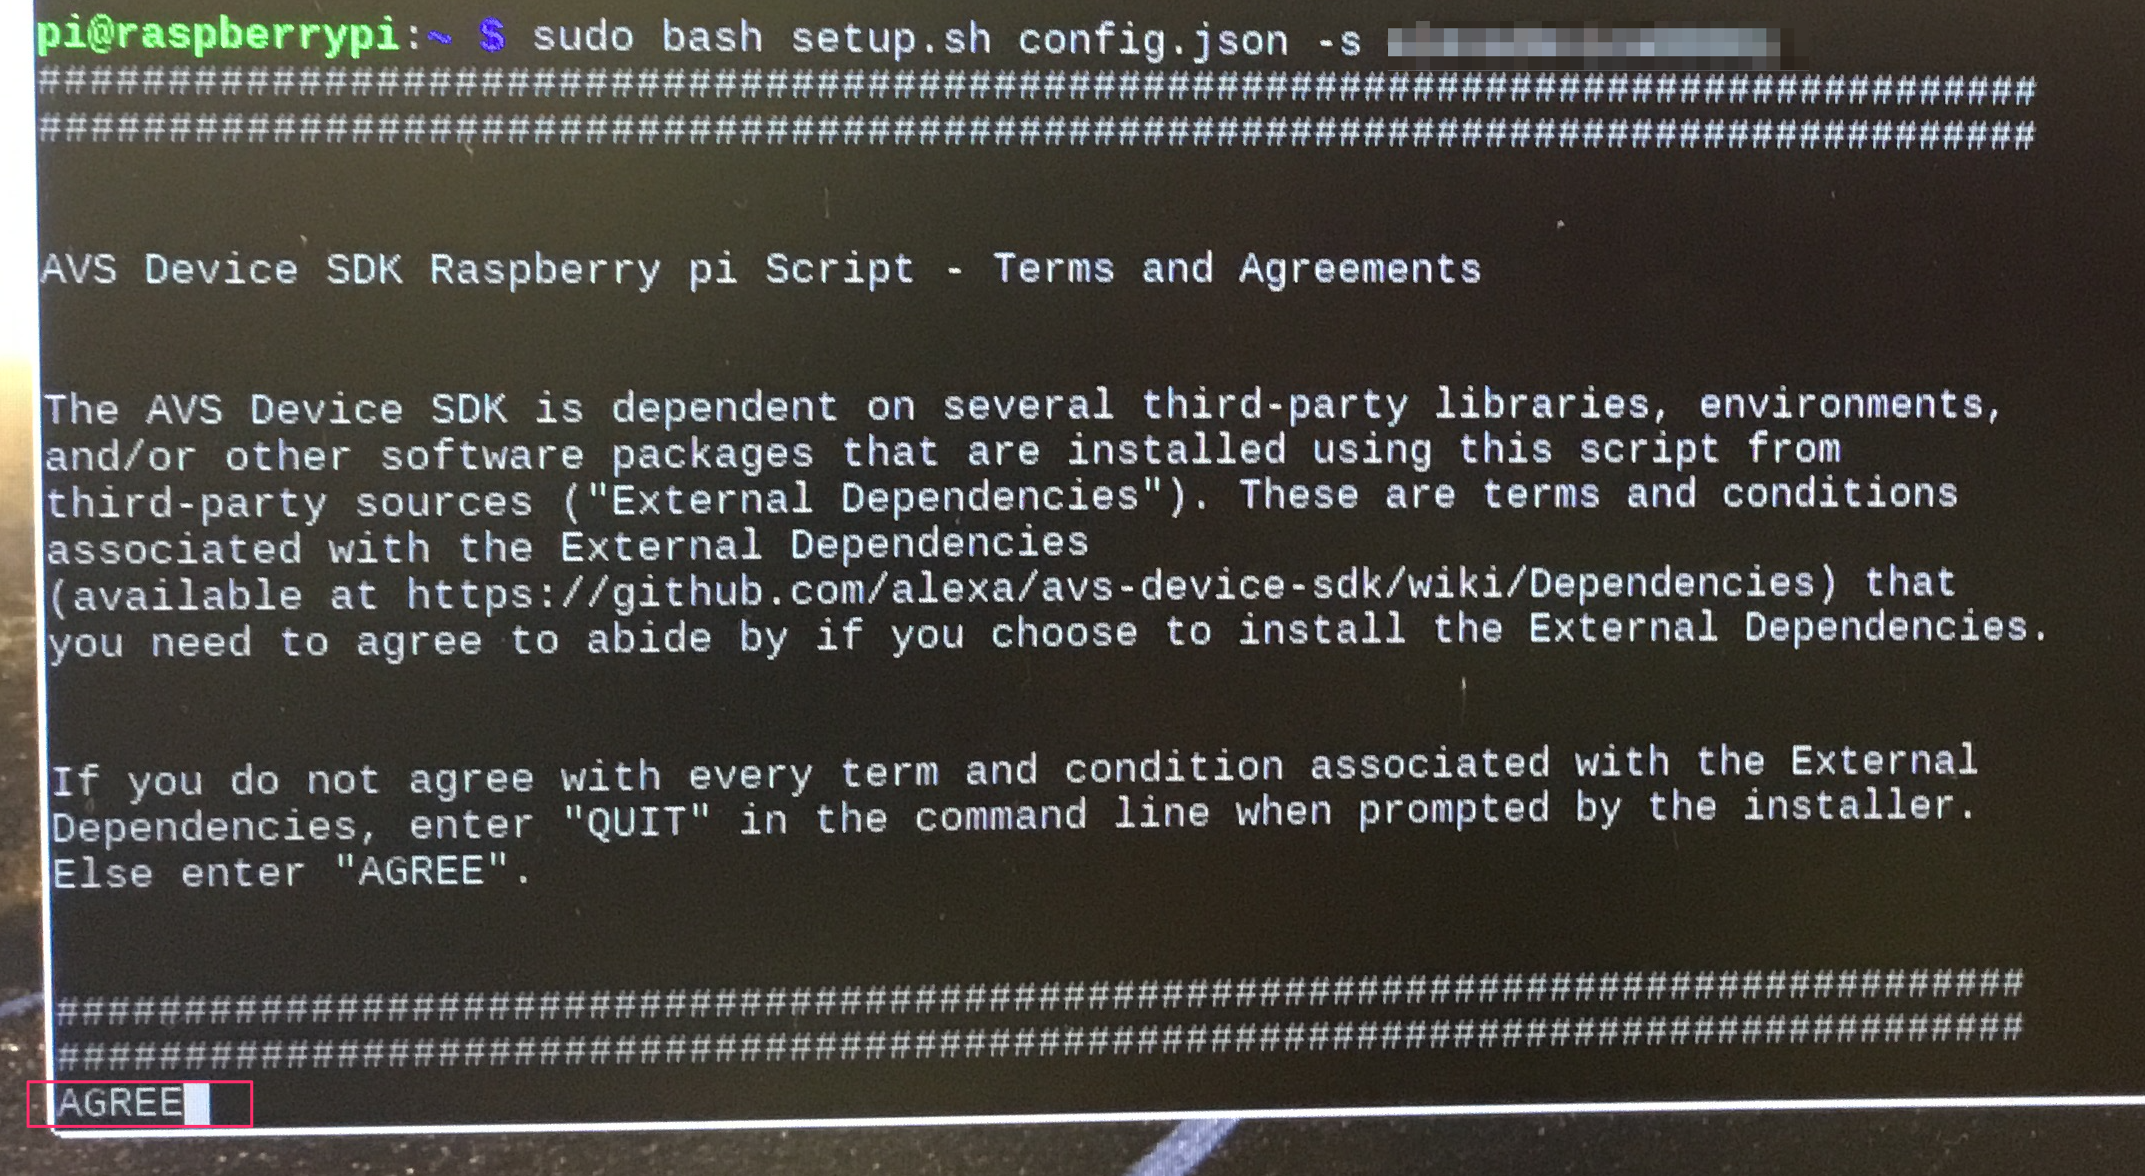
$ sudo bash setup.sh config.json -s alexa123456
実行すると以下のような画面になりますので、最後に「AGREE」と入力して、Enterキーを押してください。ちょっと時間がかかります。
しばらくすると
Press RETURN to review the license agreement and update the files.
と出力しますので、Enterキーを押してください。
その直後に、
Please type yes or no.
Do you accept this license agreement? [yes or no]:
と出力しますので、「yes」と入力してください。
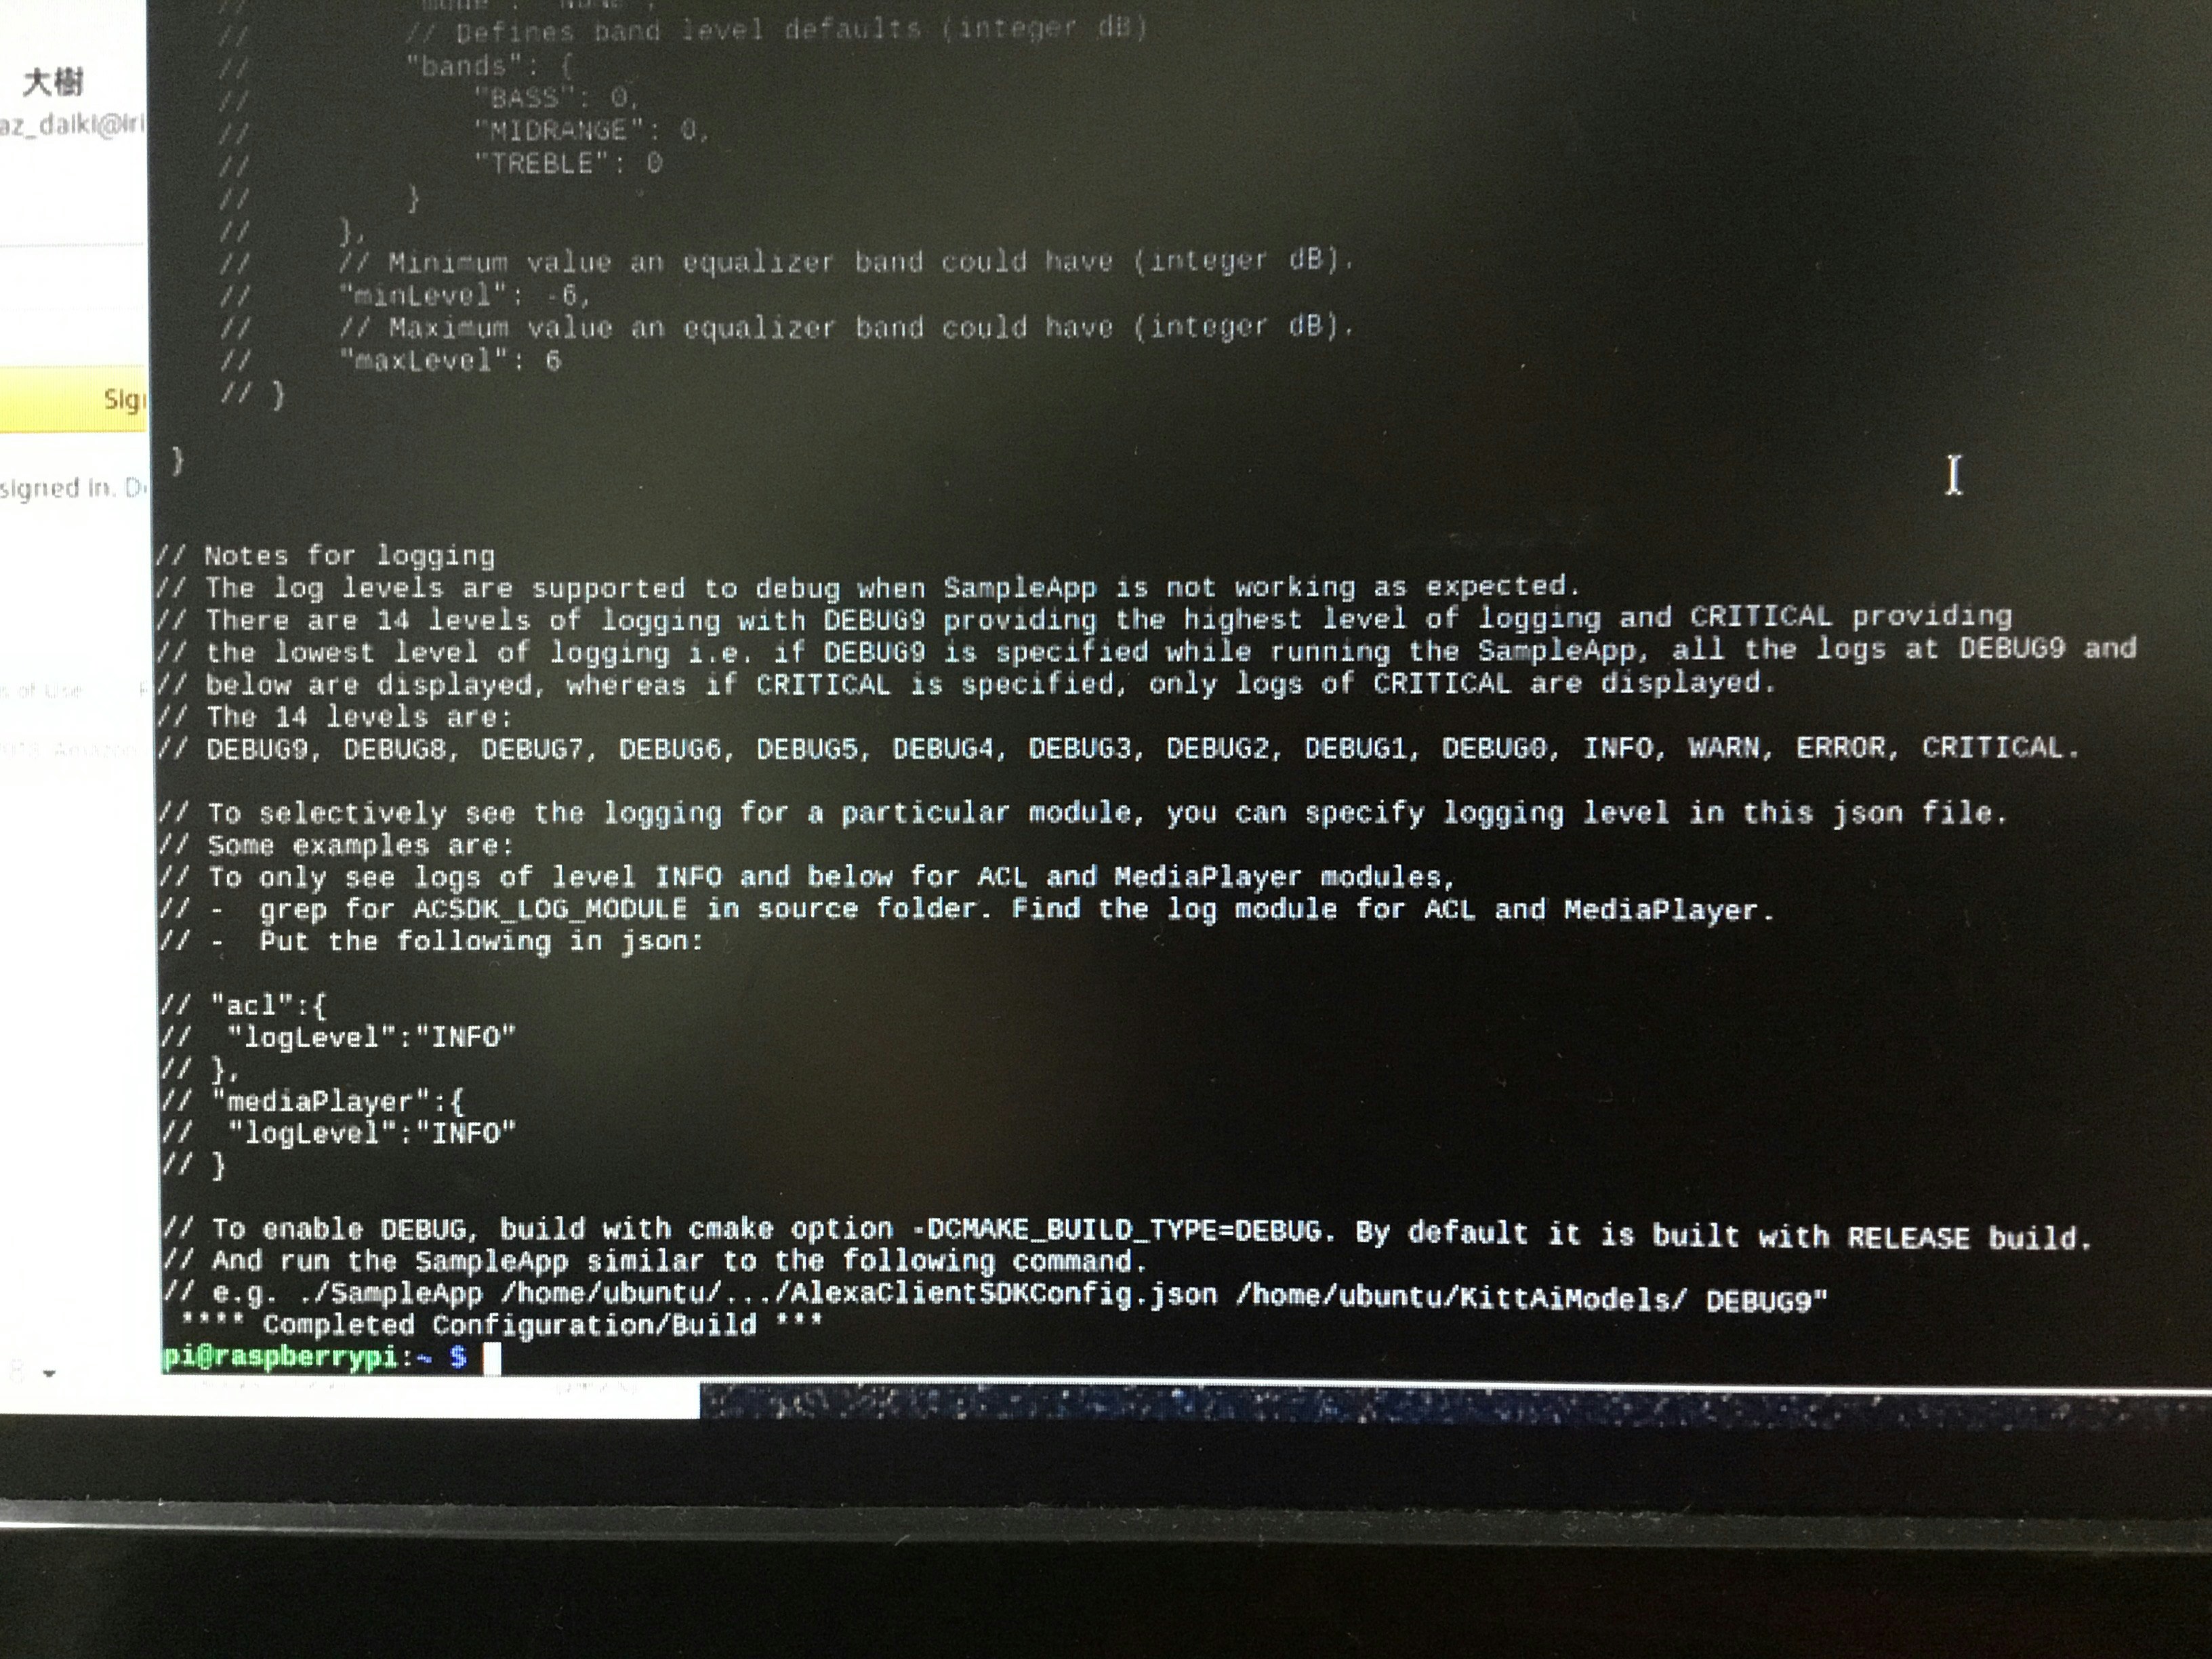
この後、コンパイルが実行されてだいたい10〜15分程度で完了します。
4. 承認と実行
デバイス上で初めてサンプルアプリケーションを実行するときは、クライアントにAVSへのアクセスを許可する必要があります。
次のコマンドを実行します。
$ sudo bash startsample.sh
...
...
######################################################
#       > > > > > NOT YET AUTHORIZED < < < < <       #
######################################################

############################################################################################
#     To authorize, browse to: 'https://amazon.com/us/code' and enter the code: {XXXX}     #
############################################################################################
実行すると上記のような結果が出力されます。
メッセージの最後に、 「認証するためにはURLにアクセスして、「code」の後ろに書かれたコードを入力しろ」 と書かれているので、Raspberry Piのブラウザを立ち上げて、以下のURLにアクセスします。
https://amazon.com/us/code
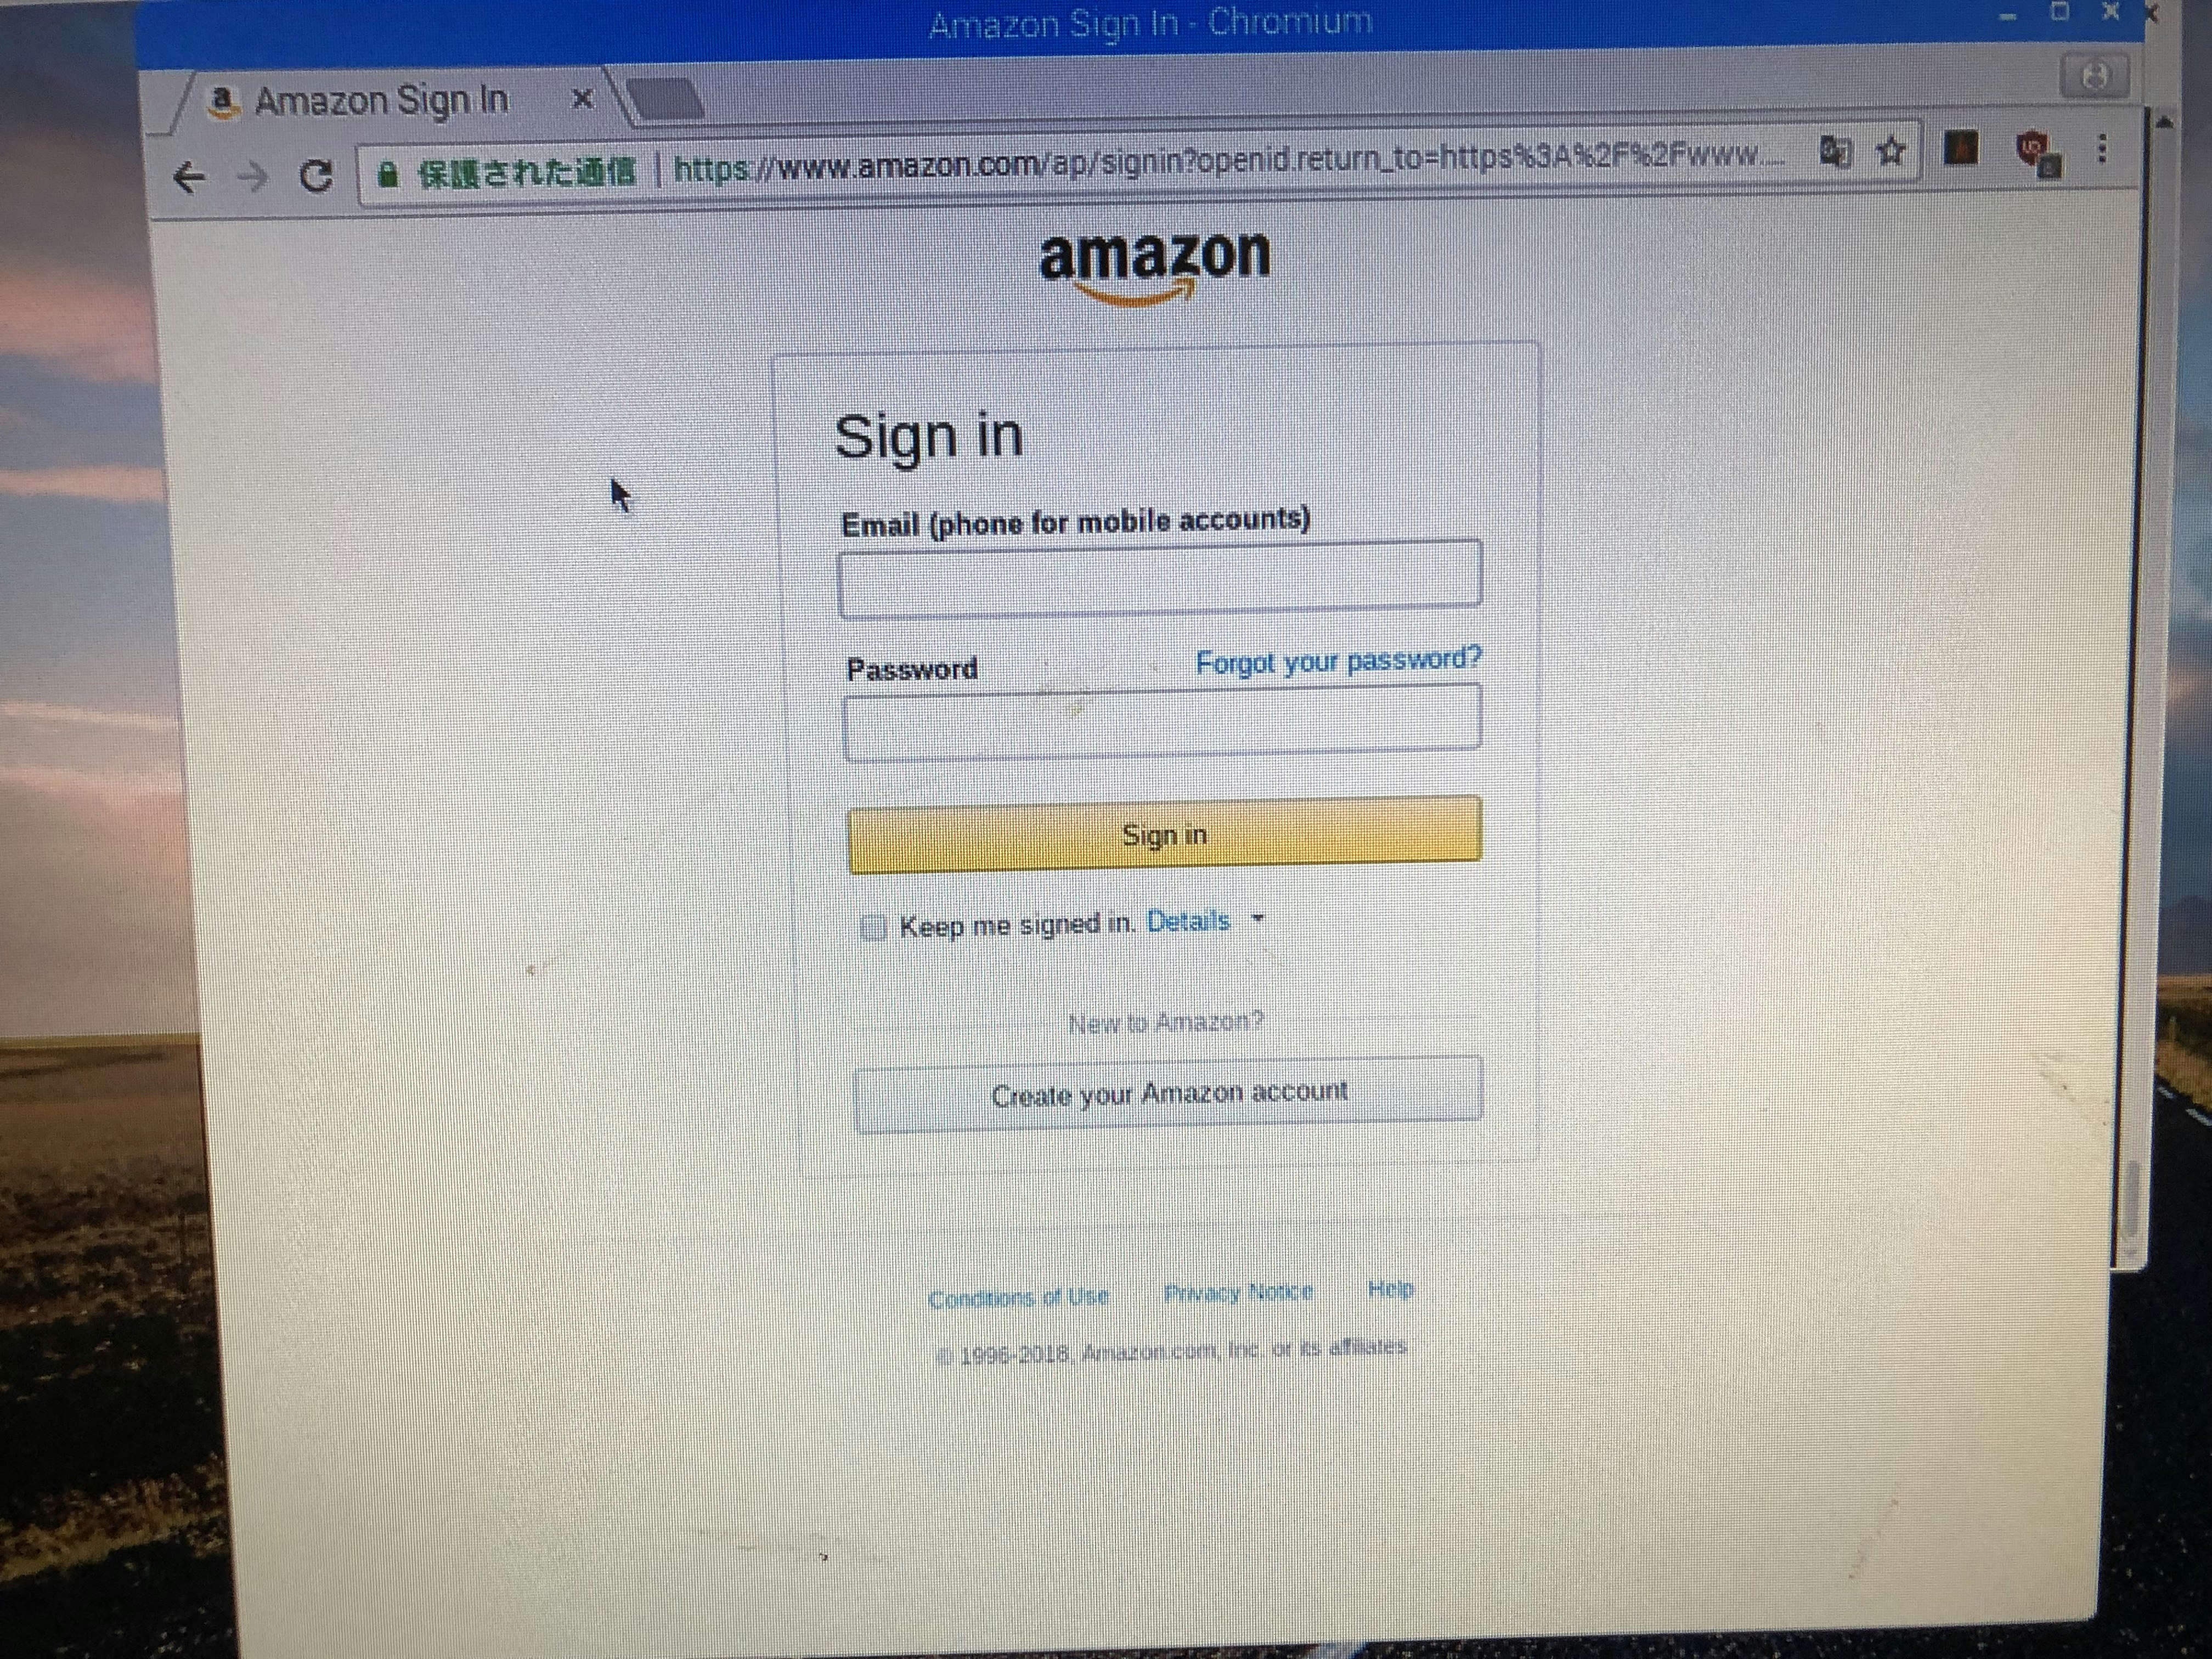
するとAmazonのユーザー認証画面が表示されるので、サインインしてください。
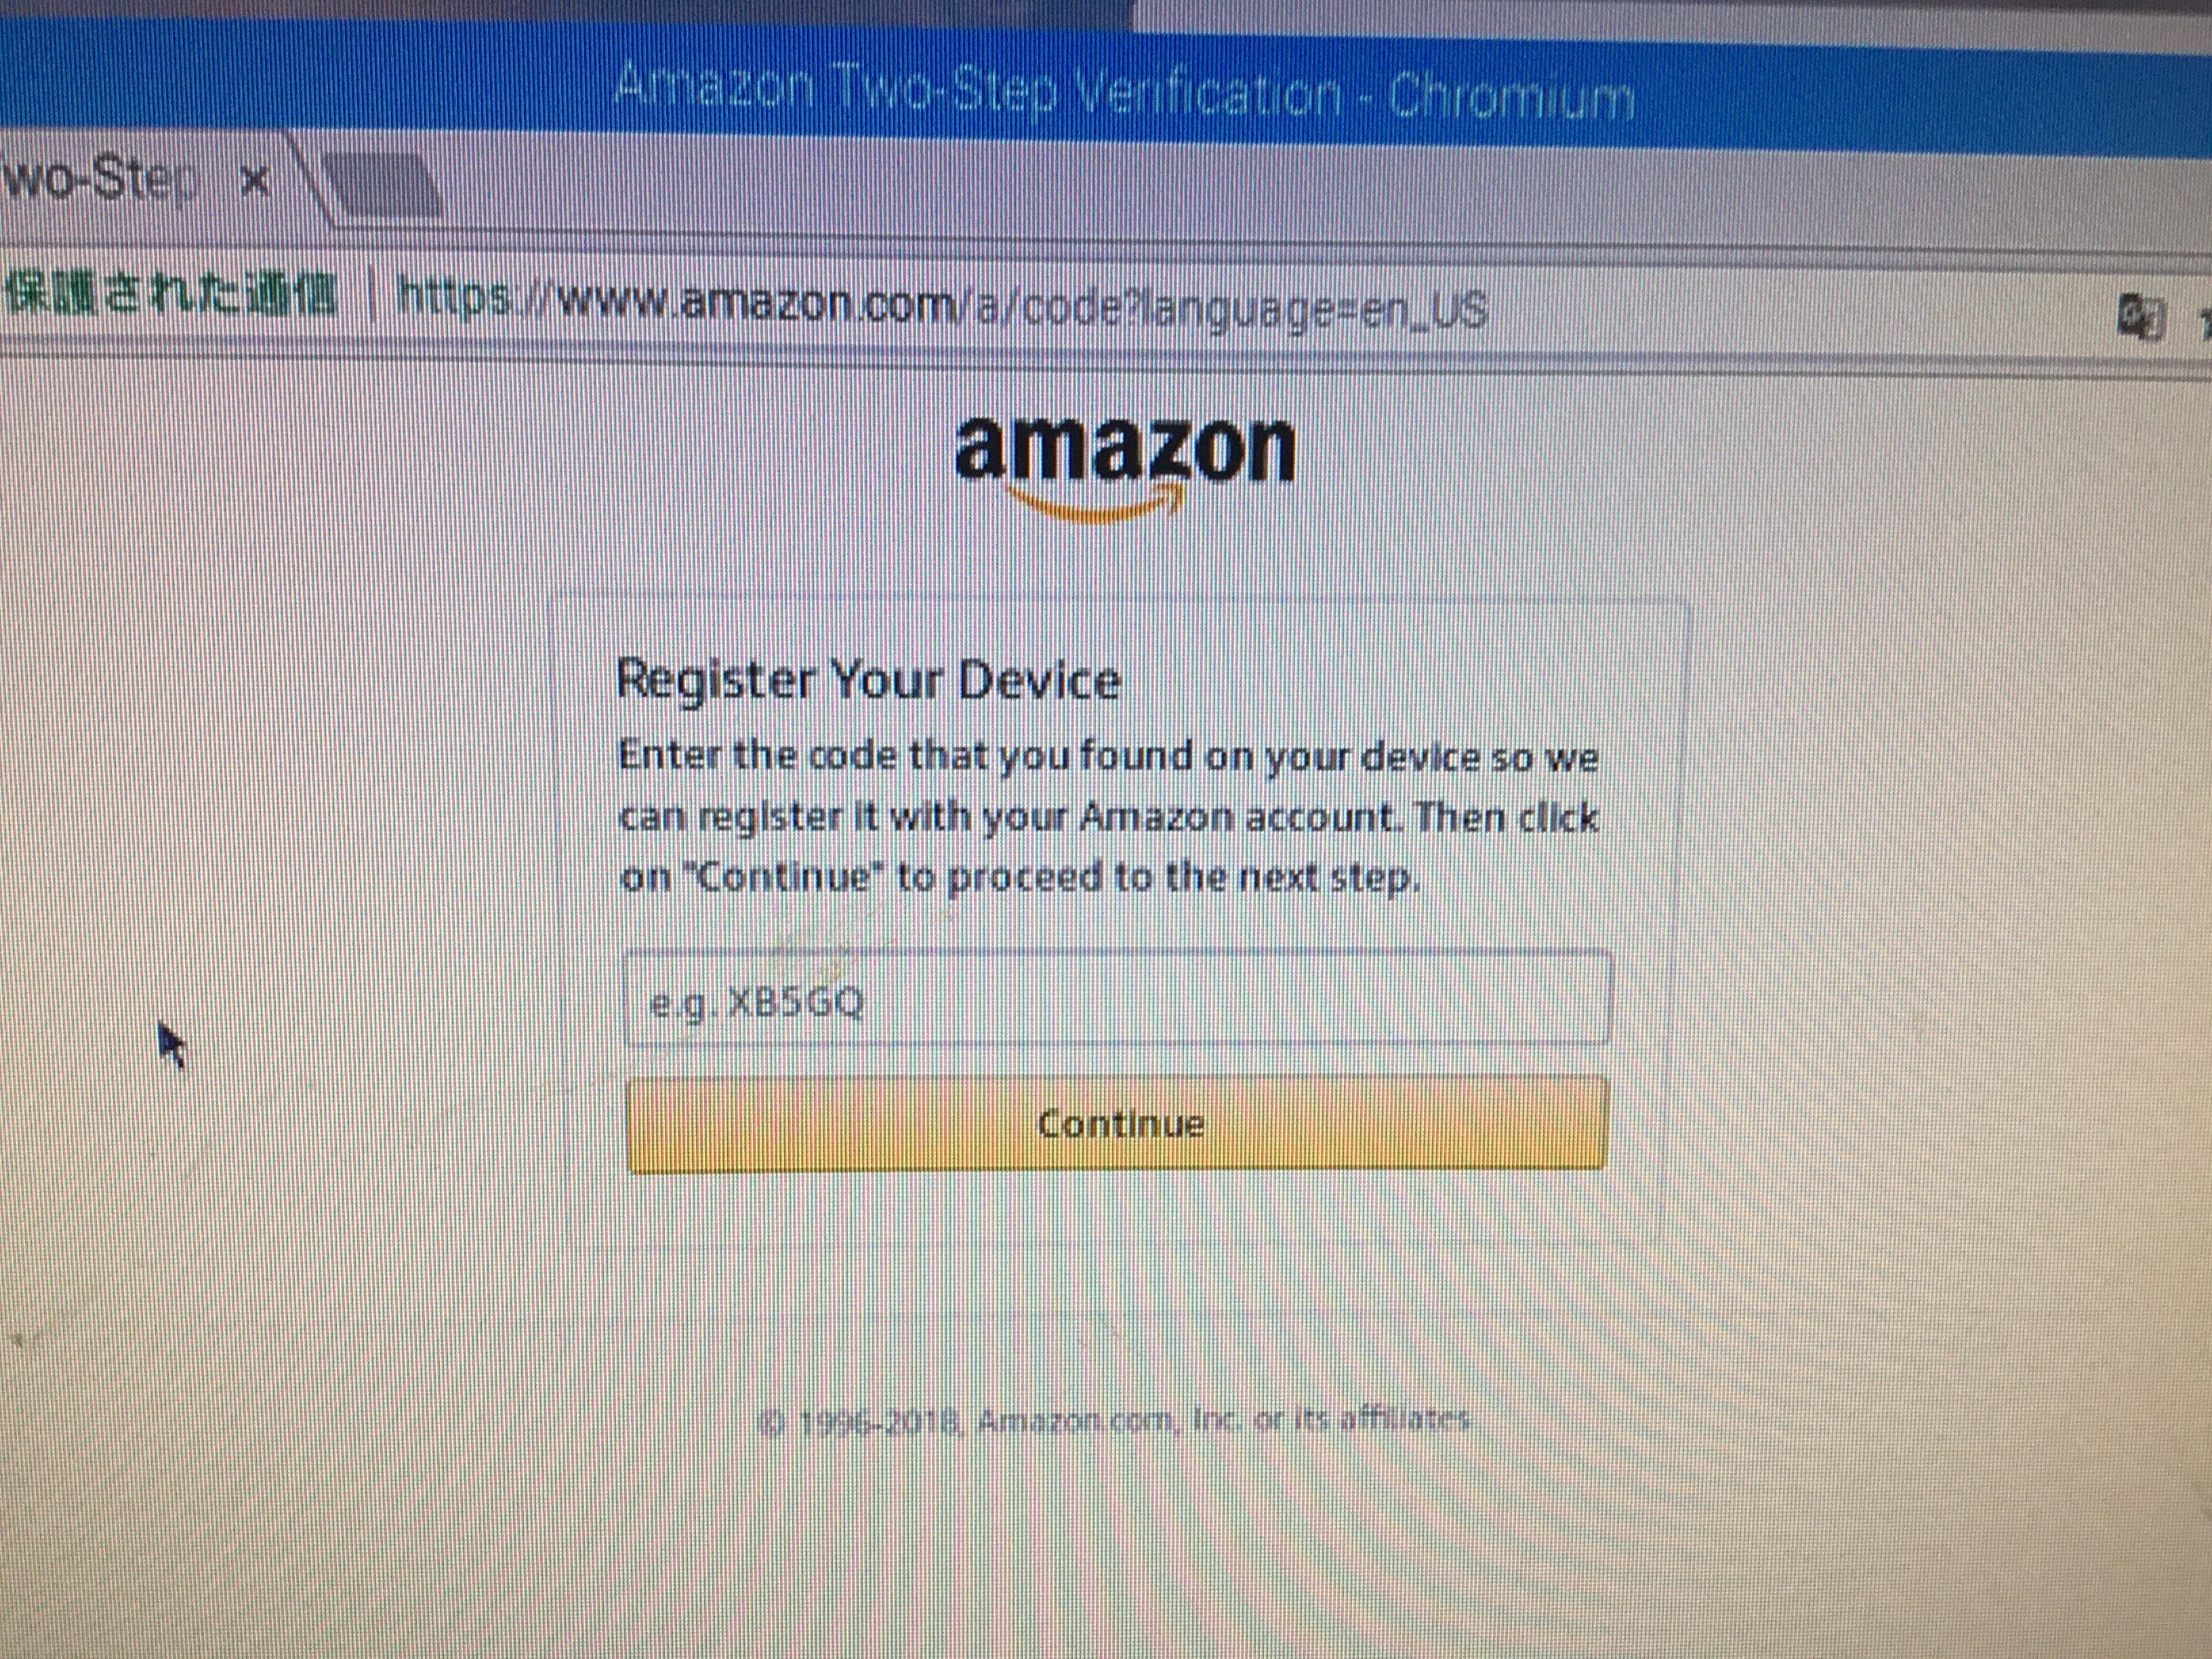
サインインしたら、先程出力されてた「code」の後ろに書かれたコードを入力して、「Continue」ボタンをクリックしてください。
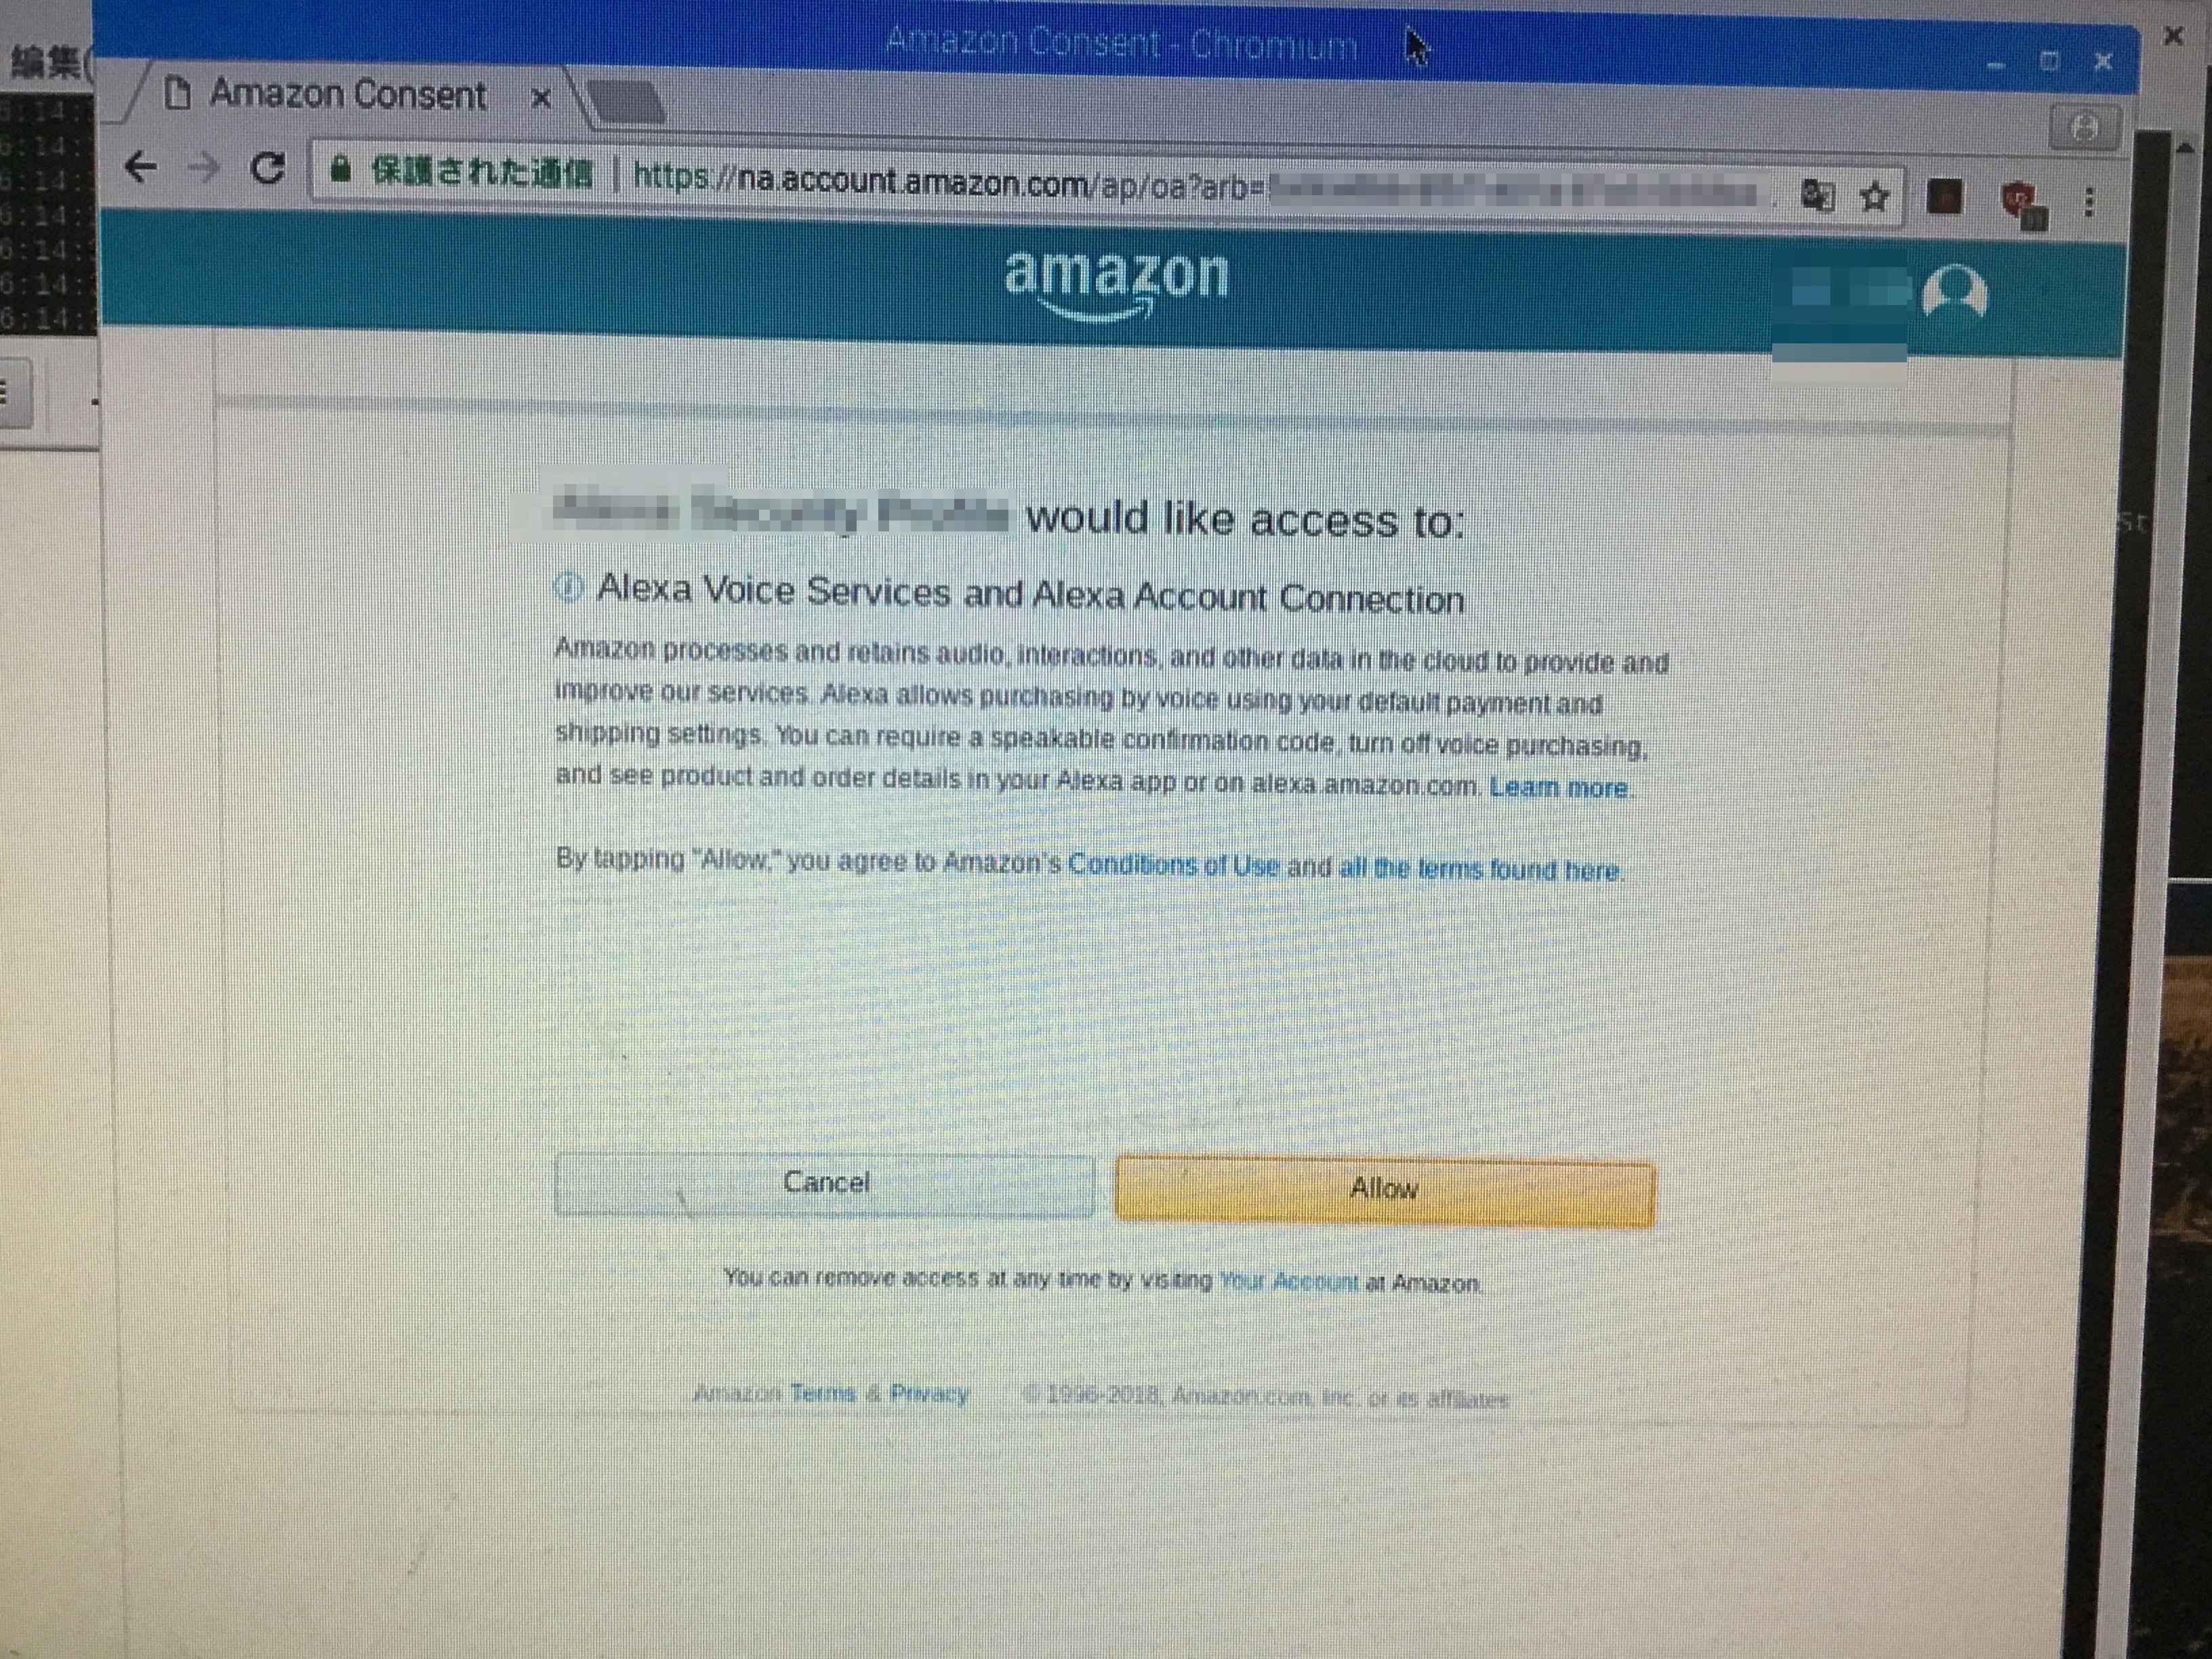
すると「Alexa Voice Services and Alexa Account Connection」という画面が表示されますので、「Allow」ボタンをクリックしてください。
すると「Success!」画面が出ます。
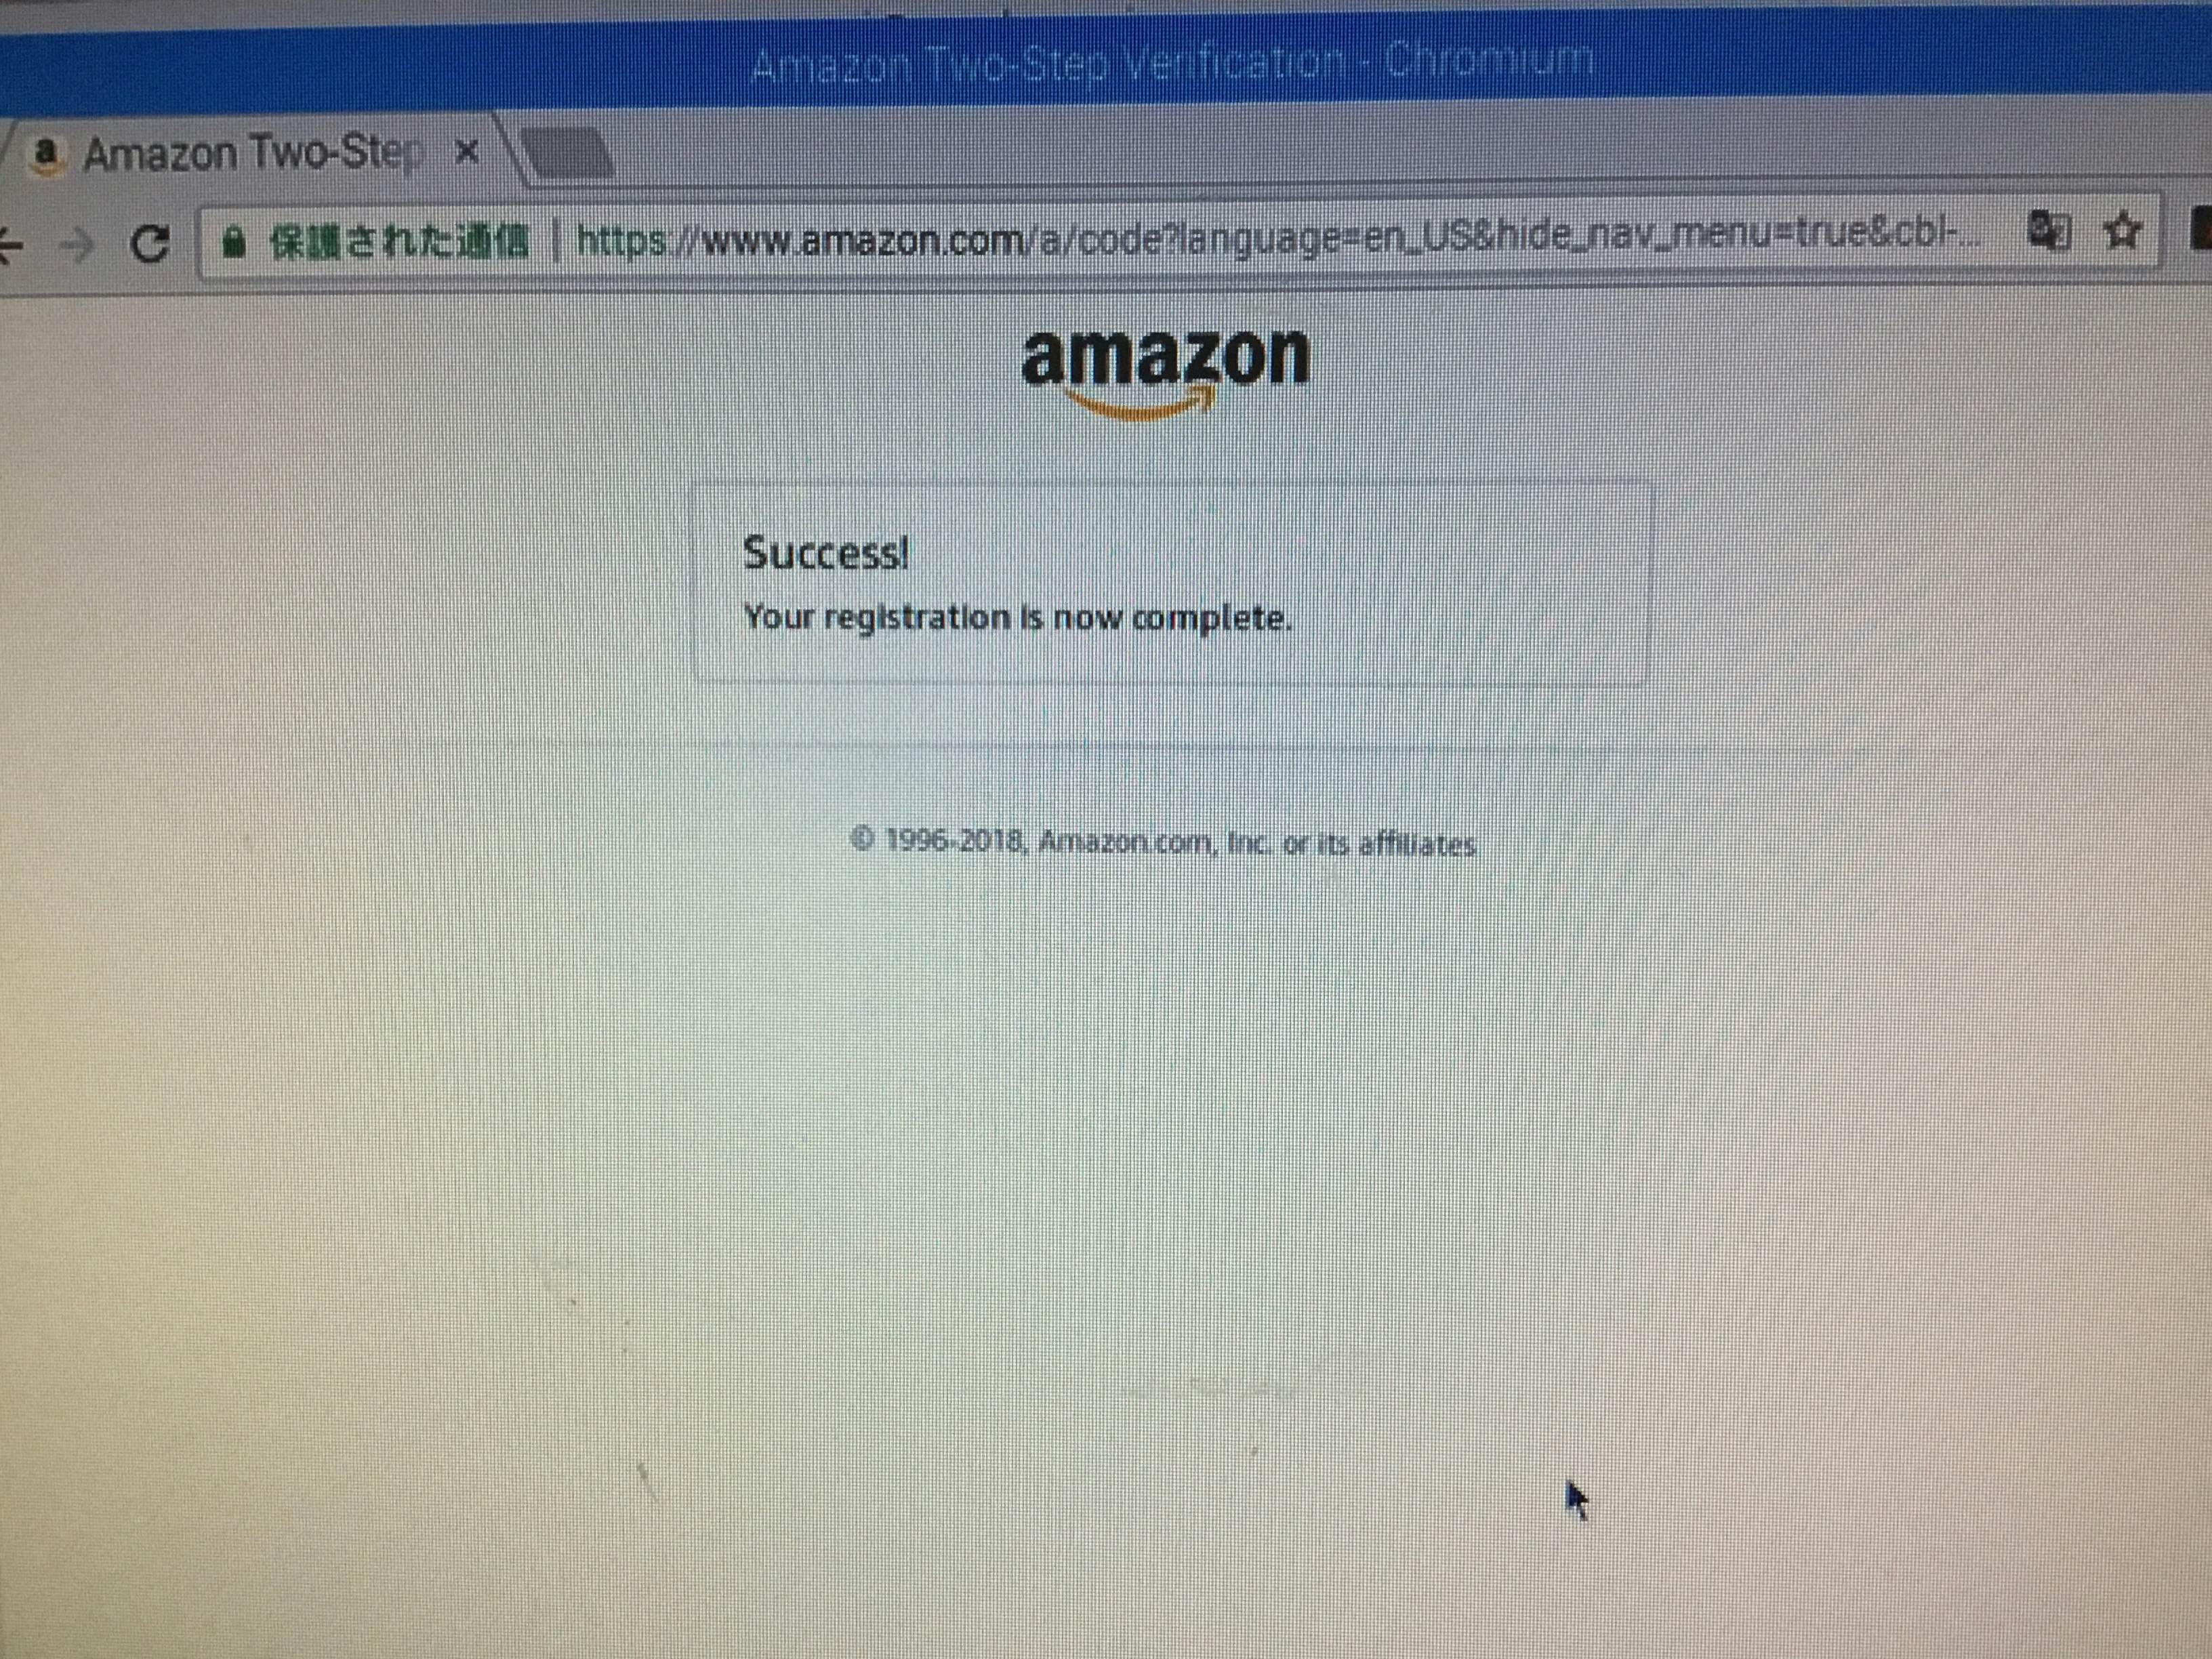
が、このタイミングでは、プロンプトにて実行していたプログラムが終了していた。
どうやら、プログラムが終了している状態では認証ができないようなので、もう一度コマンドを実行して、認証を行っていきます。
$ sudo bash startsample.sh
...
...
######################################################
#       > > > > > NOT YET AUTHORIZED < < < < <       #
######################################################

############################################################################################
#     To authorize, browse to: 'https://amazon.com/us/code' and enter the code: {XXXX}     #
############################################################################################
この後に色々出力されますので、これを早く探してください。
(子のタイミングでプロンプトのメニュー「編集」→「設定」から「ディスプレイ」の「履歴の行数」を「100000」にしておくことをオススメします)
そして、またブラウザでURLを入力してください。
https://amazon.com/us/code
後は同じように、サインインしてコードを入力してください。
そうすることで、以下のようなログが出力されるようになります。
########################################
#       Alexa is currently idle!       #
########################################
これで、Alexaが動く状態にはなりましたが、まだ日本語対応していないので、このまま以下を実行します。
c 1 6 の順で実行すると以下のようになります。
c
+----------------------------------------------------------------------------+
|                          Setting Options:                                  |
| Change Language:                                                           |
|       Press '1' followed by Enter to see language options.                 |
+----------------------------------------------------------------------------+


1
+----------------------------------------------------------------------------+
|                          Language Options:                                 |
|                                                                            |
| Press '1' followed by Enter to change the language to US English.          |
| Press '2' followed by Enter to change the language to UK English.          |
| Press '3' followed by Enter to change the language to German.              |
| Press '4' followed by Enter to change the language to Indian English.      |
| Press '5' followed by Enter to change the language to Canadian English.    |
| Press '6' followed by Enter to change the language to Japanese.            |
| Press '7' followed by Enter to change the language to Australian English.  |
| Press '8' followed by Enter to change the language to French.              |
+----------------------------------------------------------------------------+


6
###################################
#       locale set to ja-JP       #
###################################
これで日本語対応が出来上がりとなります。
後は、いつもどおり、「Alexa」と声をかけてあげてください。
さいごに
「Alexa」と声をかけてみましたが、全然反応せず。
「Alexa」だけめっちゃ英語風な呼び方にすれば反応してくれました。
どうやら、ライブラリを追加することで改善するようですが、今回はここまでにします。
参考URL:https://qiita.com/Dimeiza/items/182c4847d7c1ead7df54
次回はこのあたりもやってみます。
関連記事
Raspi2にAlexa Voice Service(AVS)を 〜AVS設定編〜
Raspi2にAlexa Voice Service(AVS)を 〜Raspi2にRaspbianをインストール編〜