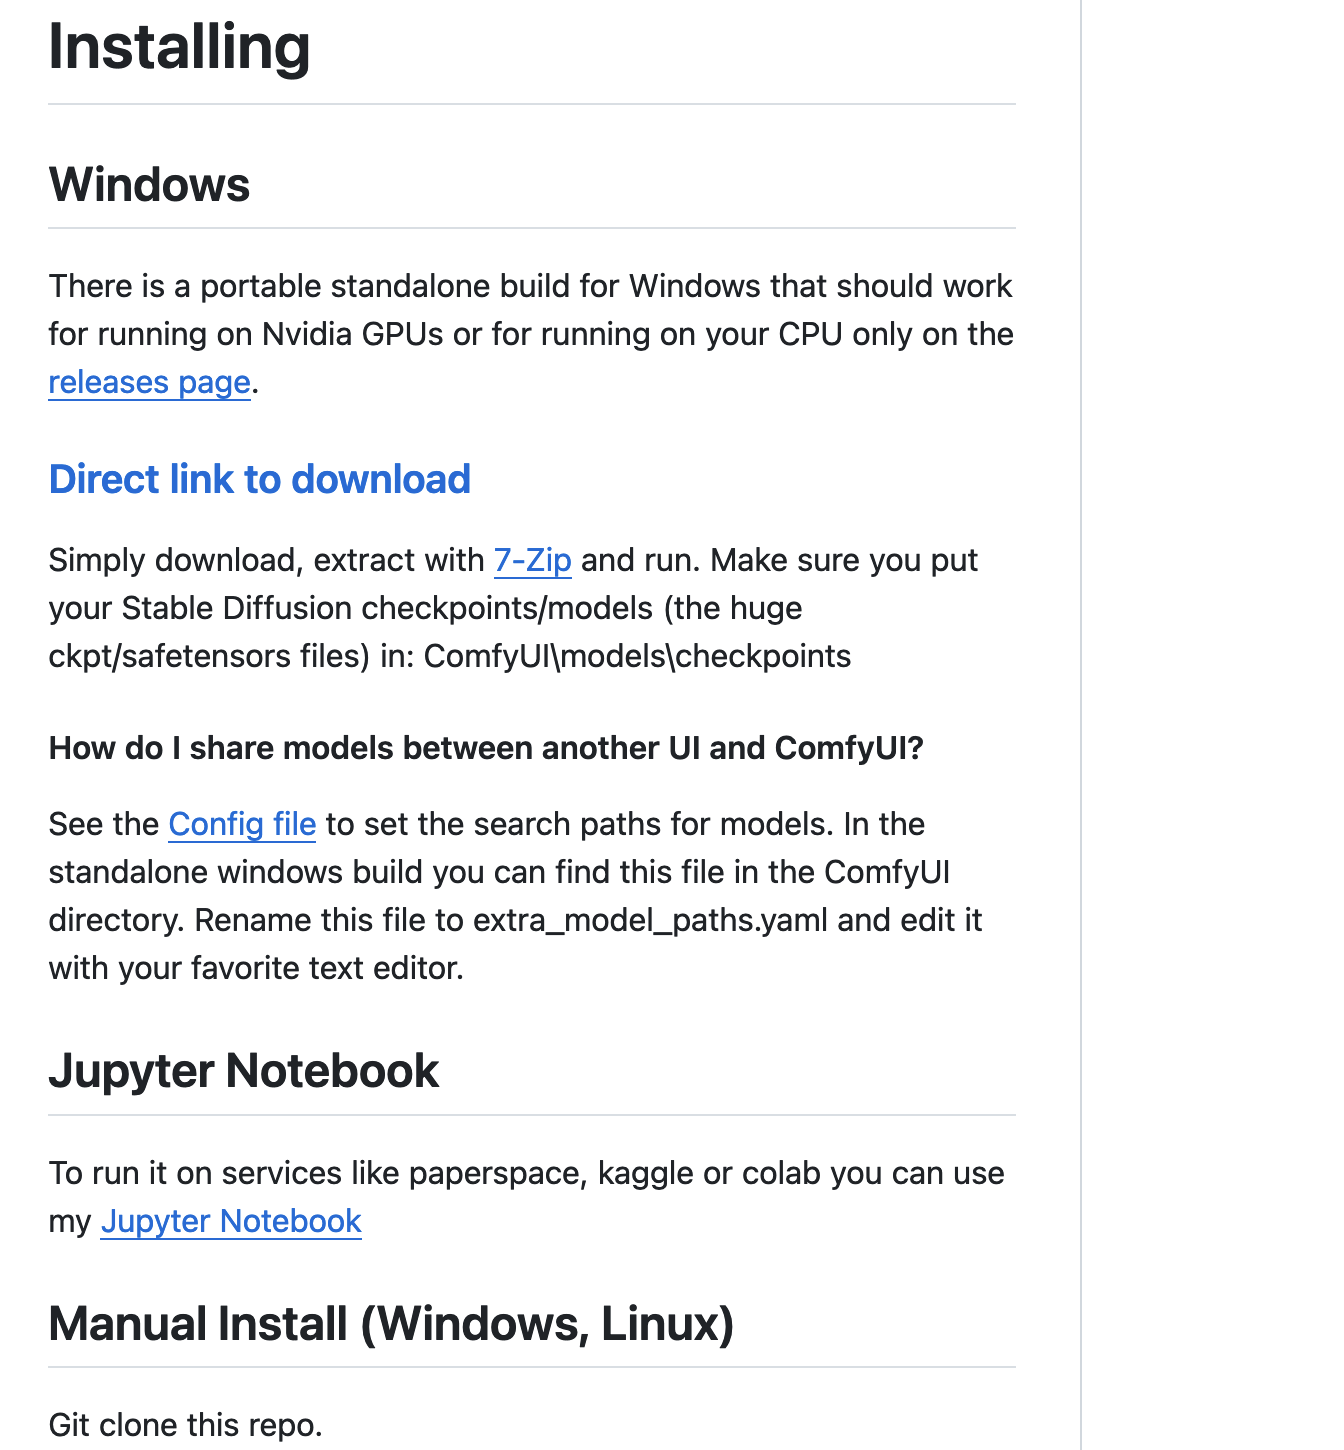
Comfy UIのサイトから7-zipをダウンロード
https://github.com/comfyanonymous/ComfyUI
※7-Zipのインストーラーはこちら
https://www.7-zip.org/
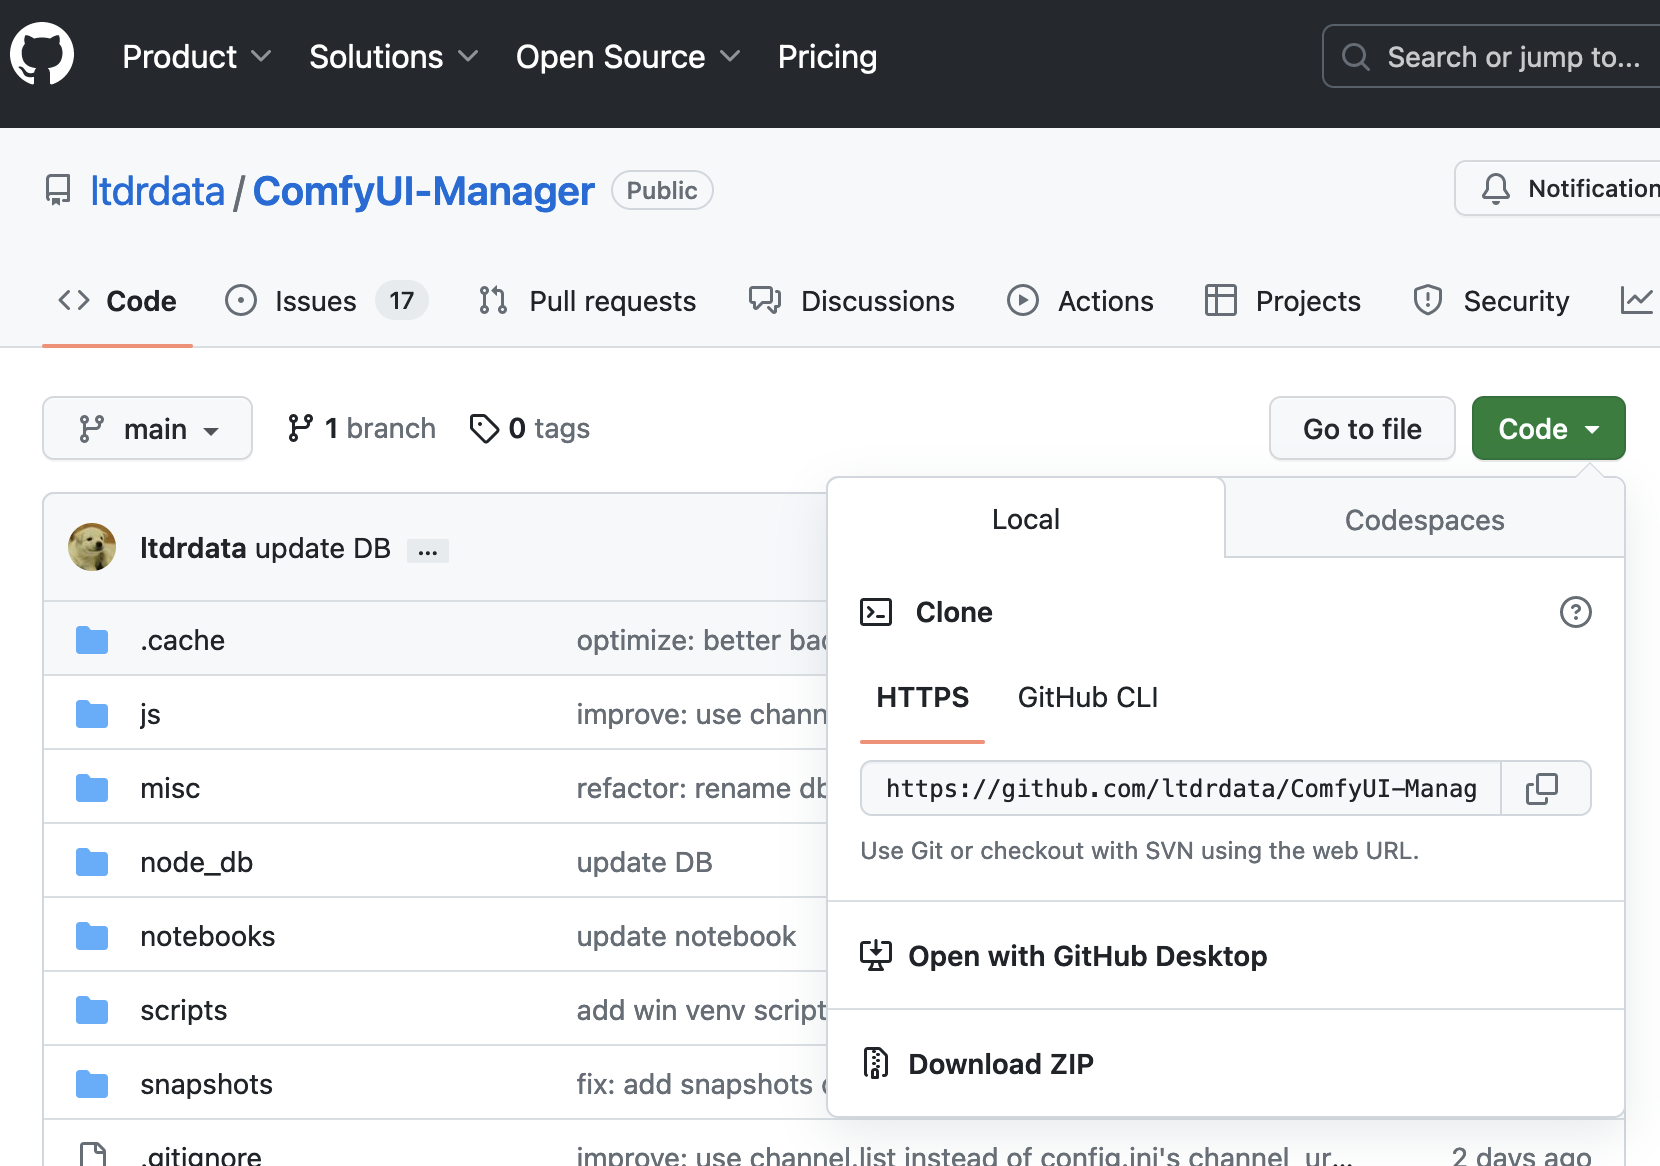
Comfy UI Managerのダウンロード
https://github.com/ltdrdata/ComfyUI-Manager
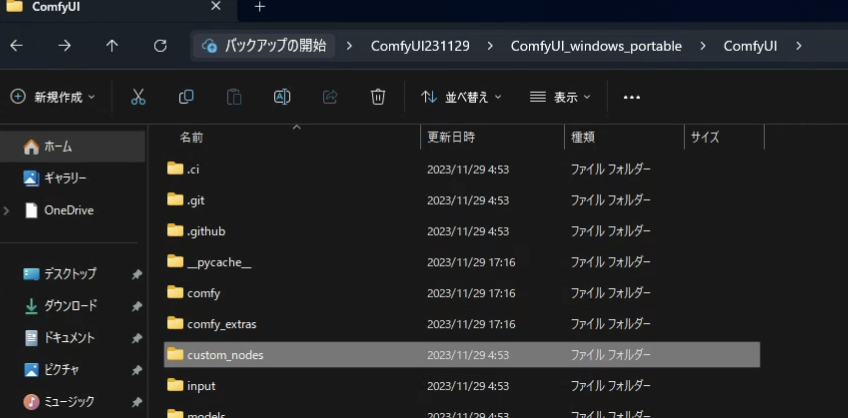

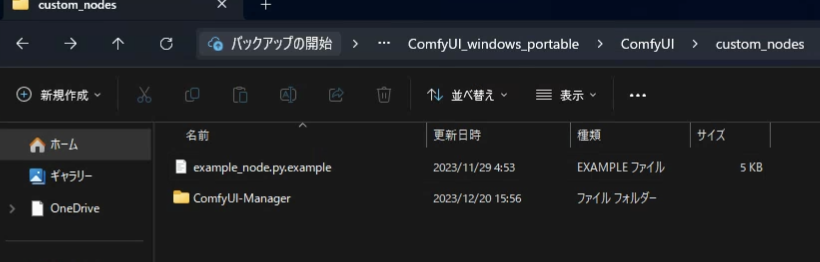
custom_nodesからコマンドプロンプト(cmd)を開く
ComfyUI231129\ComfyUI_windows_portable\ComfyUI\custom_nodes
https://github.com/ltdrdata/ComfyUI-Manager
CodeからURLをコピー
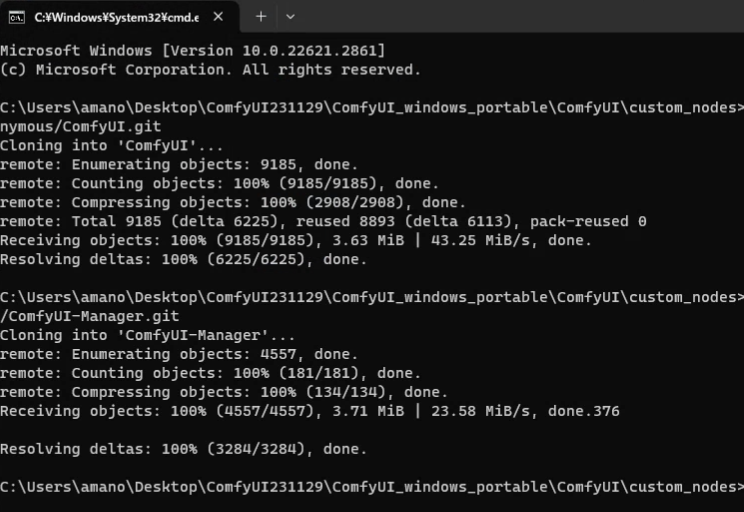
git cloneでURLを貼り付け
run_nvidia_gpu.batファイルをダブルクリックで起動
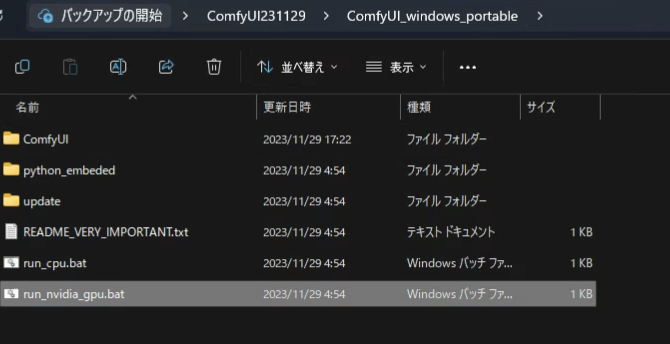
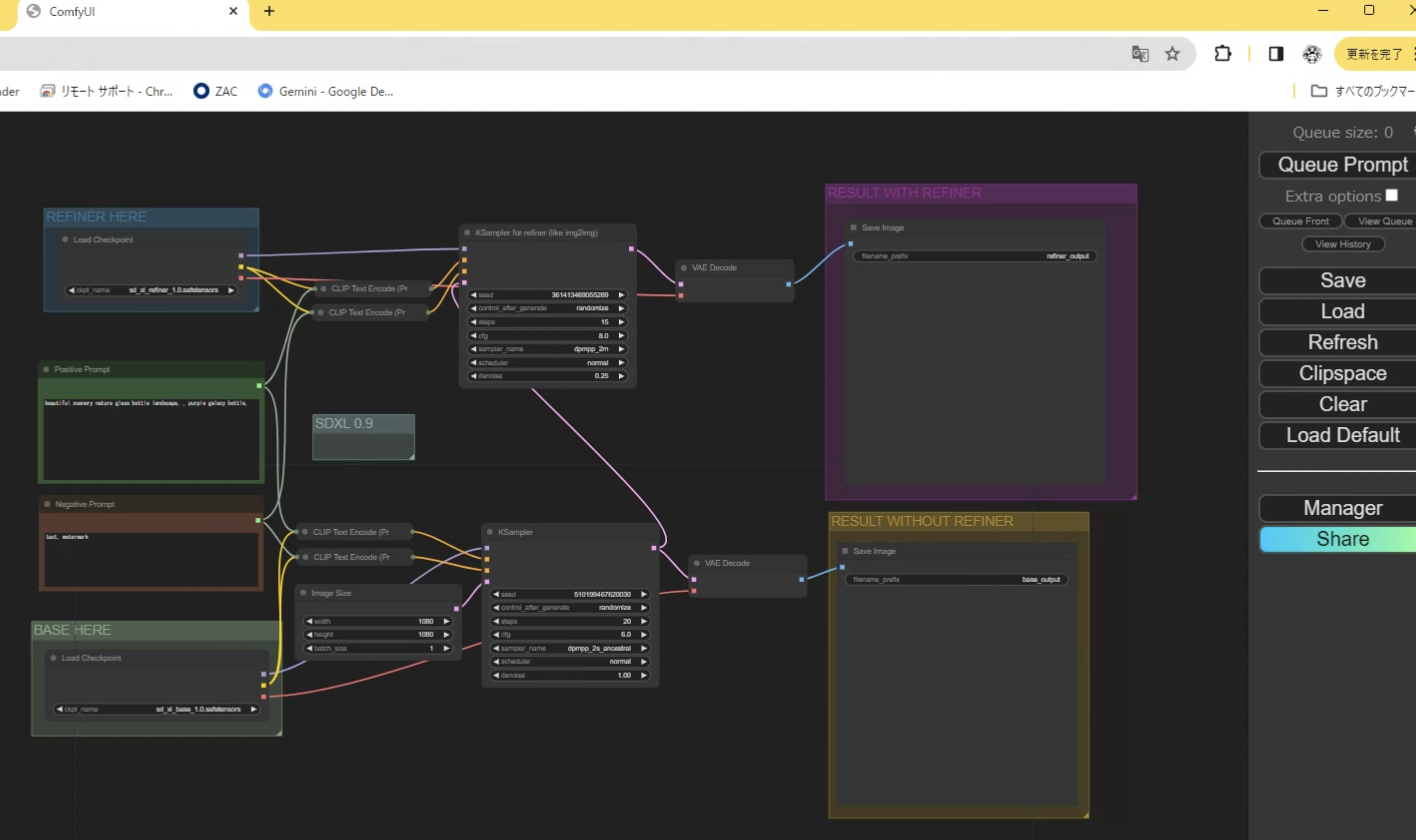
起動しました。
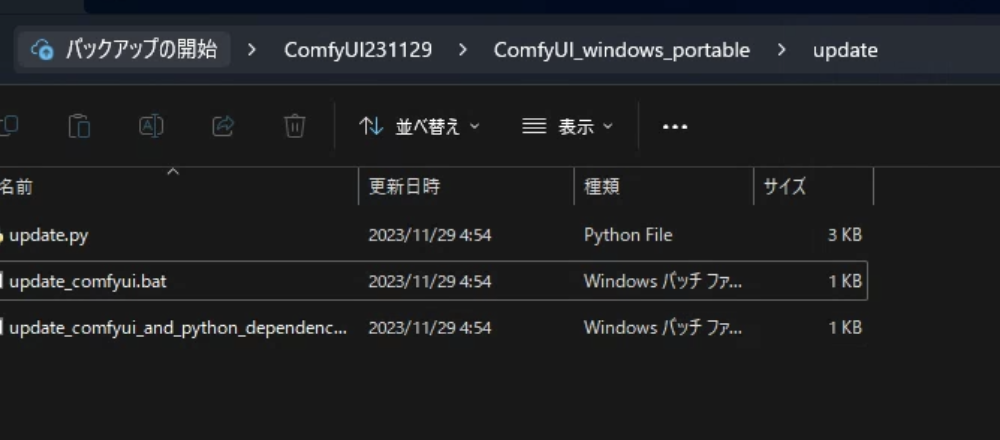
このbatファイルでアップデートできる。
--
使ってみよう。
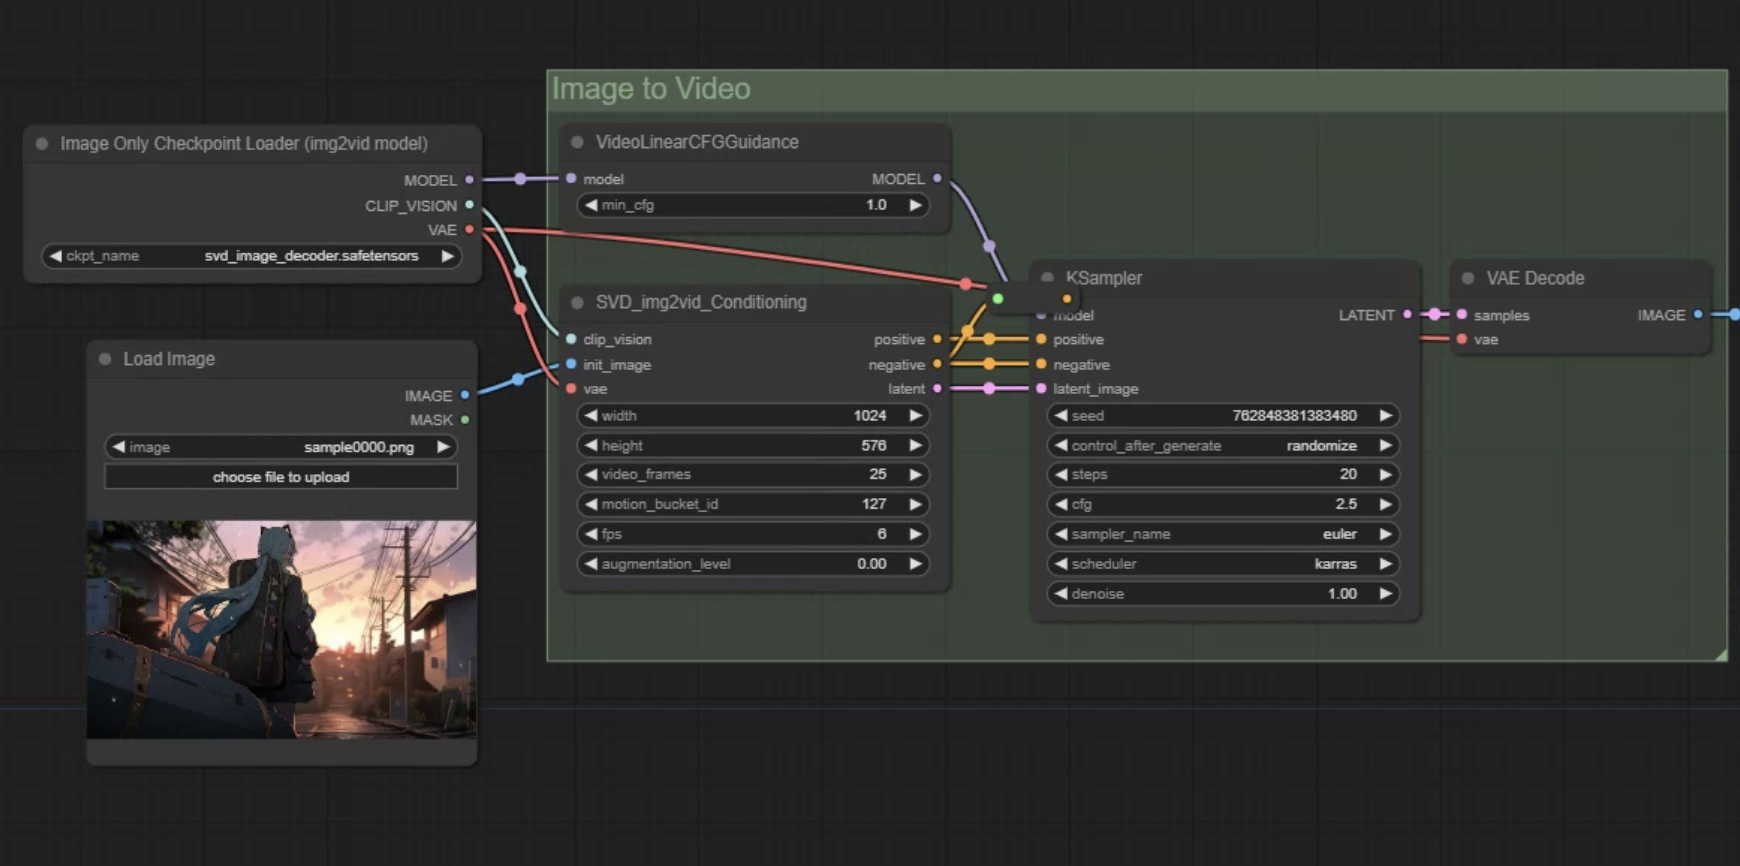
画像からビデオにする。
ここからビデオをサンプルダウンロード
https://comfyanonymous.github.io/ComfyUI_examples/video/
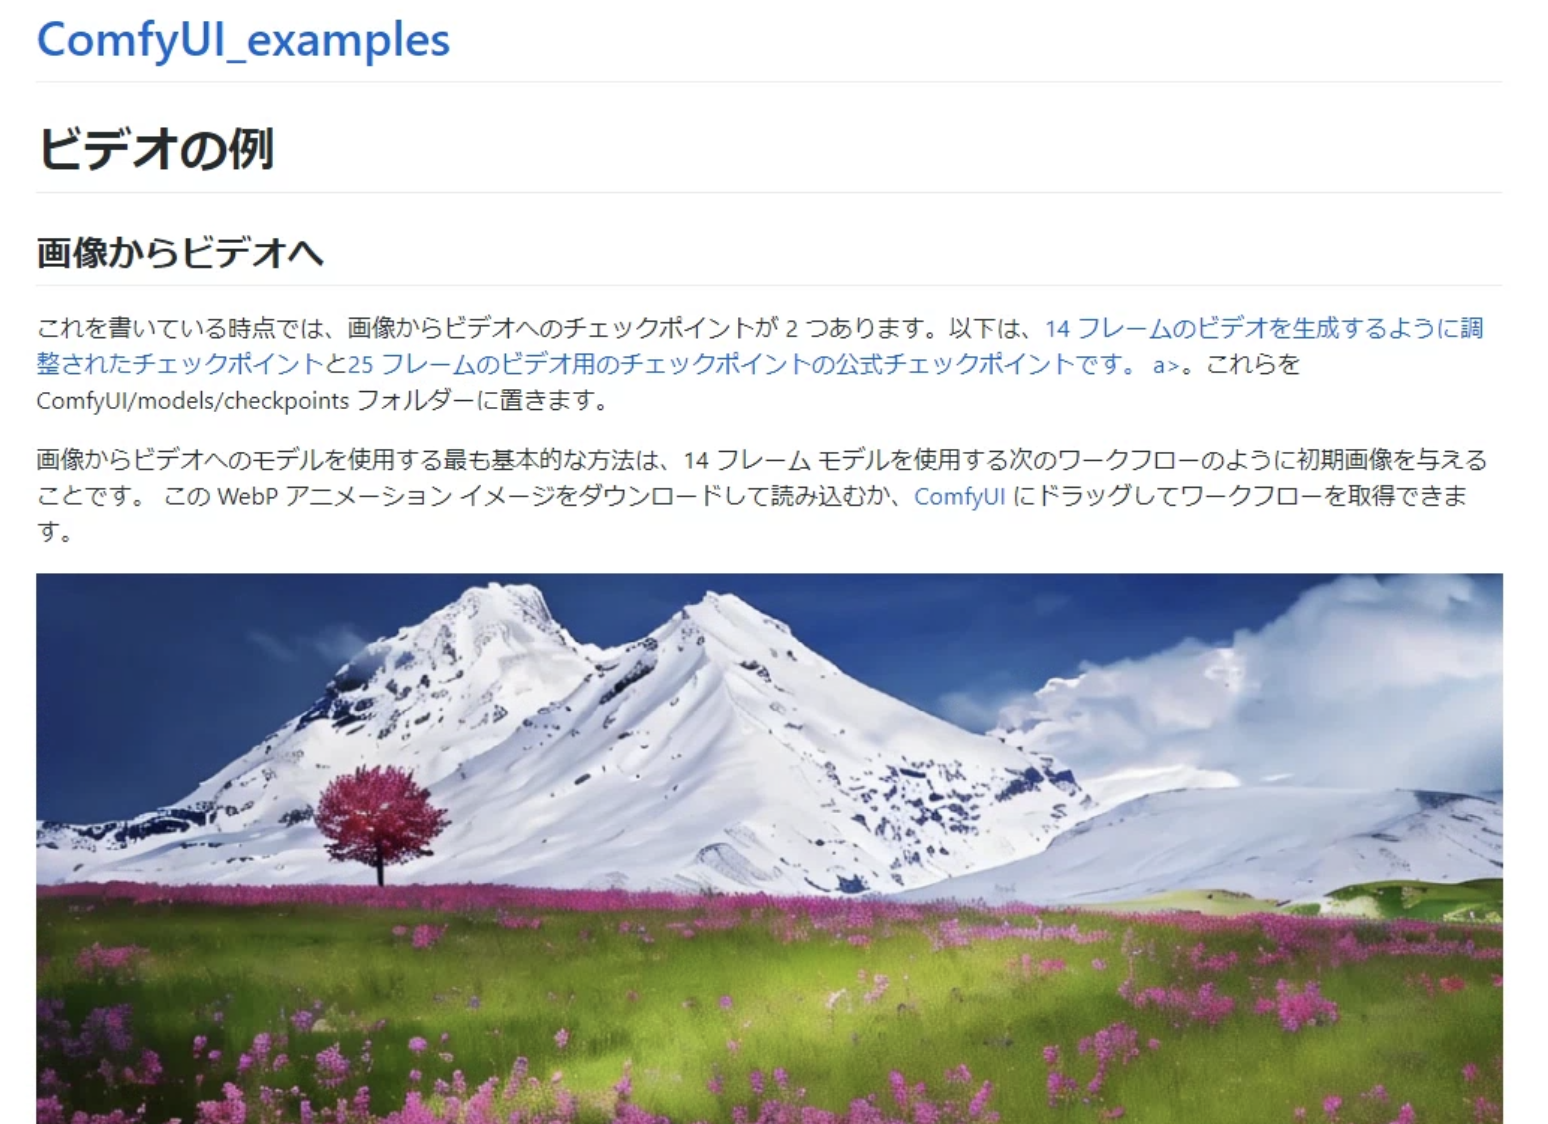
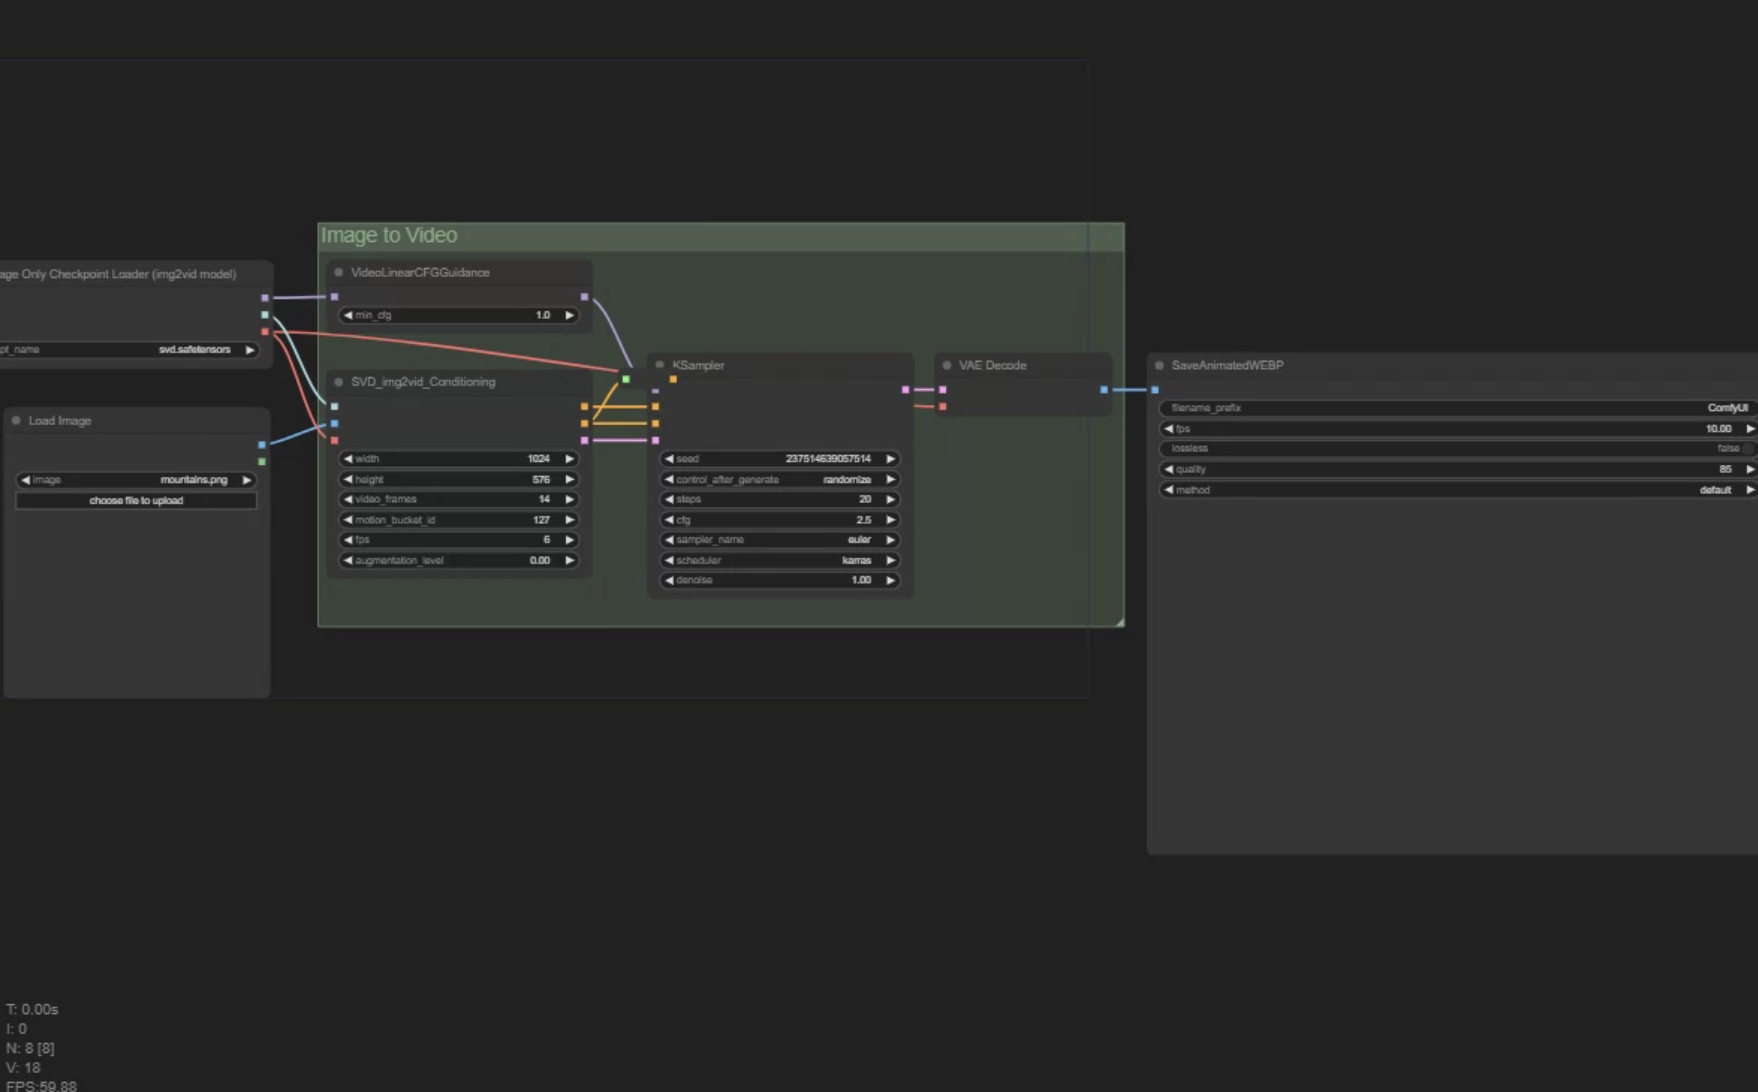
ダウンロードした動画をドラックアンドドロップでこちらが表示される。
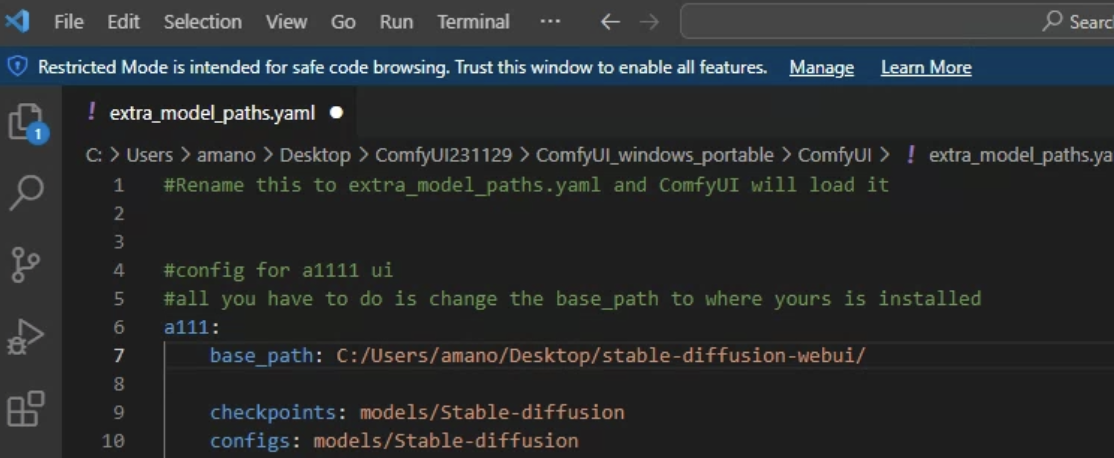
stable diffusionフォルダの読み込みをつくる
extra_model_paths.yaml.exampleのyaml以下を削除してパスを入れる。
モデルを選択
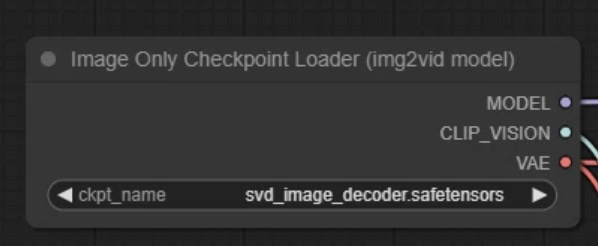
ここに入れてます。
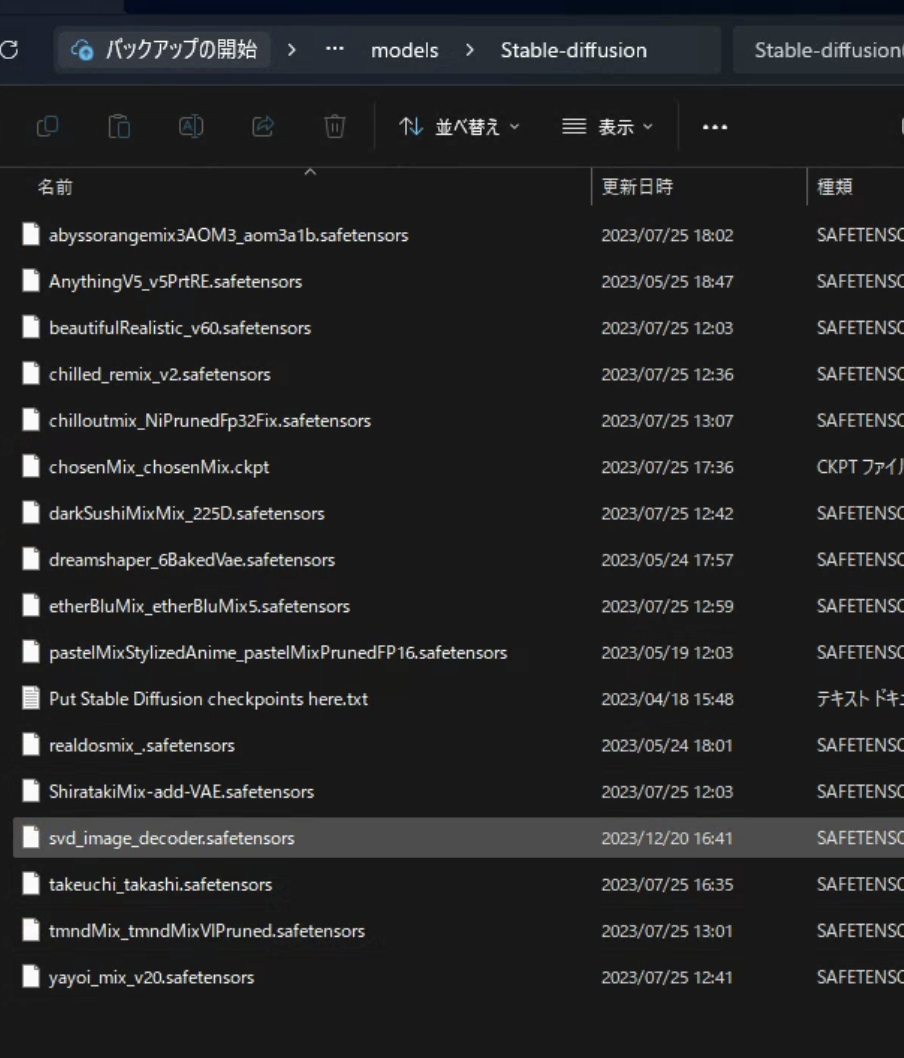
これを使いました。
https://huggingface.co/stabilityai/stable-video-diffusion-img2vid/blob/main/svd_image_decoder.safetensors
25フレームにしておく。Queue Promptで生成。
動画で保存できるようにする。
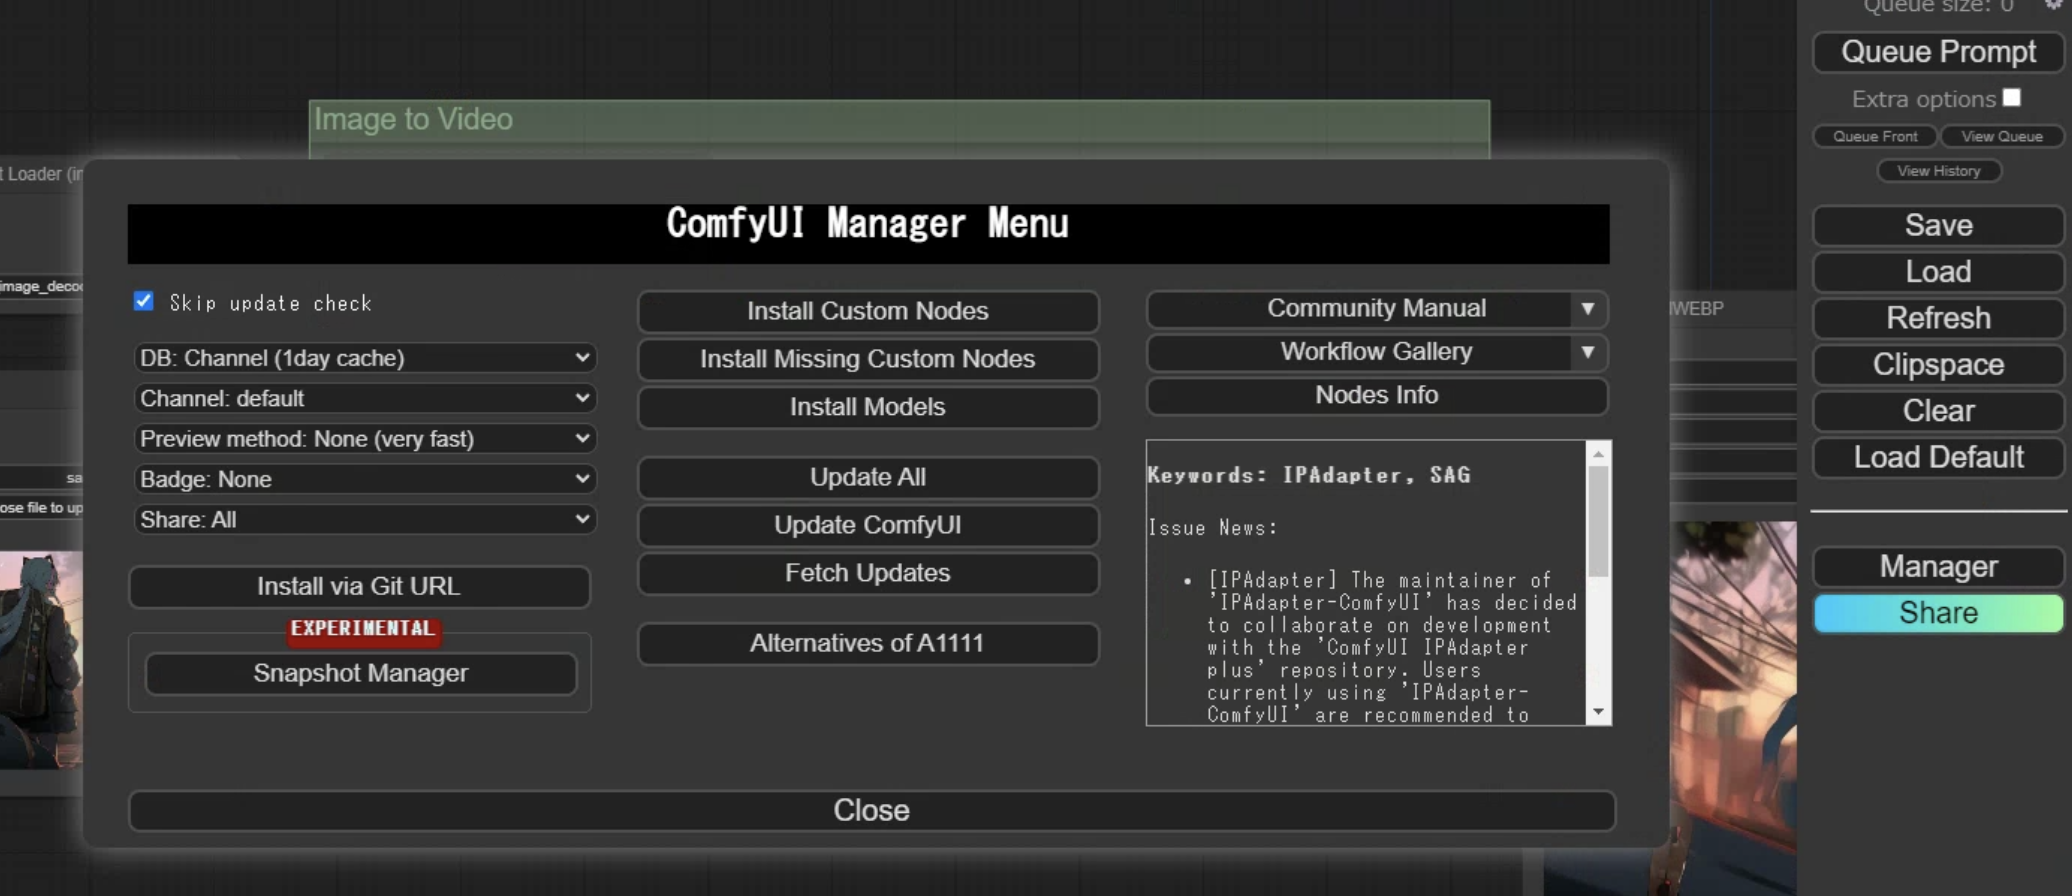
Managerをクリック
Install Custaom Nodesを選択
vhsでsearch
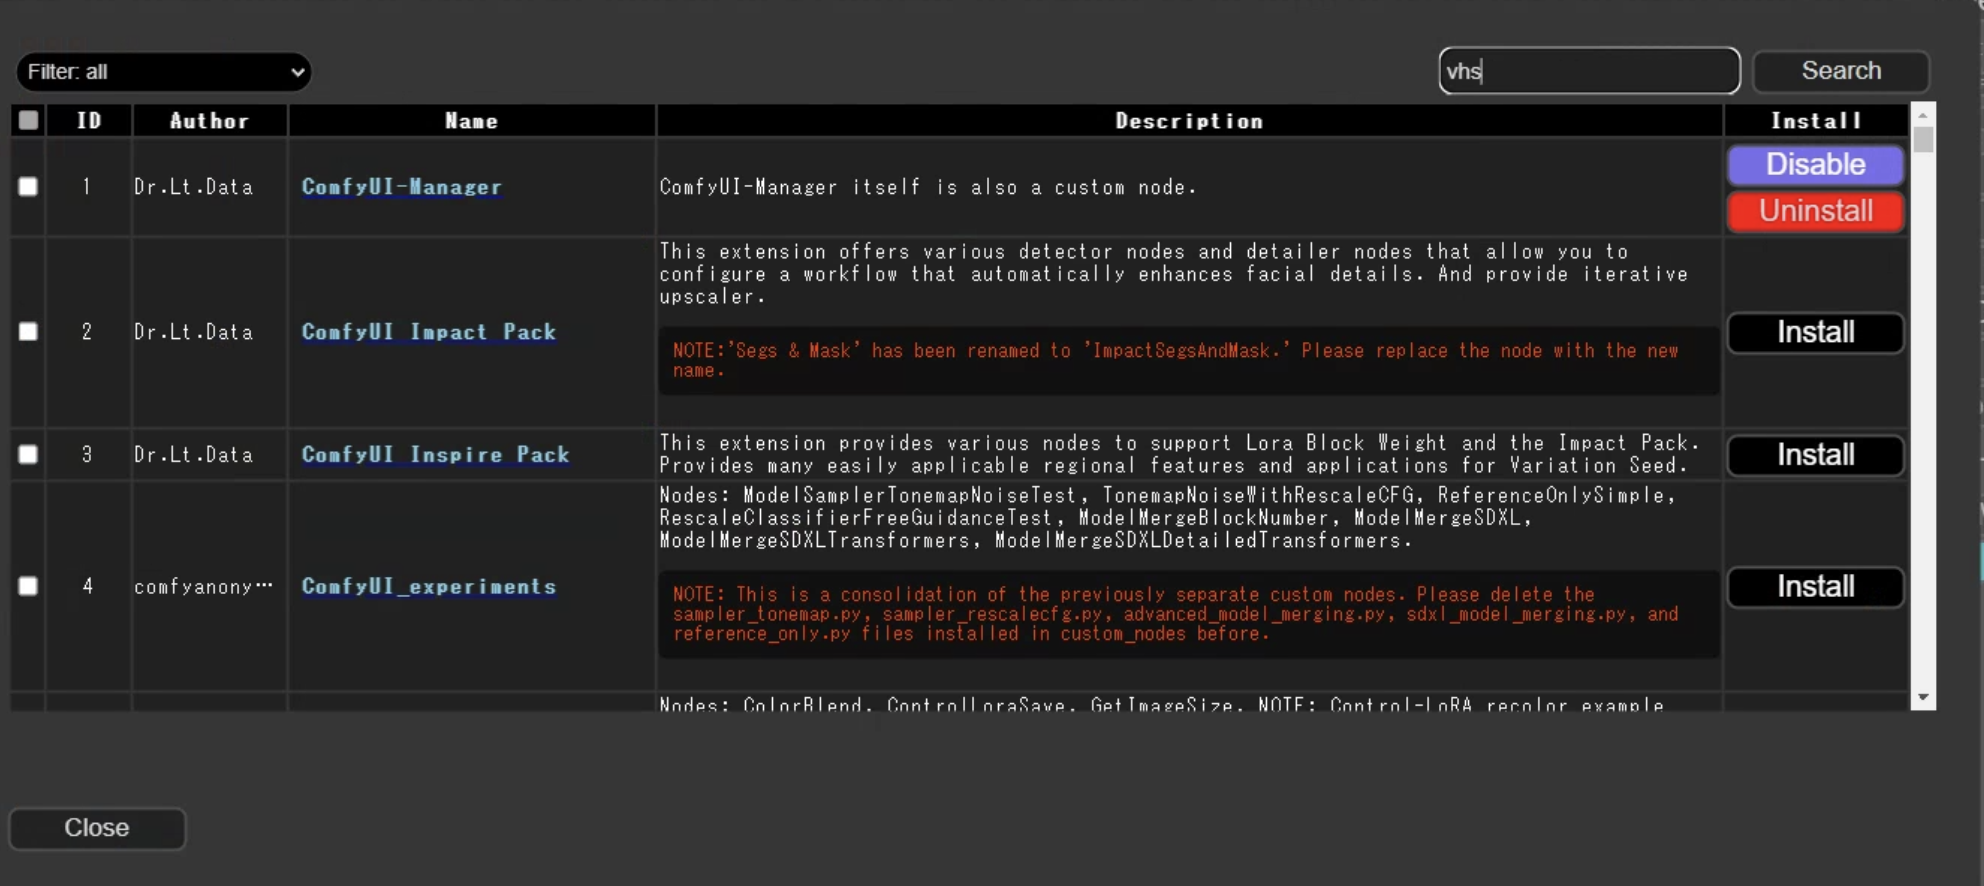
インストールする。
インストール後にRestartを求められるのでリスタートする。

何もないところでダブルクリックをして出てきたウィンドウでvhsを検索する。
VHS _VideoCombineをクリック

nodeの繋ぎ変え。
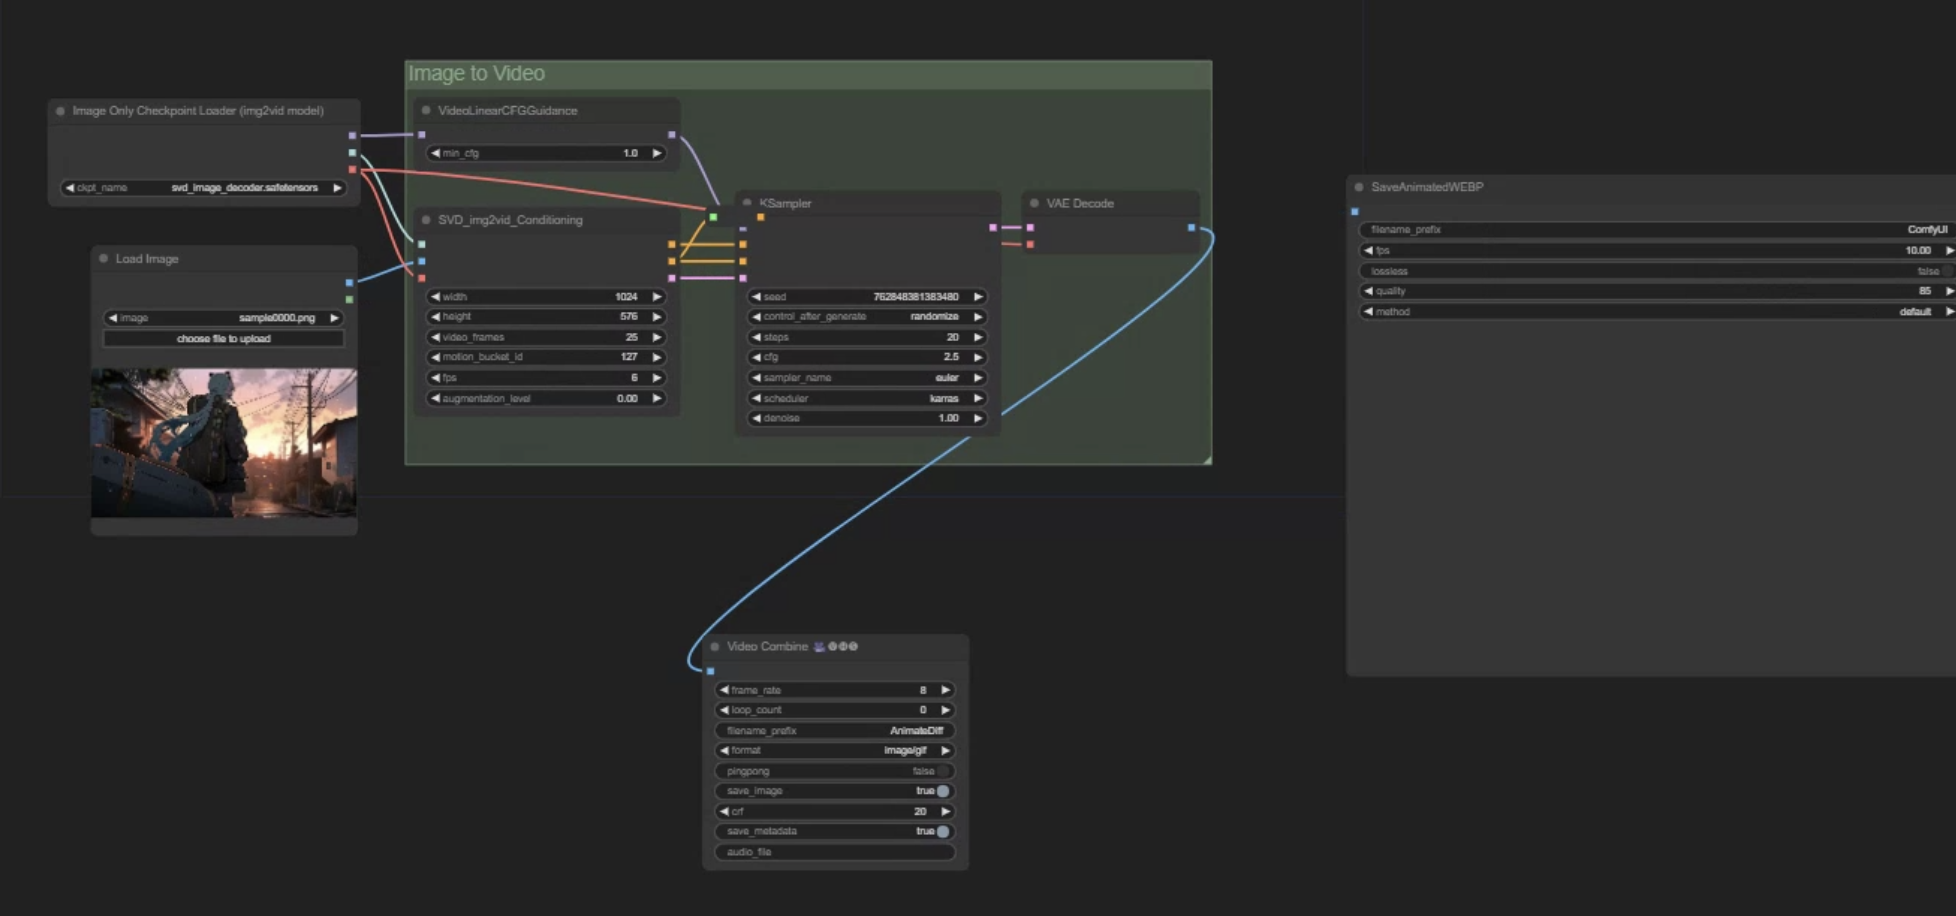
6フレームに
名前をAnimateDiffからSVD-XTに変更
フォーマットはh264に

Queue Promptで生成