以下の記事を参考にしました。
大変参考になりました。
Dockerで Elasticsearch + Kibana を動かしてみた
rootで作業しました。
1.dockerのインストール
apt install docker.io
これでdockerコマンドが使えるようになります。
2.Elasticsearchのコンテナを立てる。
まずElasticsearchコンテナ用のネットワークブリッジを用意します。
docker network create elasticsearch --driver bridge
3.Elasticsearchのコンテナをたてる。
docker run -d -e "http.host=0.0.0.0" -e "transport.host=127.0.0.1" -e "xpack.security.enabled=false" -e "xpack.monitoring.enabled=false" -e "xpack.watcher.enabled=false" -e "xpack.graph.enabled=false" -e "xpack.ml.enabled=false" -e "ES_JAVA_OPTS=-Xms512m -Xmx512m" -p 9200:9200 -p 9300:9300 --name elasticsearch --network="elasticsearch" docker.elastic.co/elasticsearch/elasticsearch:6.5.0
これでElasticsearchは立ち上がるみたいです。
動いているか確認するならcurl localhost:9200をやってみるとよい。
4.Kibanaコンテナの起動
docker run -d --name kibana -p 5601:5601 -e "ELASTICSEARCH_URL=http://elasticsearch:9200" -e "xpack.graph.enabled=false" -e "xpack.security.enabled=false" -e "xpack.ml.enabled=false" --network="elasticsearch" docker.elastic.co/kibana/kibana:6.5.0
これでおk。
コンテナが起動する。
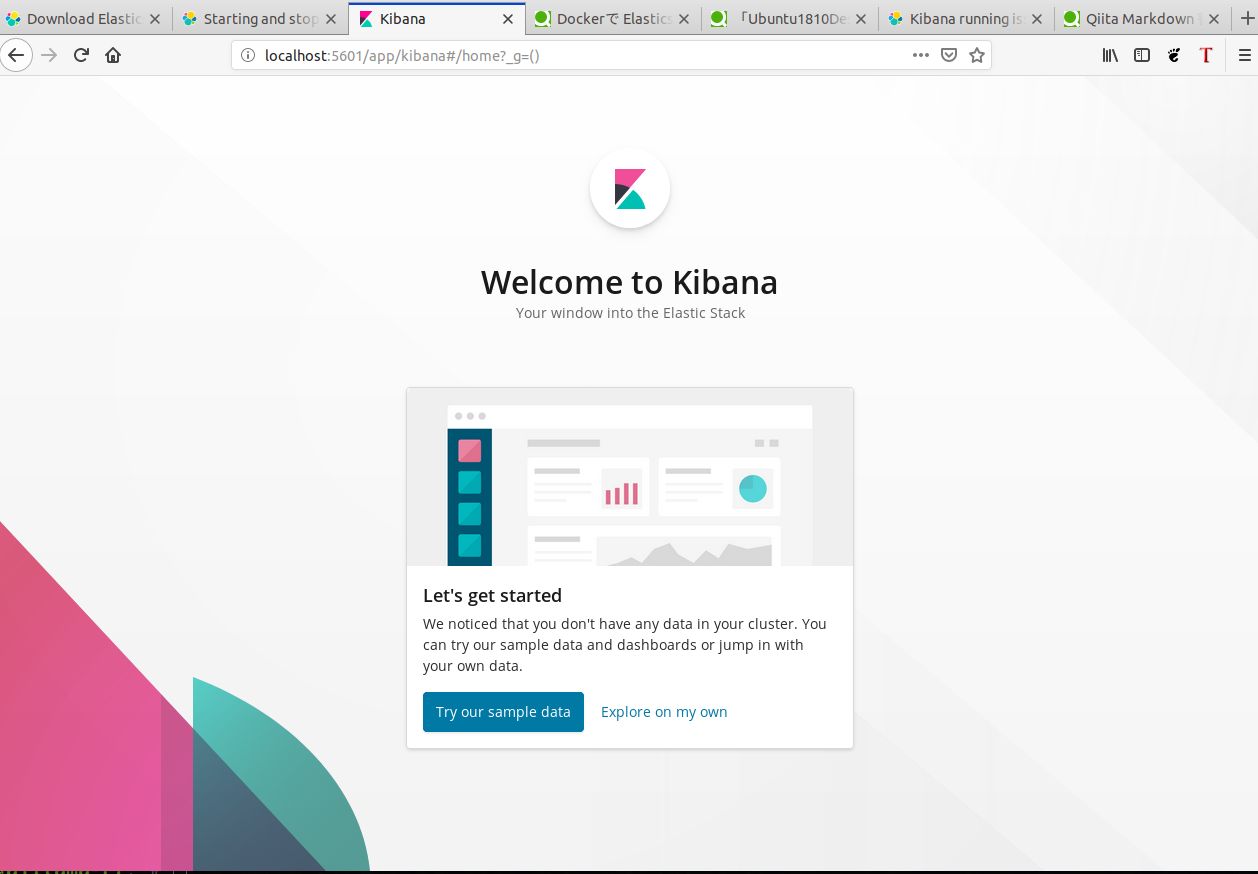
5.ブラウザで確認する
http:localhost:5601にアクセスしてみる。
中でセットアップされてるみたいで、この画面が出るまでは結構時間がかかる。
とりあえず触ってみたいならこれくらいでいいでしょ。
