先に結論・感想
私は主にRuby on Railsのフレームワークを使用するので、Railsを使うための環境構築メインです。
(Slackとか周辺アプリもついでにインストールしているけど。。。)
個人用で利用予定のMacとして購入しました。
個人で開発・普段使いする範囲では今のところ問題ないかなという印象です。
ただDockerはまだ利用できない状況なので、実務ではまだM1チップのMacは使わない方がいいかな〜という感じかな。
Dockerさん頑張っているっぽいので、もう少しの辛抱かと思われますが![]()
https://www.docker.com/blog/apple-silicon-m1-chips-and-docker/
Dockerプレビュー版は公開されたらしいです。(2021.1.17現在)
まだプレビュー版のため正式版はまだのようです。
https://matsuand.github.io/docs.docker.jp.onthefly/docker-for-mac/apple-m1/
また、Goとかはバージョンによってどうやらまだ利用できなさそうなので下記の記事とかが何が利用できて何がまだ利用できないかの参考になるかと思います。(2020.11.22閲覧時点)
https://qiita.com/shibukawa/items/797b7cbb7e530842e6f7
※途中途中、エラーがでた際の解決手順等を時系列で書いていたりするのでこちらの記事を利用する場合、一通り目を通してから環境構築することをお勧めします(私と同じエラーにぶち当たりますので![]() )
)
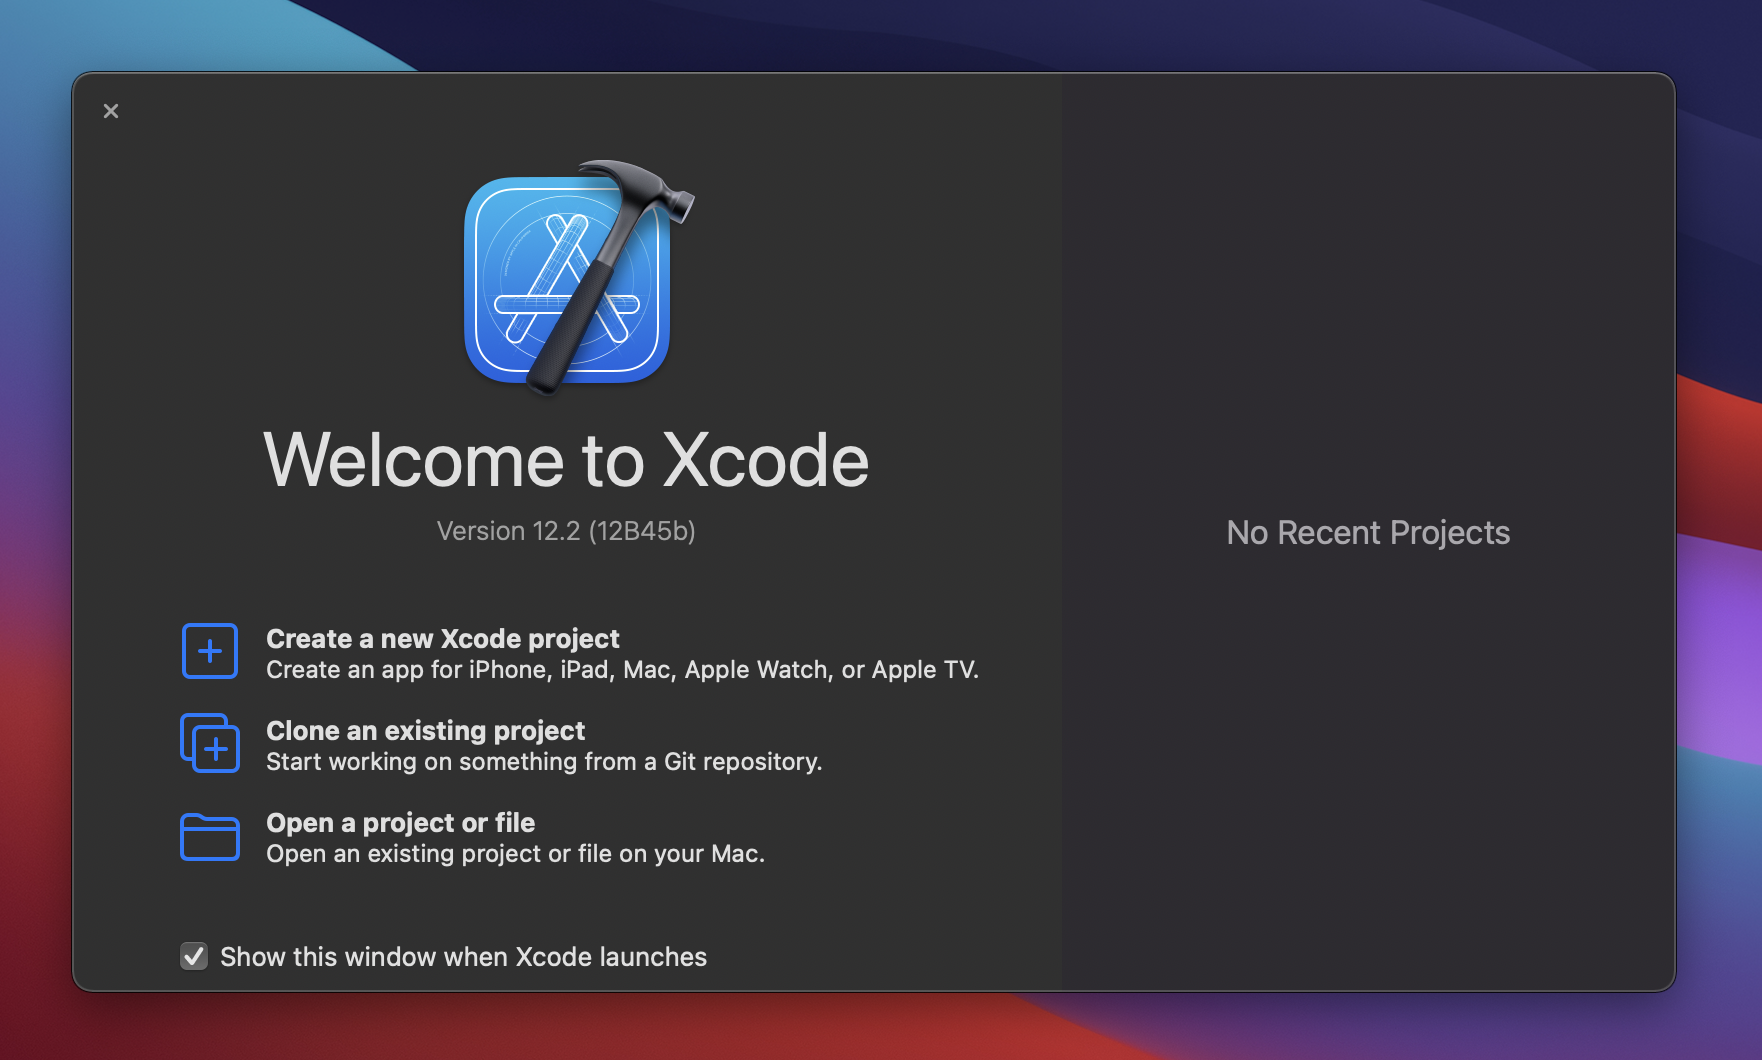
Xcodeのインストール
Xcode自体はApple Storeからダウンロード可
相変わらず遅いな・・・
ダウンロード後、Xcodeを開くと
"To run Intel-based applications, you will need to install Rosetta. Would you like to install it now?"
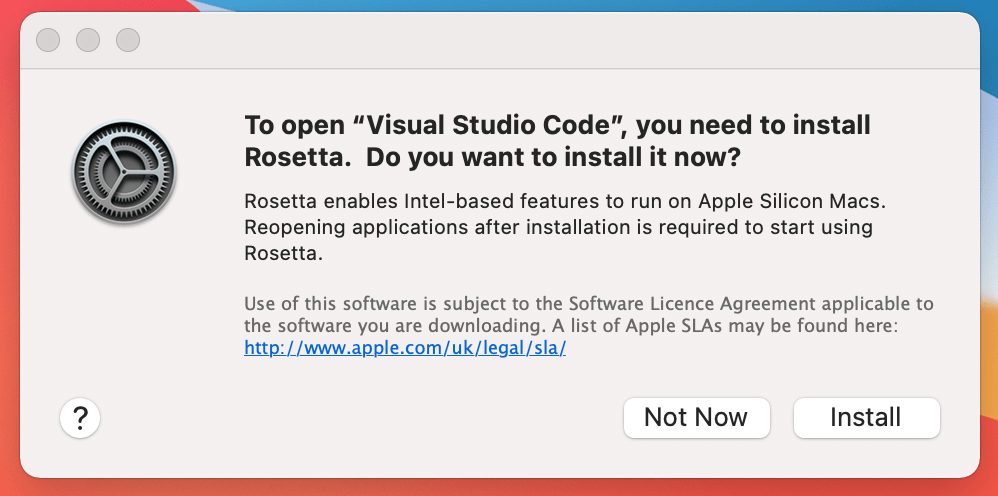
と出た。。。でもどのボタンを押しても反応せず。。。
調べたところEnterボタンでうまくいった!(バグっぽい)
https://developer.apple.com/forums/thread/666949
なぜRosettaが必要なんだろう。。。
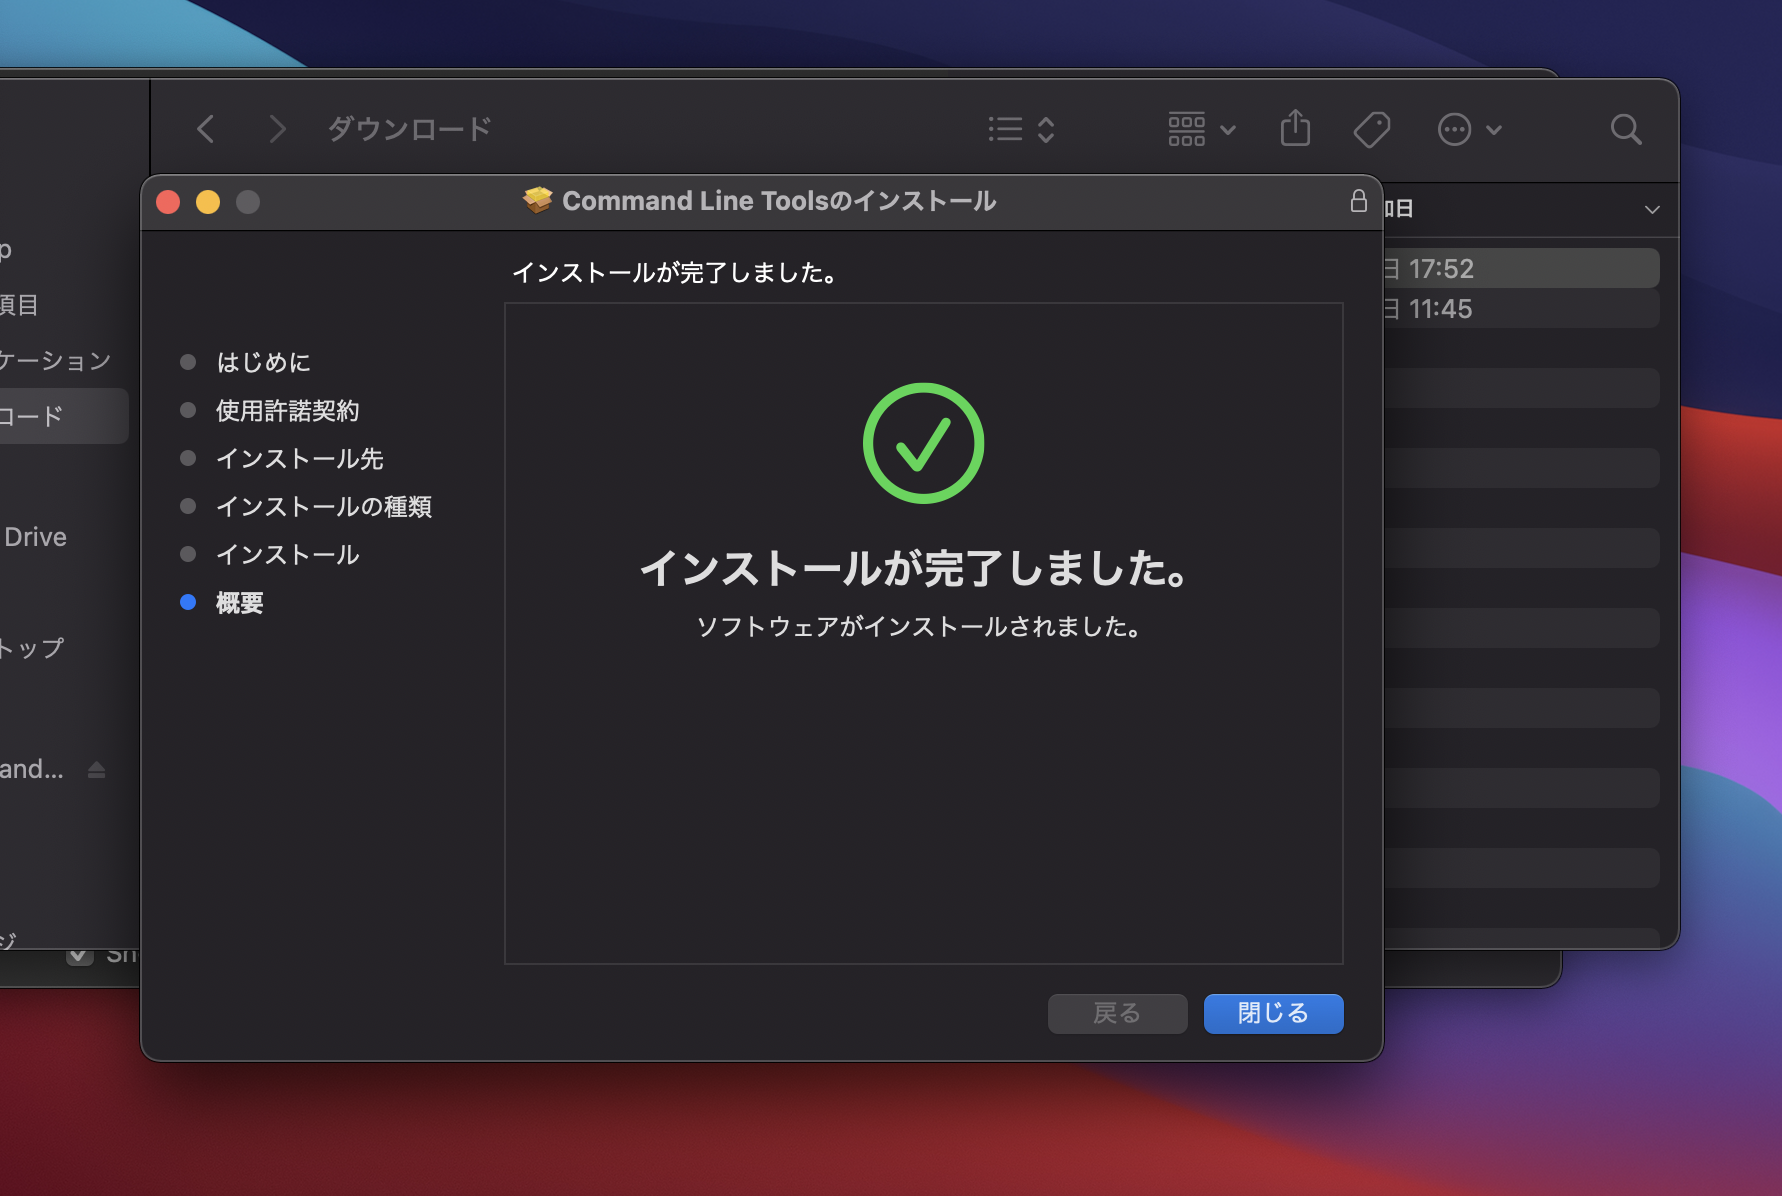
Command Line Tools for Xcode
Xcodeの上部メニューからXcode => Open Developer Tool => More Developer Tools
先ほどインストールしたXcodeがver12.2なので・・・遷移先のリストからCommand Line Tools for Xcode 12.2をダウンロードして、
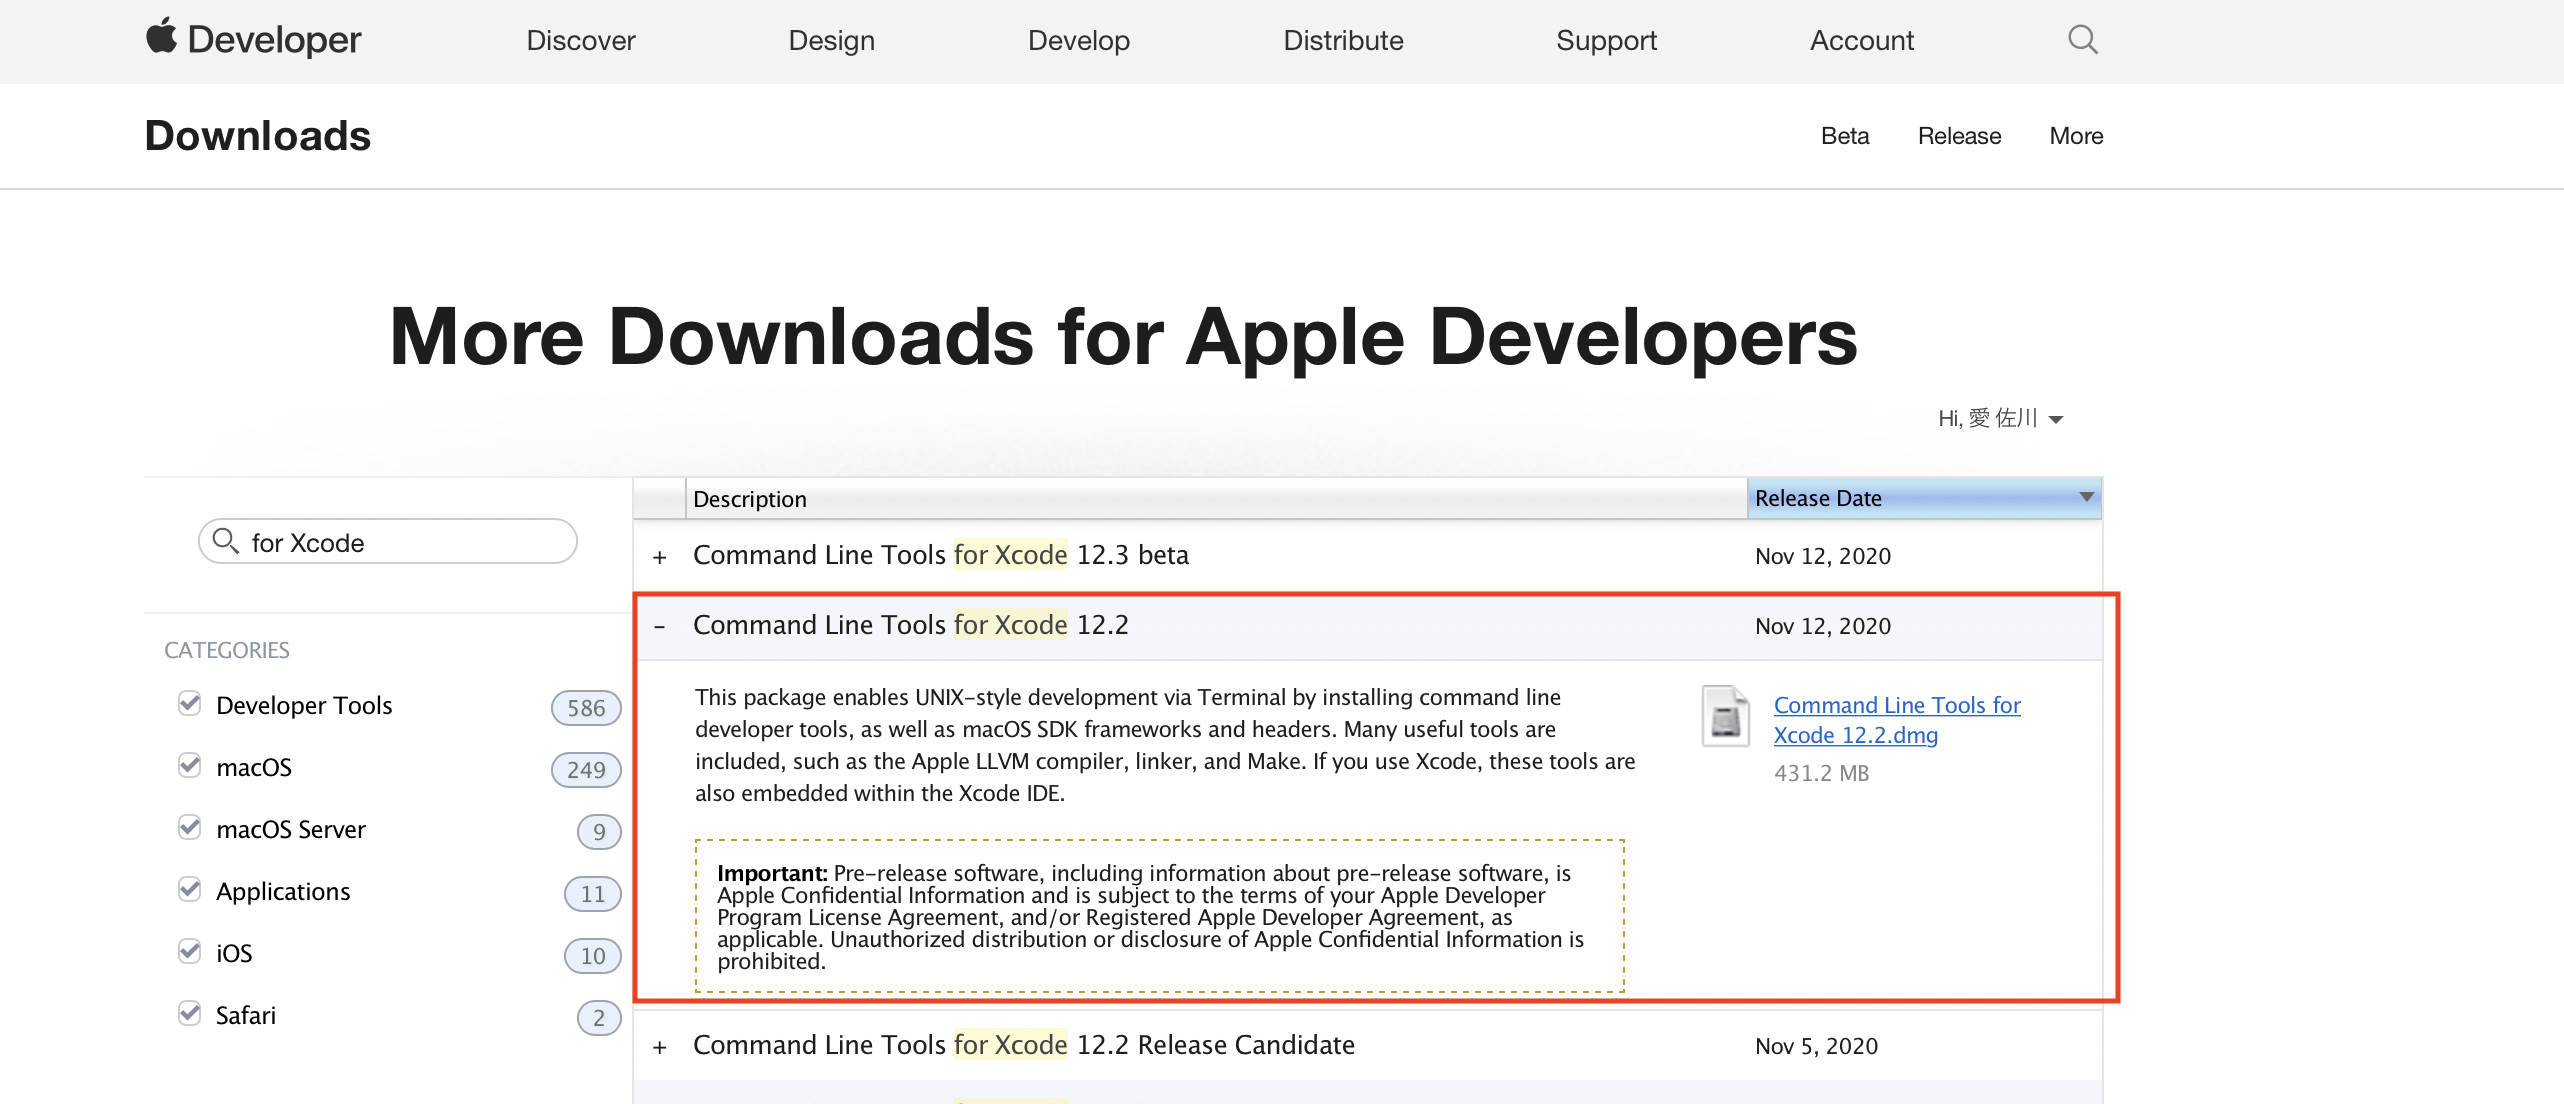
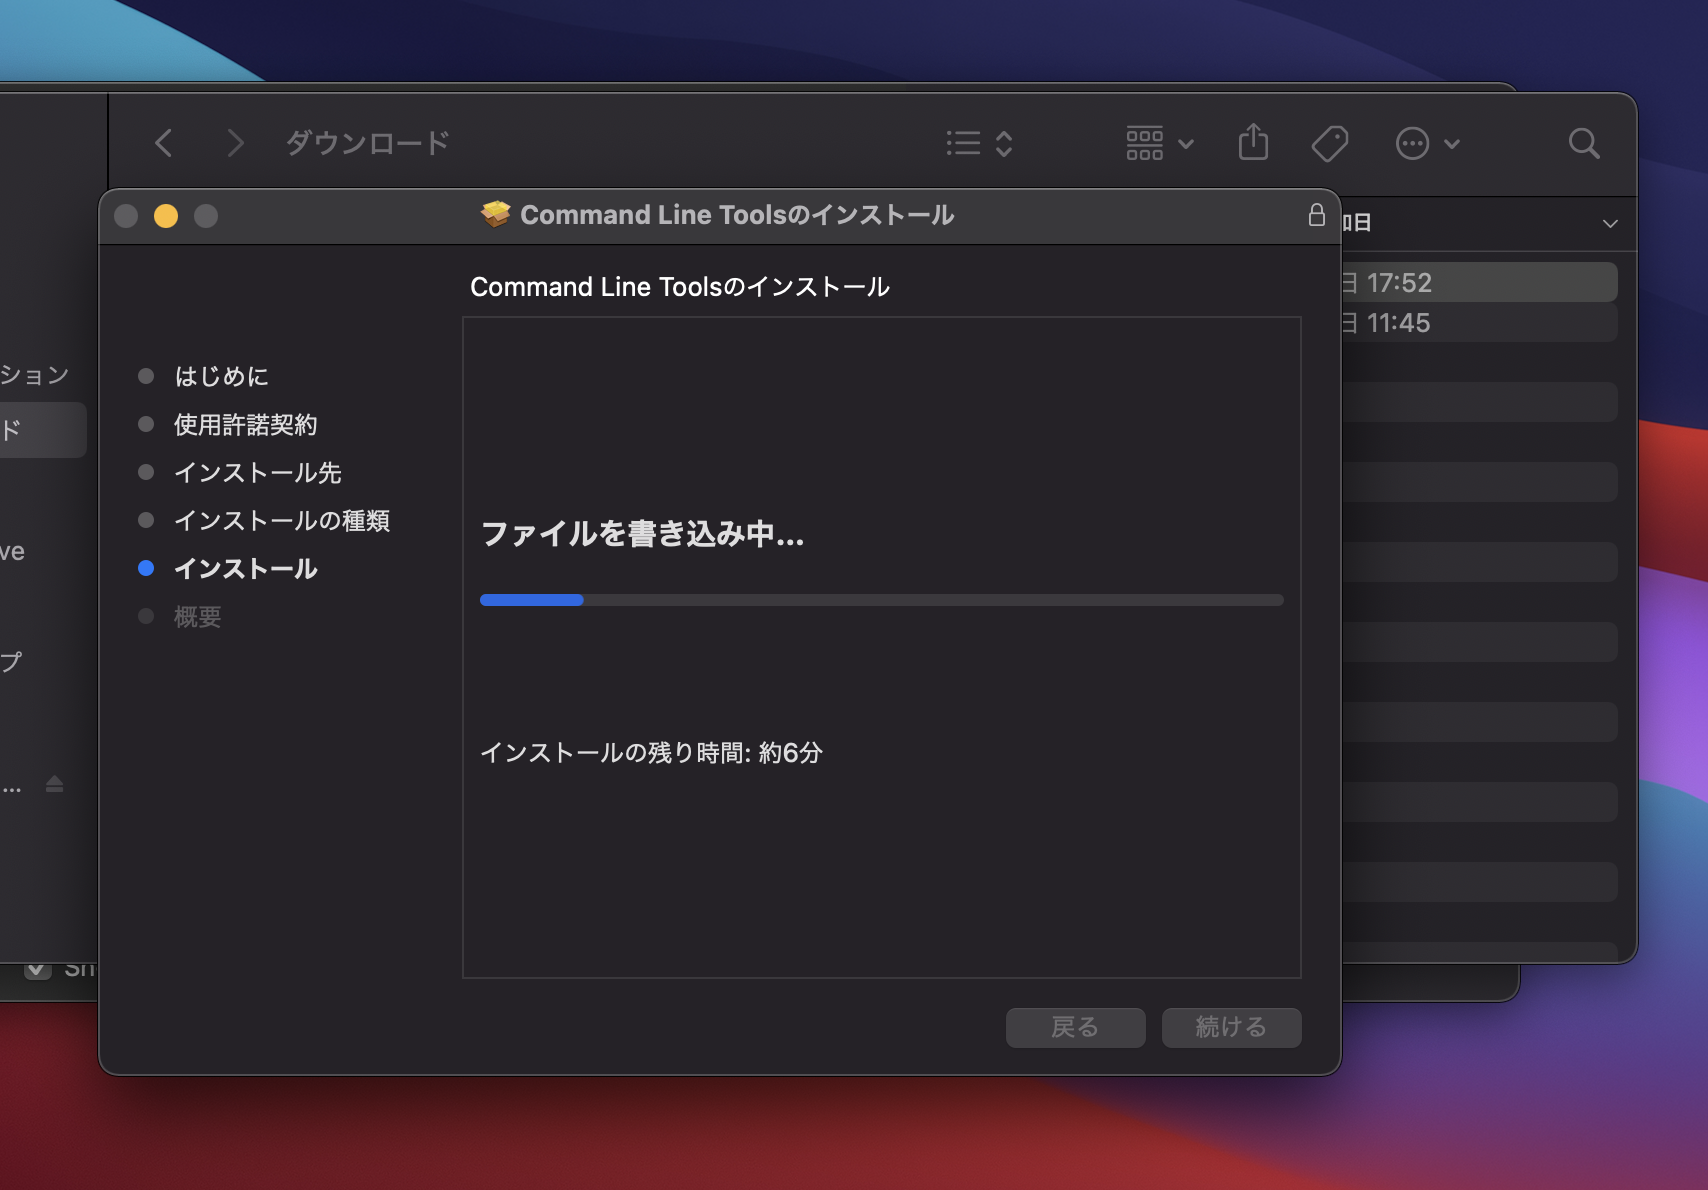
ダウンロードしたdmgを開いて流れに沿ってインストール
参考
https://qiita.com/3yatsu/items/47470091277d46f3fde2
Homebrewのインストール
今後のMacの移行・あとインストール等の手軽さを考えて、パッケージ管理システムのHomebrewを使用したいです。。。(Rubyの関連ソフトウェアもインストールしたいしね。)
なのでインストールしていきます!
macOS11 Big Sur環境でHomebrewでビルドできるのは下記にまとまっているとのこと。
対応方針
/opt/homebrewに保存するように実行する!
主に下記の記事を参考にした
https://qiita.com/shira-shun/items/0f6213f4923cb5544367
Homebrewの公式ドキュメントにも記載あり
https://docs.brew.sh/Installation
However do yourself a favour and install to /usr/local on macOS Intel, /opt/homebrew on macOS ARM, and /home/linuxbrew/.linuxbrew on Linux. Some things may not build when installed elsewhere. One of the reasons Homebrew just works relative to the competition is because we recommend installing here. Pick another prefix at your peril!
=> 訳:ただし、macOSIntelでは/ usr / local、macOSARMでは/ opt / homebrew、Linuxでは/home/linuxbrew/.linuxbrewにインストールしてください。他の場所にインストールすると、ビルドされないものもあります。 Homebrewが競合他社と比較して機能する理由の1つは、ここにインストールすることをお勧めするためです。危険にさらされている別のプレフィックスを選択してください。
universalに移行するのに
=> universalとかの概念が詳しくはわからないけど・・・とりあえず極力Rosetta使用しない方がいいのはわかるので、上記の参考記事の対策2で対応していきます!
% cd /opt

/opt % sudo mkdir homebrew # 普通にmkdirするとpermissionエラー出たのでsudoで対応

/opt % curl -L https://github.com/Homebrew/brew/tarball/master | tar xz --strip 1 -C homebrew
  % Total    % Received % Xferd  Average Speed   Time    Time     Time  Current
                                 Dload  Upload   Total   Spent    Left  Speed
100   128  100   128    0     0    329      0 --:--:-- --:--:-- --:--:--   329
.dockerignore: Can't create '.dockerignore'
.editorconfig: Can't create '.editorconfig'
.github/: Can't create '.github'
.github/ISSUE_TEMPLATE.md: Failed to create dir '.github'
 # 省略
docs/vale-styles/Homebrew/Titles.yml: Failed to create dir 'docs'
docs/vale-styles/Homebrew/Trademarks.yml: Failed to create dir 'docs'
manpages/: Can't create 'manpages'
manpages/README.md: Failed to create dir 'manpages'
manpages/brew.1: Failed to create dir 'manpages'
tar: Error exit delayed from previous errors.

/opt % brew -v
zsh: command not found: brew
なんか色々失敗しているので調べると・・・・homebrewディレクトリのファイル権限が変
/opt % ls -l
total 0
drwxr-xr-x  2 root  wheel  64 11 22 18:16 homebrew
参考
https://github.com/Homebrew/brew/issues/1705
ファイル権限ですね・・・
自分のユーザー権限を付与します。
/opt % sudo chown -R $USER /opt/homebrew

/opt % ls -l
total 0
drwxr-xr-x  2 <自分のユーザー名>  wheel  64 11 22 18:16 homebrew
でもbrewコマンド打てない〜
/opt % curl -L https://github.com/Homebrew/brew/tarball/master | tar xz --strip 1 -C homebrew
  % Total    % Received % Xferd  Average Speed   Time    Time     Time  Current
                                 Dload  Upload   Total   Spent    Left  Speed
100   128  100   128    0     0    285      0 --:--:-- --:--:-- --:--:--   285
100 1984k    0 1984k    0     0  1619k      0 --:--:--  0:00:01 --:--:-- 3600k
/opt % brew -v
zsh: command not found: brew

# homebrewのディレクトリの中身はある
 /opt % cd homebrew
homebrew % ls -l
total 64
-rw-r--r--   1 <自分のユーザー名>  wheel   207 11 22 08:46 CHANGELOG.md
-rw-r--r--   1 <自分のユーザー名>  wheel   829 11 22 08:46 CONTRIBUTING.md
-rw-r--r--   1 <自分のユーザー名>  wheel  1698 11 22 08:46 Dockerfile
-rw-r--r--   1 <自分のユーザー名>  wheel  1334 11 22 08:46 LICENSE.txt
drwxr-xr-x   7 <自分のユーザー名>  wheel   224 11 22 18:25 Library
-rw-r--r--   1 <自分のユーザー名>  wheel  8647 11 22 08:46 README.md
-rw-r--r--   1 <自分のユーザー名>  wheel   704 11 22 08:46 SECURITY.md
drwxr-xr-x   3 <自分のユーザー名>  wheel    96 11 22 18:25 bin
drwxr-xr-x   7 <自分のユーザー名>  wheel   224 11 22 18:25 completions
drwxr-xr-x  60 <自分のユーザー名>  wheel  1920 11 22 18:25 docs
drwxr-xr-x   4 <自分のユーザー名>  wheel   128 11 22 18:25 manpages
これはPATHを通していないだけでした。
参考
https://gomasatan.hatenablog.com/entry/2018/03/18/010851
homebrew % pwd
/opt/homebrew

% cd
% vi ~/.zshrc
% echo 'export PATH=/opt/homebrew/bin:$PATH' >> .zshrc

% vi ~/.zshrc # zshrcに追記されたか確認!

# ~/.zshrcの中身
export PATH=/opt/homebrew/bin:$PATH

% source .zshrc # 設定を反映

# うまくいったぽい!
% brew -v
Homebrew >=2.5.0 (shallow or no git repository)
Homebrew/homebrew-core N/A
% brew help
Example usage:
  brew search [TEXT|/REGEX/]
  brew info [FORMULA...]
  brew install FORMULA...
  brew update
  brew upgrade [FORMULA...]
  brew uninstall FORMULA...
  brew list [FORMULA...]

Troubleshooting:
  brew config
  brew doctor
  brew install --verbose --debug FORMULA

Contributing:
  brew create [URL [--no-fetch]]
  brew edit [FORMULA...]

Further help:
  brew commands
  brew help [COMMAND]
  man brew
  https://docs.brew.sh
色々試しましたが結論、下記の流れです。
homebrewのインストール(最終的にうまくいく流れ)
% cd /opt

/opt % sudo mkdir homebrew

/opt % sudo chown -R $USER /opt/homebrew

/opt % ls -l
total 0
drwxr-xr-x  2 <自分のユーザー名>  wheel  64 11 22 18:16 homebrew

/opt % curl -L https://github.com/Homebrew/brew/tarball/master | tar xz --strip 1 -C homebrew

% cd
% vi ~/.zshrc

# PATHを通す
% echo 'export PATH=/opt/homebrew/bin:$PATH' >> .zshrc

# zshrcに追記されたか確認!
% vi ~/.zshrc

# 設定を反映
% source .zshrc

# brewコマンドが使えるか確認(下記はバージョン確認)
% brew -v
Homebrew-caskのインストール(2020.11.22時点)
サポートしてないよとwarningやerrorが出るけど使えるっぽい
% brew install cask
=>
Warning: You are running macOS on a arm64 CPU architecture.
We do not provide support for this (yet).
Reinstall Homebrew under Rosetta 2 until we support it.
You will encounter build failures with some formulae.
Please create pull requests instead of asking for help on Homebrew's GitHub,
Twitter or any other official channels. You are responsible for resolving
any issues you experience while you are running this
unsupported configuration.

 # 省略
Error: You are running macOS on a arm64 CPU architecture.
We do not provide support for this (yet).
Reinstall Homebrew under Rosetta 2 until we support it.
You will encounter build failures with some formulae.
Please create pull requests instead of asking for help on Homebrew's GitHub,
Twitter or any other official channels. You are responsible for resolving
any issues you experience while you are running this
unsupported configuration.
chromeはbrew caskでインストールできた!
% brew cask install google-chrome
Updating Homebrew...
==> Auto-updated Homebrew!
Updated 1 tap (homebrew/core).
==> Updated Formulae
Updated 5 formulae.

==> Tapping homebrew/cask
Cloning into '/opt/homebrew/Library/Taps/homebrew/homebrew-cask'...
remote: Enumerating objects: 4, done.
remote: Counting objects: 100% (4/4), done.
remote: Compressing objects: 100% (4/4), done.
remote: Total 494255 (delta 0), reused 0 (delta 0), pack-reused 494251
Receiving objects: 100% (494255/494255), 226.78 MiB | 18.96 MiB/s, done.
Resolving deltas: 100% (350889/350889), done.
Tapped 1 command and 3726 casks (3,844 files, 242.8MB).
==> Downloading https://dl.google.com/chrome/mac/stable/GGRO/googlechrome.dmg
######################################################################## 100.0%
==> Verifying SHA-256 checksum for Cask 'google-chrome'.
==> Installing Cask google-chrome
==> Moving App 'Google Chrome.app' to '/Applications/Google Chrome.app'.
🍺  google-chrome was successfully installed!
brewで入れたもの
brew search <パッケージ名> でも導入したいパッケージ(アプリ)がHomebrewであるかどうか探せるけど、
なんか「Homebrew notion」とかで検索したら、リンク先の感じでコマンドそのまま出てくるからこれでもいいかも(zoomみたいにそのままzoomじゃないものもあるし、Homebrewのページにそのアプリのサイト出てきてちゃんとあっているか確認できるし)
https://formulae.brew.sh/cask/notion
Formulae
brew install <パッケージ名>
- git
- readline => irbを使用するためのパッケージ
- openssl => httpsを使用するためのパッケージ
Casks
brew cask install <パッケージ名>
- google-chrome
- slack
- zoomus => zoomのアプリ
- visual-studio-code => VSCode。エディター
- deepl => 翻訳ツールDeepL。英語苦手な私には必須。
- bitwarden => パスワード管理ツール
- notion => 多機能なタスク管理ツール。これから使いこなす予定。頑張る。
- spectacle => いい感じに画面分割してくれるやつ。
LineとTwitterはHomebrewはなさそうだったので直接Apple Storeからインストール。
ruby-build, rbenvのインストール
rbenvでrubyをビルド・管理するためのパッケージ
% brew install ruby-build
Rubyのバージョン切替ツール
% brew install rbenv
Path指定
% echo 'export PATH="$HOME/.rbenv/bin:$PATH"' >> .zshrc
% echo 'eval "$(rbenv init -)"' >> .zshrc

% vi ~/.zshrc
# zshrcの中身
export PATH=/opt/homebrew/bin:$PATH
export PATH="$HOME/.rbenv/bin:$PATH"
eval "$(rbenv init -)"

% source .zshrc
rubyのインストール
rbenvを使ってRubyをインストール
公開されているrubyのバージョン一覧を確認
% rbenv install -l
2.5.8
2.6.6
2.7.2
jruby-9.2.13.0
maglev-1.0.0
mruby-2.1.2
rbx-5.0
truffleruby-20.3.0
truffleruby+graalvm-20.3.0
ruby 2.7.2のバージョンをインストール
最新の安定バージョンが2.7.2なのでインストール
https://www.ruby-lang.org/ja/downloads/
rbenv install 2.7.2
Downloading openssl-1.1.1h.tar.gz...
-> https://dqw8nmjcqpjn7.cloudfront.net/5c9ca8774bd7b03e5784f26ae9e9e6d749c9da2438545077e6b3d755a06595d9
Installing openssl-1.1.1h...

BUILD FAILED (macOS 11.0.1 using ruby-build 20201118)

Inspect or clean up the working tree at /var/folders/45/0g9_n1px3ng3k7nxg6djc4g40000gn/T/ruby-build.20201122222806.63833.ZVfWmV
Results logged to /var/folders/45/0g9_n1px3ng3k7nxg6djc4g40000gn/T/ruby-build.20201122222806.63833.log

Last 10 log lines:
  "_write$UNIX2003", referenced from:
      _conn_write in bss_conn.o
      _conn_puts in bss_conn.o
      _dgram_write in bss_dgram.o
      _fd_write in bss_fd.o
      _sock_write in bss_sock.o
ld: symbol(s) not found for architecture i386
clang: error: linker command failed with exit code 1 (use -v to see invocation)
make[1]: *** [libcrypto.dylib] Error 1
make: *** [all] Error 2
・・・ありゃー(ω・`)なんかopensslで失敗します
結論、またPathですね。。。(Path嫌い)
とりあえず解決するまでに試したことを・・・
# opensslインストールしたあと、色々やってたからとりあえずもう1度
% brew install openssl
Updating Homebrew...
==> Auto-updated Homebrew!
Updated 1 tap (homebrew/core).
==> Updated Formulae
Updated 2 formulae.

Warning: openssl@1.1 1.1.1h is already installed and up-to-date
To reinstall 1.1.1h, run `brew reinstall openssl@1.1`

# ここからは参考サイトを見ながら

# opensslの場所
% which openssl
/usr/bin/openssl

# リスト
% brew list openssl
/opt/homebrew/Cellar/openssl@1.1/1.1.1h/bin/c_rehash
/opt/homebrew/Cellar/openssl@1.1/1.1.1h/bin/openssl
/opt/homebrew/Cellar/openssl@1.1/1.1.1h/include/openssl/ (104 files)
/opt/homebrew/Cellar/openssl@1.1/1.1.1h/lib/libcrypto.1.1.dylib
/opt/homebrew/Cellar/openssl@1.1/1.1.1h/lib/libssl.1.1.dylib
/opt/homebrew/Cellar/openssl@1.1/1.1.1h/lib/engines-1.1/ (2 files)
/opt/homebrew/Cellar/openssl@1.1/1.1.1h/lib/pkgconfig/ (3 files)
/opt/homebrew/Cellar/openssl@1.1/1.1.1h/lib/ (4 other files)
/opt/homebrew/Cellar/openssl@1.1/1.1.1h/share/doc/ (3968 files)
/opt/homebrew/Cellar/openssl@1.1/1.1.1h/share/man/ (3968 files)

# これで一発でリンクしてくれっ!
 % brew link openssl
Warning: Refusing to link macOS provided/shadowed software: openssl@1.1
If you need to have openssl@1.1 first in your PATH run:
  echo 'export PATH="/opt/homebrew/opt/openssl@1.1/bin:$PATH"' >> ~/.zshrc

For compilers to find openssl@1.1 you may need to set:
  export LDFLAGS="-L/opt/homebrew/opt/openssl@1.1/lib"
  export CPPFLAGS="-I/opt/homebrew/opt/openssl@1.1/include"

For pkg-config to find openssl@1.1 you may need to set:
  export PKG_CONFIG_PATH="/opt/homebrew/opt/openssl@1.1/lib/pkgconfig"

# 上のエラーで書いている通りに
% echo 'export PATH="/opt/homebrew/opt/openssl@1.1/bin:$PATH"' >> ~/.zshrc

# あと3つは直接.zshrcに書き込みます!
# .zshrc開きまーす
% vi ~/.zshrc

# 書き込んだ結果
export PATH=/opt/homebrew/bin:$PATH
export PATH="$HOME/.rbenv/bin:$PATH"
eval "$(rbenv init -)"

export PATH="/opt/homebrew/opt/openssl@1.1/bin:$PATH"

export LDFLAGS="-L/opt/homebrew/opt/openssl@1.1/lib"
export CPPFLAGS="-I/opt/homebrew/opt/openssl@1.1/include"

export PKG_CONFIG_PATH="/opt/homebrew/opt/openssl@1.1/lib/pkgconfig"

# 反映
% source .zshrc

# なんかいい感じ
% which openssl
/opt/homebrew/opt/openssl@1.1/bin/openssl

% openssl version
OpenSSL 1.1.1h  22 Sep 2020

# ただこれだけじゃ同じエラーが出るので・・・
# これも記載
# export RUBY_CONFIGURE_OPTS="--with-openssl-dir=/usr/local/opt/openssl@1.1"

# 最終的な .zshrc
% vi ~/.zshrc

# .zshrcの中身
export PATH=/opt/homebrew/bin:$PATH
export PATH="$HOME/.rbenv/bin:$PATH"
eval "$(rbenv init -)"

export PATH="/opt/homebrew/opt/openssl@1.1/bin:$PATH"

export LDFLAGS="-L/opt/homebrew/opt/openssl@1.1/lib"
export CPPFLAGS="-I/opt/homebrew/opt/openssl@1.1/include"

export PKG_CONFIG_PATH="/opt/homebrew/opt/openssl@1.1/lib/pkgconfig"

export RUBY_CONFIGURE_OPTS="--with-openssl-dir=/usr/local/opt/openssl@1.1"

% source .zshrc
参考
https://qiita.com/mgr206/items/58cf00c83d08ade68523
https://qiita.com/kazutosato/items/9c4ff7711ca992dd67e5
では改めまして。。。
% rbenv install 2.7.2
Downloading ruby-2.7.2.tar.bz2...
-> https://cache.ruby-lang.org/pub/ruby/2.7/ruby-2.7.2.tar.bz2
Installing ruby-2.7.2...
ruby-build: using readline from homebrew
Installed ruby-2.7.2 to /Users/<自分のユーザー名>/.rbenv/versions/2.7.2

% rbenv versions
* system (set by /Users/<自分のユーザー名>/.rbenv/version)
  2.7.2
できたー!
標準で使うrubyのバージョンを切り替える
% rbenv global 2.7.2

% rbenv versions
  system
* 2.7.2 (set by /Users/<自分のユーザー名>/.rbenv/version)
Ruby on Railsのインストール
Railsインストール
% gem install rails
Bundlerインストール
% gem install bundler
Fetching bundler-2.1.4.gem
Successfully installed bundler-2.1.4
Parsing documentation for bundler-2.1.4
Installing ri documentation for bundler-2.1.4
Done installing documentation for bundler after 1 seconds
1 gem installed
反映
% rbenv rehash
% source ~/.zshrc
% rails -v
Rails 6.0.3.4
参考
https://qiita.com/keneo/items/0a58b188183b5100e3af
postgresqlとmysql入れておく
これは必要になったらでもいいけど一応それぞれの最新バージョン入れておきます。
psqlのインストール
% brew install postgresql
% postgres --version
postgres (PostgreSQL) 13.1
mysqlインストール
% brew install mysql
% brew info mysql
mysql: stable 8.0.22
Open source relational database management system