はじめに
Stable Diffusionをローカル環境で動かしつつ大量生成した画像をサムネイル表示して比較したかったので、VSCodeのJupyter Notebookで実行する手順と便利関数を作ってみました。
プロンプト用の英単語調べるのが面倒なので、ついでにDeepLのAPIで日本語を翻訳する関数もいれてます。
img2imgライブラリでの画像入力にも対応しました。(2022/08/26追記)
検証環境
- OS: Windwos 10 Pro
- CPU: AMD Ryzen 5 5600X
- GPU: NVIDIA GeForce RTX3080 (Game readyドライバーバージョン516.94)
- Memory: 32GB
必要なソフトウェアのインストール
- CUDA1.6インストール ※GPU使いたい場合
- cuDNN8.5インストール ※GPU使いたい場合
- python3インストール
- pytorchインストール
- diffusers libraryインストール
pip install diffusers==0.2.4
pip install transformers scipy ftfy
pip install "ipywidgets>=7,<8"
- VSCodeインストール
- Jupyterエクステンションインストール
- gitクライアントインストール ※huggingface-cliでトークン保存用に使ってるため必要です
-
img2imgライブラリインストール
- VSCodeで任意のディレクトリを開く ※このディレクトリにJupyterのNotebookファイルを置きます
- gitからdiffusersライブラリをクローンし、image_to_image.pyファイルを上記ディレクトリに配置
git clone https://github.com/huggingface/diffusers.git
copy diffusers\examples\inference\image_to_image.py <notebookファイルを置くディレクトリ>
Stable Diffusionの準備
- huggingfaceのアカウント作成
- アクセストークンの作成
DeepL APIの準備 ※翻訳が必要な場合
実行
Hugging Faceへのログイン
コマンドプロンプトにて下記を実行しHugging Faceにログインします。実行後にトークンを聞かれるので、上記で作成したStable Diffusionのトークンを指定します。
huggingface-cli login
便利関数の準備
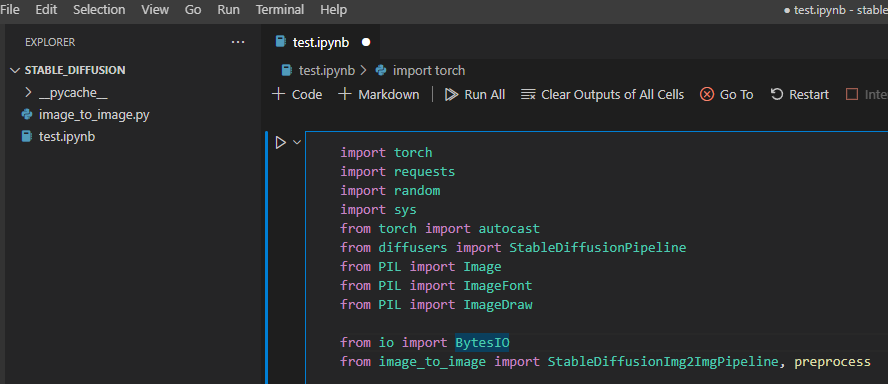
VSCodeでNotebookを作成し、最初のセルで下記を実行します。
import torch
import requests
import random
import sys
from torch import autocast
from diffusers import StableDiffusionPipeline
from PIL import Image
from PIL import ImageFont
from PIL import ImageDraw

from io import BytesIO
from image_to_image import StableDiffusionImg2ImgPipeline, preprocess


# 自身のDeepLのAPI キーを指定
DEEPL_API_KEY = 'XXXXXXXXXXXXXXXXXXXXXXXXXXXXXXXXXXXX'

#画像をグリッド表示 ※公式のColabのソースを参考に作りました
#indexをTrueにした場合、画像の左上にインデックス番号を表示
def image_grid(imgs, rows=1, cols=1,index=False):
    assert len(imgs) == rows*cols

    w, h = imgs[0].size
    grid = Image.new('RGB', size=(cols*w, rows*h))
    draw = ImageDraw.Draw(grid)
    font = ImageFont.load_default()

    grid_w, grid_h = grid.size

    for i, img in enumerate(imgs):
        box=(i%cols*w, i//cols*h)
        grid.paste(img, box=box)
        if index:
            draw.text(box,str(i),(255,255,255),font=font)

    return grid

#日本語から英語に翻訳
def translate(text):
    params = {
                'auth_key' : DEEPL_API_KEY,
                'text' : text,
                'source_lang' : 'JA',
                "target_lang": 'EN'
            }
    request = requests.post("https://api-free.deepl.com/v2/translate", data=params)
    result = request.json()
    return result["translations"][0]["text"]


#指定したプロンプトで画像とサムネイルを作成
#再生成する際に利用するシード値も一緒に保存
def generate(prompt, img_num=1, seed=None, height = 512, width = 512, num_inference_steps = 50, guidance_scale = 7.5, init_image_file = None):
    images = []
    thumbnails = []
    seeds = []
    init_image = None

    #パイプライン ※パイプライン生成にも結構時間が掛かるので関数分けて一度だけ実行するようにした方が良いかも
    device = "cuda"
    model_id = "CompVis/stable-diffusion-v1-4"
    revision = "fp16"

    if init_image_file:
        init_image = Image.open(init_image_file).convert("RGB")
        init_image = init_image.resize((height, width))
        init_image = preprocess(init_image)
        pipe = StableDiffusionImg2ImgPipeline.from_pretrained(model_id, revision=revision, torch_dtype=torch.float16, use_auth_token=True)
    else:
        pipe = StableDiffusionPipeline.from_pretrained(model_id, revision=revision, torch_dtype=torch.float16, use_auth_token=True)

    pipe = pipe.to(device)

    for i in range(img_num):
        with autocast("cuda"):
            generator = torch.Generator("cuda") #seedを保存するため実行毎に手動生成
            if seed:
                generator.manual_seed(seed)
                seeds.append(seed)
            else:
                new_seed = torch.Generator("cuda").seed()
                generator.manual_seed(new_seed)
                seeds.append(new_seed)
            img = None
            if init_image_file:
                img = pipe(prompt,  init_image=init_image, strength=0.75, generator=generator, num_inference_steps=num_inference_steps, guidance_scale=guidance_scale)["sample"][0]
            else:
                img = pipe(prompt, generator=generator, height=height, width=width, num_inference_steps=num_inference_steps, guidance_scale=guidance_scale)["sample"][0]
            images.append(img)
            thumbnails.append(img.resize((128,128)))

    return (images, thumbnails, seeds)
サムネイル表示
もう一つセルを作成し、下記を実行して指定した行と列で画像を生成しサムネイルを表示します。
プロンプトを推敲しつつこの部分を何度も実行してお気に入りの画像を見つけましょう。
row_num = 5 #サムネイル画像の行数
col_num = 10 #サムネイル画像の列数
img_num = row_num * col_num #生成する画像数
text = translate("空飛ぶ城, 雲の上, 雲の下には海") #プロンプト
images, thumbnails, seeds= generate(text, img_num)
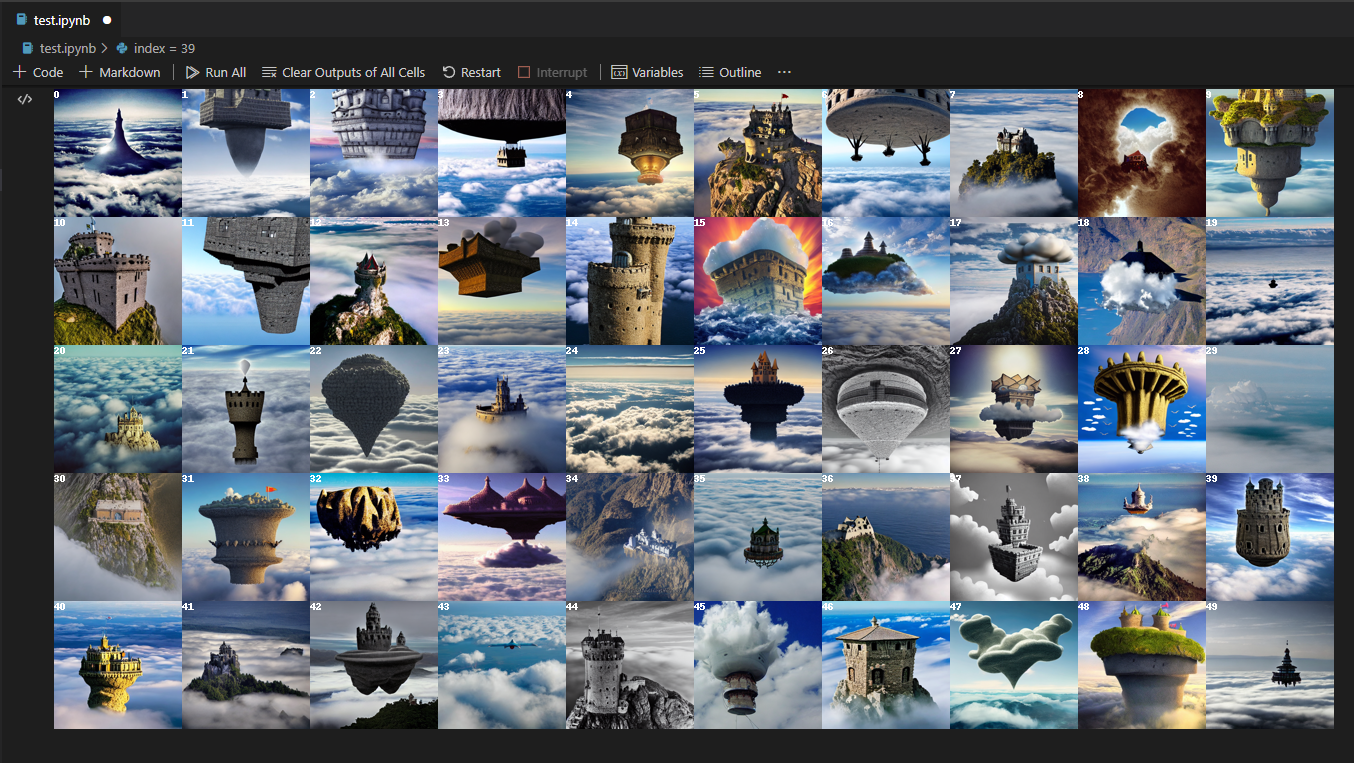
grid = image_grid(thumbnails, rows=row_num, cols=col_num,index=True)
grid
下記のようなサムネイルが表示されるので、気になる画像を探しサムネイル画像の左上に表示されているインデックス番号を確認します。
拡大表示
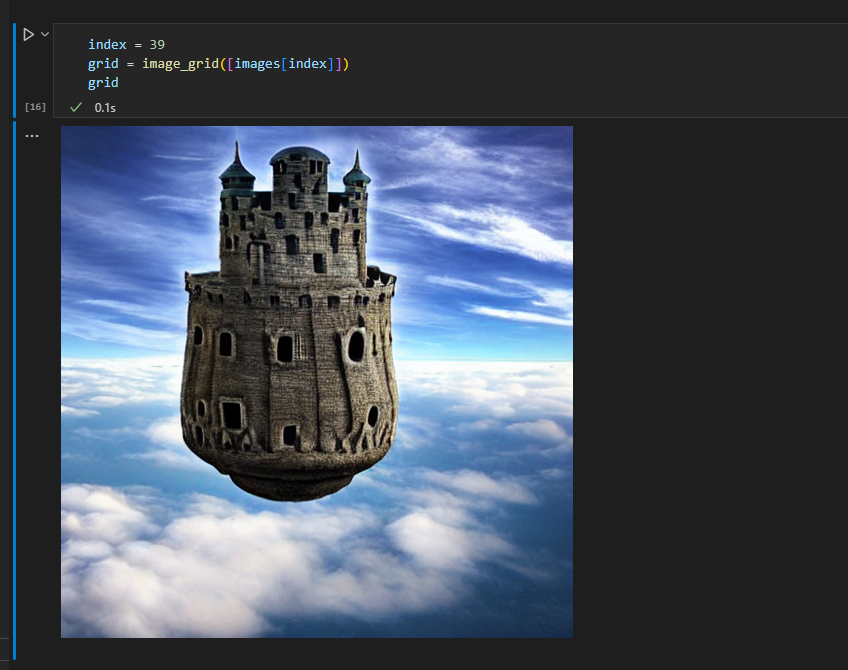
別のセルに下記プログラムをコピペし、indexに気になる画像のインデックス番号を指定して実行すると拡大表示できます。
index = 39
grid = image_grid([images[index]])
grid
画像の保存
良い絵ができた場合は保存しましょう。
index = 39
images[index].save(str(index)+".png")
とりあえず全部保存したい場合は下記プログラムを使ってください。
for index, image in enumerate(images) :
    image.save(str(index)+".png")
パラメータを修正して再生成
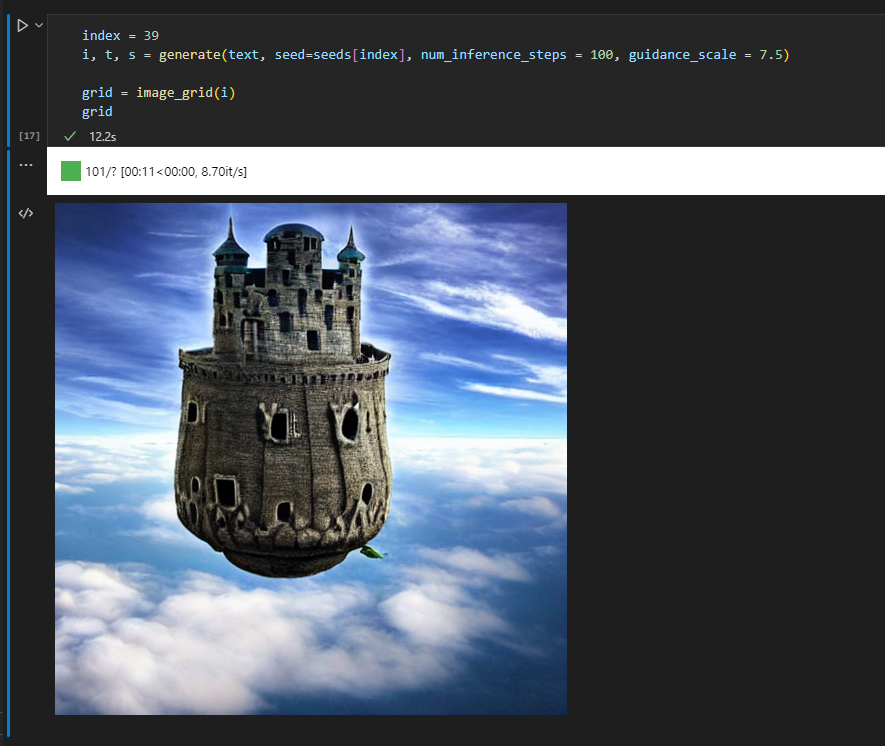
別のセルに下記プログラムをコピペし、同じシード値を使ってnum_inference_stepsやguidance_scaleを調整して再生成する事で、絵のディティールを変更できます。
index = 39
images2, t, s = generate(text, seed=seeds[index], num_inference_steps = 100, guidance_scale = 7.5)

grid = image_grid(images2)
grid
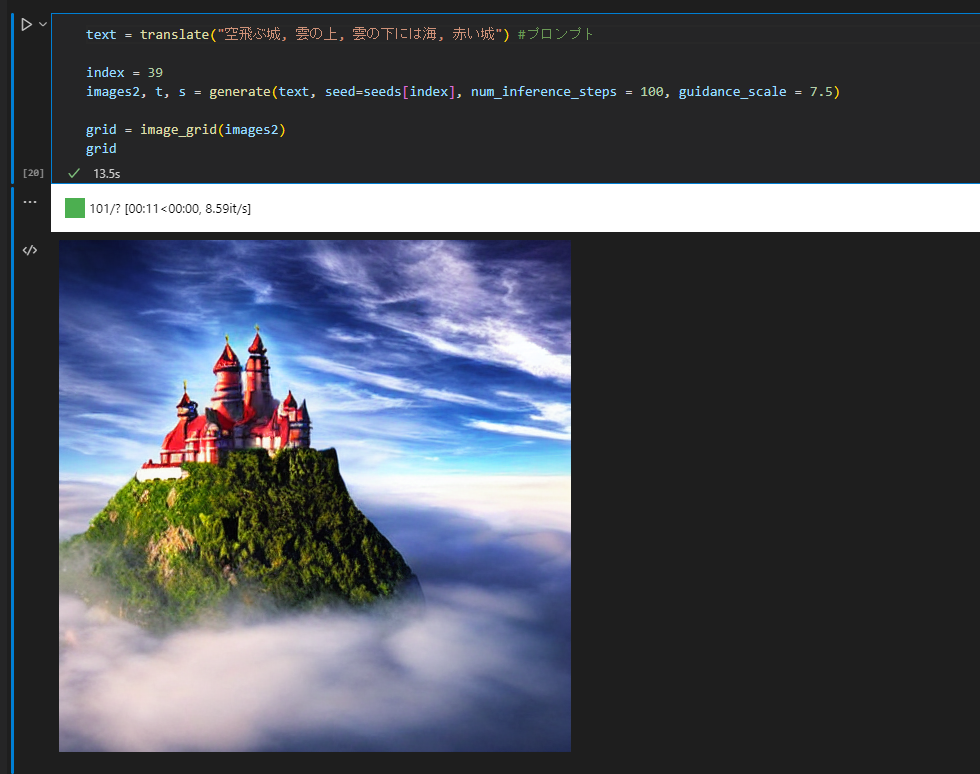
プロンプトを修正して再生成
同じシード値使ってもプロンプトを少しでも変えると全然違う絵になっちゃいます。
text = translate("空飛ぶ城, 雲の上, 雲の下には海, 赤い城") #プロンプト

index = 39
images2, t, s = generate(text, seed=seeds[index], num_inference_steps = 100, guidance_scale = 7.5)

grid = image_grid(images2)
grid
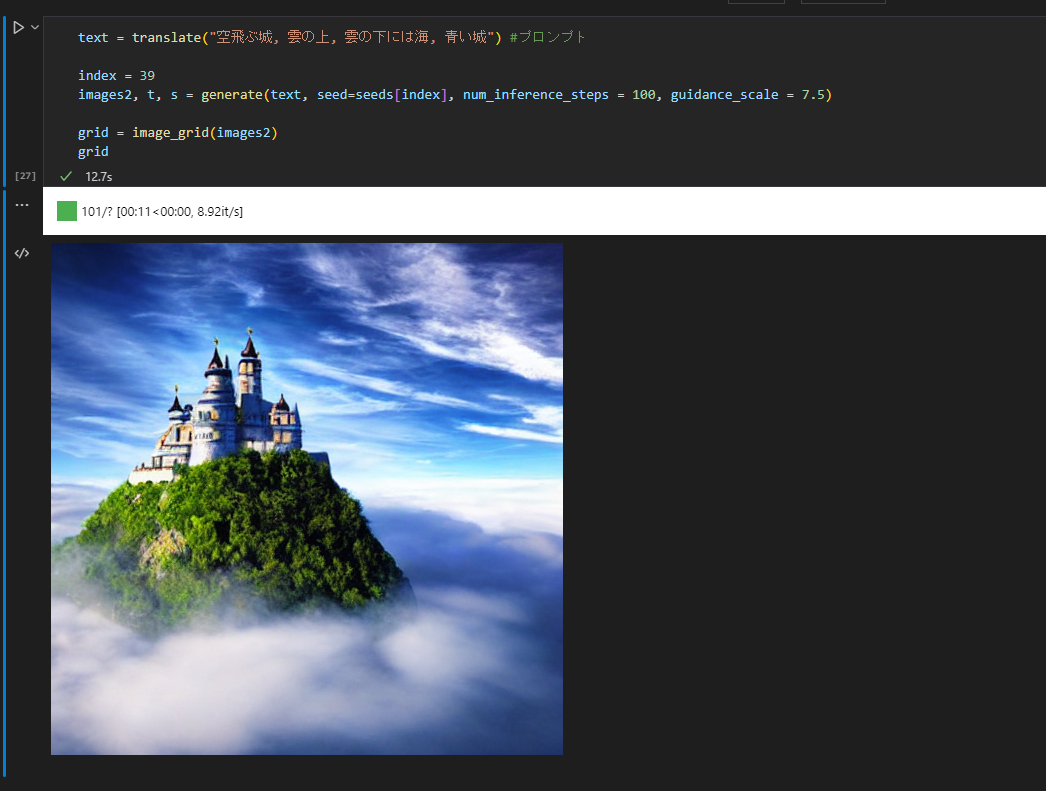
ただ色を変える程度だと同じ構図の絵が出せたりするので、研究の余地は色々ありそうです。
text = translate("空飛ぶ城, 雲の上, 雲の下には海, 青い城") #プロンプト

index = 39
images2, t, s = generate(text, seed=seeds[index], num_inference_steps = 100, guidance_scale = 7.5)

grid = image_grid(images2)
grid
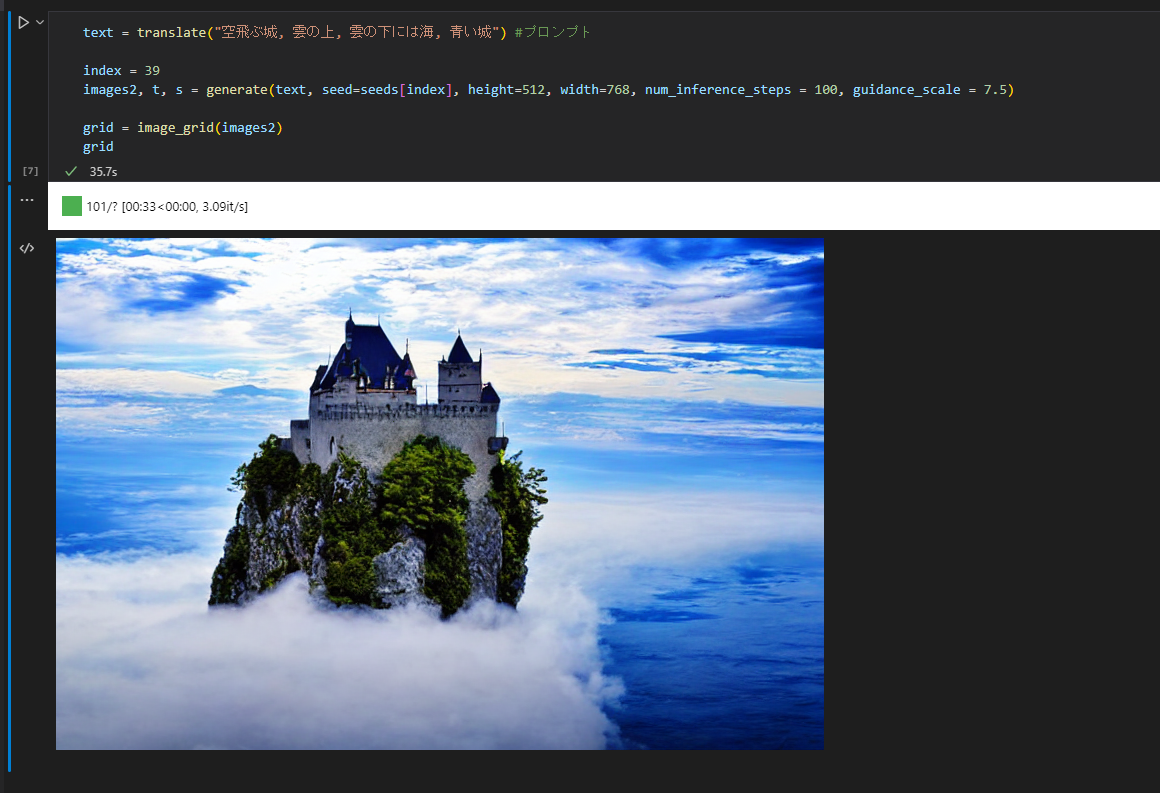
サイズを変更して再生成
画像サイズを変更してもまったく違う絵になります。
text = translate("空飛ぶ城, 雲の上, 雲の下には海, 青い城") #プロンプト

index = 39
images2, t, s = generate(text, seed=seeds[index], height=512, width=768, num_inference_steps = 100, guidance_scale = 7.5)

grid = image_grid(images2)
grid
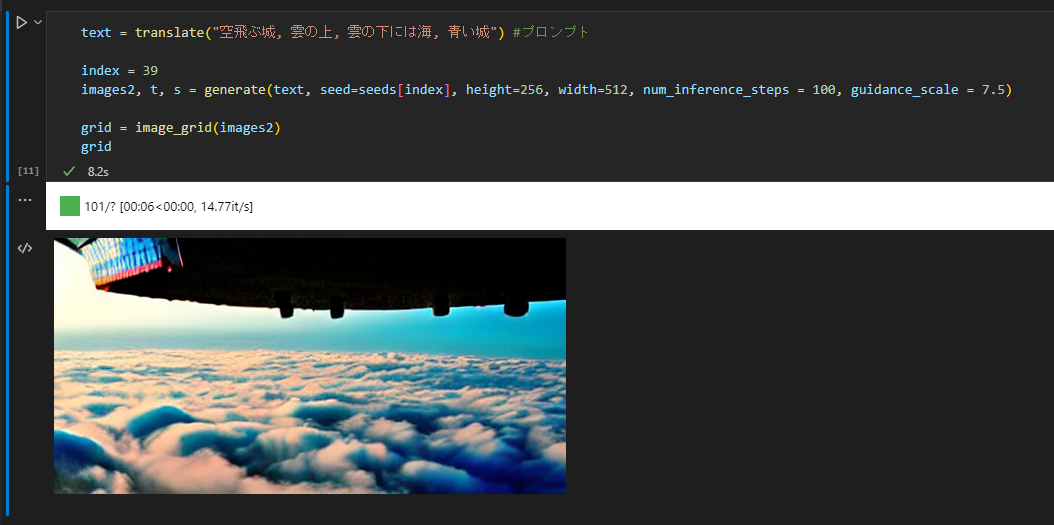
画像サイズを小さくするとかなり絵のクオリティが下がります。
公式のColobに書いてあるコメントによると512が一番バランス良いようです。
text = translate("空飛ぶ城, 雲の上, 雲の下には海, 青い城") #プロンプト

index = 39
images2, t, s = generate(text, seed=seeds[index], height=256, width=512, num_inference_steps = 100, guidance_scale = 7.5)

grid = image_grid(images2)
grid
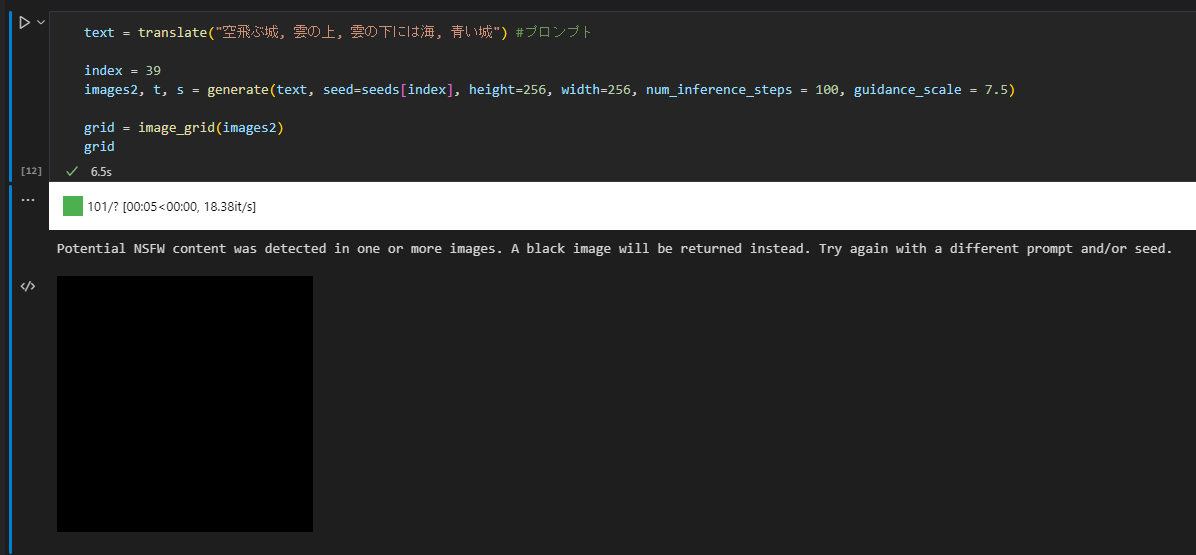
時々制限に引っかかる
職場閲覧注意となりそうな怪しげな画像が生成されてしまった場合、NSFWコンテンツだよって警告と共に画像が真っ黒になります。
プロンプトやパラメータを変更するか、チェックロジックを見つけて削除するなりで対処しましょう。
画像をインプットとして生成させる
こんな感じの画像を用意して
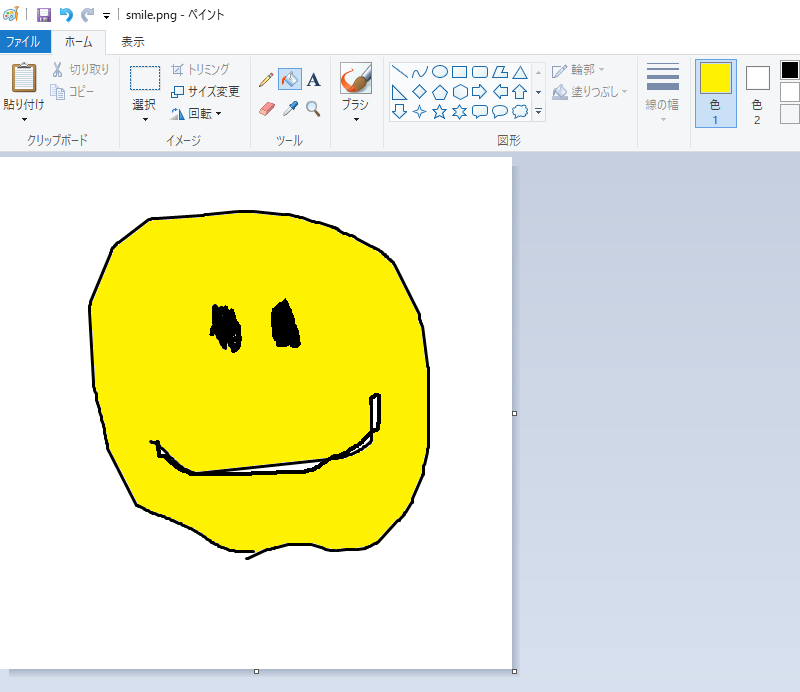
こんな感じのプロンプトと共にファイル名を指定して実行すると
row_num = 1
col_num = 10
img_num = row_num * col_num

text = translate("笑顔, リアル, ポートレート, ホラー")
file_name = "smile.png"
images, thumbnails, seeds= generate(text, img_num, init_image_file=file_name)

grid = image_grid(thumbnails, rows=row_num, cols=col_num,index=True)
grid
こんな感じの画像が出力されます。

参考文献
公式のセットアップ手順 - diffusers libraryのインストール方法など
公式のColab - NotebookでのStable Diffusionの使い方は大体ここに書いてあります。
img2img - 画像をインプットとして生成するライブラリ