NATで繋ぐ必要のある状況
ゲストOSに、社内ネットワーク用のIPが割り当てできない
とか。。
自分のパコソン以外からゲストOSを見せたくない(やりようはあると思うがめんどくさい)
Hyper-V側設定
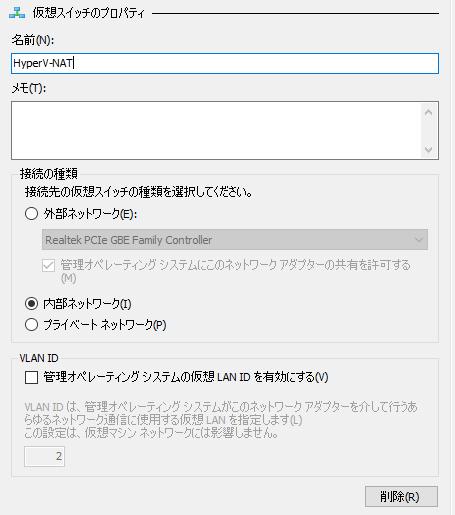
仮想スイッチマネージャ→内部を選択して→「仮想スイッチの作成(S)」
名前は、HyperV-NAT としておく
コントロールパネル¥ネットワークとインターネット¥ネットワーク接続
(ショートカット: ncpa.cpl )

↑こいつができている。
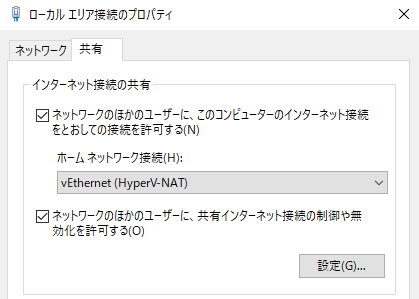
今つながっているネットワークが ローカル エリア接続 だとすると
プロパティを開いて、共有タブの設定を↓のようにする
…すると、こんな感じになる

ローカル エリア接続 に ”共有”の文字が表示される
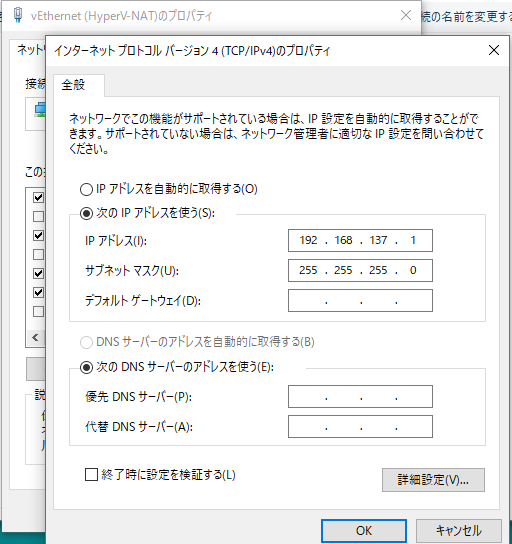
HyperV-NAT に ローカルエリア接続の接続先が表示され、勝手にIPアドレスが作られている192.168.137.1
こいつが、ゲストOSのゲートウェイアドレスになる
ゲストOS側:centosを入れた
ネットワークアダプタに HyperV-NATを設定しておく
OSインストール直後の確認
ifconfigがなくなったので… ip addr show コマンドで確認する
eth0にIPアドレスらしきものは出ていない

IPアドレス設定
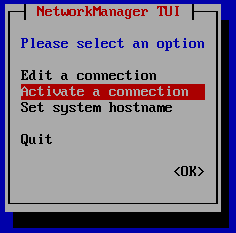
nmtui
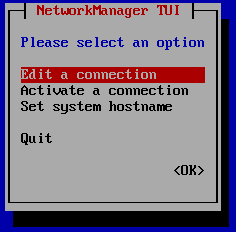
Edit a Connection を実行して、ゲストOSのIPアドレスを設定する
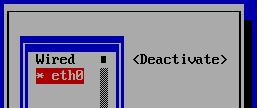
対象は、eth0
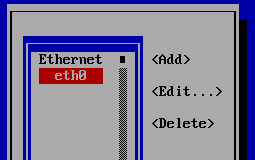
IPv4 CONFIGURATION の を選択して展開する

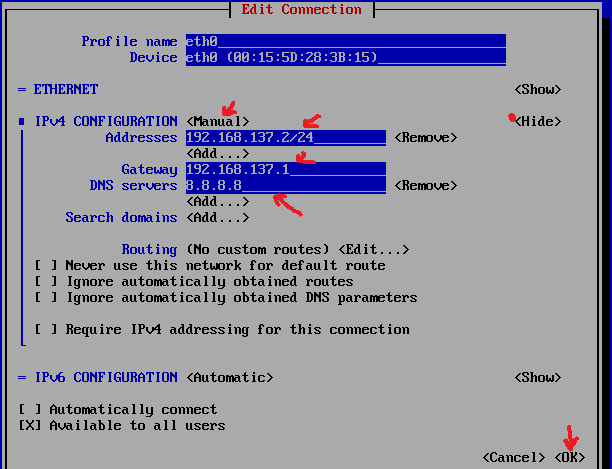
アドレスの設定
IPv4 CONFIGURATION <Automatic> → <Manual>
Addresses: 192.168.137.2/24
Gateway: 192.168.137.1
Dns Servers: 8.8.8.8 ←GoogleのDNSサーバ(ほかのDNSサーバでもよい)
# ip addr show ←
はいできた
ちなみに、DNS設定していないと,yumができなかった
