対象読者
- Kaggle始めてみたor始めてみたいけど、どんな環境で開発すべきか迷っている方
- Kaggle歴結構あってKaggleのnotebook機能を使ってきたけどいまいちぴんときてない方
- 機械学習の勉強したいけどVimが使えない環境だと発狂してしまう方
概要
みなさんはKaggleされるときどんな環境で開発されていますか??
Kaggleには便利なnotebook機能があってそれを使っている方も多いと思うのですが、エディタとしてはGitHubが提供するCodespacesで開発できたほうが何かと幸せなんじゃないかと思って記事を書いています
(因みに僕はKaggleど初心者なのでKaggle純正の機能でももっとできるよ!といったことあれば教えて下さい![]() )
)
Kaggleってなに?
- 機械学習系のコンペサイト。すごく流行ってるらしい
- コードはPythonかRで書く
- 後述するkaggle APIでCLIからコードの提出などなどできる
Codespacesってなに?
- GitHubがいつの間にかGAしていたクラウド上の開発環境
- GitHub TeamかGitHub Enterprise Cloudの料金プランでのみ使える (要は有料、でもそんな高くないよ)
- UIはほとんどVS Codeと同じ、拡張機能も使える
- この記事がわかりやすく書いてくれてる
Codespacesで開発するとどんないいことがあるの?
Vimが使える
- VS Codeの拡張機能でvimを入れれば快適なvim環境が出来上がる
- もちろんjjも設定可能
コード共有しやすい
- Live Shareという拡張機能を使えばリアルタイムでコーディング画面を他の人と共有できる
- デフォルトでgitコマンドが使えるのでバージョン管理も容易
コンペティションごとにNotebook環境をつくる必要がない
ここは好みが分かれると思いますが、一つのリポジトリ内に複数のコンペ用のコードを書くことが可能です。
環境構築の手間が省けるだけでなく、予め自作していたutility関数が共通で使えたりボイラープレートを各コンペごとに複製するなどできそうです。
ただ、データセットのサイズ的に1リポジトリ1コンペにしたい場合もあると思います。その時は雛形のリポジトリを作成しておいてgit clone <repository>することで自分のお好みの環境を複製・編集する方法が良いと思います
どうやって環境構築するの?
Kaggle
1. アカウント登録
まだの方はこちらから
2. API Tokenを取得
KaggleのAccountページのAPI項目から"Create New API Token"を押して、kaggle.jsonを手元に保存しておきます(後で使います)
GitHub
1. アカウント登録
まだの方はこちらから
2. GitHub Codespacesを有効化
この動画がわかりやすいです
Codespaces
1. python環境の構築
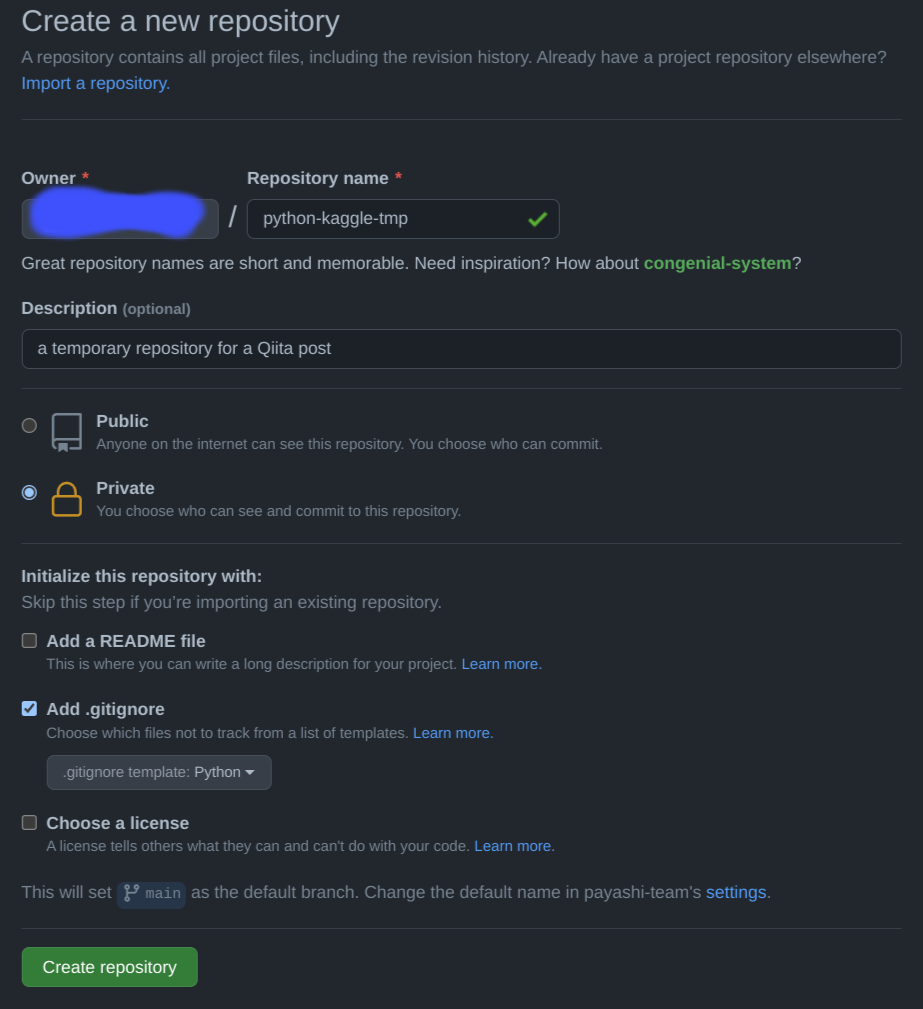
先程Codespacesを有効にしたGitHub Teamからリポジトリを作成します
作成したリポジトリをもとにcodespaceを立ち上げます

お好みのコア数を選んでしばらく待つと、VS Codeまんまの画面が出てきます

GitHub Codespaces拡張機能を入れます

コマンドパレットに> dev containerを入力し、「Codespaces: Add Development Container Configuration Files...」> Anaconda > Node16 を選択
これで.devcontainerがcodespace上に作成されるので再度コマンドパレットから> rebuildと入力し「Codespaces: Rebuild Container」を選択してしばらく待ちましょう
devcontainer.jsonの中身はおおよそ次のようなものになります
// For format details, see https://aka.ms/devcontainer.json. For config options, see the README at:
// https://github.com/microsoft/vscode-dev-containers/tree/v0.222.0/containers/python-3-anaconda
{
	"name": "Anaconda (Python 3)",
	"build": {
		"context": "..",
		"dockerfile": "Dockerfile",
		"args": {
			"NODE_VERSION": "16"
		}
	},

	// Set *default* container specific settings.json values on container create.
	"settings": {
		"python.defaultInterpreterPath": "/opt/conda/bin/python",
		"python.linting.enabled": true,
		"python.linting.pylintEnabled": true,
		"python.formatting.autopep8Path": "/opt/conda/bin/autopep8",
		"python.formatting.yapfPath": "/opt/conda/bin/yapf",
		"python.linting.flake8Path": "/opt/conda/bin/flake8",
		"python.linting.pycodestylePath": "/opt/conda/bin/pycodestyle",
		"python.linting.pydocstylePath": "/opt/conda/bin/pydocstyle",
		"python.linting.pylintPath": "/opt/conda/bin/pylint"
	},

	// Add the IDs of extensions you want installed when the container is created.
	"extensions": [
		"ms-python.python",
		"ms-python.vscode-pylance"
	],

	// Use 'forwardPorts' to make a list of ports inside the container available locally.
	// "forwardPorts": [],

	// Use 'postCreateCommand' to run commands after the container is created.
	// "postCreateCommand": "python --version",

	// Comment out to connect as root instead. More info: https://aka.ms/vscode-remote/containers/non-root.
	"remoteUser": "vscode"
}
ここまででpythonの開発環境は整いました!![]()
2. kaggle.jsonの追加
次にkaggle APIを使う上で必要なkaggle.jsonを追加し、実際にCLIからkaggleコマンドを使ってみましょう
ローカルからkaggle.jsonをアップロードし、下のようなフォルダ構成にします

次にTerminal上で
pip install --user kaggle
mv .kaggle ~/
chmod 600 ~/.kaggle/kaggle.json
最後にkaggle c listを実行してコンペの一覧が表示されれば完成です

お疲れさまでした!
3. 拡張機能の追加
あとはお好みで拡張機能を追加してみてください
vimやLive Shareの他にもVS Codeの多くの拡張機能がCodespacesでも使うことができます