18
14

Delete article

Deleted articles cannot be recovered.

Draft of this article would be also deleted.

Are you sure you want to delete this article?

More than 5 years have passed since last update.

Python + OpenCVによるマスク画像適用方法

Last updated at Posted at 2019-02-17

OpenCVで画像に対しマスク画像を適用し特定範囲を任意の色にする

下記コードは、マスク画像黒部分を灰色で塗りつぶす

test.py
import cv2

# マスク対象画像読み込み
img = cv2.imread("testImg.png",cv2.IMREAD_COLOR)

# マスク画像読み込み
imgMask = cv2.imread("testImgMask.png",cv2.IMREAD_GRAYSCALE)

# マスク画像合成
img[imgMask==0] = [128, 128, 128]  # マスク画像の明度 0 の画素を灰色(R:128 G:128 B:128)で塗りつぶす

# マスク結果画像を保存
cv2.imwrite("testDstImg.png", img)

マスク対象画像
testImg.png

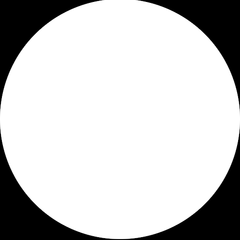
マスク画像
testImgMask.png

マスク実施後画像
testDstImg.png

18
14
0

Register as a new user and use Qiita more conveniently

  1. You get articles that match your needs
  2. You can efficiently read back useful information
  3. You can use dark theme
What you can do with signing up
18
14

Delete article

Deleted articles cannot be recovered.

Draft of this article would be also deleted.

Are you sure you want to delete this article?