対象読者
Bootstrapを使ってみたいけど、よく分からないという人
公式ドキュメントが英語でチンプンカンプンの人
今回用意するもの
エディタ(今回はVscodeを使用します)
HTMLファイル(作り方はこちら)
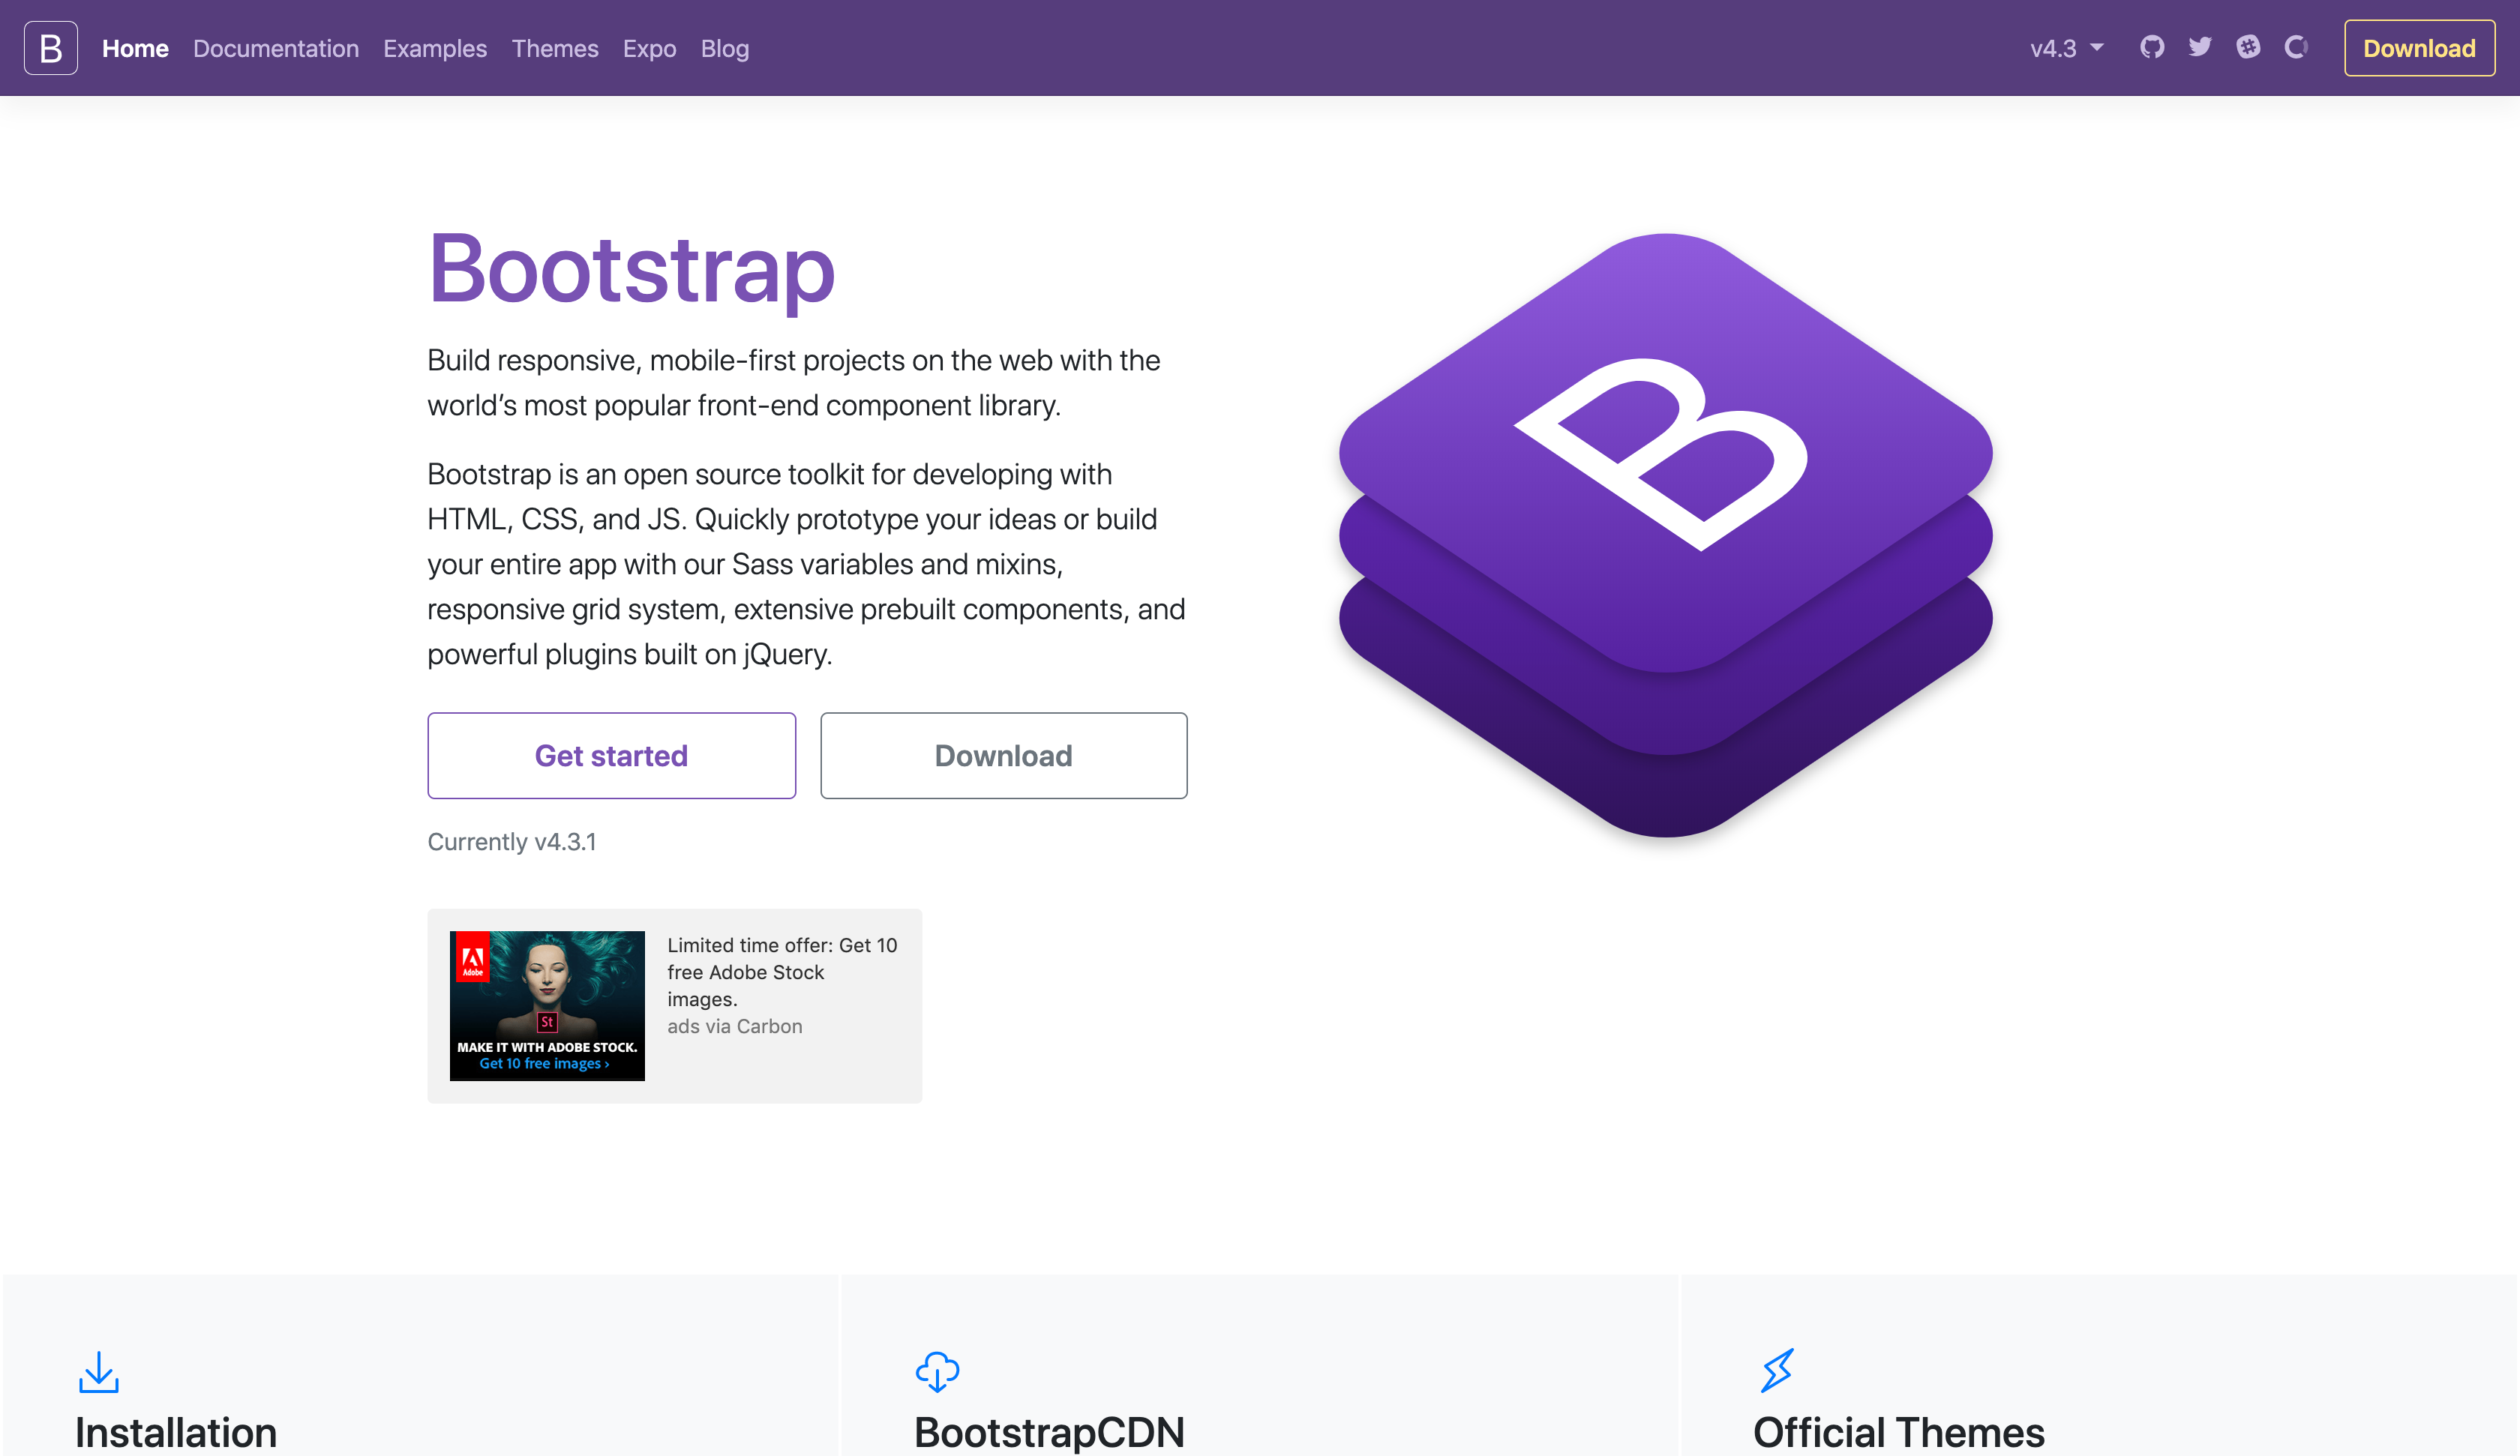
そもそもBootstrapって何?
Twitter社が開発したCSSフレームワーク
LaravelやRuby on Railsなどもフレームワークですが、
ここではそのCSS用の認識でいいです。
class名にBootstrapが用意している、英単語を入れるだけで
見栄えの良い画面を作る事ができます。
一々class名を考えて、marginやpaddingを指定しなくても良いんです。
準備
適当にHello_world.htmlのファイルを作成して、エディタで開いてください。
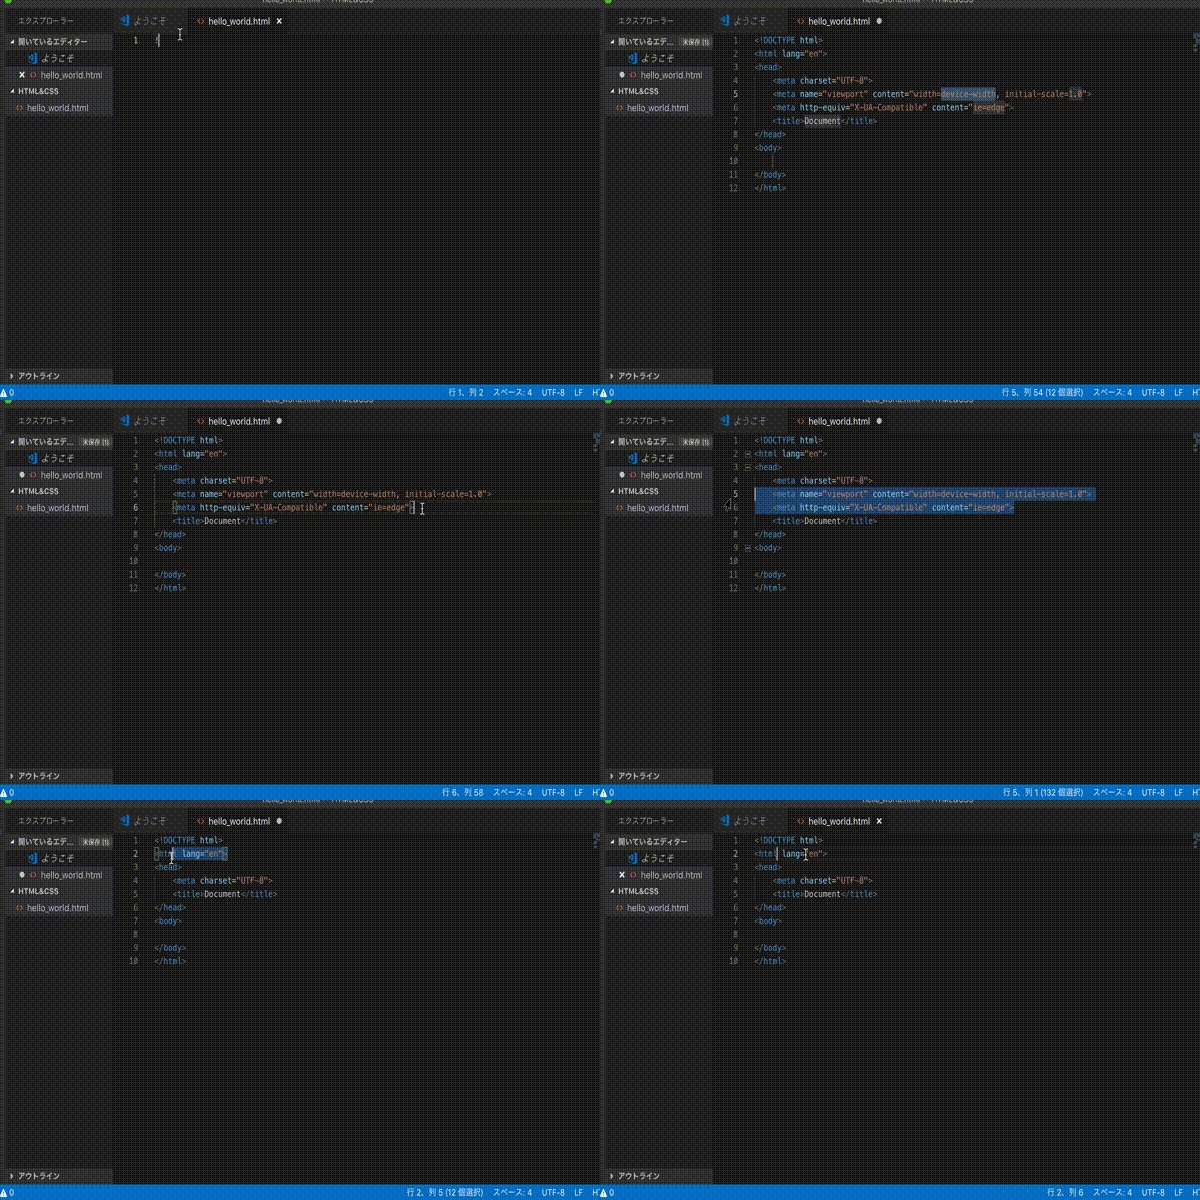
!を押してそのままtabキーを押すと勝手にDOCTYPE宣言をしてくれます。
必要のないmetaタグは削除しておきましょう。
<!DOCTYPE html>
<html lang="en">
<head>
    <meta charset="UTF-8">
    <title>hello world</title>
</head>
<body>

</body>
</html>
Bootstrapを導入する。
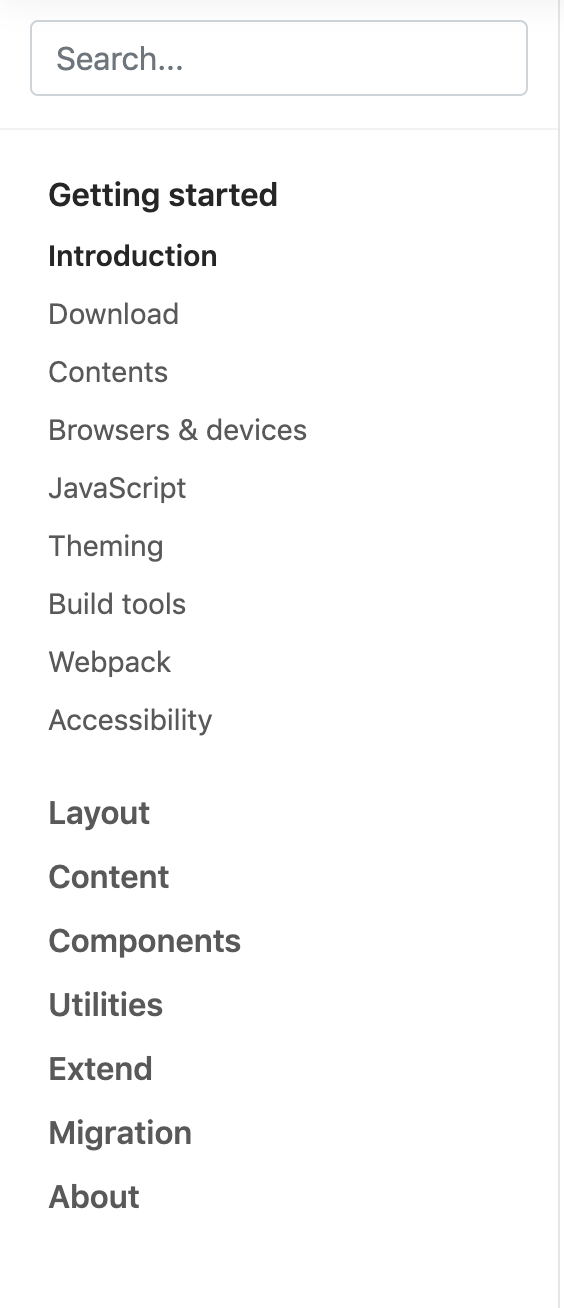
こちらに飛ぶと、手順が書いています。
手順通りに書いてみましょう。
headのタグの中にlinkのタグを導入する。
英文ですが、『headのタグの中に下記をコピーアンドペーストしてね』って書いています。指示通りに書いてみましょう。

<!DOCTYPE html>
<html lang="en">
<head>
    <meta charset="UTF-8">
    <link rel="stylesheet" href="https://stackpath.bootstrapcdn.com/bootstrap/4.3.1/css/bootstrap.min.css" integrity="sha384-ggOyR0iXCbMQv3Xipma34MD+dH/1fQ784/j6cY/iJTQUOhcWr7x9JvoRxT2MZw1T" crossorigin="anonymous">
    <title>hello world</title>
</head>
<body>

</body>
</html>
</body>の手前にscriptのタグを導入する。
次に</body>のタグの前に3つのscriptタグをコピーして貼り付けます。

<!DOCTYPE html>
<html lang="en">
<head>
    <meta charset="UTF-8">
    <link rel="stylesheet" href="https://stackpath.bootstrapcdn.com/bootstrap/4.3.1/css/bootstrap.min.css" integrity="sha384-ggOyR0iXCbMQv3Xipma34MD+dH/1fQ784/j6cY/iJTQUOhcWr7x9JvoRxT2MZw1T" crossorigin="anonymous">
    <title>hello world</title>
</head>
<body>

    <script src="https://code.jquery.com/jquery-3.3.1.slim.min.js" integrity="sha384-q8i/X+965DzO0rT7abK41JStQIAqVgRVzpbzo5smXKp4YfRvH+8abtTE1Pi6jizo" crossorigin="anonymous"></script>
    <script src="https://cdnjs.cloudflare.com/ajax/libs/popper.js/1.14.7/umd/popper.min.js" integrity="sha384-UO2eT0CpHqdSJQ6hJty5KVphtPhzWj9WO1clHTMGa3JDZwrnQq4sF86dIHNDz0W1" crossorigin="anonymous"></script>
    <script src="https://stackpath.bootstrapcdn.com/bootstrap/4.3.1/js/bootstrap.min.js" integrity="sha384-JjSmVgyd0p3pXB1rRibZUAYoIIy6OrQ6VrjIEaFf/nJGzIxFDsf4x0xIM+B07jRM" crossorigin="anonymous"></script>
</body>
</html>
上のように貼り付ける事ができたら、保存しましょう!
これでBootstrapの導入は完了しました!
(おまけ)実際に書いてみる。
Bootstrapは公式ドキュメントで様々なクラス名を紹介しています。
コピーアンドペーストするだけで簡単に実装できてしまいます。
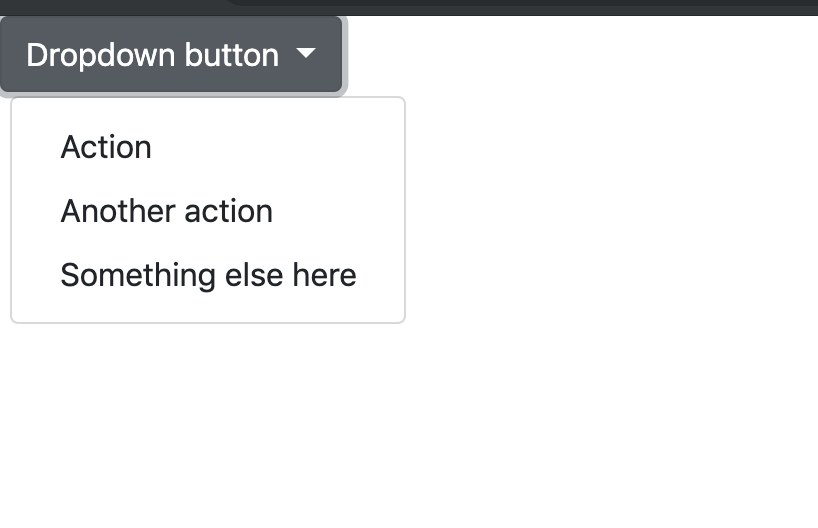
今回は例としてドロップダウンのみ紹介します。
こちらに飛んで、Singlebuttonを実装します。
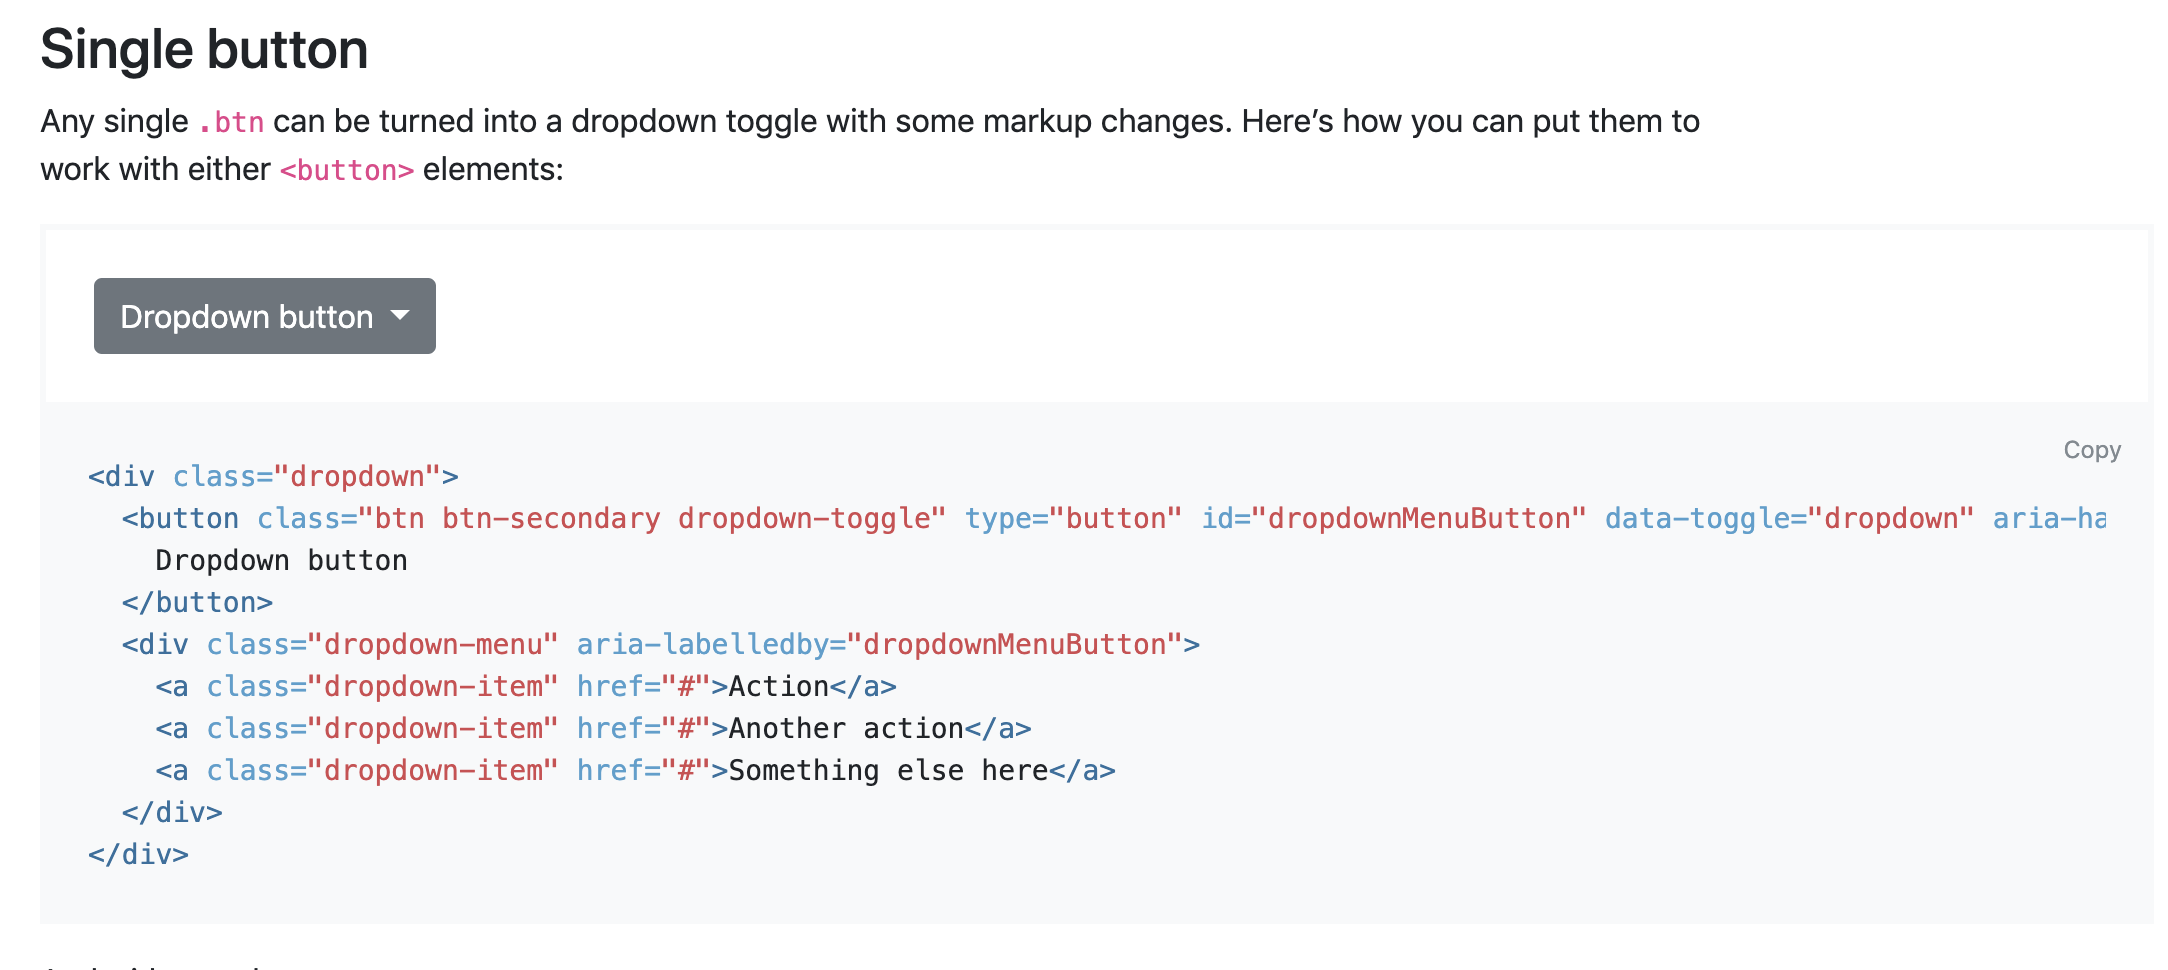
既に見本があるので、コードをコピーして貼り付けましょう。
<!DOCTYPE html>
<html lang="en">
<head>
    <meta charset="UTF-8">
    <link rel="stylesheet" href="https://stackpath.bootstrapcdn.com/bootstrap/4.3.1/css/bootstrap.min.css" integrity="sha384-ggOyR0iXCbMQv3Xipma34MD+dH/1fQ784/j6cY/iJTQUOhcWr7x9JvoRxT2MZw1T" crossorigin="anonymous">
    <title>hello world</title>
</head>
<body>
    <div class="dropdown">
        <button class="btn btn-secondary dropdown-toggle" type="button" id="dropdownMenuButton" data-toggle="dropdown" aria-haspopup="true" aria-expanded="false">
            Dropdown button
        </button>
        <div class="dropdown-menu" aria-labelledby="dropdownMenuButton">
            <a class="dropdown-item" href="#">Action</a>
            <a class="dropdown-item" href="#">Another action</a>
            <a class="dropdown-item" href="#">Something else here</a>
        </div>
    </div>
    <script src="https://code.jquery.com/jquery-3.3.1.slim.min.js" integrity="sha384-q8i/X+965DzO0rT7abK41JStQIAqVgRVzpbzo5smXKp4YfRvH+8abtTE1Pi6jizo" crossorigin="anonymous"></script>
    <script src="https://cdnjs.cloudflare.com/ajax/libs/popper.js/1.14.7/umd/popper.min.js" integrity="sha384-UO2eT0CpHqdSJQ6hJty5KVphtPhzWj9WO1clHTMGa3JDZwrnQq4sF86dIHNDz0W1" crossorigin="anonymous"></script>
    <script src="https://stackpath.bootstrapcdn.com/bootstrap/4.3.1/js/bootstrap.min.js" integrity="sha384-JjSmVgyd0p3pXB1rRibZUAYoIIy6OrQ6VrjIEaFf/nJGzIxFDsf4x0xIM+B07jRM" crossorigin="anonymous"></script>
</body>
</html>
(おまけのおまけ)オフラインでもBootsrapを導入する方法
随時更新します。
