概要
CentOS8 + nginx1.18 + php-fpm7.4 + MariaDB10.5 + CodeIgniter4の開発環境準備メモの手順で事前にnginxやphp、MariaDBのセットアップが完了している状態の環境に対し、phpMyAdminを使えるように設定していきます。
セットアップ手順
# cd /usr/local/src/
# wget https://files.phpmyadmin.net/phpMyAdmin/5.0.3/phpMyAdmin-5.0.3-all-languages.zip
# unzip phpMyAdmin-5.0.3-all-languages.zip
# mv phpMyAdmin-5.0.3-all-languages /var/www/html/phpMyAdmin
# cd /var/www/html/phpMyAdmin
# cp -p config.sample.inc.php config.inc.php
# vim config.inc.php
/var/www/html/phpMyAdmin/config.inc.php
# $cfg['blowfish_secret'] = ''; /* YOU MUST FILL IN THIS FOR COOKIE AUTH! */
$cfg['blowfish_secret'] = 'KkpY`!<_[i"K_eK}Htz4&GV)%f;_$_Bi';
phpMyAdmin用のデータベーススキーマをインポートします。
インポートするスクリプトは/var/www/html/phpMyAdmin/sqlにあります。
# mysql < /var/www/html/phpMyAdmin/sql/create_tables.sql -u root -p
Enter password:
phpMyAdmin用のtmpディレクトリを作成
# mkdir /var/www/html/phpMyAdmin/tmp
# chmod 777 /var/www/html/phpMyAdmin/tmp
# chown -R nginx:nginx /var/www/html/phpMyAdmin
# cd /etc/nginx/conf.d
# vim default.conf
nginxのdefault.confファイルにphpMyAdmin用の設定を追加
/etc/nginx/conf.d/default.conf
    # phpMyAdmin用の設定を追加
    location /phpMyAdmin {
        alias /var/www/html/phpMyAdmin/;
        try_files $uri $uri/ /index.php;

        location ~ ^/phpMyAdmin/(.+\.php)$ {
            alias /var/www/html/phpMyAdmin;
            fastcgi_pass   unix:/run/php-fpm/www.sock;
            fastcgi_param SCRIPT_FILENAME /var/www/html/phpMyAdmin/$1;
            include fastcgi_params;
            fastcgi_intercept_errors on;
        }
    }
nginxとphp-fpmのサービスを再起動して
# systemctl restart nginx
# systemctl restart php-fpm
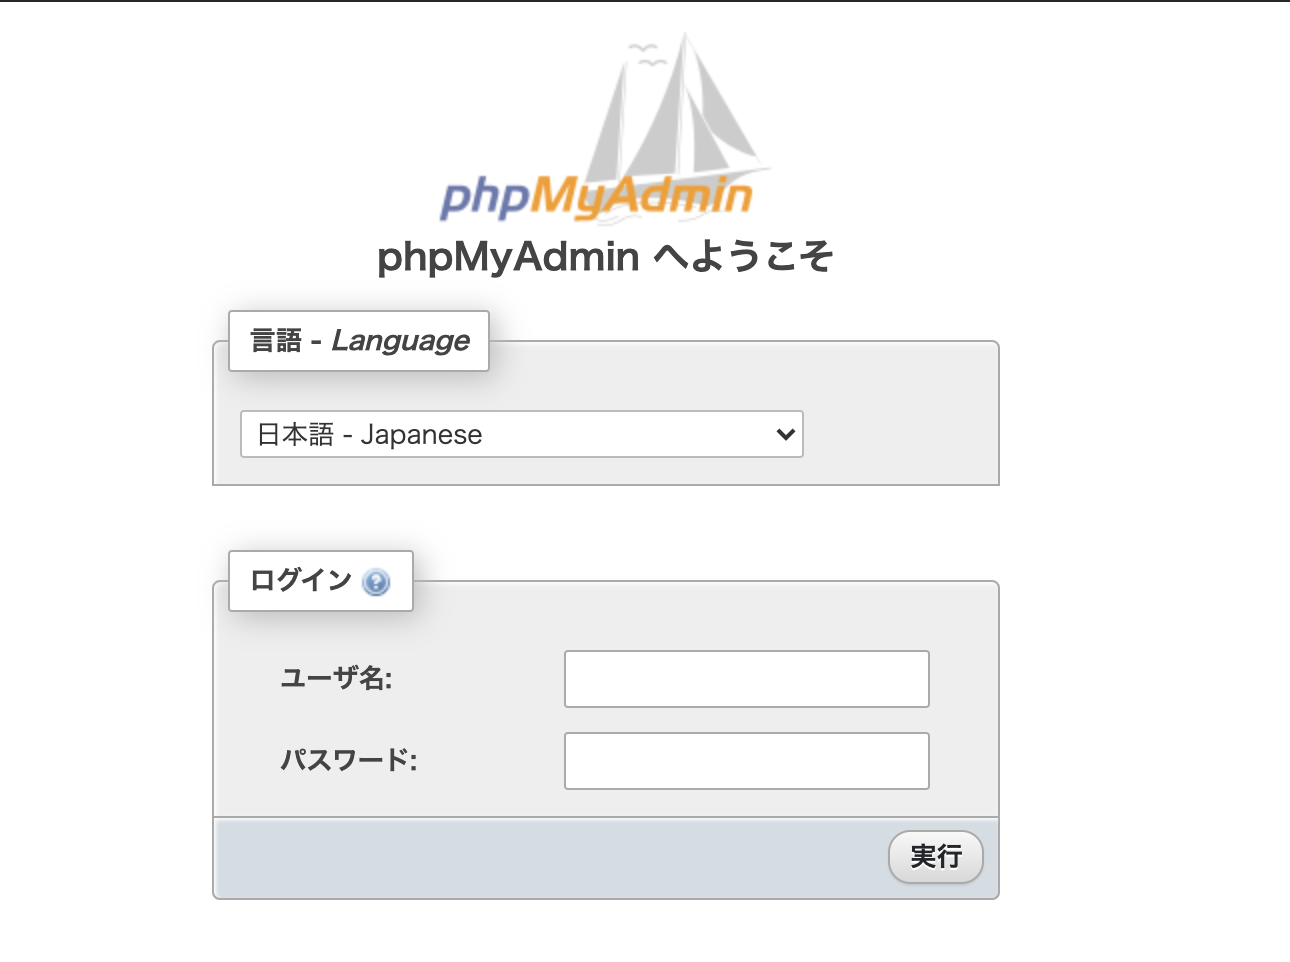
phpMyAdminにアクセスしてみる
BASIC認証をかける
phpMyAdminで簡単にデータベースの中身が除けてしまうのは問題なので、BASIC認証をかけます。
nginxでBASIC認証をかけてみるを参考に
/etc/nginx/conf.d/default.conf
    # phpMyAdmin用の設定を追加
    location /phpMyAdmin {
        alias /var/www/html/phpMyAdmin/;
        try_files $uri $uri/ /index.php;

        # 以下2行の設定を追加します。
        auth_basic "Restricted";
        auth_basic_user_file /etc/nginx/.htpasswd;

        location ~ ^/phpMyAdmin/(.+\.php)$ {
            alias /var/www/html/phpMyAdmin;
            fastcgi_pass   unix:/run/php-fpm/www.sock;
            fastcgi_param SCRIPT_FILENAME /var/www/html/phpMyAdmin/$1;
            include fastcgi_params;
            fastcgi_intercept_errors on;
        }
    }
default.confの全体像
server {
    server_name  tk2-999-99999.vs.sakura.ne.jp;

    root /var/www/html/codeigniter3/public;
    index index.php index.html index.htm;

    location / {
      # 指定された順序でfileやdirの存在を確認し、最初に見つかったものを返却する。
      # いずれも無かった場合は、最後に指定されたパスに遷移する。
      try_files $uri $uri/ /index.php$is_args$args;

      #サイト全体にBASIC認証かけようとしたら、GMOからの結果通知プログラムとか受け取れなくなっちゃったので解除
      #auth_basic "Restricted";
      #auth_basic_user_file /etc/nginx/.htpasswd;
    }

    location ~ \.php$ {
        fastcgi_split_path_info ^(.+\.php)(/.+)$;
        # 1台のサーバーでnginx+php-fpmを動作させる場合、Unixソケットの方が高速に動作する。
        # www.sockの場所は、/etc/nginx/conf.d/php-fpm.confの設定と合わせる。
        fastcgi_pass   unix:/run/php-fpm/www.sock;
        fastcgi_index  index.php;
        include        fastcgi_params;
        fastcgi_param  SCRIPT_FILENAME $document_root$fastcgi_script_name;
        fastcgi_param  PATH_INFO $fastcgi_path_info;
    }

    listen 80;
    listen 443 ssl; # managed by Certbot
    ssl_certificate /etc/letsencrypt/live/tk2-999-99999.vs.sakura.ne.jp/fullchain.pem; # managed by Certbot
    ssl_certificate_key /etc/letsencrypt/live/tk2-999-99999.vs.sakura.ne.jp/privkey.pem; # managed by Certbot
    include /etc/letsencrypt/options-ssl-nginx.conf; # managed by Certbot
    ssl_dhparam /etc/letsencrypt/ssl-dhparams.pem; # managed by Certbot

    access_log /var/log/nginx/access.log;
    error_log  /var/log/nginx/error.log;

    # phpMyAdmin用の設定を追加
    location /phpMyAdmin {
        alias /var/www/html/phpMyAdmin/;
        try_files $uri $uri/ /index.php;

        # 以下2行の設定を追加します。
        auth_basic "Restricted";
        auth_basic_user_file /etc/nginx/.htpasswd;

        location ~ ^/phpMyAdmin/(.+\.php)$ {
            alias /var/www/html/phpMyAdmin;
            fastcgi_pass   unix:/run/php-fpm/www.sock;
            fastcgi_param SCRIPT_FILENAME /var/www/html/phpMyAdmin/$1;
            include fastcgi_params;
            fastcgi_intercept_errors on;
        }
    }
}
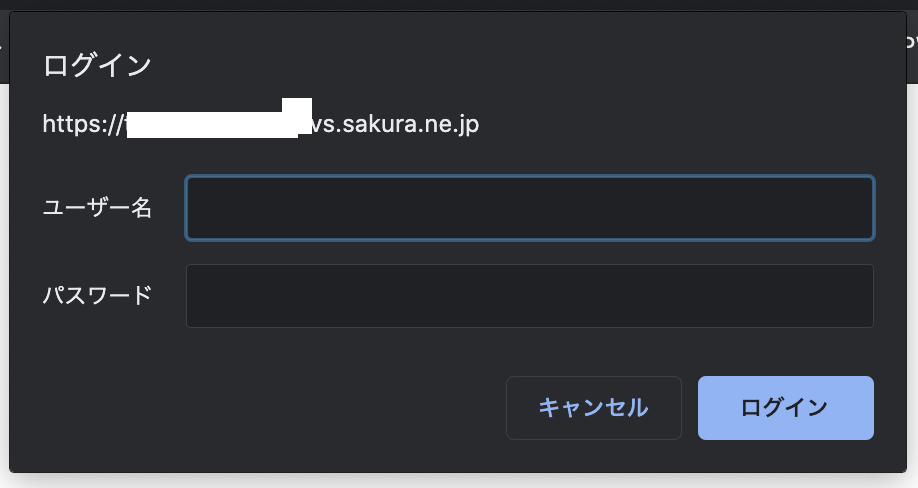
nginxのサービスを再起動して再度アクセスすると今度はBASIC認証の画面がちゃんと出てきます。