概要
2020年9月27日時点で、環境情報(バージョンなど)に記載の各環境を採用した開発環境を構築したので、その環境準備を行った際のメモとして残します。
環境情報(バージョンなど)
- CentOS 8.2.2004 (Core)
- Nginx 1.18.0
- php-fpm 7.4
- MariaDB Ver 15.1 Distrib 10.5.5-MariaDB
- Composer version 1.10.13 2020-09-09 11:46:34
- CodeIgniter 4.0.4
各種設定ファイルパスのメモ
| 環境 | ファイルパス |
|---|---|
| nginx | /etc/nginx/conf.d/default.conf |
| nginx | /etc/nginx/nginx.conf |
| php | /etc/php.ini |
| php-fpm | /etc/php-fpm.d/www.conf |
| MariaDB | /etc/my.cnf.d/server.cnf |
| MariaDB | /etc/my.cnf.d/client.conf |
CentOSのその他諸々の設定
# timedatectl set-timezone Asia/Tokyo
# localectl set-locale LANG=ja_JP.UTF-8
# source /etc/locale.conf

# dnf install -y langpacks-ja
# dnf install -y vim
# dnf install -y elfutils-libelf-devel
# dnf -y update

# vim /etc/selinux/config

SELINUX=disable ← disableに設定
Nginxのセットアップ
Nginxをdnfでインストール
# vim /etc/yum.repos.d/nginx.repo
[nginx-stable]
name=nginx stable repo
baseurl=http://nginx.org/packages/centos/$releasever/$basearch/
gpgcheck=1
enabled=1
gpgkey=https://nginx.org/keys/nginx_signing.key
module_hotfixes=true

[nginx-mainline]
name=nginx mainline repo
baseurl=http://nginx.org/packages/mainline/centos/$releasever/$basearch/
gpgcheck=1
enabled=0
gpgkey=https://nginx.org/keys/nginx_signing.key
module_hotfixes=true
以下のサイトでは、次のような定義でインストール手順が載っていたが、上記の設定と異なり、若干古いバージョンがセットアップされるようでした。(上記:1.18 下記1.14 2020.09.26時点)
https://www.nginx.com/resources/wiki/start/topics/tutorials/install/
[nginx]
name=nginx repo
baseurl=https://nginx.org/packages/centos/$releasever/$basearch/
gpgcheck=0
enabled=1
# dnf -y install nginx
Nginxセットアップ完了の確認
# nginx -v

nginx version: nginx/1.18.0

# systemctl enable nginx
# systemctl start nginx
以下にアクセスしてnginxの画面(Welcome to nginx!)が表示されればOK
http://192.168.33.10
php-fpm7.4のセットアップ
リポジトリの追加
CentOS8の標準的なリポジトリには、2020.09.26時点で php-fpm 7.2.24 のバージョンとなっています。
7.4が最新なのでせっかくなら7.4を使いたい。
なので、追加でリポジトリを設定してそっちからセットアップ。
# dnf install https://rpms.remirepo.net/enterprise/remi-release-8.rpm
# dnf module enable php:remi-7.4
php-fpm7.4のインストール
開発要件に合わせて適宜修正が必要なので、下記サイトを参考に、PHP拡張モジュールで必要なものがあれば合わせてインストールする。
https://www.php.net/manual/ja/extensions.php
# dnf module install php:remi-7.4

メタデータの期限切れの最終確認: 0:32:40 時間前の 2020年09月26日 19時39分36秒 に実施しました。
依存関係が解決しました。
========================================================================================================================================
 パッケージ                    アーキテクチャー    バージョン                                           リポジトリー              サイズ
========================================================================================================================================
group/module パッケージをインストール中:
 php-cli                       x86_64              7.4.10-1.el8.remi                                    remi-modular              4.6 M
 php-common                    x86_64              7.4.10-1.el8.remi                                    remi-modular              1.2 M
 php-fpm                       x86_64              7.4.10-1.el8.remi                                    remi-modular              1.6 M
 php-mbstring                  x86_64              7.4.10-1.el8.remi                                    remi-modular              527 k
 php-xml                       x86_64              7.4.10-1.el8.remi                                    remi-modular              214 k
依存関係のインストール中:
 httpd-filesystem              noarch              2.4.37-21.module_el8.2.0+494+1df74eae                AppStream                  36 k
 oniguruma5php                 x86_64              6.9.5+rev1-2.el8.remi                                remi-safe                 206 k
 php-json                      x86_64              7.4.10-1.el8.remi                                    remi-modular               75 k
弱い依存関係のインストール中:
 nginx-filesystem              noarch              1:1.14.1-9.module_el8.0.0+184+e34fea82               AppStream                  24 k
モジュールプロファイルのインストール中:
 php/common
モジュールストリームの有効化中:
 httpd                                             2.4
 nginx                                             1.14
 php                                               remi-7.4

トランザクションの概要
========================================================================================================================================
インストール  9 パッケージ
php-fpmのセットアップ完了の確認
# php -v

PHP 7.4.10 (cli) (built: Sep  1 2020 13:58:08) ( NTS )
Copyright (c) The PHP Group
Zend Engine v3.4.0, Copyright (c) Zend Technologies

# php-fpm -v
PHP 7.4.10 (fpm-fcgi) (built: Sep  1 2020 13:58:08)
Copyright (c) The PHP Group
Zend Engine v3.4.0, Copyright (c) Zend Technologies
php.iniファイルの場所を念のため確認
# php -i | grep php.ini
Configuration File (php.ini) Path => /etc
Loaded Configuration File => /etc/php.ini
php.iniの設定を変更
php.iniの中身を変更
; デフォルト文字コード
default_charset = UTF-8
;HTTPのレスポンスにPHPのバージョン情報を出力するX-Powered-Byヘッダを含めない
expose_php = Off

;メモリ使用量の上限
memory_limit = 256M
;POSTリクエストのデータの最大サイズ
post_max_size = 128M
;ファイルをアップロードする際のアップロードファイルの最大サイズ
upload_max_filesize = 100M

; エラーログ
error_log = /var/log/php_error.log
; エラーを出力
error_reporting = E_ALL & ~E_DEPRECATED & ~E_STRICT
; エラー表示(開発中は便利なので)
display_errors = On
display_startup_errors = On

[Date]
date.timezone = Asia/Tokyo

[mbstring]
; mbstringのデフォルトの言語
mbstring.language = Japanese
; HTTP入力文字のエンコーディングを内部文字のエンコーディングに自動変換しない
mbstring.encoding_translation = Off
; 文字コードを自動検出する際の優先順位
mbstring.detect_order = UTF-8,SJIS,EUC-JP,JIS,ASCII
php-fpmとnginxを連携する設定
# cp -p /etc/nginx/conf.d/default.conf /etc/nginx/conf.d/default.conf.org
# vim /etc/nginx/conf.d/default.conf
server {
  listen 80;
  server_name localhost;

  # ドキュメントルートの設定(apacheなどの標準的なドキュメントルートと同じ場所を設定)
  root /var/www/html;
  index index.php index.html index.htm;

  location / {
    # 指定された順序でfileやdirの存在を確認し、最初に見つかったものを返却する。
    # いずれも無かった場合は、最後に指定されたパスに遷移する。
    try_files $uri $uri/ /index.php$is_args$args;
  }

  location ~ \.php$ {
    fastcgi_split_path_info ^(.+\.php)(/.+)$;
    # 1台のサーバーでnginx+php-fpmを動作させる場合、Unixソケットの方が高速に動作する。
    # www.sockの場所は、/etc/nginx/conf.d/php-fpm.confの設定と合わせる。
    fastcgi_pass   unix:/run/php-fpm/www.sock;
    fastcgi_index  index.php;
    include        fastcgi_params;
    fastcgi_param  SCRIPT_FILENAME $document_root$fastcgi_script_name;
    fastcgi_param  PATH_INFO $fastcgi_path_info;
  }

  access_log /var/log/nginx/access.log;
  error_log  /var/log/nginx/error.log;
}
vagrantユーザーでnginxもphp-fpm関連も実行されたりするように設定を変更します。
# 以下をvagrantに変更
user  vagrant;
# 以下をvagrantに変更
user = vagrant
group = vagrant

# コメントを解除してvagrantに変更
listen.owner = vagrant
listen.group = vagrant
listen.mode = 0660

# listen.ownerとlisten.groupを指定するため以下をコメントアウト
;listen.acl_users = apache,nginx
設定を反映するためにサービスを再起動
# systemctl restart php-fpm
# systemctl restart nginx
phpinfo()で動作確認
phpinfoを実行するサンプルプログラムを用意してnginx+php-fpmの連携確認をする。
<?php

phpinfo();
以下のURLにアクセスしてphpinfo()の内容が表示されればnginxとphp-fpmの連携設定まで完了です。
MariaDBのセットアップ
リポジトリの追加
CentOS8のリポジトリでインストールされるMariaDBは10.3で、現時点で最新バージョンが10.5なので、これも最新バージョンをインストールしたいと思います。
# vim /etc/yum.repos.d/mariadb.repo

[mariadb]
name = MariaDB
baseurl = http://yum.mariadb.org/10.5/centos8-amd64
module_hotfixes=1
gpgkey=https://yum.mariadb.org/RPM-GPG-KEY-MariaDB
gpgcheck=1


# dnf info MariaDB-server MariaDB-devel --disablerepo=* --enablerepo=mariadb
上記でリポジトリの追加が正常にできていることが確認できたので、実際にインストールします。
MariaDBをdnfでインストール
# dnf instal MariaDB-server MariaDB-devel --disablerepo=* --enablerepo=mariadb

エラー:
 問題: cannot install the best candidate for the job
  - nothing provides libaio.so.1()(64bit) needed by MariaDB-server-10.5.5-1.el8.x86_64
  - nothing provides libaio.so.1(LIBAIO_0.1)(64bit) needed by MariaDB-server-10.5.5-1.el8.x86_64
  - nothing provides libaio.so.1(LIBAIO_0.4)(64bit) needed by MariaDB-server-10.5.5-1.el8.x86_64
  - nothing provides lsof needed by MariaDB-server-10.5.5-1.el8.x86_64
  - nothing provides perl(DBI) needed by MariaDB-server-10.5.5-1.el8.x86_64
(インストール不可のパッケージをスキップするには、'--skip-broken' を追加してみてください または、'--nobest' を追加して、最適候補のパッケージのみを使用しないでください)
なんかエラーになりますね。
エラーの原因としてはlibaio,lsof,perl-DBIがMariaDBインストールに必要だよということらしい。
そのため、該当の3つをインストールする。
# dnf install libaio
# dnf install lsof
# dnf install perl-DBI
指摘された3つはインストールしたので再チャレンジします。
# dnf install MariaDB-server MariaDB-devel --disablerepo=* --enablerepo=mariadb


メタデータの期限切れの最終確認: 0:10:24 時間前の 2020年09月27日 07時09分32秒 に実施しました。
エラー:
 問題: package MariaDB-server-10.5.5-1.el8.x86_64 requires galera-4, but none of the providers can be installed
  - cannot install the best candidate for the job
  - nothing provides libboost_program_options.so.1.66.0()(64bit) needed by galera-4-26.4.3-1.rhel8.0.el8.x86_64
  - nothing provides libboost_program_options.so.1.66.0()(64bit) needed by galera-4-26.4.4-1.rhel8.0.el8.x86_64
  - nothing provides libboost_program_options.so.1.66.0()(64bit) needed by galera-4-26.4.5-1.el8.x86_64
  - nothing provides socat needed by galera-4-26.4.5-1.el8.x86_64
(インストール不可のパッケージをスキップするには、'--skip-broken' を追加してみてください または、'--nobest' を追加して、最適候補のパッケージのみを使用しないでください)
まだダメなんですね。
libboost_program_optionsというのが何か無いと怒られるので、boost-program-optionsをインストール。
# dnf install boost-program-options
3度目の正直にチャレンジ
うまくインストールが開始できました。
# dnf install MariaDB-server MariaDB-devel --disablerepo=* --enablerepo=mariadb
MariaDBインストールの確認
# mysql -V

mariadb  Ver 15.1 Distrib 10.5.5-MariaDB, for Linux (x86_64) using readline 5.1
MariaDBの自動起動の設定
# systemctl start mariadb
# systemctl enable mariadb
# systemctl status mariadb
mysql_secure_installationで初期設定
# mysql_secure_installation

# MariaDBのrootアカウントの現在のパスワードを入力して?
Enter current password for root (enter for none): Enter

# unix_socketを使った認証に変更する?
# unix_socketとは、CentOSのログインユーザー名と、MariaDB側のユーザー名が同名の場合、
# ID/PASSを用いずに認証しましょうという仕組み。(MariaDB 10.4から追加となった?)
Switch to unix_socket authentication [Y/n] : n

# MariaDBのrootアカウントのパスワードを変更する?
Change the root password? [Y/n] : Y
    New password: Hoge1234
    Re-enter new password: Hoge1234

# 匿名ユーザーを削除する?
Remove anonymous users? [Y/n] Y

# リモートからのMariaDBのrootアカウントでログインを禁止する?
Disallow root login remotely? [Y/n] Y

# だれでもアクセス可能な「test」データベースがあるけど消しとく?
Remove test database and access to it? [Y/n] Y

# 権限テーブルを再読み込みすると、ここまでのすべての変更をすぐに反映させることができるけどやる?
Reload privilege tables now? [Y/n] Y
MariaDB初期設定の確認
上記設定でMariaDBのrootアカウントのパスワードを設定しているので、そのパスワードでちゃんとアクセスできるか確認しておきます。
# mysql -u root -p
Enter password: Hoge1234

Welcome to the MariaDB monitor.  Commands end with ; or \g.
Your MariaDB connection id is 12
Server version: 10.5.5-MariaDB MariaDB Server

Copyright (c) 2000, 2018, Oracle, MariaDB Corporation Ab and others.

Type 'help;' or '\h' for help. Type '\c' to clear the current input statement.

MariaDB [(none)]> show databases;
+--------------------+
| Database           |
+--------------------+
| information_schema |
| mysql              |
| performance_schema |
+--------------------+
3 rows in set (0.000 sec)

MariaDB [(none)]> show variables like "chara%";
+--------------------------+----------------------------+
| Variable_name            | Value                      |
+--------------------------+----------------------------+
| character_set_client     | utf8                       |
| character_set_connection | utf8                       |
| character_set_database   | latin1                     |
| character_set_filesystem | binary                     |
| character_set_results    | utf8                       |
| character_set_server     | latin1                     |
| character_set_system     | utf8                       |
| character_sets_dir       | /usr/share/mysql/charsets/ |
+--------------------------+----------------------------+
8 rows in set (0.001 sec)
OK.
※vagrantユーザーからsudo su -でrootになった状態だと、mysql -u root -pで求められるパスワードは何を入れてもログインできるんですね。(知らなかった。。。)
MariaDBの構築が完了したので、今度はMariaDBで利用するユーザーやデータベースを作成します。
(別に開発環境なので全部rootユーザー使ってもいいんですが、念のため。)
MaraiDBで日本語を問題なく扱うための設定
日本語を扱うため、文字コードをutf8mb4に変更します。
[mariadb]
character-set-server = utf8mb4
[client-mariadb]
default-character-set = utf8mb4
utf8mb4に設定されていることを確認。
# systemctl restart mariadb
# mysql -u root -p

MariaDB [(none)]> show variables like "chara%";
+--------------------------+----------------------------+
| Variable_name            | Value                      |
+--------------------------+----------------------------+
| character_set_client     | utf8mb4                    |
| character_set_connection | utf8mb4                    |
| character_set_database   | utf8mb4                    |
| character_set_filesystem | binary                     |
| character_set_results    | utf8mb4                    |
| character_set_server     | utf8mb4                    |
| character_set_system     | utf8                       |
| character_sets_dir       | /usr/share/mysql/charsets/ |
+--------------------------+----------------------------+
8 rows in set (0.002 sec)
データベースとユーザーの作成
データベースの作成とユーザーの作成
# mysql -u root -p

MariaDB [(none)]> create database yudb;

全てのホストからアクセス可能なユーザー「yu」の作成
MariaDB [(none)]> create user yu;
MariaDB [(none)]> set password for yu@'%'=password('yupass');

MariaDB [(none)]> select user, host from mysql.user;
+-------------+-----------+
| User        | Host      |
+-------------+-----------+
| yu          | %         |
| mariadb.sys | localhost |
| mysql       | localhost |
| root        | localhost |
+-------------+-----------+
4 rows in set (0.004 sec)

全てのホストから「yu」ユーザーでアクセスした際、「yudb」データベースに対してcrudができるように権限を付与
MariaDB [(none)]> grant select,insert,update,delete ON yudb.* TO yu@'%';

権限を反映
MariaDB [(none)]> flush privileges;
PHPプログラムからMariaDBへの接続テスト
index.phpのプログラムをMySQLiを利用したDBアクセスの動作確認用に変更してphp -> MariaDBへの接続確認を行います。
<?php

$server = 'localhost';
$user = 'yu';
$pass = 'yupass';
$dbname = 'yudb';

$my = new MySQLi($server, $user, $pass, $dbname);
$my->set_charset('utf8mb4');
$sql = 'select now() as n from dual';
$result = $my->query($sql);
// データベースの中身を取得
while($row = $result->fetch_assoc() ){
    var_dump($row);
}
// DB接続を閉じる
$my->close();
Fatal error: Uncaught Error: Class 'MySQLi' not found in /var/www/html/index.php:8 Stack trace: #0 {main} thrown in /var/www/html/index.php on line 8とエラーが発生してしまう。
これは、PHPの拡張モジュールでmysqli extensionがインストールされていないため、見つからないよというエラーです。
そのため、以下のコマンドでインストールしておきます。
# dnf -y install php-mysqlnd
http://192.168.33.10/
もう一度アクセスすると以下のように正常にMariaDBへの接続結果を確認できます。
array(1) { ["n"]=> string(19) "2020-09-27 15:11:27" }
CodeIgniterの環境準備
composerの準備から
CodeIgniterの開発環境を準備していきます。
composerを使っていきますので、まずはcomposerの準備から。
# cd /usr/local/src
# php -r "copy('https://getcomposer.org/installer', 'composer-setup.php');"

# 以下のハッシュは Latest: v1.10.13 のものです。
# ターゲットとなるバージョンが異なる場合には https://getcomposer.org/download/ を参考にして下さい。
# php -r "if (hash_file('sha384', 'composer-setup.php') === '795f976fe0ebd8b75f26a6dd68f78fd3453ce79f32ecb33e7fd087d39bfeb978342fb73ac986cd4f54edd0dc902601dc') { echo 'Installer verified'; } else { echo 'Installer corrupt'; unlink('composer-setup.php'); } echo PHP_EOL;"

# php composer-setup.php
# php -r "unlink('composer-setup.php');"
# mv composer.phar /usr/local/bin/composer
# composer -V
Composer version 1.10.13 2020-09-09 11:46:34
composerでCodeIgniter4のプロジェクト新規作成
composerを使ってCodeIgniter4のプロジェクトを作成します。
# cd /var/www/html
# composer create-project codeigniter4/appstarter codeigniter4
以下の問題が発生したようなので、一度作成したcodeigniter4プロジェクトを削除して、必要な拡張モジュールを入れ直して、プロジェクトの再作成をします。
Your requirements could not be resolved to an installable set of packages.

  Problem 1
    - codeigniter4/framework v4.0.4 requires ext-intl * -> the requested PHP extension intl is missing from your system.
    - codeigniter4/framework v4.0.3 requires ext-intl * -> the requested PHP extension intl is missing from your system.
    - codeigniter4/framework v4.0.2 requires ext-intl * -> the requested PHP extension intl is missing from your system.
    - codeigniter4/framework v4.0.1 requires ext-intl * -> the requested PHP extension intl is missing from your system.
    - codeigniter4/framework 4.0.0 requires ext-intl * -> the requested PHP extension intl is missing from your system.
    - Installation request for codeigniter4/framework ^4 -> satisfiable by codeigniter4/framework[4.0.0, v4.0.1, v4.0.2, v4.0.3, v4.0.4].
# dnf install php-intl
再度composer create-projectを実行すると、警告は出ているが、Problemは無くなったのでとりあえず完了する。
codeigniter4のプロジェクトに合わせてnginxのドキュメントルートの設定を変更
{project-name}/public/ 配下が、composerでインストールしたcodeigniter4のドキュメントルートとなるようです。
なので、nginxのドキュメントルートを変更します。
root /var/www/html/codeigniter4/public;
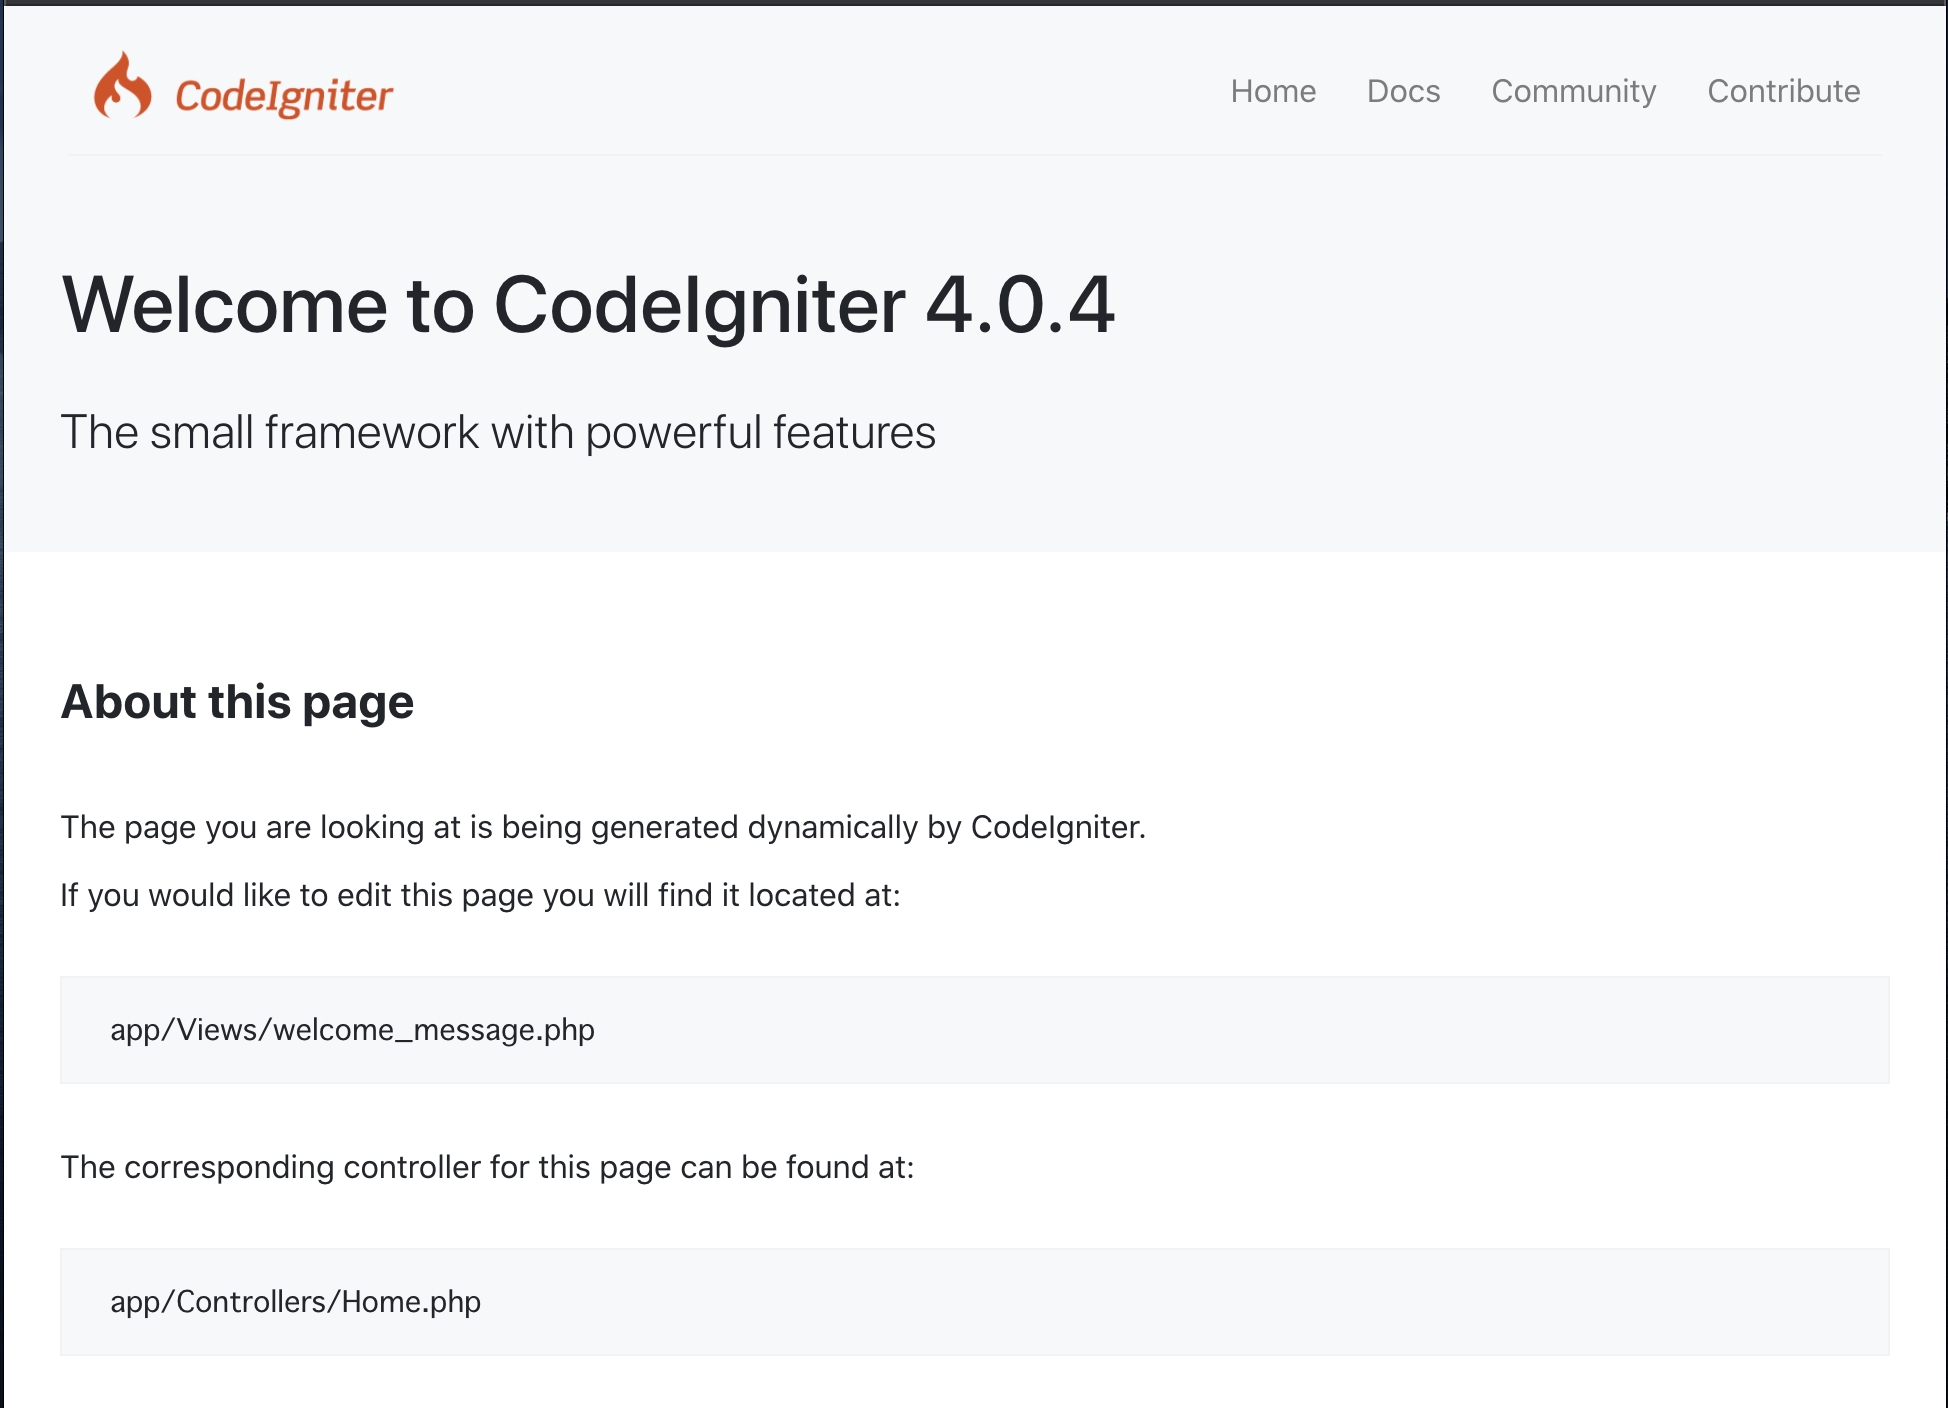
上記変更後にnginxを再起動すれば、以下のURLでcodeigniter4のプロジェクトにアクセスできます。
http://192.168.33.10
CodeIgniterの環境設定
envという環境変数設定ファイルがあるのですが、このままでは利用できません。
.envという名前のファイルにコピーして使い始めます。
# cd /var/www/html/codeigniter4
# cp -p env .env
# 開発中のエラー情報などを確認するための設定
CI_ENVIRONMENT = development

# config.phpのbase_urlで設定していたやつ
app.baseURL = 'http://192.168.33.10/'

# MySQLデータベースへの接続情報
database.default.hostname = localhost
database.default.database = yudb
database.default.username = yu
database.default.password = yupass
database.default.DBDriver = MySQLi
database.default.charset = utf8mb4