Azure Machine Learning Service, AML Computeについては、下記の記事でご説明していますので合わせてご参照ください。
https://qiita.com/YoshiakiOi/items/a57a5d026c2db0ed3fe6
Chainer MNISTをAzure Machine Learning Serviceで試す
ノートブックは下記にあります。
https://github.com/YoshiakiOi/AMLCompute/blob/master/Chainer_MNIST/Chainer_MNIST.ipynb
SDKの準備
SDKをインストールします。本記事執筆時の実行はバージョン1.0.8で行っています。
import azureml.core
print("SDK version:", azureml.core.VERSION)
また、合わせて診断ツールをインストールします。
from azureml.telemetry import set_diagnostics_collection
set_diagnostics_collection(send_diagnostics=True)
ワークスペースの作成
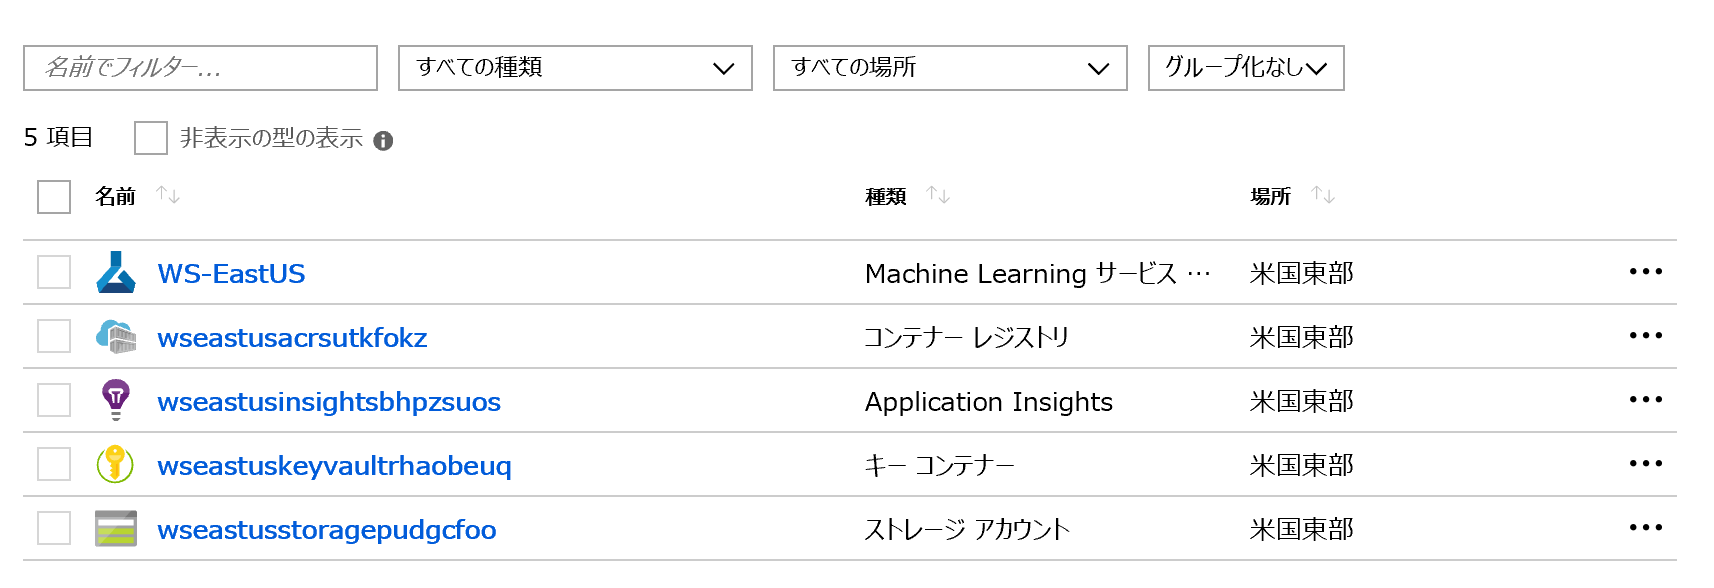
次にML Serviceの管理単位(クラスター・ジョブなどを管理)であるワークスペースを作成します。下記<>に必要な引数を入力します。また、最初にワークスペースを作成する際には、ワークスペースを含むリソースグループの中に、Azure Storage Account, Azure Container Registry, Azure Application Insights, Key Vaultコンテナーが一緒に作成され、裏側で連携するようになっています。なお、下記のプロセスではAzure ADの認証が発生する場合があります。
from azureml.core.workspace import Workspace
ws = Workspace.create(name='<ワークスペース名>',
                      subscription_id='<サブスクリプションID>',
                      resource_group='<リソースグループ名>',
                      create_resource_group=True,
                      location='<リージョン: 例: eastus>'
                     )
また、下記コマンドで設定情報をカレントディレクトリ配下の/aml_configディレクトリにあるconfigファイルに書き出せます。
ws.write_config()
2度め以降の場合
2度目以降は、既存のワークスペースに接続します。
from azureml.core.workspace import Workspace
ws = Workspace.get(name='<ワークスペース名>',
                      subscription_id='<サブスクリプションID>',
                      resource_group='<リソースグループ名>'
                     )
または、書き出したconfigファイルからも可能です。
ws = Workspace.from_config()
クラスターの作成
[Horovod版] ("https://qiita.com/YoshiakiOi/items/a57a5d026c2db0ed3fe6")では、Python SDKからクラスターを作成しましたが、今回はAzure Portalから作成してみます。
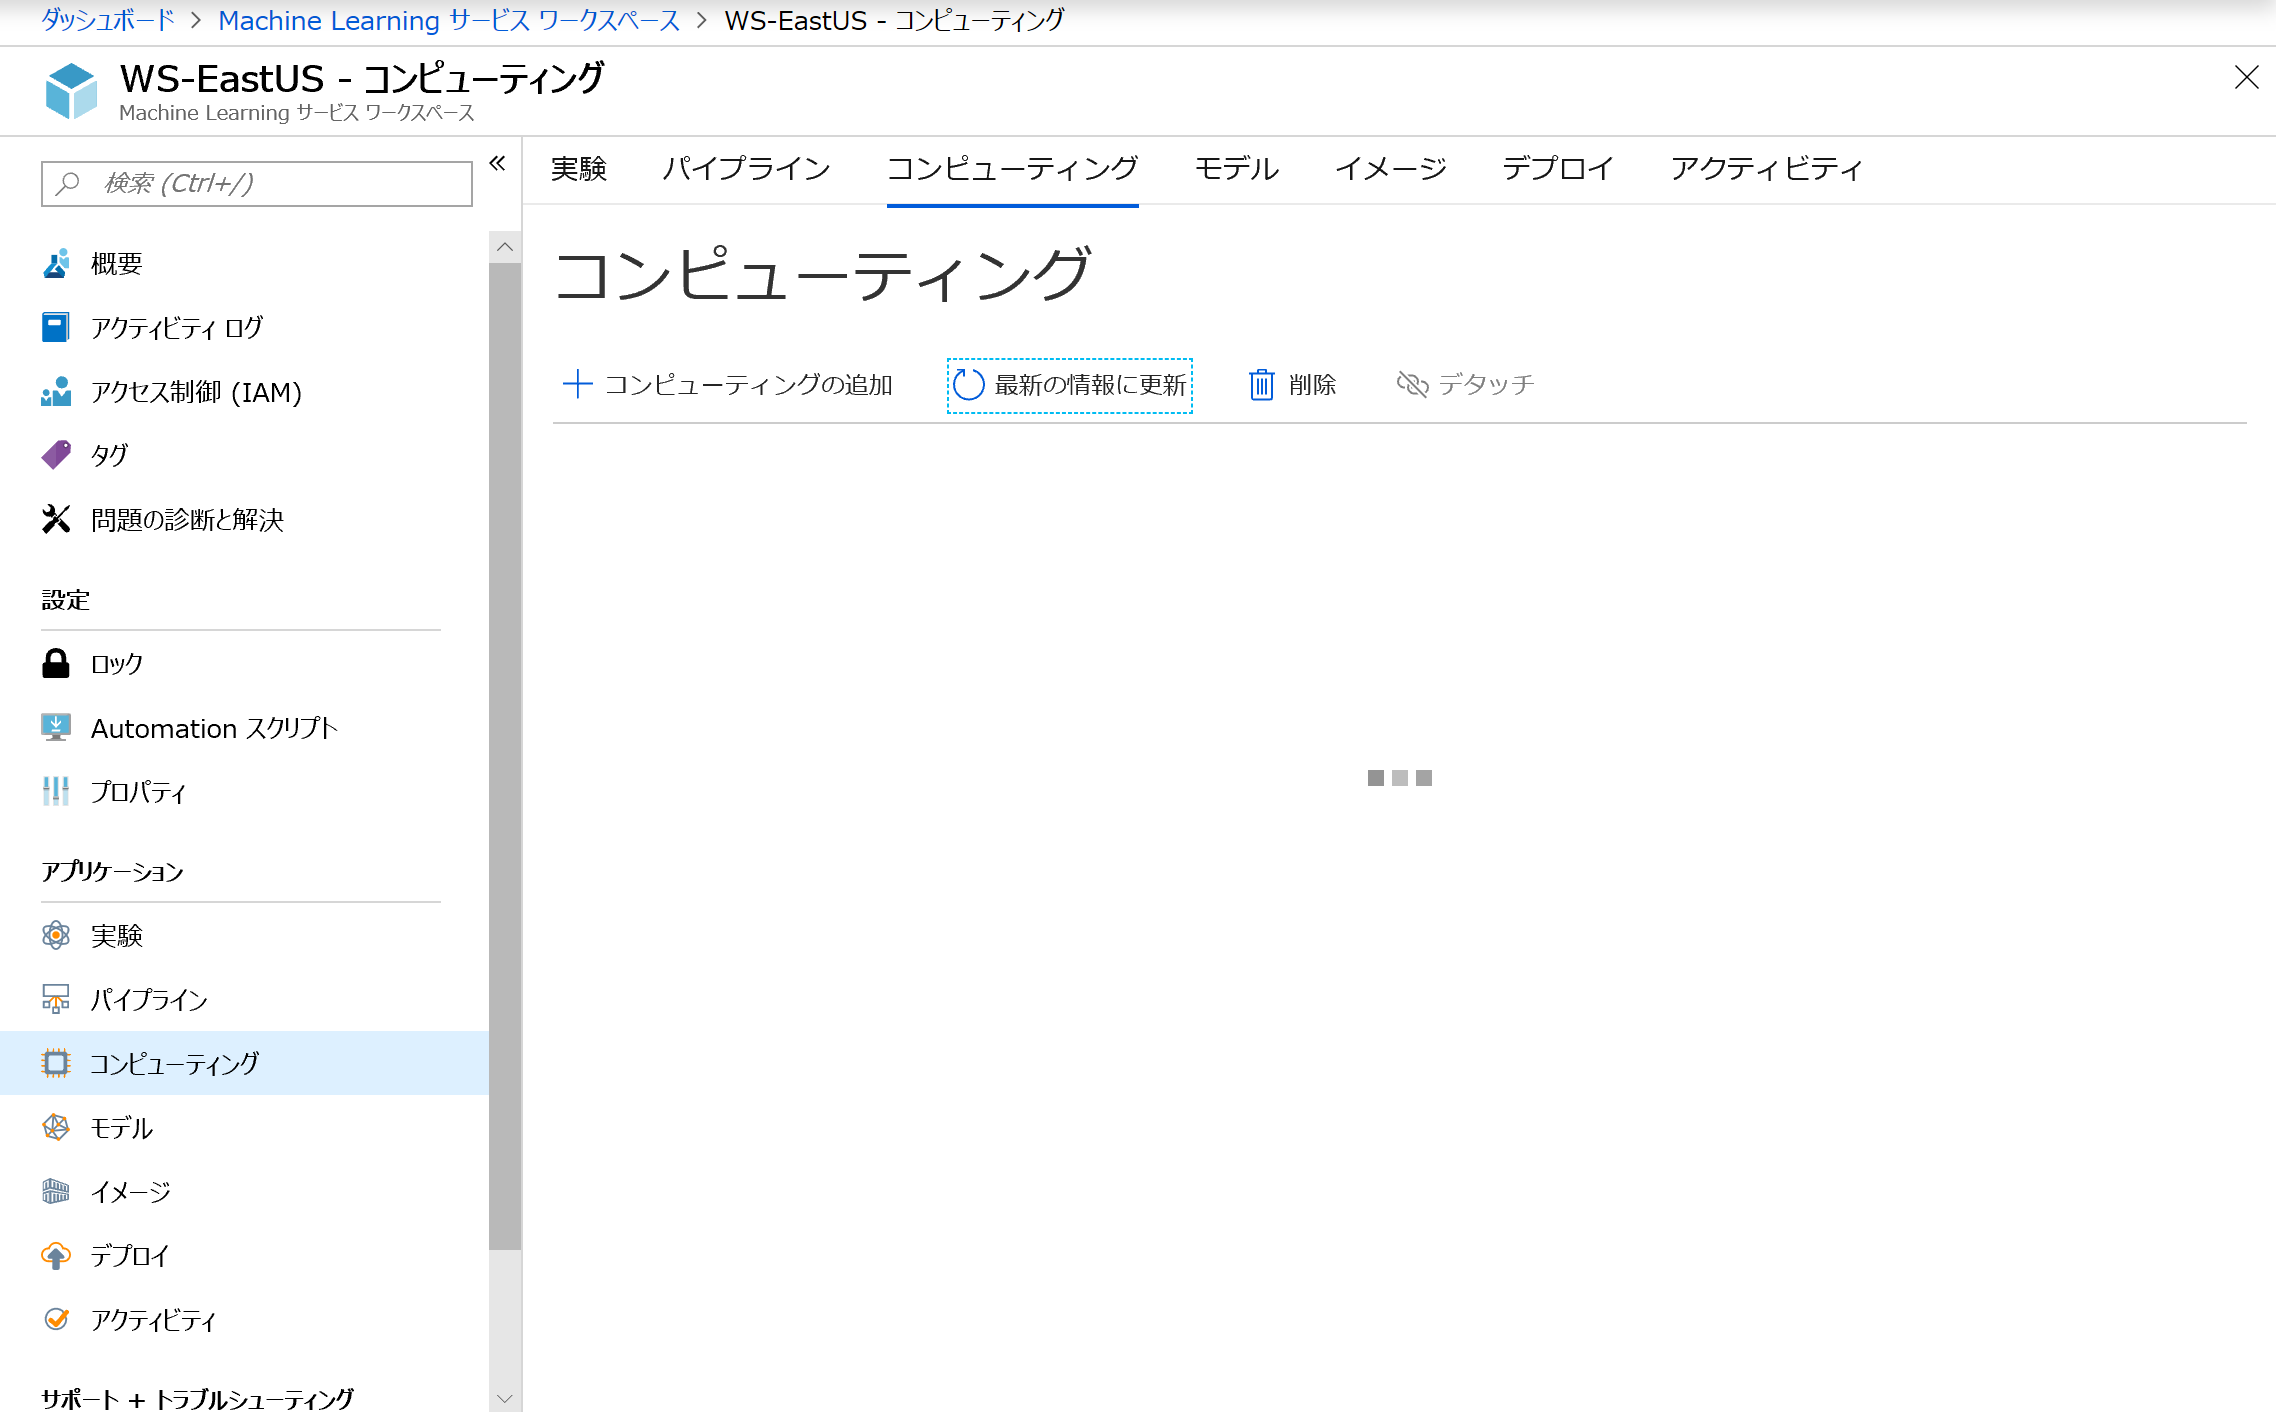
PortalのMachine Learning サービスワークスペースの画面で、左のブレードからコンピューティングを選択します。そして、コンピューティングの追加をクリックします。
コンピューティング名は任意のクラスター名、コンピューティングの種類はプルダウンからMachine Learning Computeを選択します。以下の設定は、希望に合わせて入れていきます。
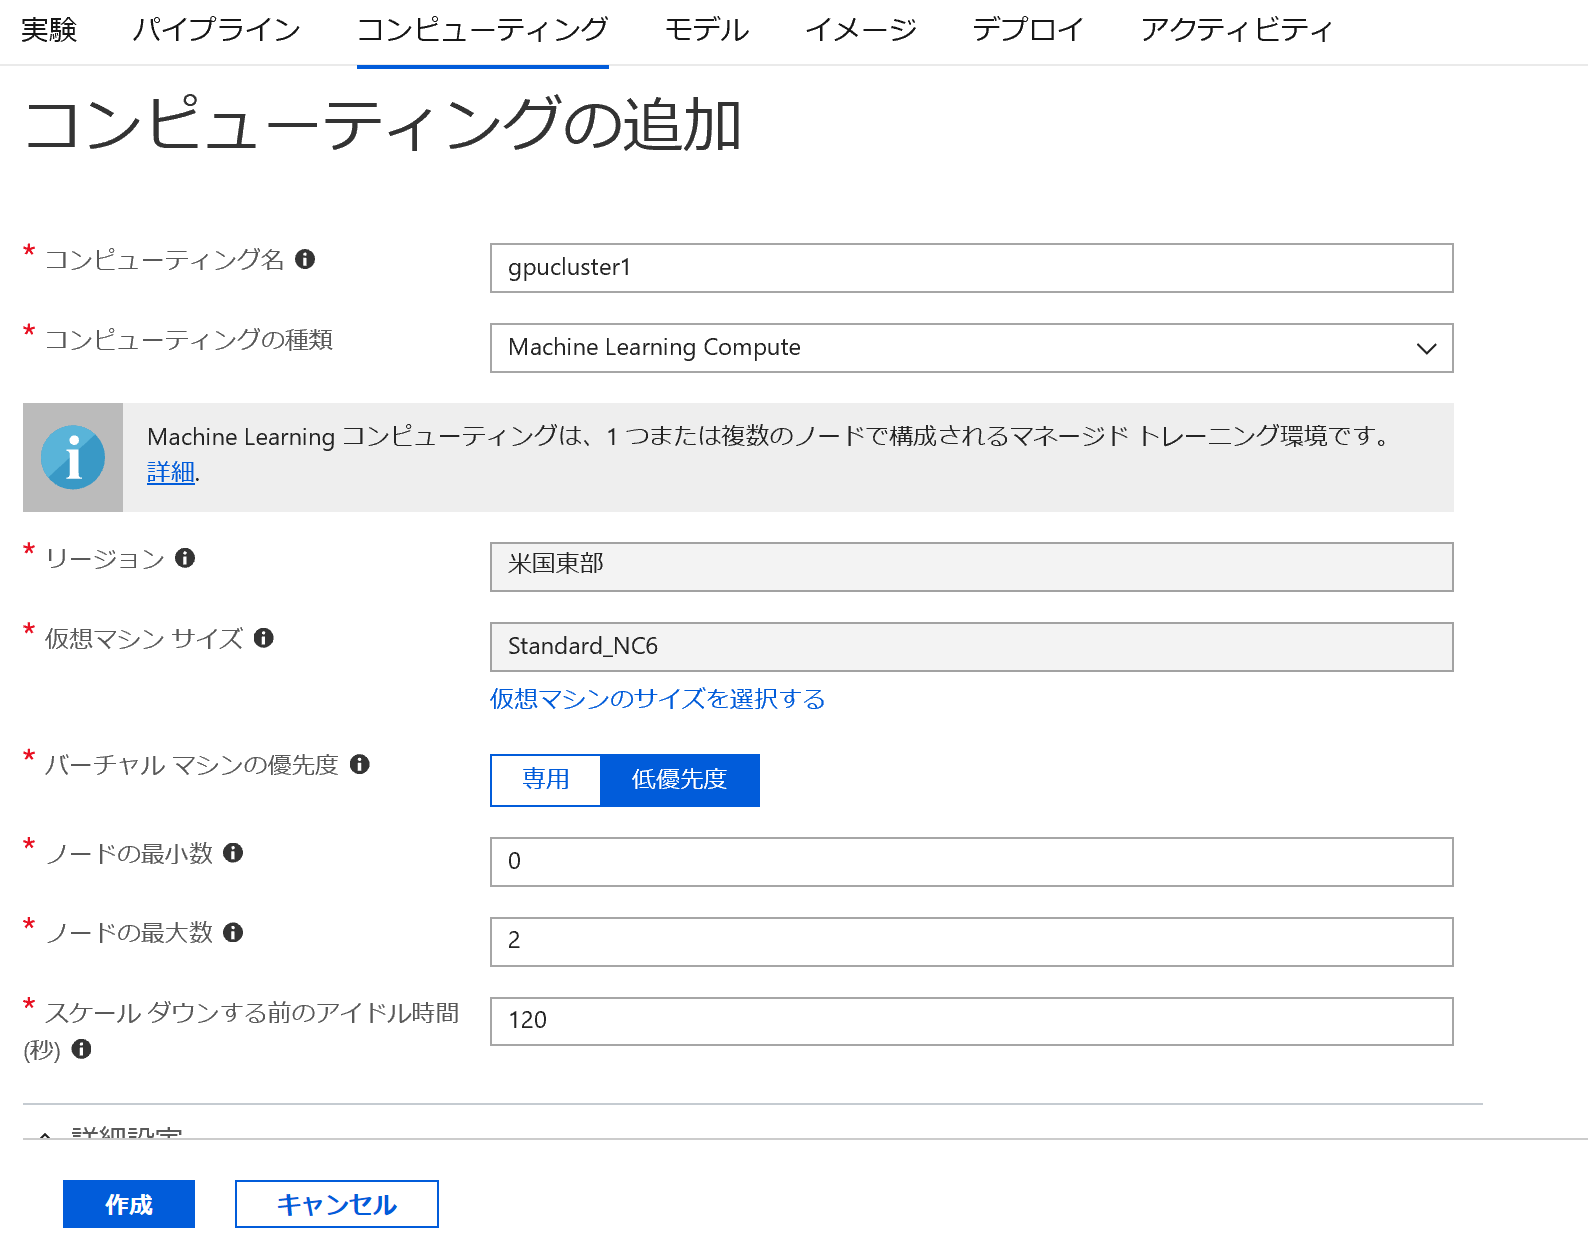
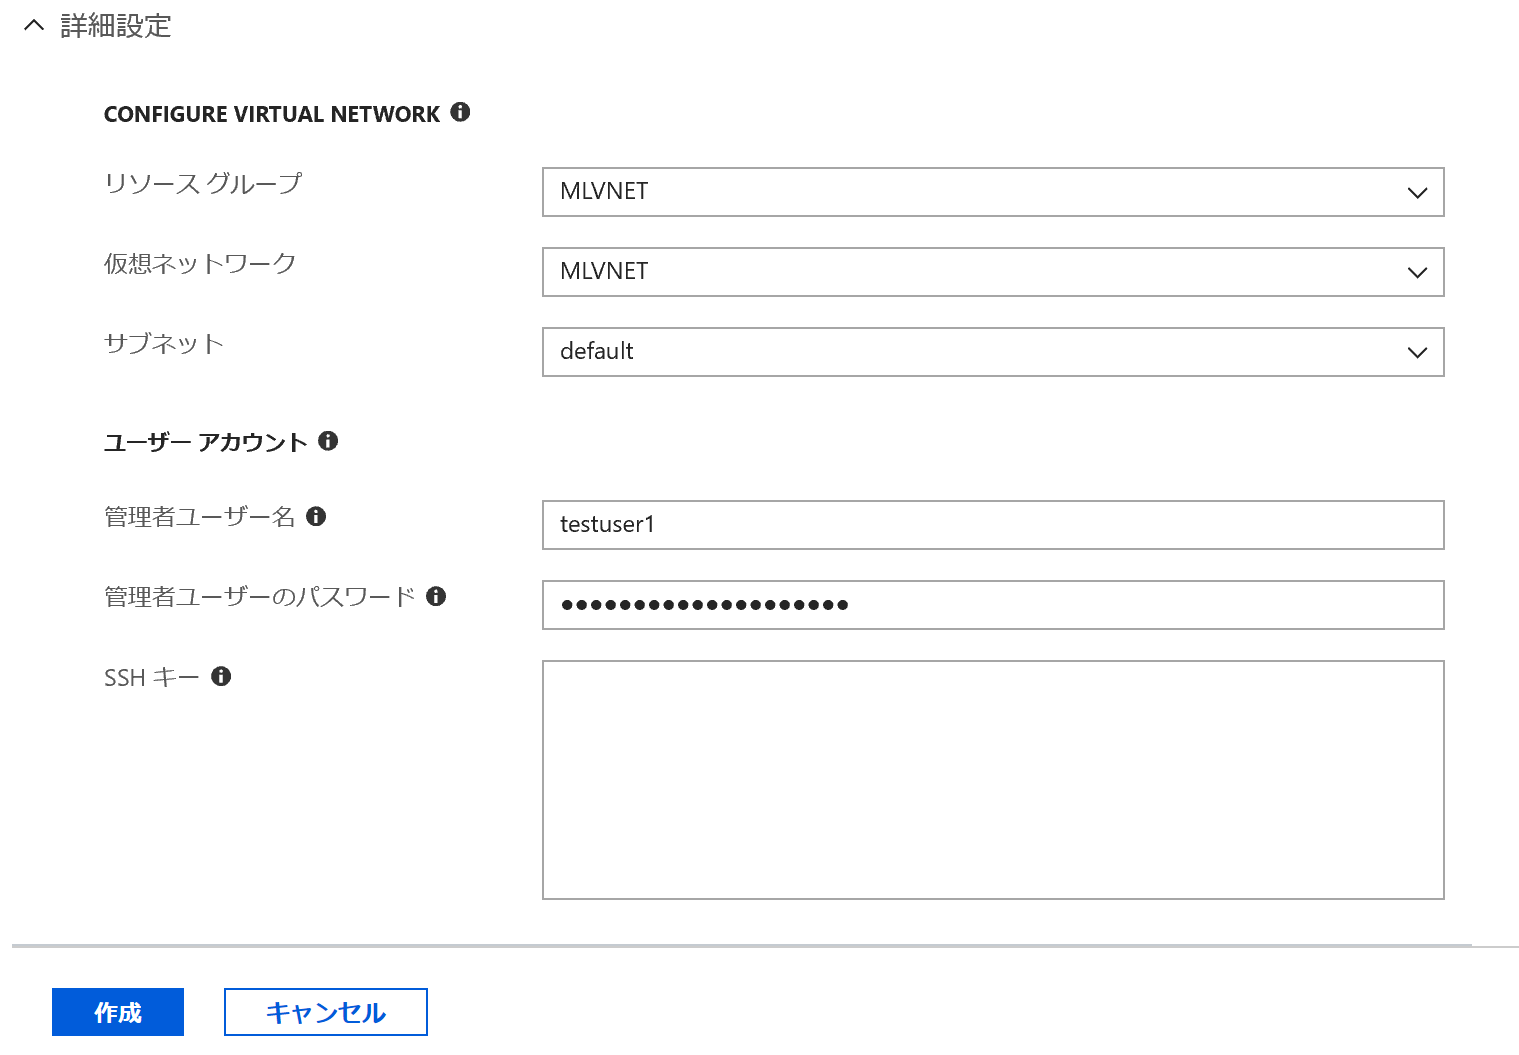
次に詳細設定をクリックします。すると、仮想ネットワークの設定やユーザーアカウント・SSHのパスワードなどの設定ができます。(2019年2月時点で、SSHの設定はPython SDKではできません。)
今回は事前に作成しておいたMLVNETという名前の仮想ネットワークを指定します。SSHも設定しておきます。そして最後に作成をクリックするとクラスターが作成されます。
ここで、Jupyter Notebookに戻ります。さきほど決めたクラスター名をcluster_nameに入れ、クラスターと接続します。
from azureml.core.compute import ComputeTarget, AmlCompute
from azureml.core.compute_target import ComputeTargetException

cluster_name = "gpucluster1"
compute_target = ComputeTarget(workspace=ws, name=cluster_name)
print(compute_target.status.serialize())
サンプルコードの用意
実行コードはローカル側(Jupyter Notebookの実行環境側)に用意します。本例では、まずカレントディレクトリ配下にchainer-distrという実行時にML Serviceに渡すディレクトリを作成しておきます。
import os
project_folder = './chainer-distr'
os.makedirs(project_folder, exist_ok=True)
次に実際に実行するChainer MNのMNISTのコードをダウンロードし、このディレクトリにコピーします。version 5.1のものを試してみます。
import shutil

!wget "https://raw.githubusercontent.com/chainer/chainer/v5.1.0/examples/chainermn/mnist/train_mnist.py"
shutil.copy('train_mnist.py', project_folder)
Experimentの作成
ワークスペース配下でジョブの管理を行う箱である、Experiment(実験)を作成します。
from azureml.core import Experiment
experiment_name = 'chainer-distr'
experiment = Experiment(ws, name=experiment_name)
Estimatorの作成
ジョブの実行情報やコンテナーの環境情報をまとめて記載した設定オブジェクトである、Estimatorを作成します。Estimatorでは、さきほど作成したディレクトリや実行コード、実行時のノードの数や各ノードでのプロセス数、mpiやGPUの利用有無などを指定します。基本的には、設定に沿ってDockerが各ノードで実行される仕組みです。現在、TensorFlowとPytorchには専用のEstimator(コンテナーイメージ)が用意されており、これらのユーザーは特段設定をしなくてもすぐに利用開始できるようになっています。それ以外のユーザーや自分でパッケージを追加する必要があるユーザーはカスタマイズしたEstimatorを利用します。詳細は下記をご参照ください。
https://docs.microsoft.com/ja-jp/python/api/azureml-train-core/azureml.train.estimator.estimator?view=azure-ml-py
まず事前にジョブの引数を設定しておきます。1つML ServiceでChainerを実行する際の注意点としてバックエンドのMPIがあります。ML Serviceでは、Chainerでよく利用されるOpen MPIではなく、Intel MPIが使われます。そのため、Chainer MNの実行時は、下記のように、Communicatorをnon_cuda_awareに設定する必要があります。
script_params = {
    '-g': '',
    '--communicator': 'non_cuda_aware',
    '-o': './outputs'
}
次にEstimatorを作成します。今回はChainerなので、必要なパッケージをインストールする設定をします。ML Serviceでは、pip/condaでインストールできるパッケージはここで指定すれば、ジョブ実行に利用されるコンテナーにそれらが組み込まれてビルドされるため、カスタムのDockerイメージを用意する必要はありません。それ以外のコンポーネントが必要な場合は、別途ご自身のDockerイメージをご検討ください。
from azureml.train.estimator import *

estimator = Estimator(source_directory=project_folder,
                      compute_target=compute_target,
                      entry_script='train_mnist.py',
                      script_params=script_params,
                      node_count=2,
                      process_count_per_node=1,
                      distributed_backend='mpi',
                      pip_packages=['cupy-cuda90', 'mpi4py', 'cython', 'chainer==5.1', 'chainermn', 'chainercv'],
                      use_gpu=True)
ジョブの実行
あとは、このEstimatorに沿ってジョブを実行するだけです。下記コマンドですぐに実行できます。
run = experiment.submit(estimator)
print(run)
ジョブの監視
ジョブの監視は下記コマンドで、10-15秒単位で非同期にデータを収集することができます。(Azure Notebookだとうまく表示されない場合があるようです。)
from azureml.widgets import RunDetails
RunDetails(run).show()
また、Jupyterをブロックして、ログを表示し続けることもできます。
run.wait_for_completion(show_output=True)
以上がAML ComputeでのChainer MNISTコードの実行の流れになります。終了後はリソースの片づけをして完了です。
(補足)ノードの中に入る
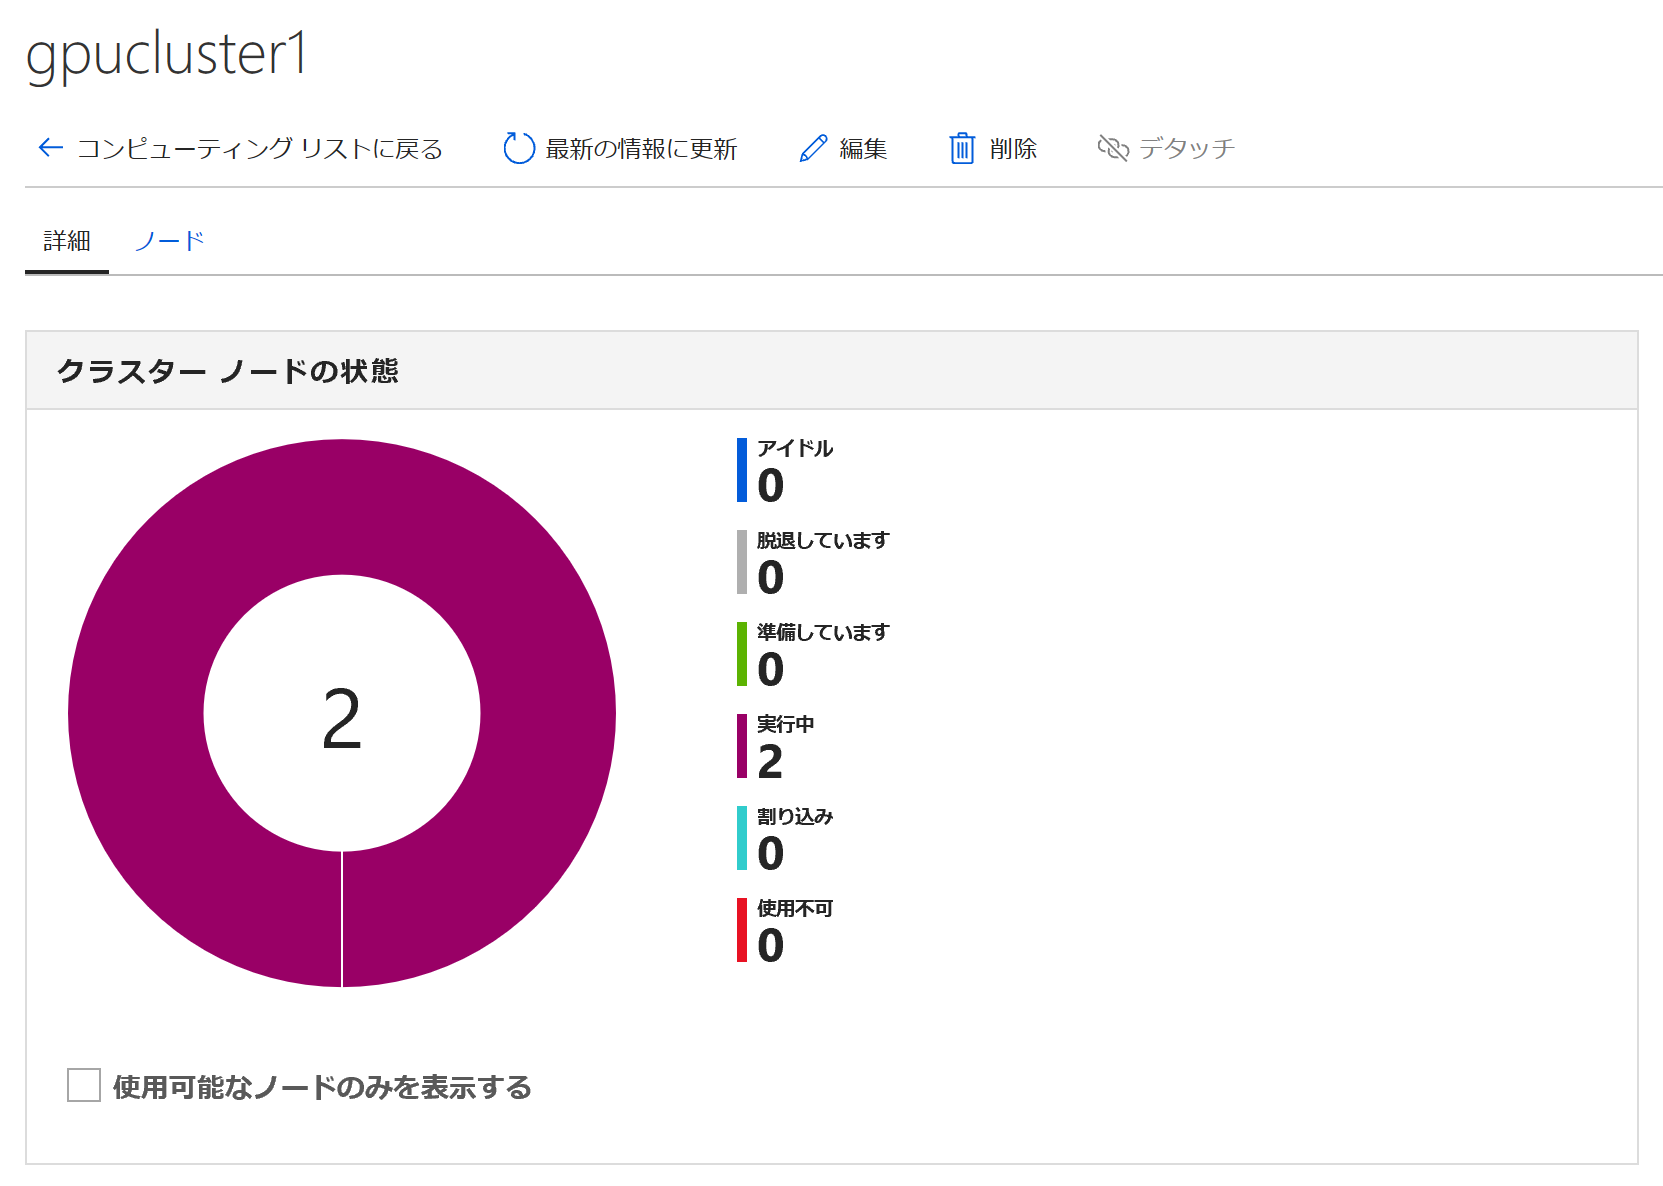
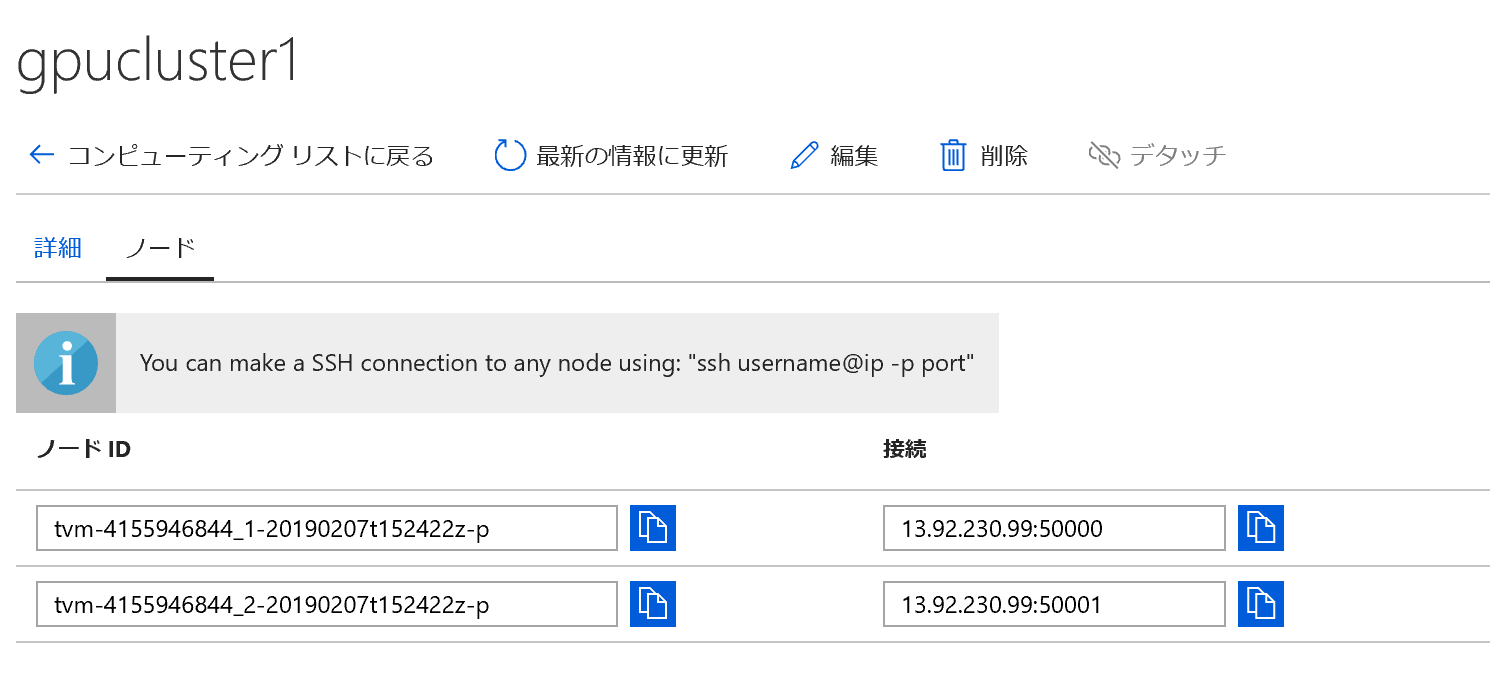
Azure Portalからノードの情報が確認できます。
IPアドレスとポート番号を確認します。
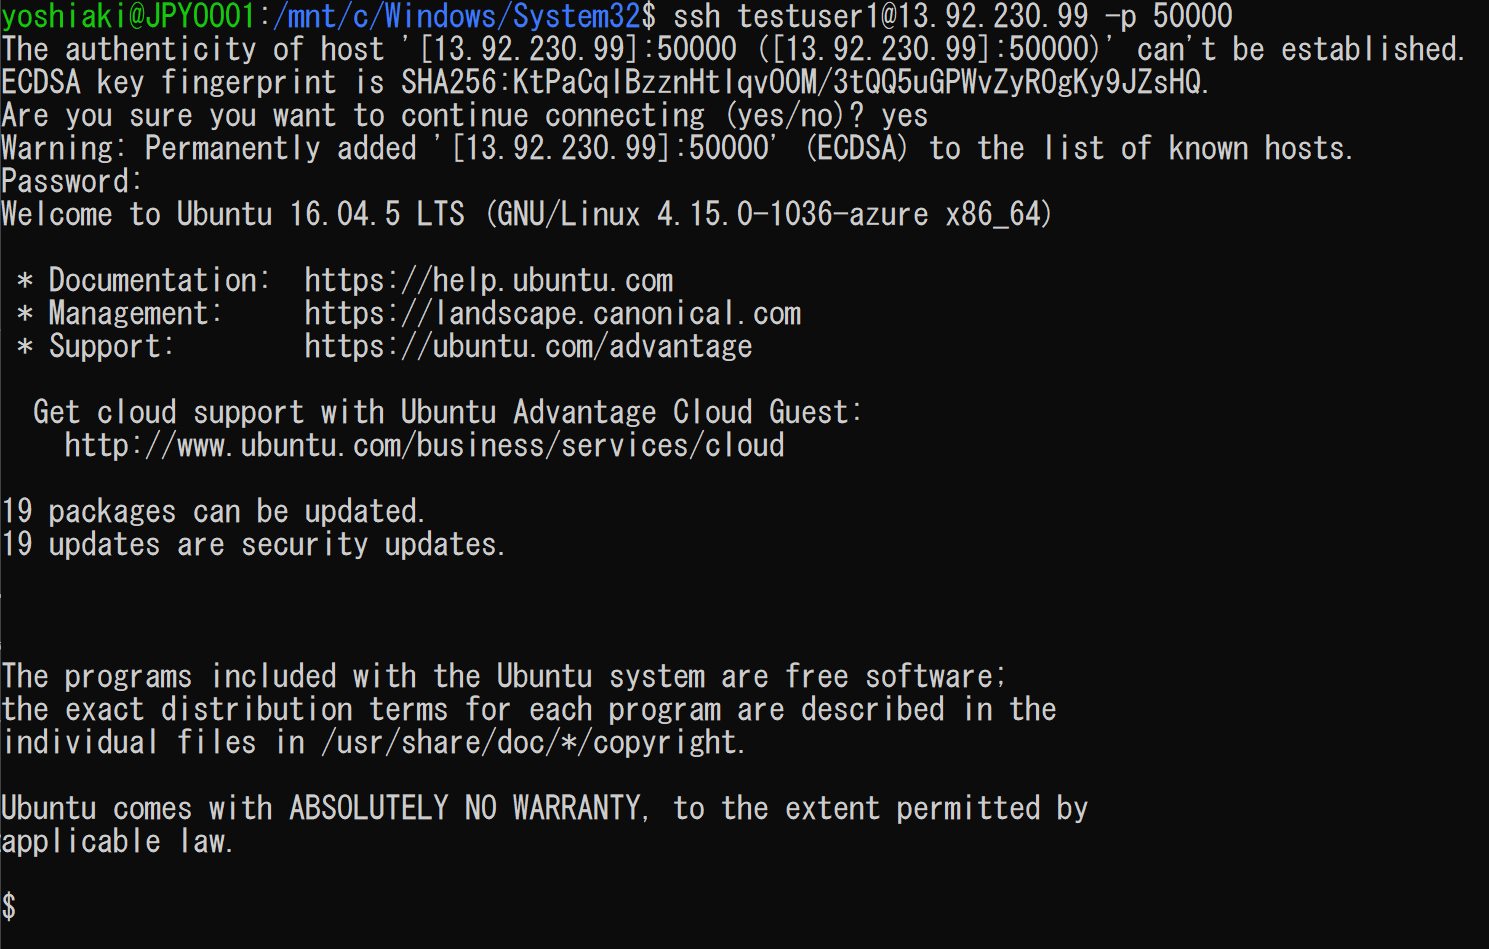
上記から、SSHでノードにアクセスします。
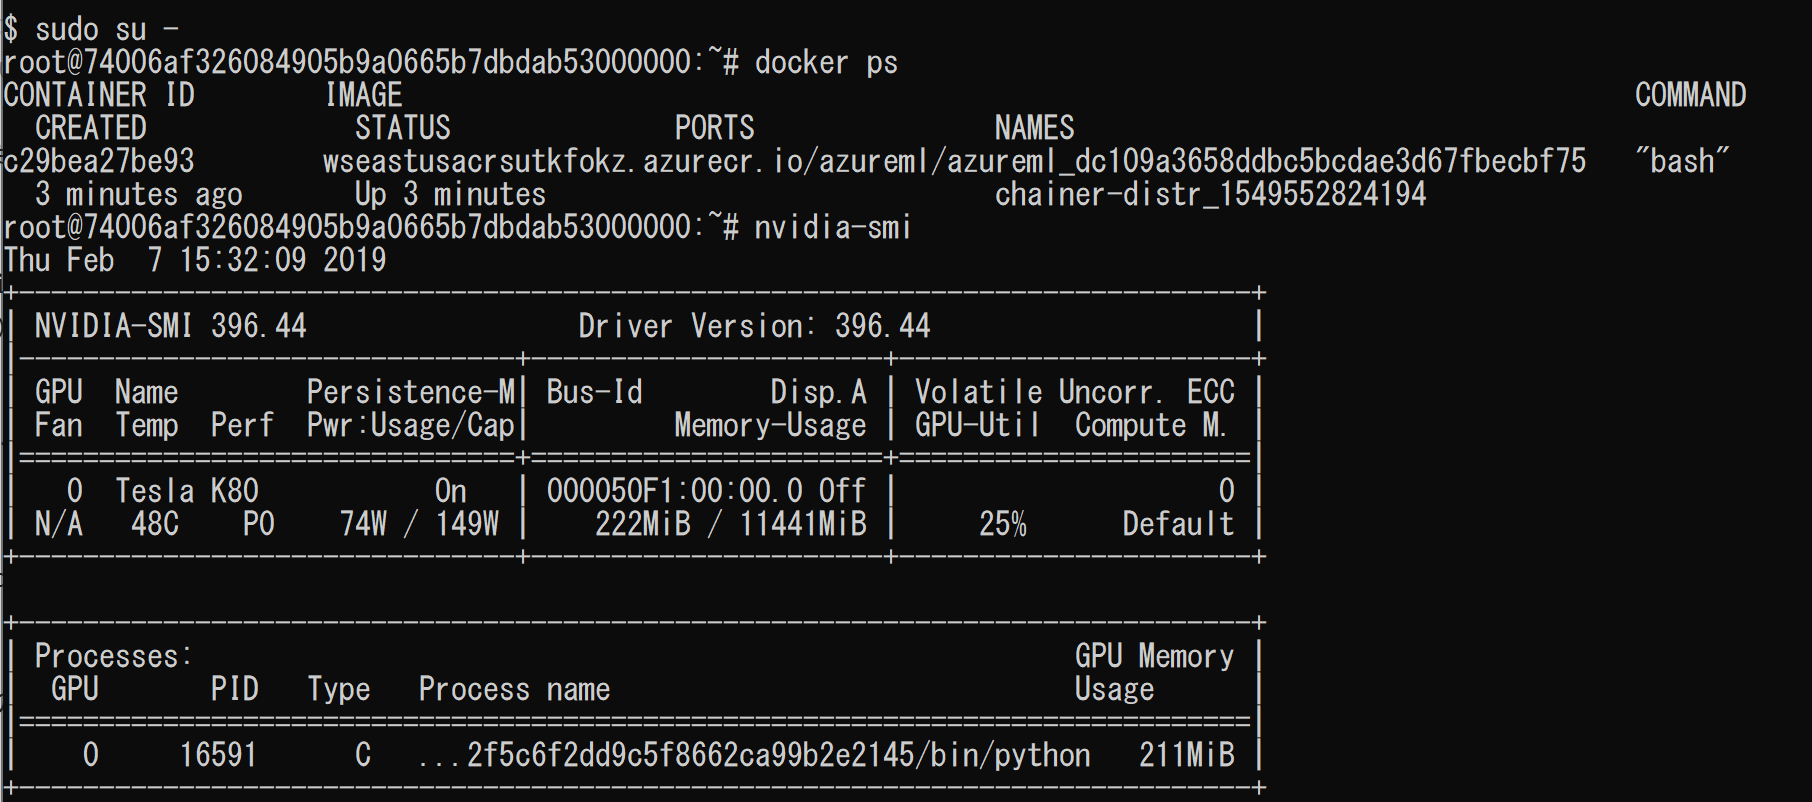
docker psでDockerが動いていることやnvidia-smiで実際のGPUの稼働状態が見れます。またdocker execで実際に動いているDockerに入ることも可能です。
参考
〇Azure Machine Learning Serviceについて
公式ドキュメント
https://docs.microsoft.com/ja-jp/azure/machine-learning/service/
SDKのリファレンス
https://docs.microsoft.com/ja-jp/python/api/overview/azure/ml/intro?view=azure-ml-py
サンプルのNoteBook (Github)
https://github.com/Azure/MachineLearningNotebooks
〇過去のBatch AIの記事
Azure Batch AI - AzureでGPU/マルチノードでディープラーニング計算を簡単に行う!(Chainer MN編)
https://qiita.com/YoshiakiOi/items/2f143e62bcf5d7daa8e9
Azure Batch AI - Chainer MNをInfiniband / GPU付きノードで高速並列実行する!
https://qiita.com/YoshiakiOi/items/16dd1d28b4d2b328dcc5
*本稿は、個人の見解に基づいた内容であり、所属する会社の公式見解ではありません。また、いかなる保証を与えるものでもありません。正式な情報は、各製品の販売元にご確認ください。