はじめに
Ruby on Rails初心者の学習記録Part4です。
Part1では、Rubyの基本文法やRailsを利用したWebアプリケーションの開発環境構築手順及びルーティングについて学びました。
Part2では、MVCアーキテクチャのモデルについて学びました。
Part3とPart4では、 "Getting Started with Rails" の "7 CRUDit Where CRUDit Is Due" を教材にして、CRUDを学びます。Part3では、CRUDの Create と Read を学びました。このPart4では、残りの Update と Delete を学んでいきたいと思います。
1. 記事の更新
まずは Update を学んでいきます。
リソースの更新は、リソースの作成ととても似ています。両方とも複数のステップが存在します。
これらのステップは、コントローラーのeditとupdateアクションによって制御されています。
それでは、app/controllers/articles_controller.rbにcreateアクションを追加します。
class ArticlesController < ApplicationController
  def index
    @articles = Article.all
  end

  def show
    @article = Article.find(params[:id])
  end

  def new
    @article = Article.new
  end

  def create
    @article = Article.new(article_params)

    if @article.save
      redirect_to @article
    else
      render :new, status: :unprocessable_entity
    end
  end

  def edit
    @article = Article.find(params[:id])
  end

  def update
    @article = Article.find(params[:id])

    if @article.update(article_params)
      redirect_to @article
    else
      render :edit, status: :unprocessable_entity
    end
  end

  private
    def article_params
      params.require(:article).permit(:title, :body)
    end
end
今回追加したeditとupdateのアクションは、newとcreateととても似ています。
editアクションでは、データベースから対象の記事を取得します。その後、@article内に保存し、フォームを作成するときに利用します。デフォルトでは、editアクションはapp/views/articles/edit.html.erbにレンダリングされます。
updateアクションでは、改めてデータベースから対象の記事を取得します。その後、article_paramsでフィルタリングされた送信データを利用して更新します。エラーがなければ、対象のページにリダイレクトします。エラーがあれば、app/views/articles/edit.html.erbにエラーメッセージを表示します。
ⅰ. Partialsを利用したビューのコードを共有
editフォームはnewフォームと同じ見た目です。RailsのForm BuilderとResourceful Routingのおかげで、コードも同じになっています。Form Builderは、モデルオブジェクトが過去保存されているかどうかによって、適切なリクエストを作成し、自動的にフォームを設定します。
どちらも同じコードを使うので、新たにapp/views/articles/edit.html.erbを作成するのではなく、Partial という共有ビューにまとめます。
それでは、共有ビューとしてapp/views/articles/_form.html.erbを作成します。
<%= form_with model: article do |form| %>
  <div>
    <%= form.label :title %><br>
    <%= form.text_field :title %>
    <% article.errors.full_messages_for(:title).each do |message| %>
      <div><%= message %></div>
    <% end %>
  </div>

  <div>
    <%= form.label :body %><br>
    <%= form.text_field :body %><br>
    <% article.errors.full_messages_for(:body).each do |message| %>
      <div><%= message %></div>
    <% end %>
  </div>

  <div>
    <%= form.submit %>
  </div>
<% end %>
このコードは、@articleがarticleに置き換わっている以外は、app/views/articles/new.html.erbと同じです。Partialのコードは共有されるので、特定のインスタンス変数に依存しないようにするのがベストプラクティスです。代わりに記事をローカル変数としてPartialに渡します。
それでは、renderでPartialを使うようにapp/views/articles/new.html.erbを変更します。
<h1>New Article</h1>

<%= render "form", article: @article %>
Partialのファイル名はプレフィックスにアンダースコアをつけなければなりません(ex. _form.html.erb)。ですが、レンダリングで参照するときはアンダースコアはつけません(ex. render "form")。
次はapp/views/articles/edit.html.erbを作成します。同じようにPartialを参照します。
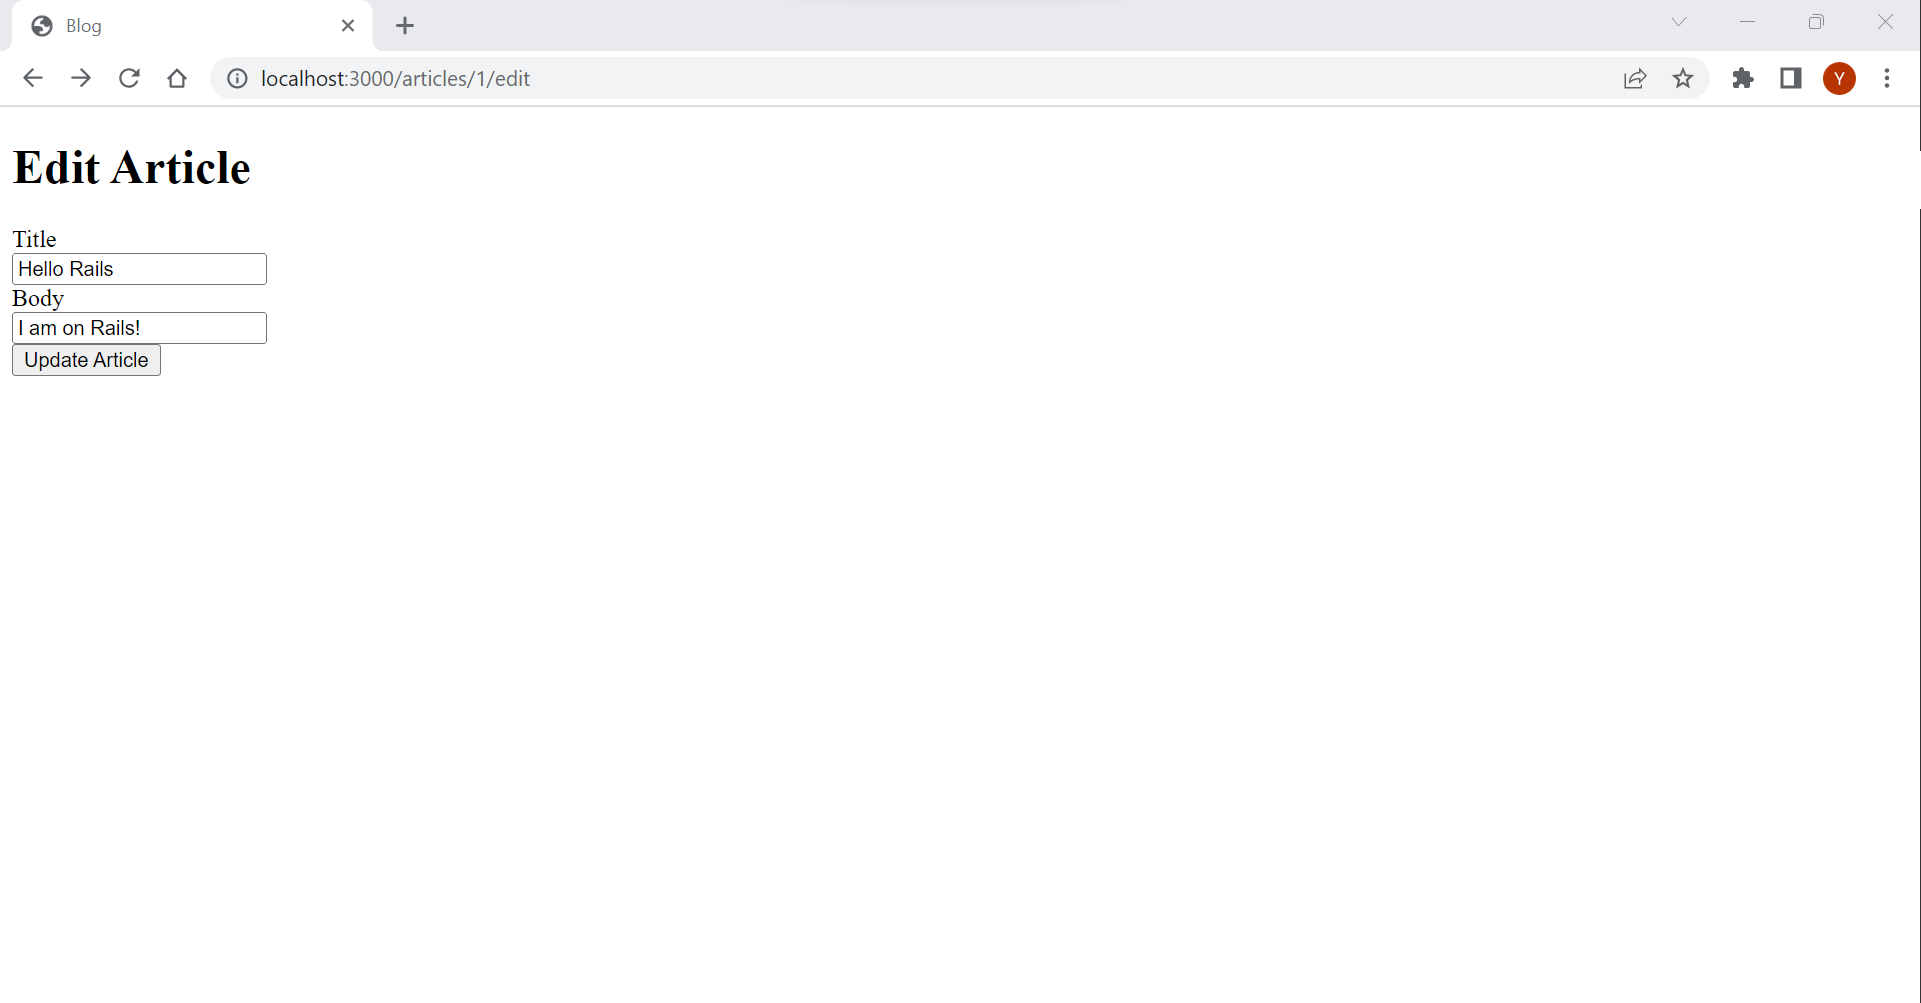
<h1>Edit Article</h1>

<%= render "form", article: @article %>
これで http://localhost:3000/articles/1/edit にアクセスすると、1つ目の記事の編集画面が表示され、記事を更新することができるようになりました。
より詳しいPartialの説明は、"Layouts and Rendering in Rails § Using Partials" に記載があります。
ⅱ. 仕上げ
仕上げとして、app/views/articles/show.html.erbに編集画面へのリンクを追加しましょう。
<h1><%= @article.title %></h1>

<p><%= @article.body %></p>

<ul>
  <li><%= link_to "Edit", edit_article_path(@article) %></li>
</ul>
編集画面へのリンクが追加されました。
2. 記事の削除
それではいよいよ最後の Delete を学んでいきます。リソースの削除プロセスは、作成や更新に比べてシンプルです。必要になるのは、ルーティングとコントローラーのアクションだけです。そして、Part3で作成したResourceful Routing(resources :articles)によりルーティングは既に提供されています。このルーティングにより、DELETE /articles/:idリクエストはArticlesControllerのdestroyアクションにマッピングされています。
そのため、app/controllers/articles_controller.rbにdestroyアクションを追加します。
class ArticlesController < ApplicationController
  def index
    @articles = Article.all
  end

  def show
    @article = Article.find(params[:id])
  end

  def new
    @article = Article.new
  end

  def create
    @article = Article.new(article_params)

    if @article.save
      redirect_to @article
    else
      render :new, status: :unprocessable_entity
    end
  end

  def edit
    @article = Article.find(params[:id])
  end

  def update
    @article = Article.find(params[:id])

    if @article.update(article_params)
      redirect_to @article
    else
      render :edit, status: :unprocessable_entity
    end
  end

  def destroy
    @article = Article.find(params[:id])
    @article.destroy

    redirect_to root_path, status: :see_other
  end

  private
    def article_params
      params.require(:article).permit(:title, :body)
    end
end
destroyアクションはデータベースから対象の記事を取得します。そして、destroyをコールします。その後、ステータスコード 303 See Other でルートパスへリダイレクトします。
それでは最後にapp/views/articles/show.html.erbへ記事の削除リンクを追加します。
<h1><%= @article.title %></h1>

<p><%= @article.body %></p>

<ul>
  <li><%= link_to "Edit", edit_article_path(@article) %></li>
  <li><%= link_to "Destroy", article_path(@article), data: {
    turbo_method: :delete,
    turbo_confirm: "Are you sure?"
  } %></li>
</ul>
こちらのコードでは、"Destroy"リンクのHTML属性data-turbo-methodとdata-turbo-confirmを設定するためにdataオプションを利用しています。どちらの属性も Turbo というRailsのアプリケーションにデフォルトで含まれているフレームワークにフックします。data-turbo-method="delete"を使うことで、GETリクエストの代わりにDELETEリクエストが送信されます。data-turbo-confirm="Are you sure?"を使うことで、リンククリック時に確認ダイアログが表示されます。
以上で削除機能が完成しました。これでCRUDをひと通り実装できました!
最後に
今回は"Getting Started with Rails" の "7 CRUDit Where CRUDit Is Due" を教材にして、CRUD の Update と Delete を学びました。
次回は"Getting Started with Rails" の次の章である "8 Adding a Second Model" を教材にコメント機能の実装を通して、今までの復習をしようと思います。
最後までお読みいただきありがとうございました!