自分のブログから引っ張ってきました.
https://wally-ngm.hatenablog.com/entry/2020/06/05/222302
GroupieのViewHolderを試してみました.
[https://github.com/lisawray/groupie/releases:embed:cite]
GroupieはAndroidのrecycler-viewを楽に使えるようにするライブラリですが, groupie-databindingがdeprecatedされました.
今回は推奨されてる(ぽい)groupie-viewbindingを使ってみたいと思います.
1. Groupieを追加
基本的にはgithubのGradle Setupを見れば大丈夫で, モジュールレベルのbuild.gradleに以下を追加すればOKです.
android {
    ....
    androidExtensions {
        experimental = true
    }
    viewBinding {
        enabled = true
    }
}

dependencies {
    ....
    def groupie_version = "2.8.0"
    implementation "com.xwray:groupie:$groupie_version"
    implementation "com.xwray:groupie-kotlin-android-extensions:$groupie_version"
    implementation "com.xwray:groupie-viewbinding:$groupie_version"
}
追加で, 2020年6月5日現在, 以下のようなエラーが出てくるので少しだけ対応が必要でした.
ERROR: Failed to resolve: com.xwray:groupie-viewbinding:2.8.0
ISSUEによれば, リリースされて間もないからエラーでてるらしいです.
プロジェクトレベルのbuild.gradleに1行追加して対応します.
allprojects {
    repositories {
        google()
        jcenter()
        maven { url 'https://dl.bintray.com/lisawray/maven' } // この行を追加
    }
}
2. リスト表示するアイテムを作成する
リストのアイテムとなるクラスとレイアウトファイルを作成します.
クラスはこんな感じで, bindメソッドでview-bindingを使えば良さそうです. 楽ちんですね.
package wally.wally.android_practice

import android.view.View
import com.xwray.groupie.viewbinding.BindableItem
import wally.wally.android_practice.databinding.ItemTopListBinding

class TopListItem(private val text: String) : BindableItem<ItemTopListBinding>() {
    override fun getLayout() = R.layout.item_top_list

    override fun bind(viewBinding: ItemTopListBinding, position: Int) {
        viewBinding.button.text = text
    }

    override fun initializeViewBinding(view: View): ItemTopListBinding {
        return ItemTopListBinding.bind(view)
    }
}
xmlはこんな感じ.
<?xml version="1.0" encoding="utf-8"?>
<layout xmlns:android="http://schemas.android.com/apk/res/android"
    xmlns:app="http://schemas.android.com/apk/res-auto"
    xmlns:tools="http://schemas.android.com/tools">

    <data>
    </data>

    <androidx.constraintlayout.widget.ConstraintLayout
        android:layout_width="match_parent"
        android:layout_height="wrap_content">

        <com.google.android.material.button.MaterialButton
            android:id="@+id/button"
            style="@style/Widget.MaterialComponents.Button.OutlinedButton"
            android:layout_width="wrap_content"
            android:layout_height="wrap_content"
            android:textColor="@color/white"
            android:text=""
            app:layout_constraintBottom_toBottomOf="parent"
            app:layout_constraintEnd_toEndOf="parent"
            app:layout_constraintStart_toStartOf="parent"
            app:layout_constraintTop_toTopOf="parent"
            app:backgroundTint="@color/primaryLight"
            tools:text="ボタン" />

    </androidx.constraintlayout.widget.ConstraintLayout>
</layout>
今回は何を思ったのかマテリアルデザインのボタンを使ってしまいました.
このボタンは, アクティビティにマテリアルコンポーネントのテーマを適用させる必要があるみたいでしたので, Manifestファイルも少しいじります
リストのアイテムにマテリアルボタンを使わないなら必要ありません.
<activity
            android:name=".MainActivity"
            android:theme="@style/Theme.MaterialComponents.Light" <= マテリアルボタンを設置する場合はテーマを適用
            tools:ignore="LockedOrientationActivity"
3. recycler-viewを設置してリストを表示させる
xmlの方にrecycler-viewを設置します.
        <androidx.recyclerview.widget.RecyclerView
            android:id="@+id/recycler_view"
            android:layout_width="match_parent"
            android:layout_height="wrap_content"
            app:layout_constraintEnd_toEndOf="parent"
            app:layout_constraintStart_toStartOf="parent"
            app:layout_constraintTop_toTopOf="parent" />
MainActivityの方で, GroupieAdapterを作成して, それをrecyclerViewのアダプターとします.
package wally.wally.android_practice
import androidx.appcompat.app.AppCompatActivity
import android.os.Bundle
import androidx.databinding.DataBindingUtil
import androidx.recyclerview.widget.LinearLayoutManager
import com.xwray.groupie.GroupAdapter
import com.xwray.groupie.GroupieViewHolder
import wally.wally.android_practice.databinding.ActivityMainBinding
class MainActivity : AppCompatActivity() {
private lateinit var binding: ActivityMainBinding
override fun onCreate(savedInstanceState: Bundle?) {
super.onCreate(savedInstanceState)
binding = DataBindingUtil.setContentView(this, R.layout.activity_main)
val adapter = GroupAdapter<GroupieViewHolder>()
binding.recyclerView.adapter = adapter
binding.lifecycleOwner = this
binding.recyclerView.layoutManager = LinearLayoutManager(this)
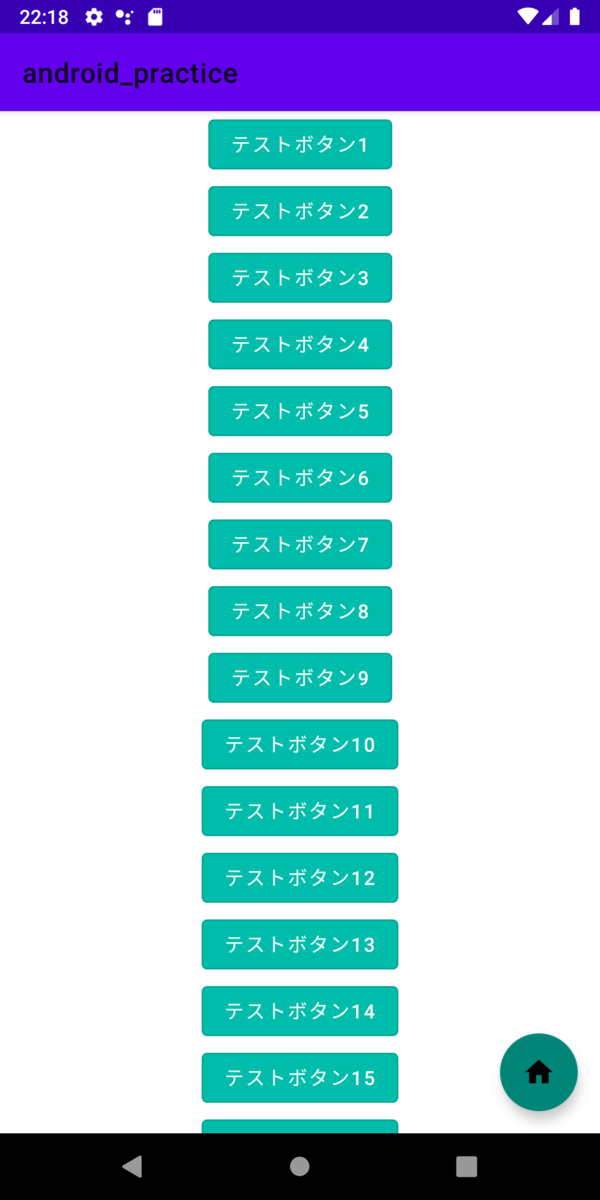
adapter.update((1..30).map { TopListItem("テストボタン${it}") })
adapter.add(TopListItem("テストボタンファイナル"))
}
}
大事なのはここです.
recyclerVIewにはレスポンシブに対応するためのlayoutManagerが存在しますのでこちらも設定する必要があります.
リストをまとめて渡すだけで表示してくれますし, 1つだけ追加したい場合は add メソッドを使ってあげればいいです(この辺はview-holderというよりgroupieの機能)
binding = DataBindingUtil.setContentView(this, R.layout.activity_main)
val adapter = GroupAdapter<GroupieViewHolder>()
binding.recyclerView.adapter = adapter
binding.lifecycleOwner = this
binding.recyclerView.layoutManager =  LinearLayoutManager(this)

adapter.update((1..30).map { TopListItem("テストボタン${it}") })
adapter.add(TopListItem("テストボタンファイナル"))
最終的にこんな風に表示されます