はじめに#
 こんにちはayumuです。
現在、個人で作っているアプリで円型のプログレスバーを実装する機会があり、せっかくなので記事にしようと思います。
(~~アプリは審査中… リリースした際は是非ダウンロードしてください!~~)
審査終了しました。リンクは一番下にあるのでよかったらダウンロードお願いします。
MBCircularProgressBar#
今回はMBCircularProgressBarというライブラリを使って円型プログレスバーを実装しました。
インストール##
CocoaPodsを使用してインストールしました。
pod "MBCircularProgressBar"
でインストール可能です。
https://github.com/MatiBot/MBCircularProgressBar
Viewの作成#
今回はStoryBoardを使って作成していきます。
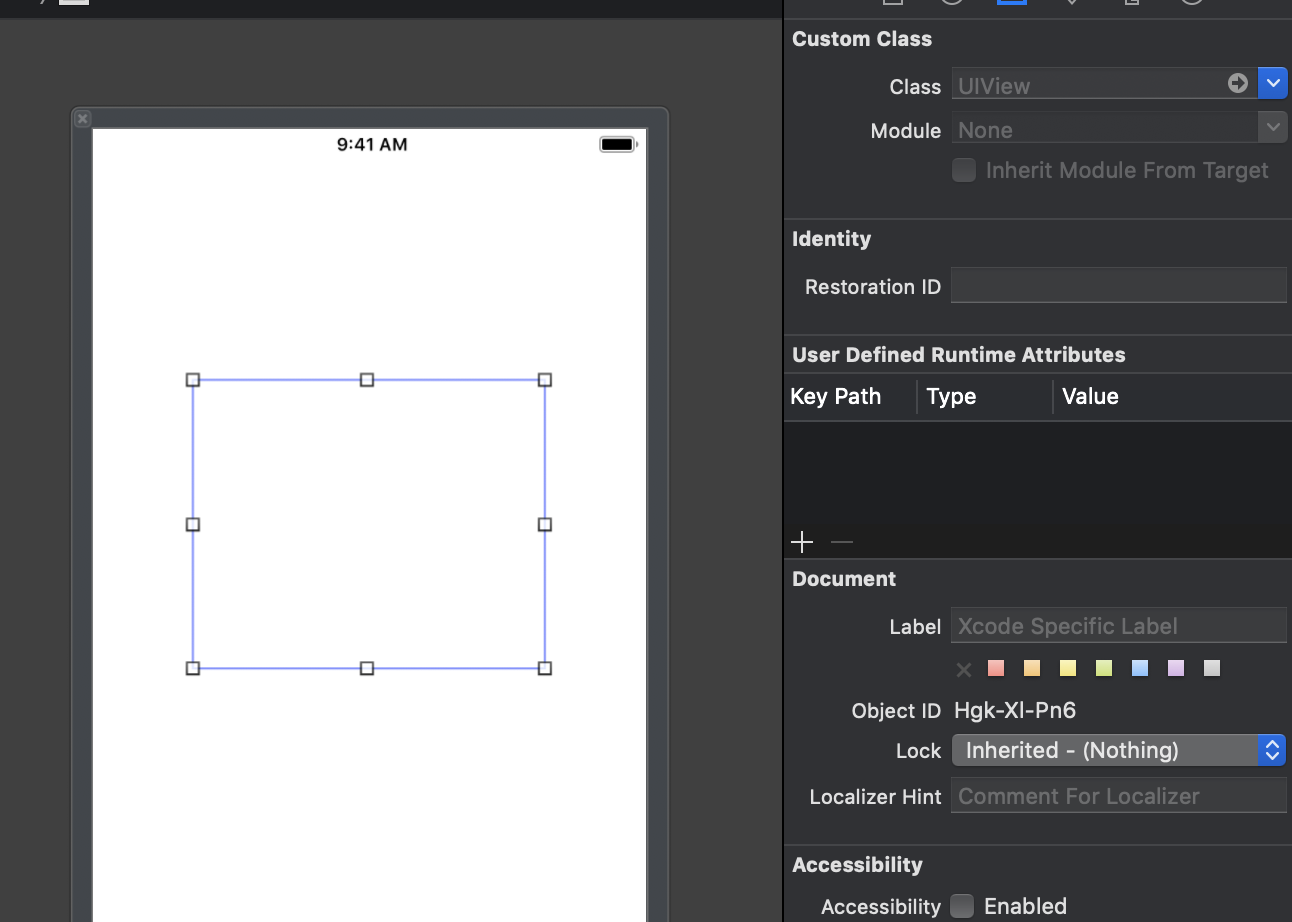
まずはViewControllerにViewを貼り付けます。
Viewのサイズは適当で大丈夫です。自分の意図する円グラフのサイズに調整していけばと思います。
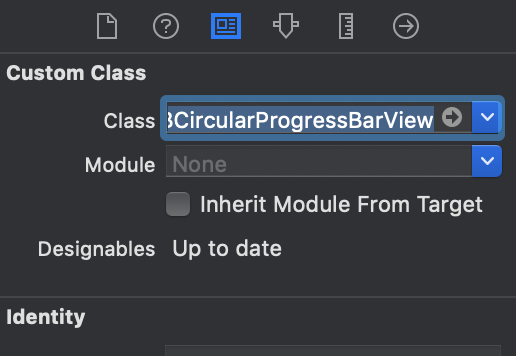
配置したViewのViewの「Identity Inspector」を選択し、Custom ClassのClassをMBCircularProgressBarViewにします。
そうすると円型のViewが表示されます。
円型プログレスバーのデザインを設定#
classを変更したらViewの「Attributes Inspector」にてデザインに関するパラメーターの調整が可能になります。コードからでも変更可能です。
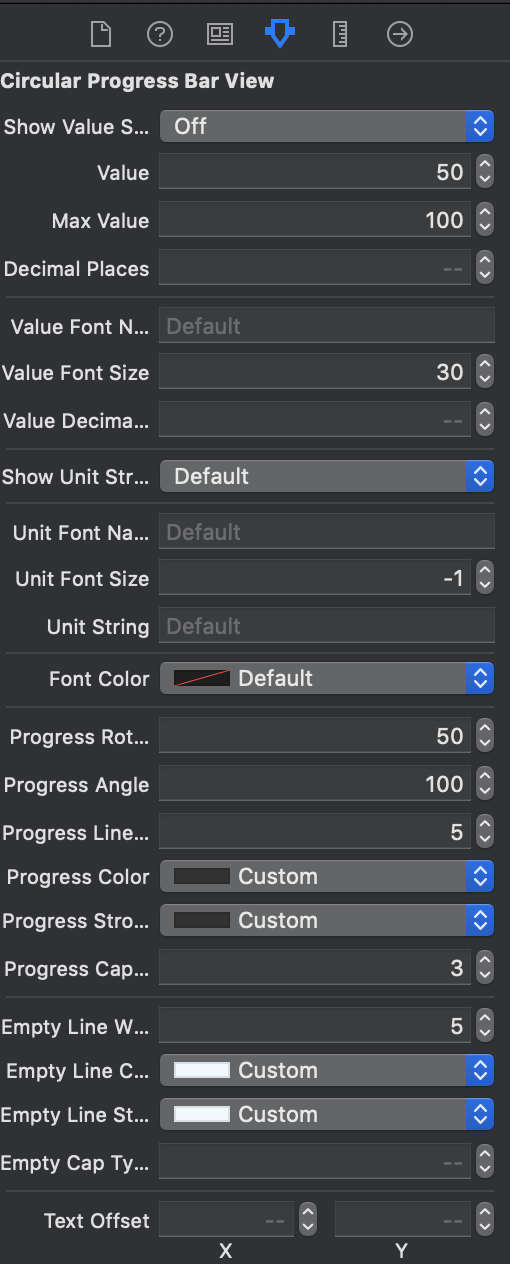
ここで軽くパラメーターについて説明します。
showValueString
defaultではもともと用意されているテキストが表示されます。
今回はoffにしてLabelを配置しました。
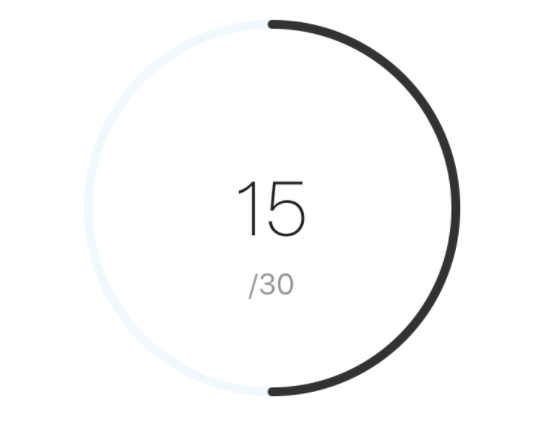
Value、MaxValue
Valueはバーの現在の値、MaxValueはバーの最大値の値です。
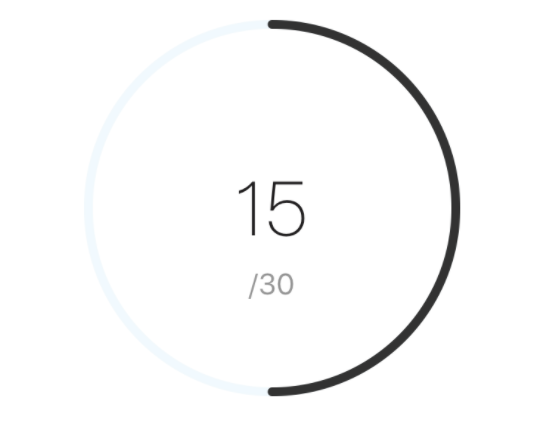
上の写真だとValueは15、MaxValueは30です。これらのパラメーターは常に同じ値ではないのでコードに書きます。(コードに書くことでアニメーションも可能です)
progressRotationAngle
バーの回転を調整できます。
(50で真ん中から時計回り、0で真ん中から反時計回り)
progressAngle
バーの角度を調整できます。
(100で円型、0だと無くなります)
progressLine
バーの太さを調整できます
(上の写真だと黒いバーの部分)
progressColor
バーの色を調整できます。
(上の写真だと黒いバーの部分)
progressStrokeColor
バーのフレームの色を調整できます。
(上の写真だと黒いバーの部分、バーの色と同じにしているので単色になっています)
emptyLineWidth
空のバーの太さを調整できます。
(上の写真だと薄いグレーのバーの部分)
emptyLineColor
空のバーの色を調整できます。
(上の写真だと薄いグレーのバーの部分)
emptyLineStrokeColor
空のバーのフレームの色を調整できます。
(上の写真だと薄いグレーのバーの部分、空のバーの色と同じにしているので単色になっています)
他にも色々あります。詳しくは上のgithubのリンクからご覧ください。
実装#
StoryBoardとプログラムコードを紐づけます。
紐づけたプログラムファイルにimport文を入力します。
import UIKit
import MBCircularProgressBar

class ViewController: UIViewController {
    @IBOutlet weak var progressView: MBCircularProgressBarView!
    @IBOutlet weak var progressValueLabel: UILabel!

//今回はshowValueStringをoffの状態です
    override func viewDidLoad() {
        super.viewDidLoad()
        progressView.value = 15
        progressView.maxValue = 30
        progressValueLabel.text = "\(progressView.value)"
    }

}
このようにvalue,maxValueに値を入れてあげることで下の図のような写真になります。
しかし表示させるだけでは物足りなさを感じるのでアニメーションをつけたいと思います。
import UIKit
import MBCircularProgressBar
class ViewController: UIViewController {
    @IBOutlet weak var progressView: MBCircularProgressBarView!
    @IBOutlet weak var progressValueLabel: UILabel!

    override func viewWillAppear(_ animated: Bool) {
        super.viewWillAppear(true)
        progressView.value = 0
        progressView.maxValue = 30
        progressValueLabel.text = "\(progressView.value)"
    }

    override func viewDidAppear(_ animated: Bool) {
        super.viewDidAppear(true)
        UIView.animate(withDuration: 1.0) {
            self.progressView.value = 15
        }
    }
}
viewWillAppearでprogressView.value = 0
viewDidAppearでUIView.animateの中身をprogressView.value = 15
とすることでバーが0から設定してる値(ここでは15)までアニメーションします。
おわりに#
最後まで読んでいただきありがとうございました。
簡単に実装できるのでよかったら試してみてください!
是非アプリのダウンロードよろしくお願いします!!!
https://itunes.apple.com/us/app/イマスル-今から習慣化/id1456245094?l=ja&ls=1&mt=8